When you log in to a FTP server, you don’t want users to browse all your filesystem. You only want him/her to browse the files that he/she is able access, usually their home directories. This is what chroot does. It locks the users in their home directories. The users can only browse the files and directories in their home directory. No matter how hard they try, they won’t be able to go outside their home directories.
In this article, I am going to show you how to use vsftpd chroot to lock users in their home directories. I am going to consider this article an extension of the article Manage Apache 2 VirtualHost with Macro on Ubuntu 18.04 LTS or How to Configure Apache VirtualHost on Ubuntu 18.04 LTS. Be sure to read these articles to setup all the FTP users and home directories. So, let’s get started.
How I want to Configure vsftpd:
In the Apache VirtualHost articles above, I’ve shown you how to set up Apache VirtualHost and host multiple websites on a single web server.
Now, I want to let all the website owners (users) to upload the required files to their webserver using FTP. So, I am going to configure vsftpd in a way that the users are able to upload the required files to their webserver using FTP.
Installing vsftpd on Ubuntu:
On Ubuntu, you can easily install vsftpd from the official package repository of Ubuntu with the APT package manager.
First, update the APT package manager cache with the following command:

Now, install vsftpd with the following command:

vsftpd should be installed.

Configuring vsftpd:
The vsftpd configuration file is /etc/vsftpd.conf.
It’s always a good idea to keep a backup of the original vsftpd configuration file.
To create a backup vsftpd configuration file /etc/vsftpd.conf.backup, run the following command:

Now, create a new /etc/vsftpd.conf file with the following command:

Now, type in the following lines and save the file by pressing <Ctrl> + x followed by y and <Enter>.
listen_ipv6=NO
connect_from_port_20=YES
anonymous_enable=NO
local_enable=YES
write_enable=YES
chroot_local_user=YES
allow_writeable_chroot=YES
secure_chroot_dir=/var/run/vsftpd/empty
pam_service_name=vsftpd
pasv_enable=YES
pasv_min_port=40000
pasv_max_port=45000
userlist_enable=YES
userlist_file=/etc/vsftpd.userlist
userlist_deny=NO
Finally, the /etc/vsftpd.conf configuration file looks like this.
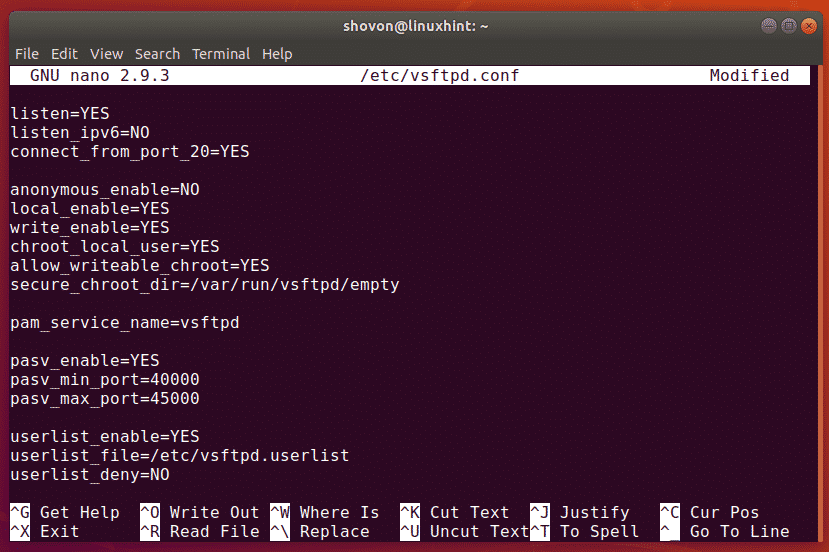
Here, chroot_local_user option is responsible for locking the users in their home directories.
allow_writable_chroot option is responsible for write permissions on the home directories.
Now, restart the vsftpd service with the following command:

Now, check whether the vsftpd service is running with the following command:

Great! The vsftpd service is running.

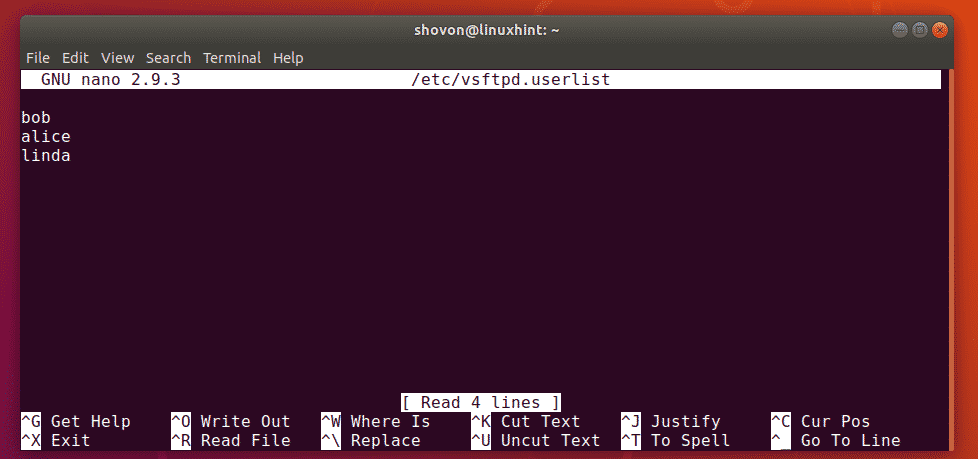
Now, you have to add all the users that you want to connect to their home directories and upload files to a configuration file /etc/vsftpd.userlist
Open the /etc/vsftpd.userlist configuration file with the following command:

Now, type in all the usernames that you want to allow access to their home directories via FTP here. Then, save the file by pressing <Ctrl> + x followed by y and <Enter>.
Accessing the FTP Server:
Now, you can use any FTP client to connect to your FTP server. The most popular FTP client is FileZilla.
On Linux, you can also use Nautilus file manager to connect to your FTP server.
On Windows, you can add your FTP server as a network location and upload files there.
First, you have to know the IP address or host name of your FTP server.
You can find out the IP address of your FTP server with the following command:
As you can see, the IP address of my FTP server is 192.168.21.187. It should be different for you. So, make sure you replace it with yours from now on.

Using Nautilus to Access FTP Server:
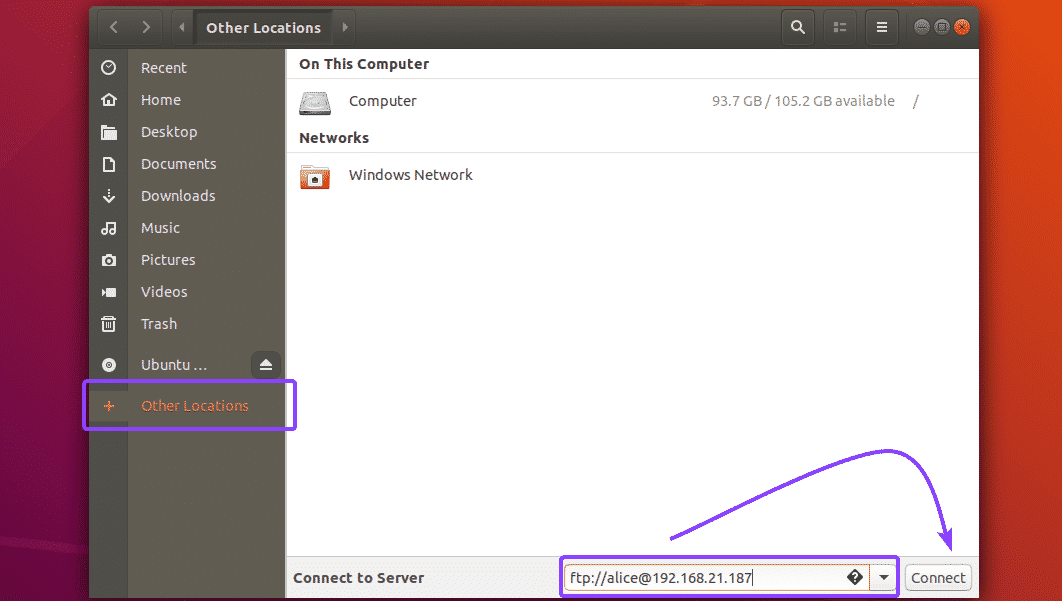
If you want to login to your FTP server using Nautilus on Linux, first, open Nautilus and click on Other Locations. Then, type in ftp://username@IP_ADDR or ftp://username@DOMAIN_NAME in the Connect to Server section. Then, click on Connect.
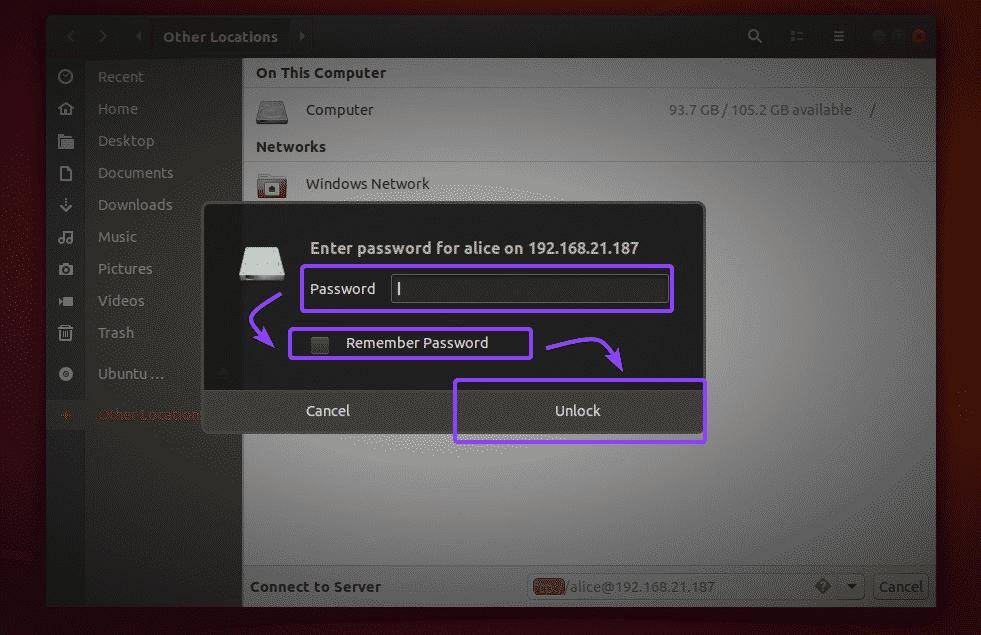
Now, type in the password for your user (in my case, alice) and click on Unlock. You may also check Remember Password, if you want Nautilus to remember the login credentials. Otherwise, just leave it unchecked.
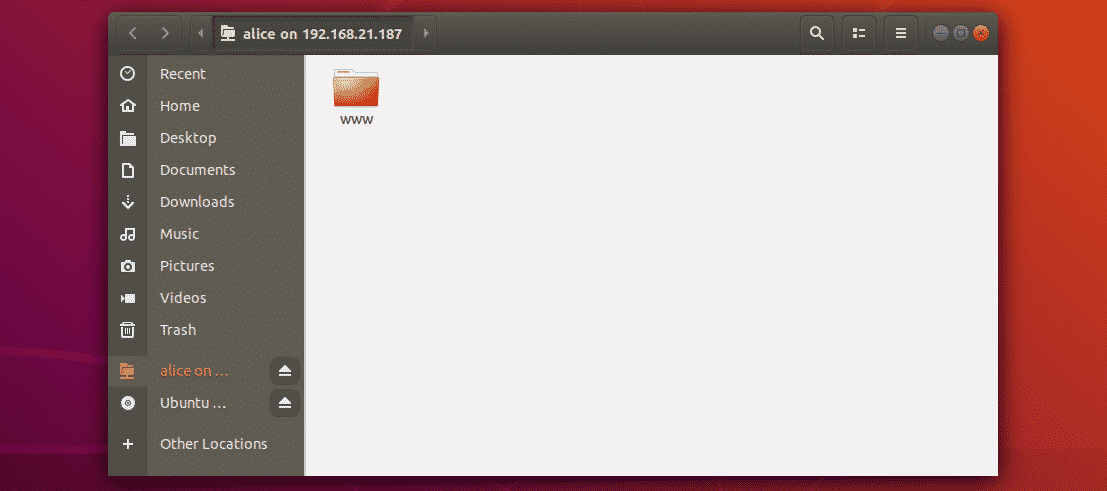
You should be logged in. As you can see, the www directory is here.
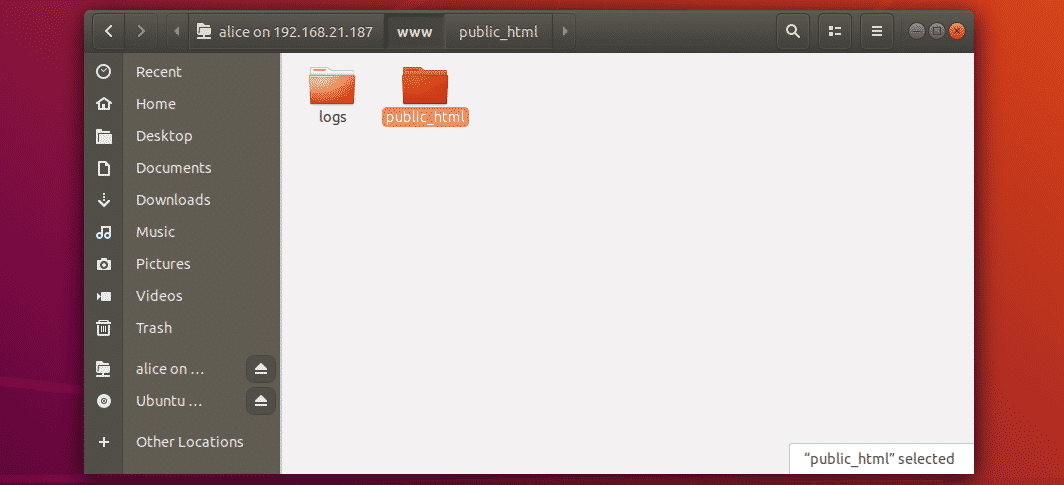
As you can see, I can go forward the directory chain.
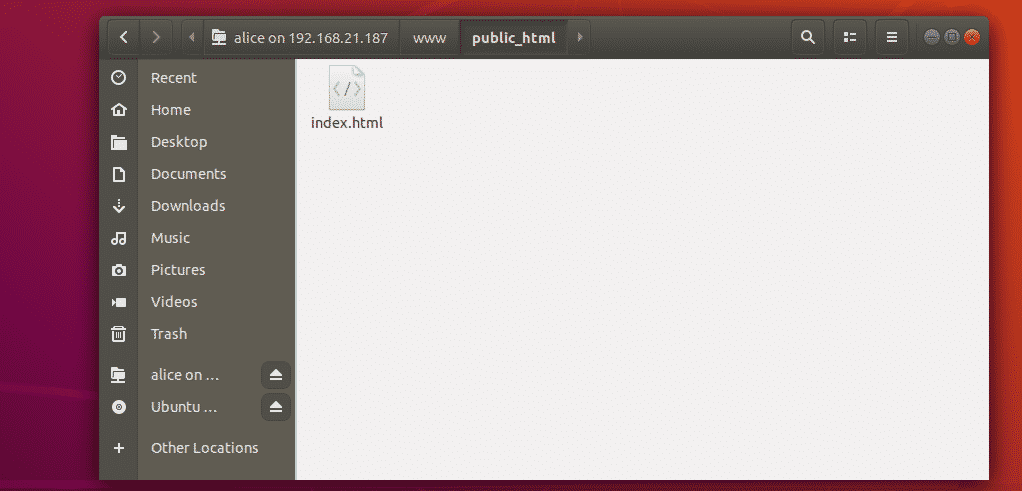
The index.html file is also inside the public_html/ directory.
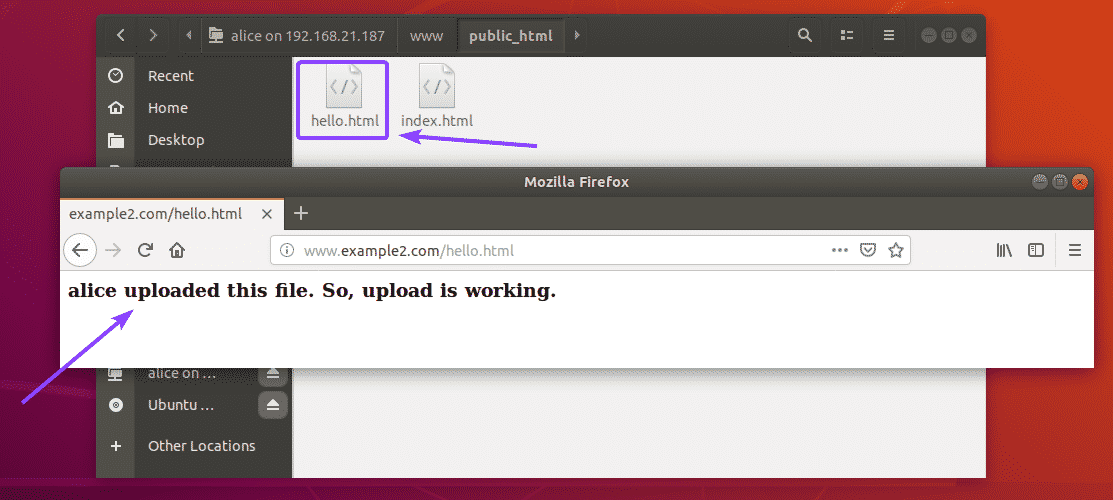
As you can see, I uploaded a file and it works. I can also access the html file from the Apache server.
Adding FTP Network Location on Windows:
If you want to login to your FTP server and use it on Windows by adding a network location, then check out the Accessing the FTP Server section of the article How to Setup an FTP Server with vsftpd on Ubuntu 18.04 LTS.
So, that’s how you setup vsftpd and configure it to chroot FTP users to their home directories. Thanks for reading this article.


