Say, you’re working with a file that requires keeping an eye on multiple parts of the file. For programming, that’s a common scenario. There are also other scenarios when a split view can be useful. Yes, let’s check out how to split view and edit on Vim.
Demo file
Let’s create a demo file. I grabbed the code of bubble sort from Geeksforgeeks.
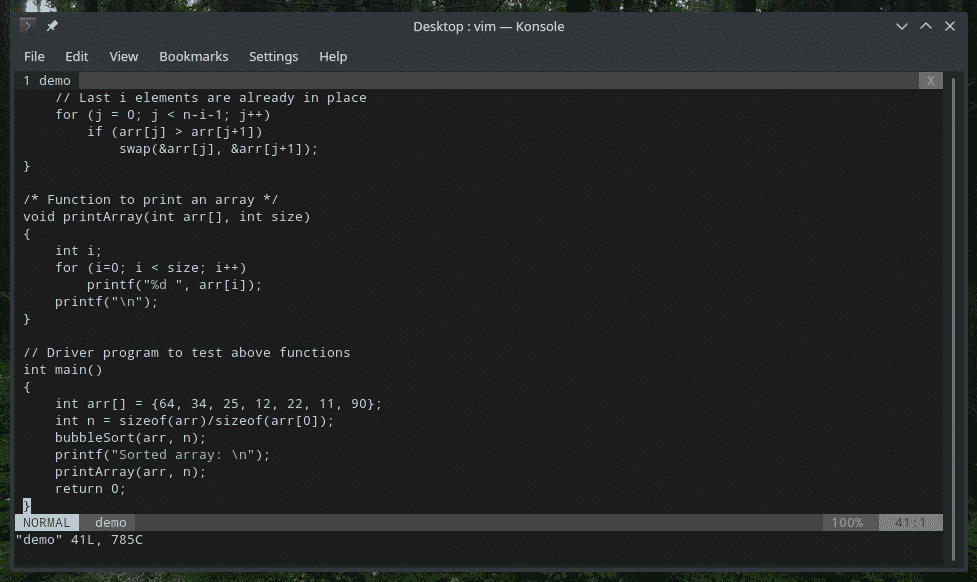
Now, it’s time to split the file into two sections. Hit “Ctrl + w”, then press “v”. Take a close look at the cases; they’re all in lowercase.
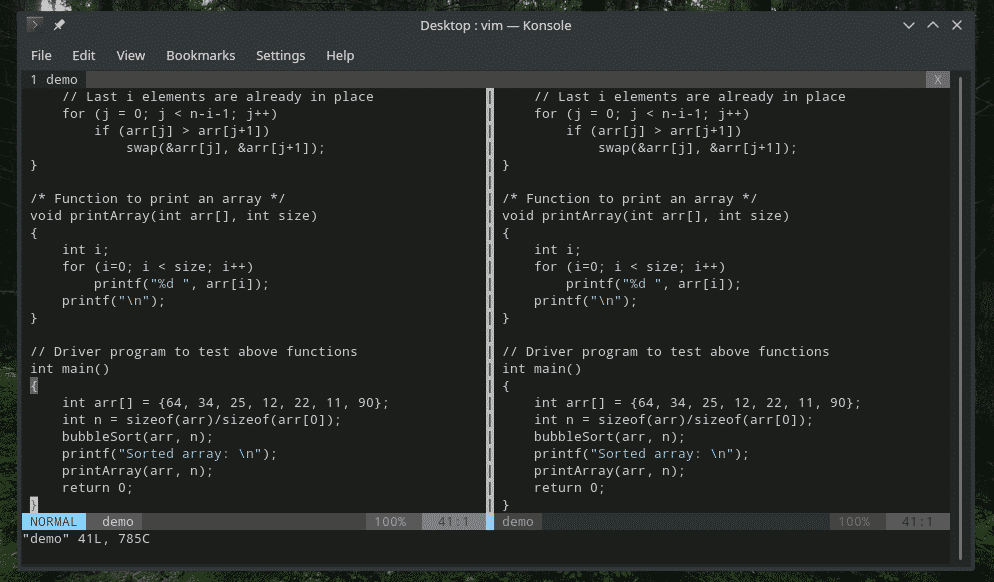
Voila! Pretty simple, right? Let’s make another split!
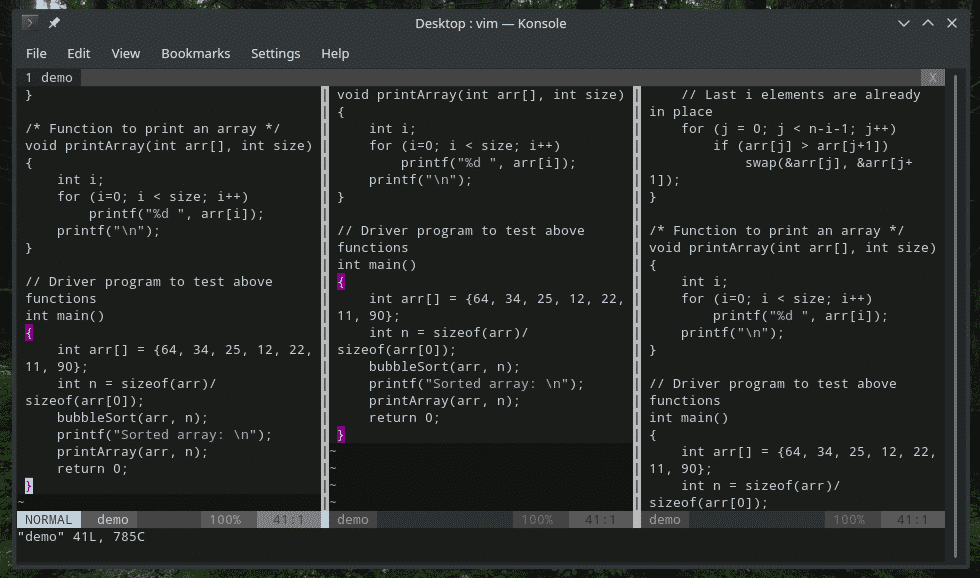
This function is also available from the command.

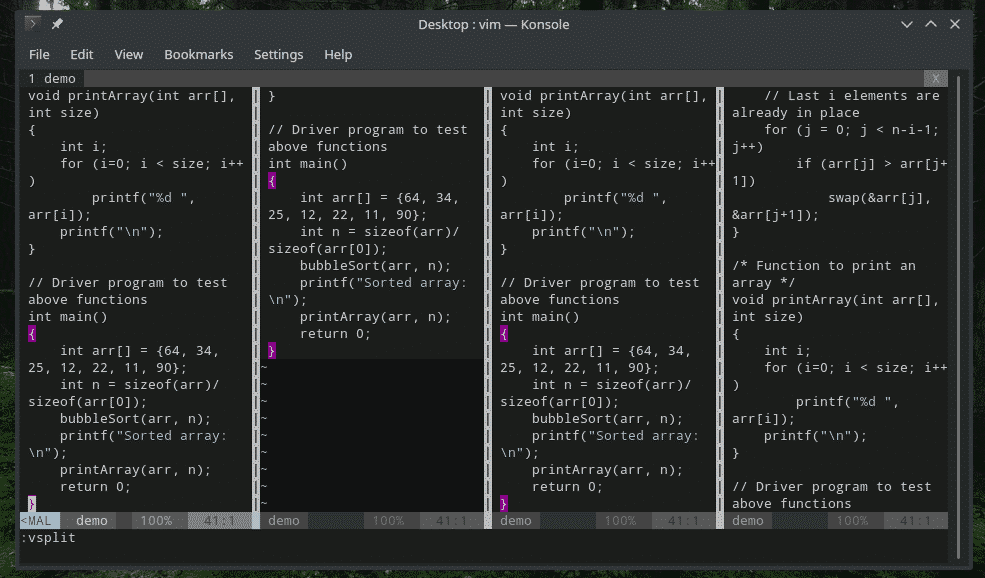
There’s also a short form of this command.
Awesome, right?
Let’s begin from the beginning. This time, we’re going to do horizontal splits. Run the following command.

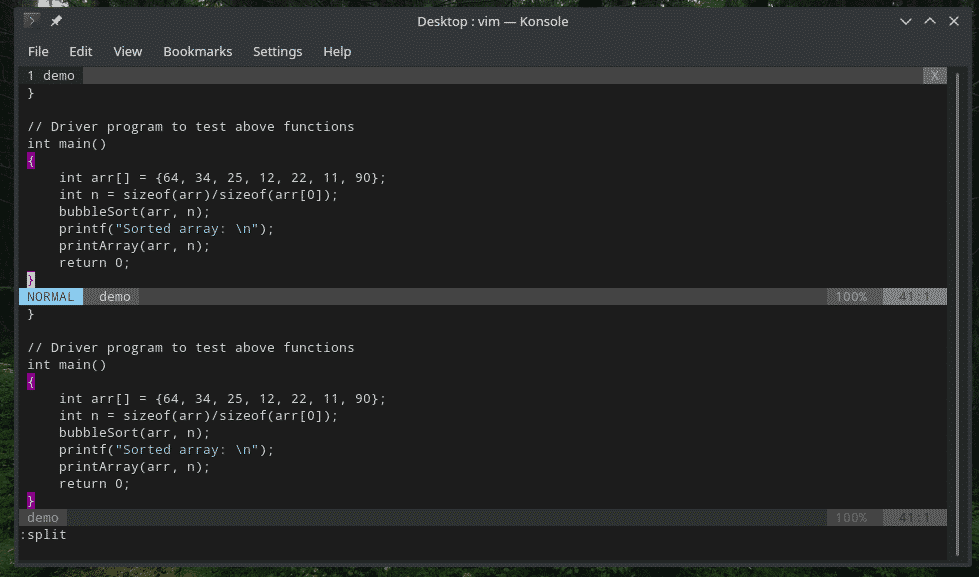
For short, you can use the following one.
This function is also available through keyboard key combo. For the horizontal split, press “Ctrl + w” then “s”. Again, all of them are in lowercase.

Moving window to window
Split view is extremely helpful for lots of scenarios, sure. However, without the ability from jumping one window to another, this split view is completely useless. Let’s see how we can jump from one split to another.
Here, I’ve set 4 split views of the same file.

As you can see, the cursor is currently on the first window. To switch to the right window, press “Ctrl + w”, then “l”.
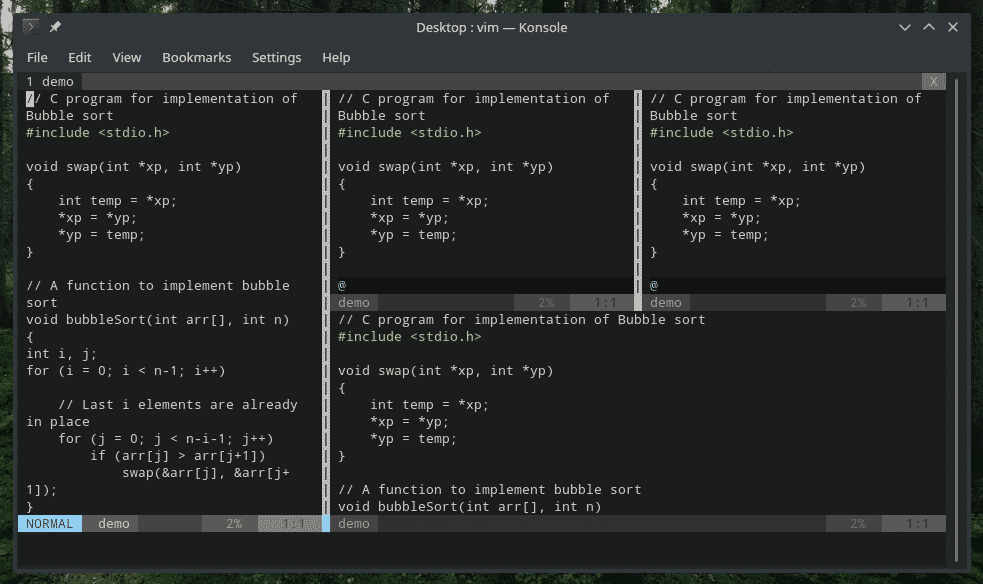
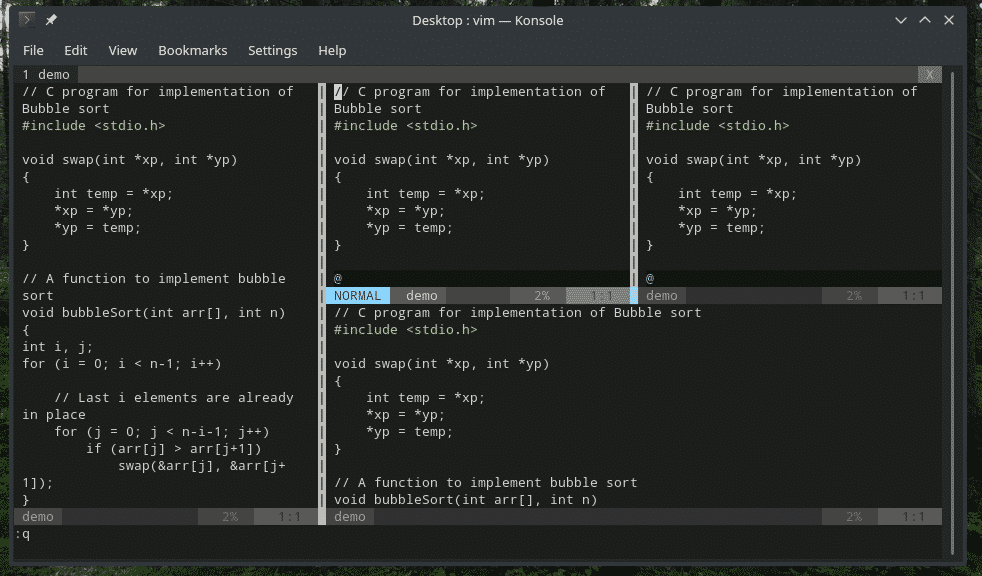
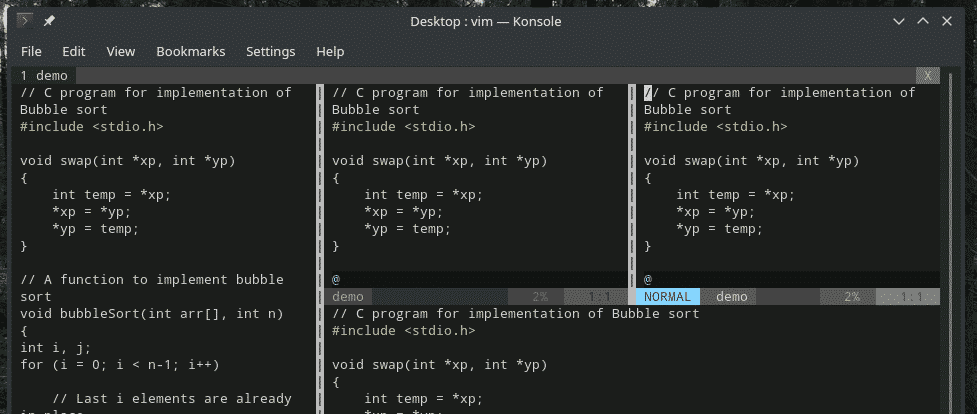
To go to the left window, it’s “Ctrl + w”, then “h”.


If you did a horizontal split, then going up and down is necessary. For going up, press “Ctrl + w”, then “k”.
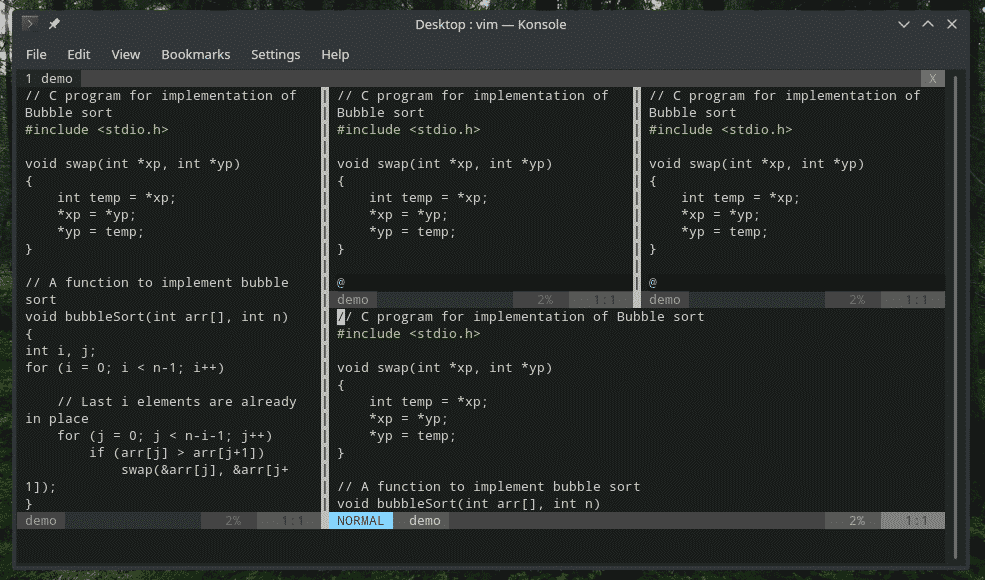
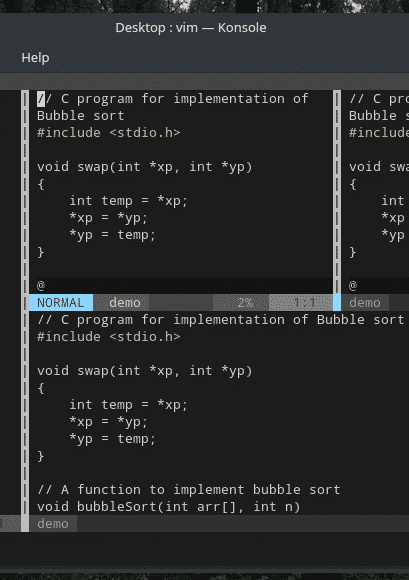
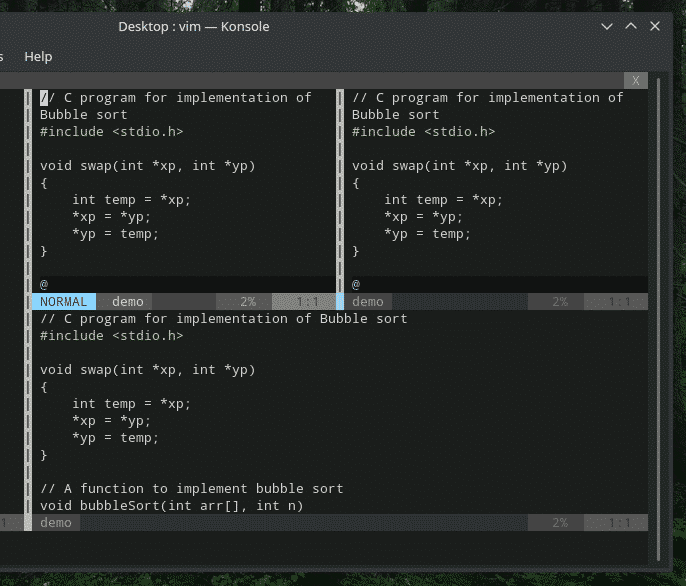
To go down, press “Ctrl + w”, then “j”.
Editing in split view
Splitting is quite simple, right? Now, it’s time to edit them. Each of the splits is actually a full-fledged Vim window, so all the editing keys will work.

Copy & paste
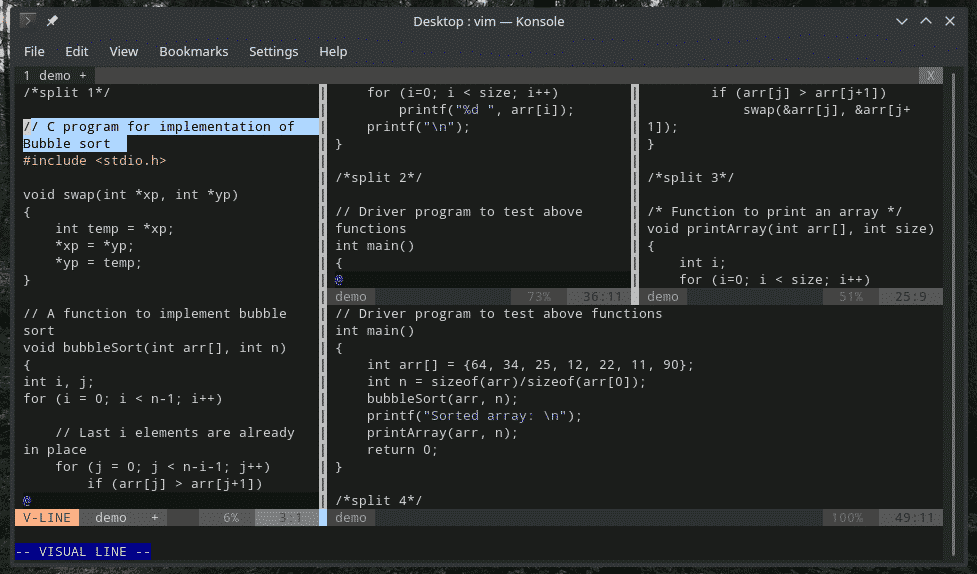
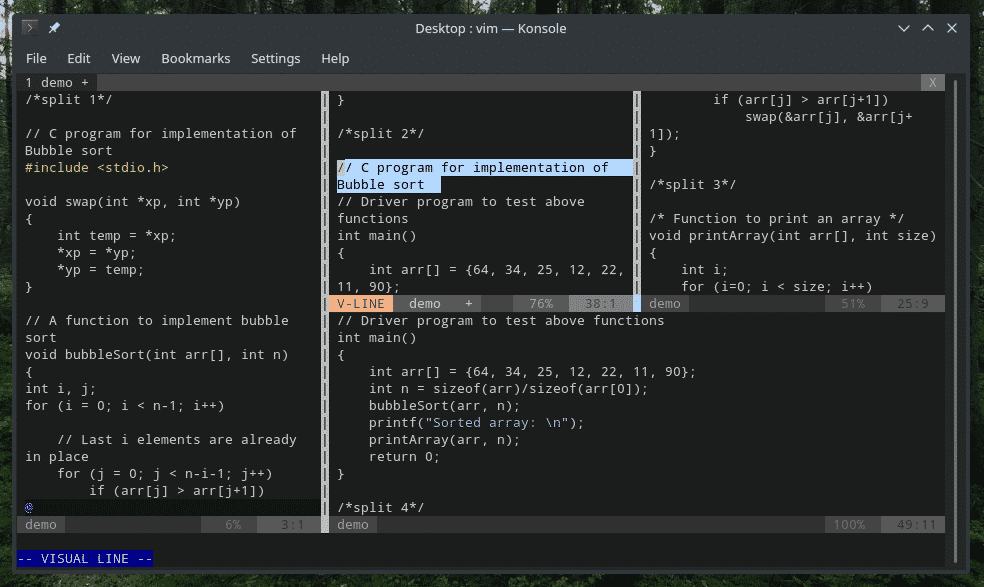
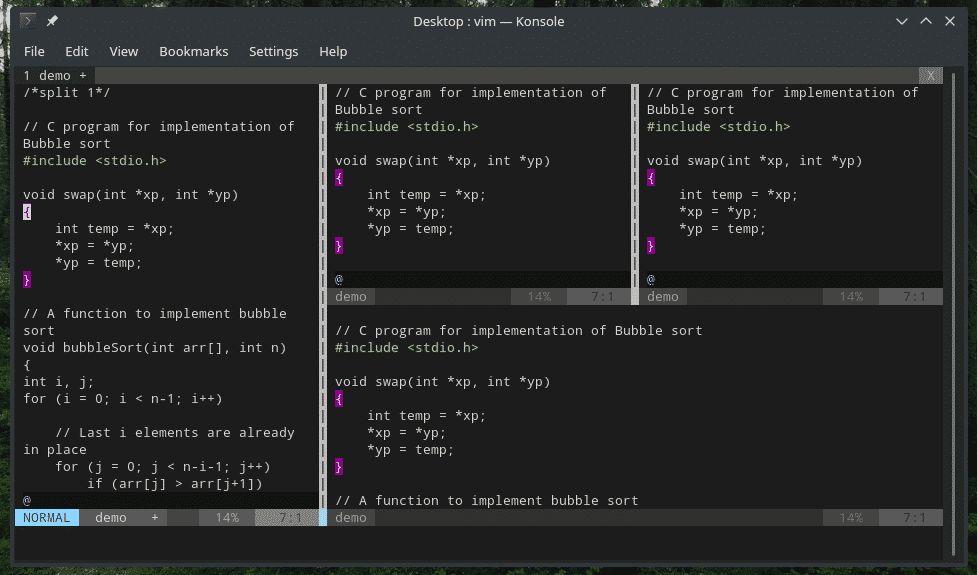
Similar to before, you can copy and paste from one window to another using default copy and paste hotkeys. Just navigate through a different window and do your task.
Changing split window size
Sometimes, the splitting is not beneficial because of the size. By default, Vim splits all the windows with similar width/height. It’s possible to minimize/maximize the splits. You can also tell Vim the size of the split.
For widening the current window to the max size, press “Ctrl + W”, then “|” (not lowercase L). Use this when you’re using a vertical split window.
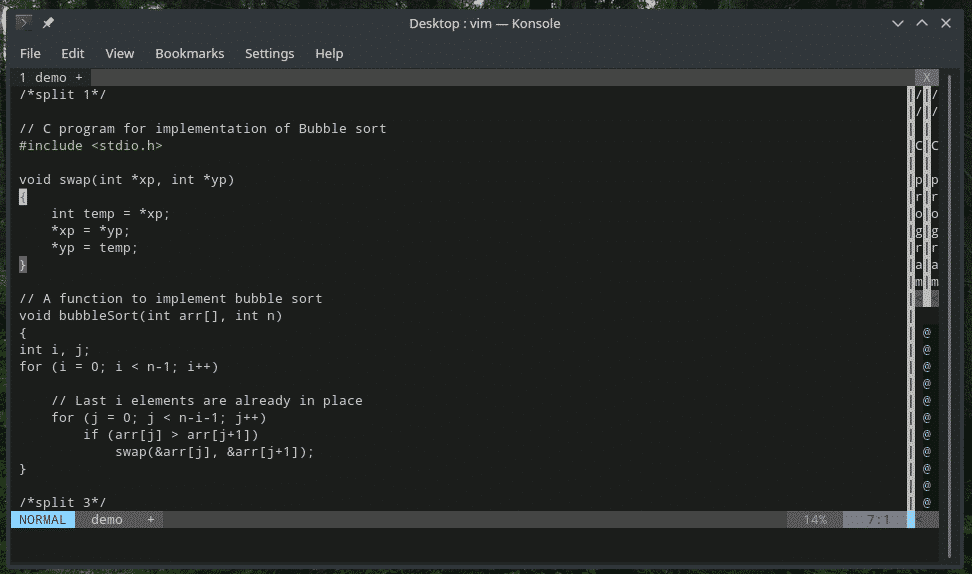
If you’re willing to expand a horizontal split window, use “Ctrl + W”, then “_”.
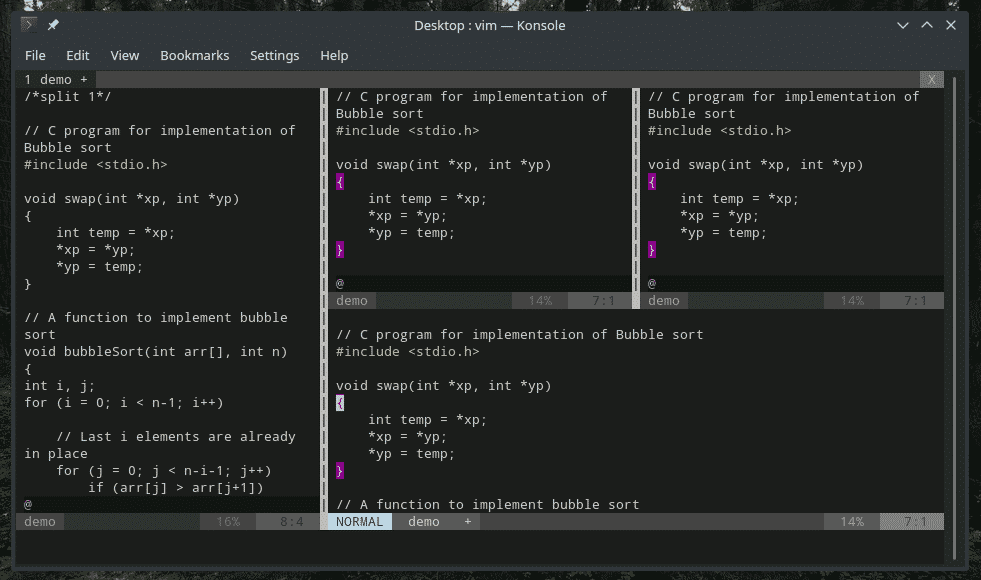
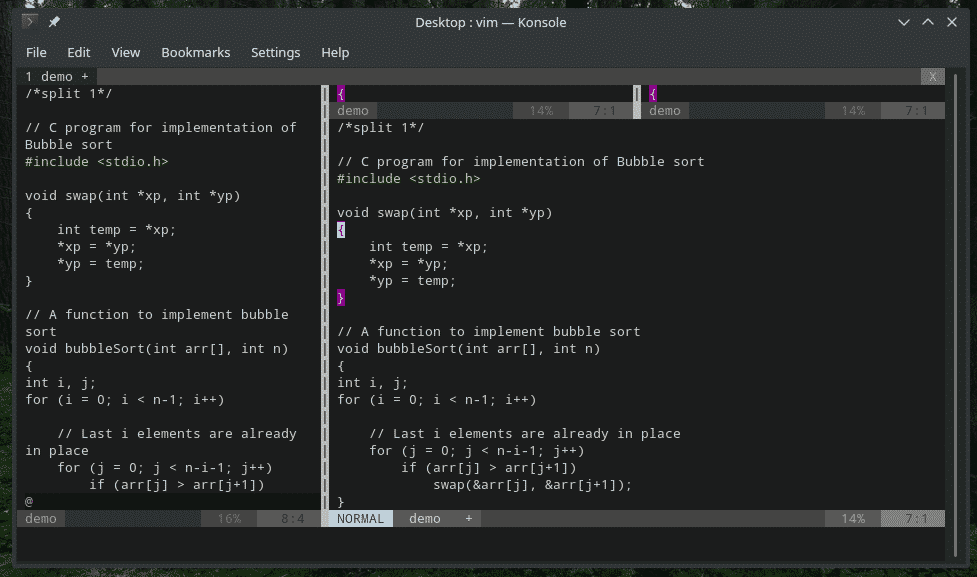
If you want to reset the size of all split windows, use “Ctrl + W”, then “=”.
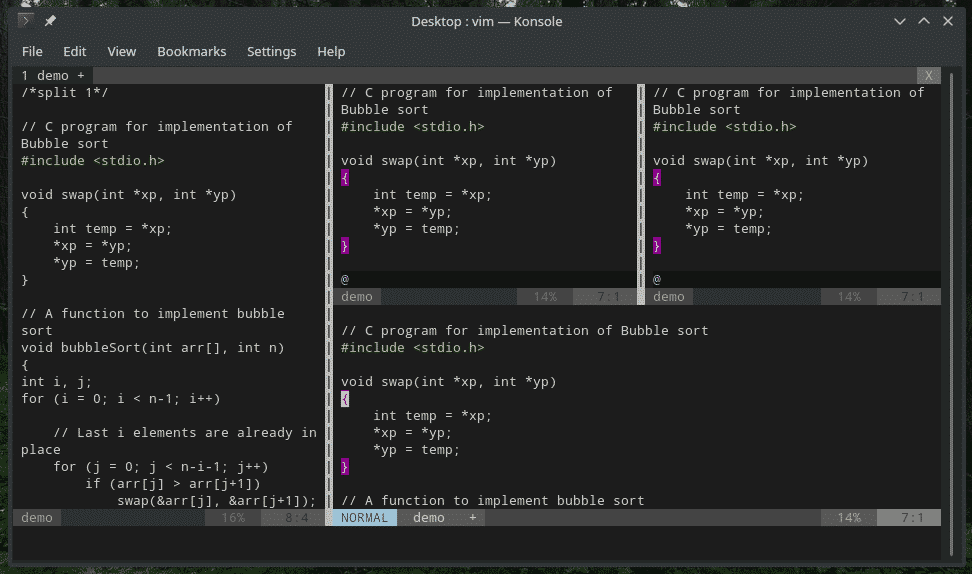
It’s also possible to tell the size of the split. By default, Vim offers equal width/height of each split. If you want to custom size the split screen, use the following structure.

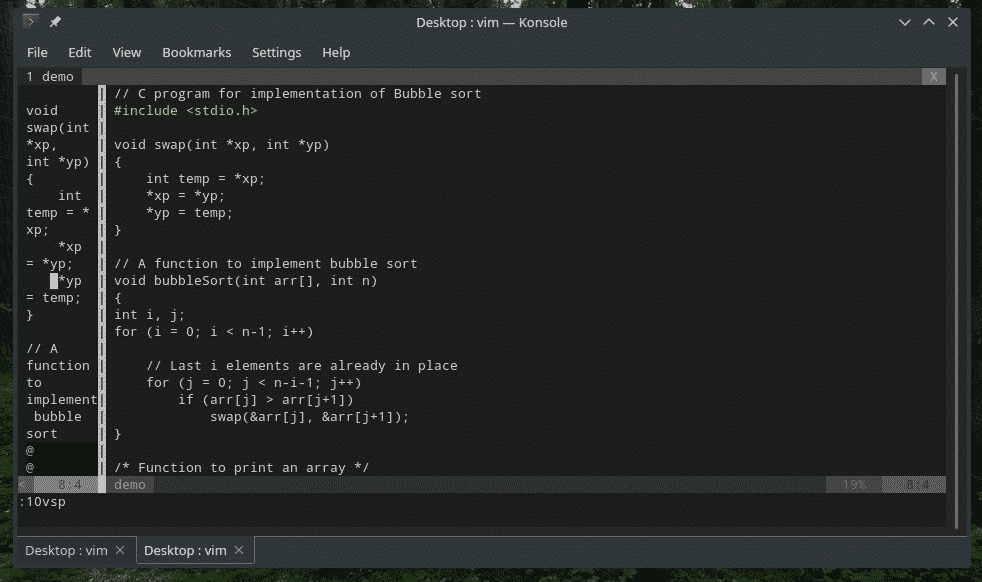
For horizontal split, the similar structure applies.


Opening multiple files in split windows
Until now, all the split windows were the copy of the same file, right? There are many situations when you have to work with multiple files. With split windows, it’s easy to overload your Vim workload.
If you didn’t know, here’s how to open a new file in Vim.
In this example, check out the vimrc file. Note that I’m opening vimrc in a completely new Vim instance.

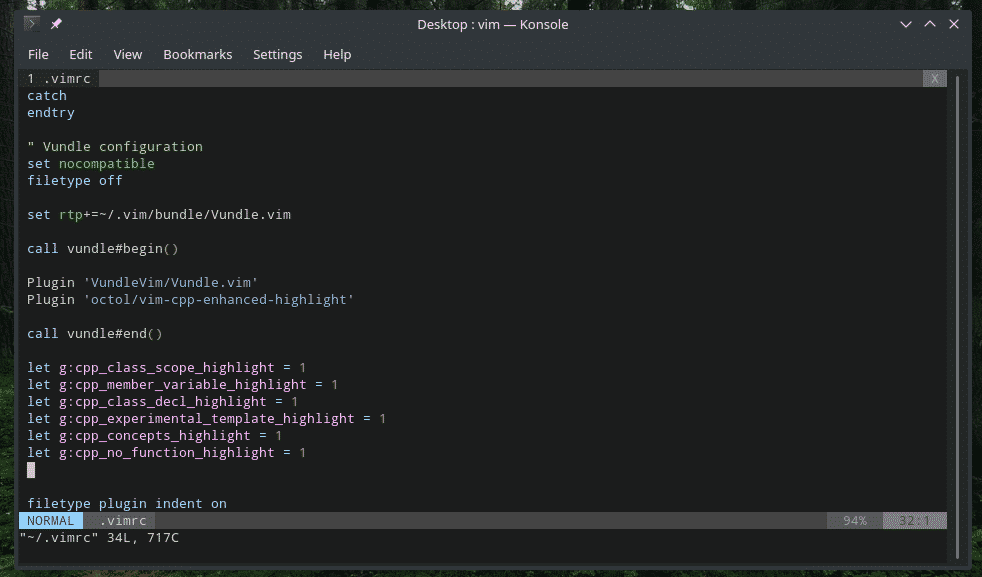
Now, let’s go back to the split screen example. Change the active window and open a new file.
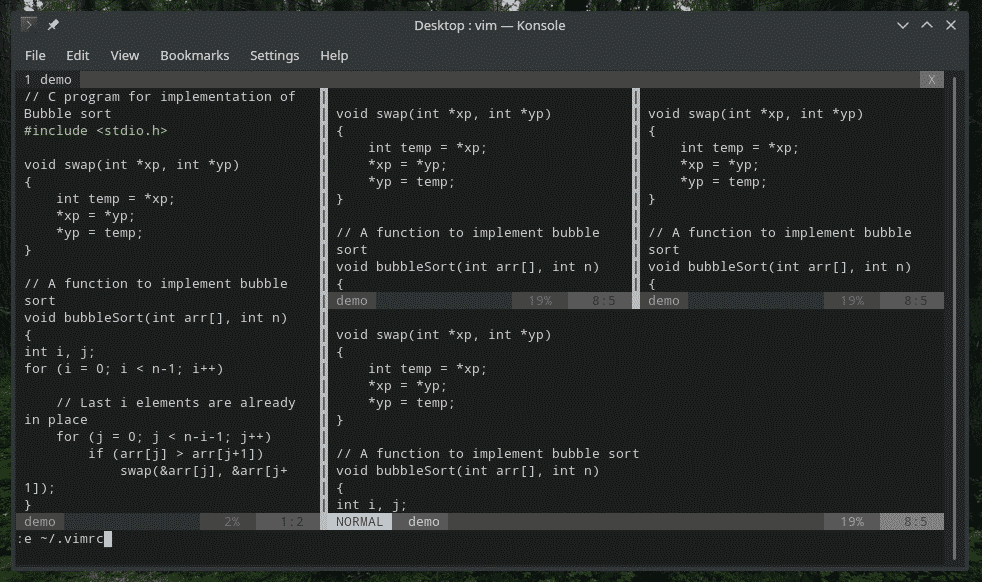
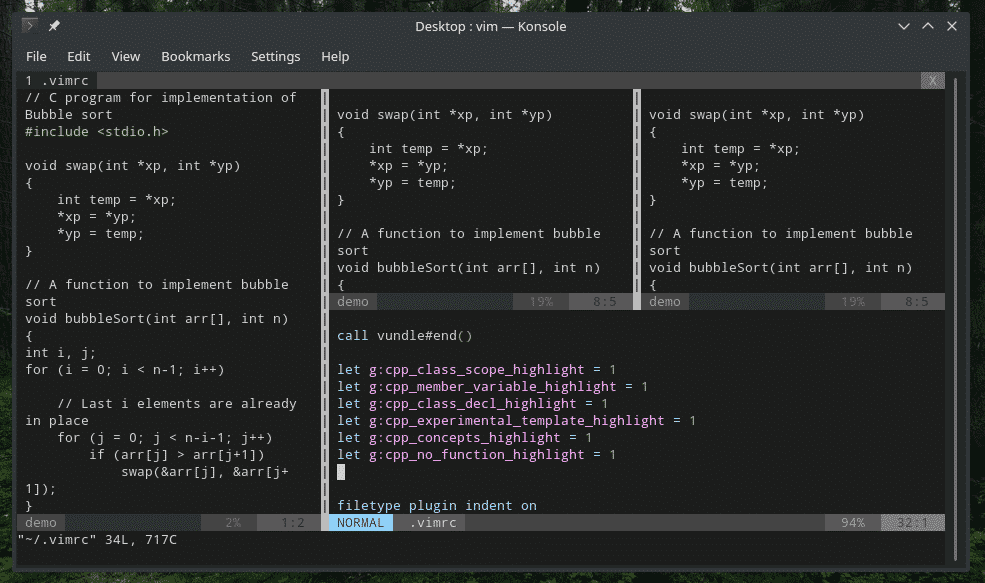
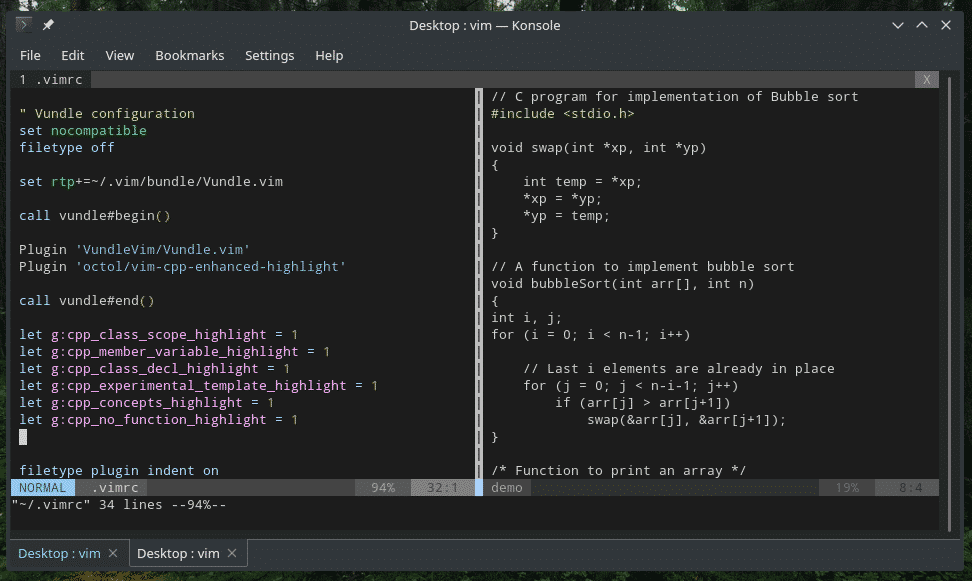
Simple, right? You can also tell Vim to open a new file when you’re splitting. The command structure is quite similar, just add the file path.
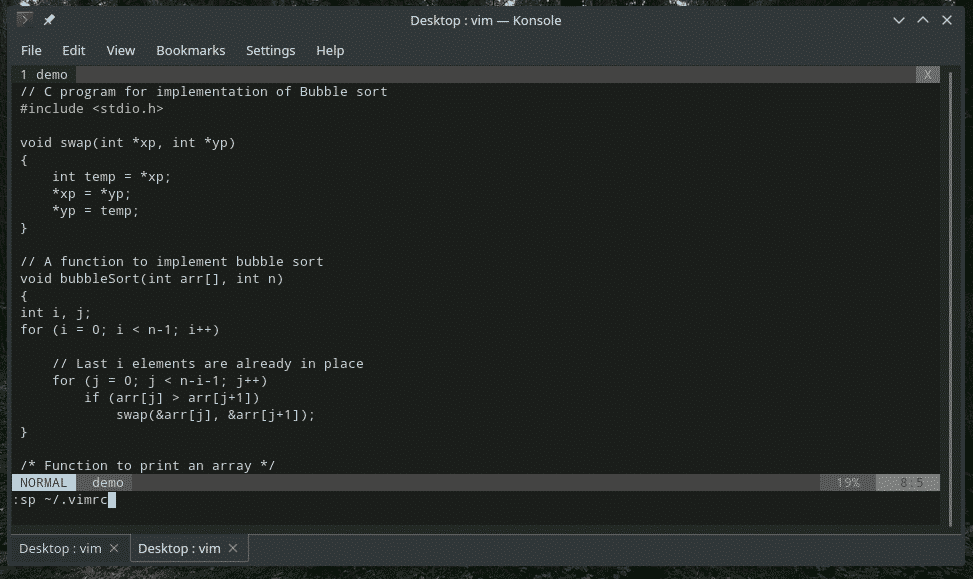
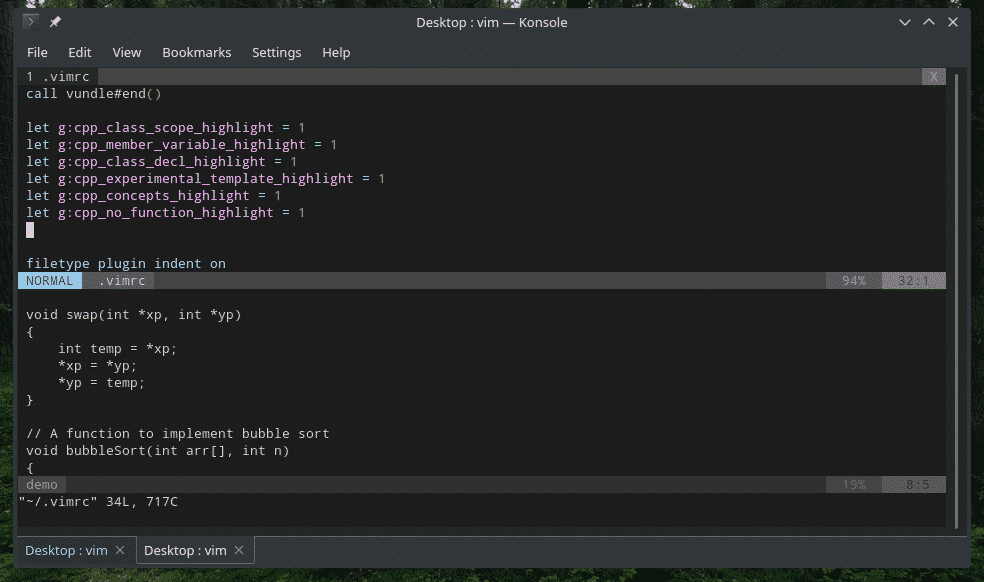
For vertical split, use a similar structure.

Vimrc tricks
Splitting is useful, no doubt. However, there are some vimrc tweaks that you can apply right now for making your life with split views much easier.
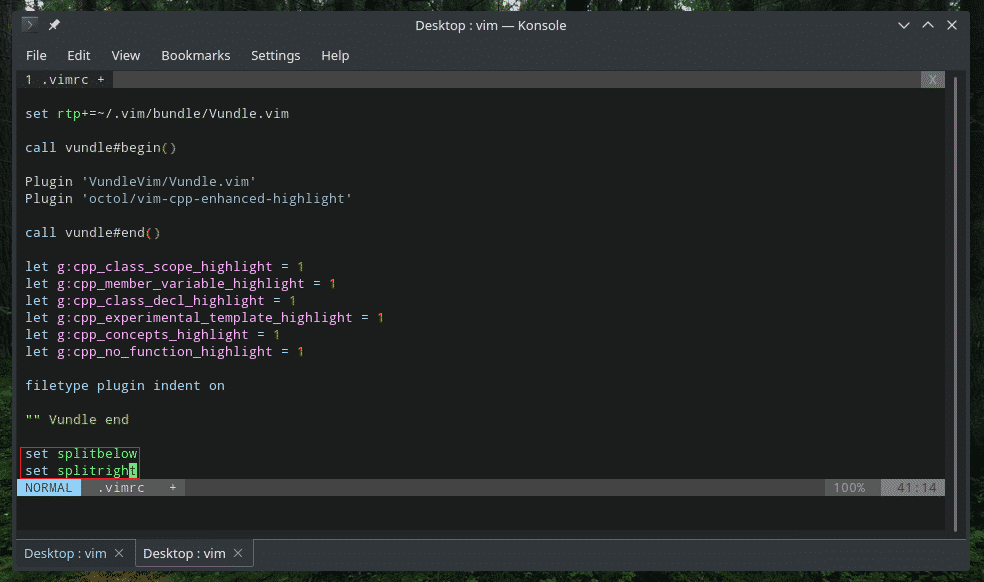
The following commands will ensure that whenever you split vertically, it’s going to appear on the right. Moreover, for a horizontal split, the new split is going to appear at the bottom. Naturally, that feels more comfortable rather than Vim’s default splitting strategy.
set splitright
Remember the navigation? For navigating from one split to another, we had to use “Ctrl + w/W” + “h”, “l”, “k” or “j”. Everything is fine except the “W/w” interference in-between “Ctrl” and other keys. That doesn’t feel so natural. Of course, you can get used to it. However, here’s how I prefer to set them directly “Ctrl + h,l,k,j” format.
nnoremap <C-K> <C-W><C-K>
nnoremap <C-L> <C-W><C-L>
nnoremap <C-H> <C-W><C-H>

Final thoughts
Vim is definitely fun to use. It’s true that the learning curve of Vim is challenging but not so much. That makes Vim really attractive to me as I’m always learning new ways of manipulating the editor and extracting the maximum benefit out of this legend.
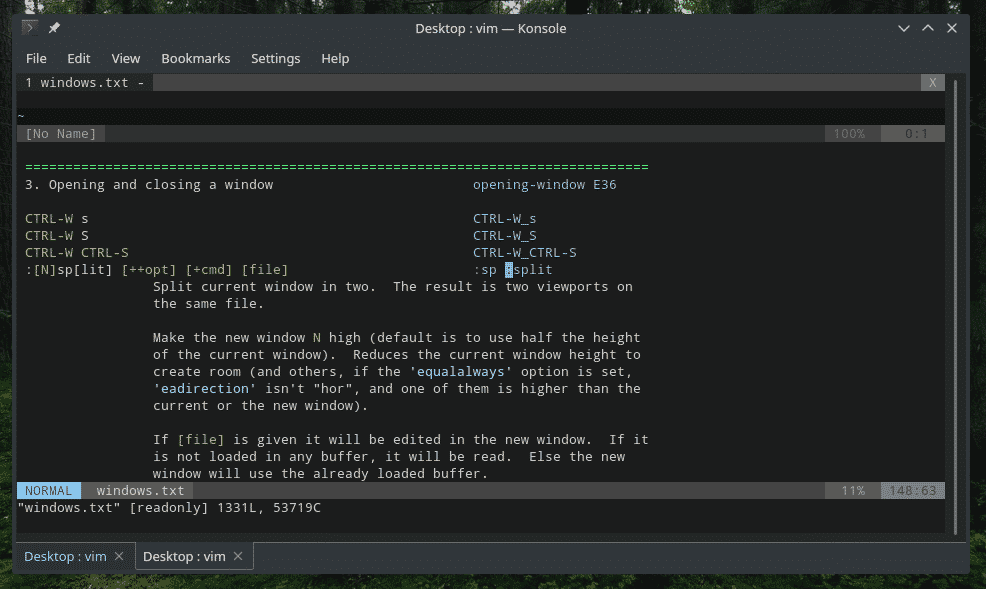
Still confused about splits? Why not just consult the Vim documentation? Run the following command.

Enjoy!
