Vim spell checker
Vim also offers a robust spell checking feature. While the default one is more than enough for everyday usage, there are also a handful of Vim plugins for the function.
Vim spell check
To demonstrate the usage of the function, at first, we need a demo file that’s filled with the wrong spell. After all, we’re going to take help of a spell checker!
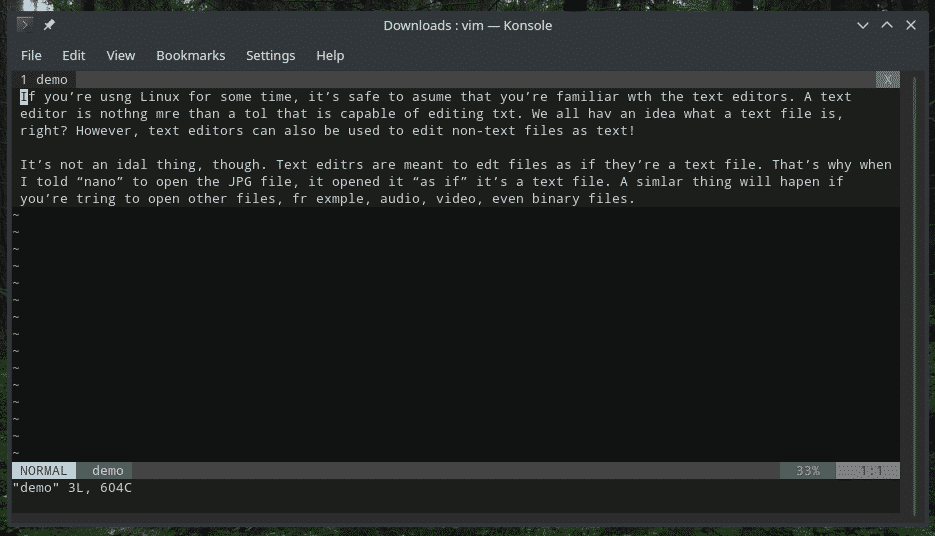
Now, time to fire up the Vim spell check function. Run the following command in Vim.
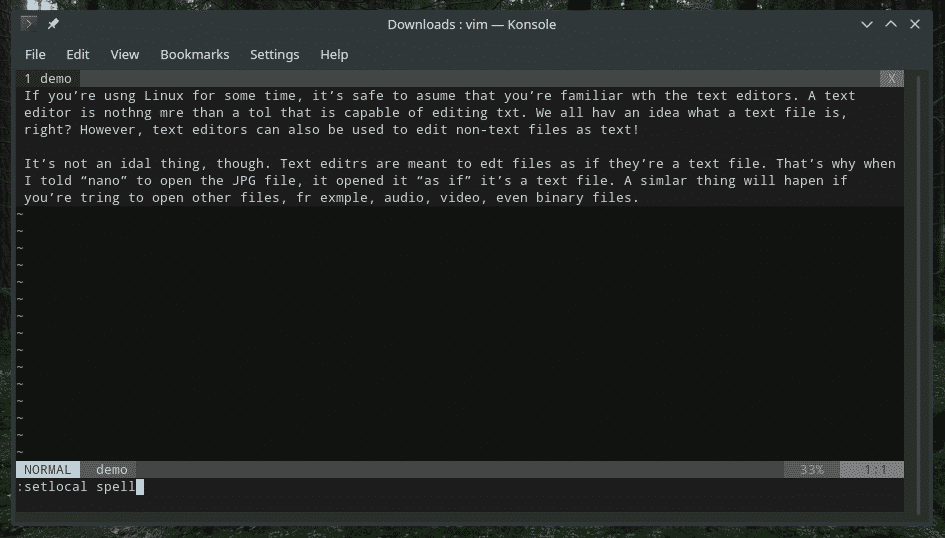
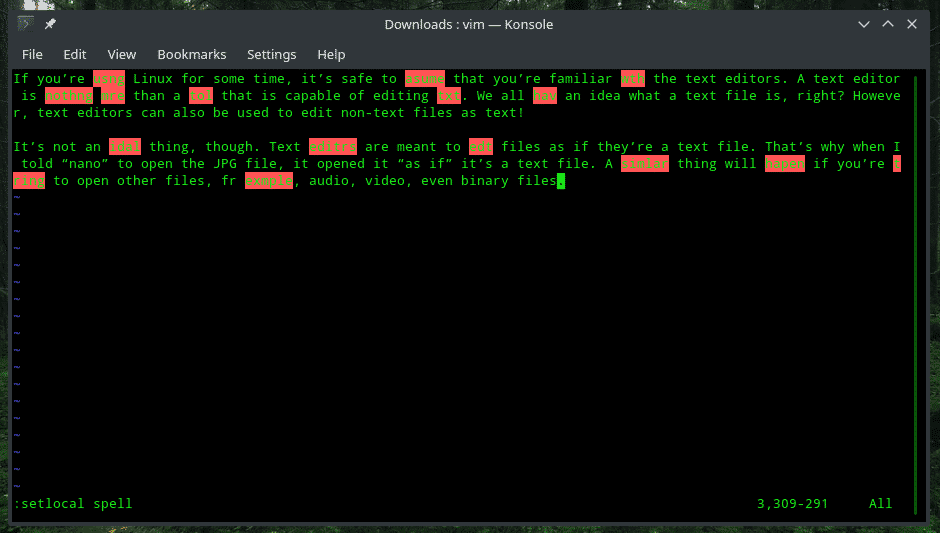
As you can see, Vim has highlighted all the words with wrong spelling red. By default, the language is set to English. If you want to check against other language and language formats, for example, British English or Spanish, etc., then use the following command structure.
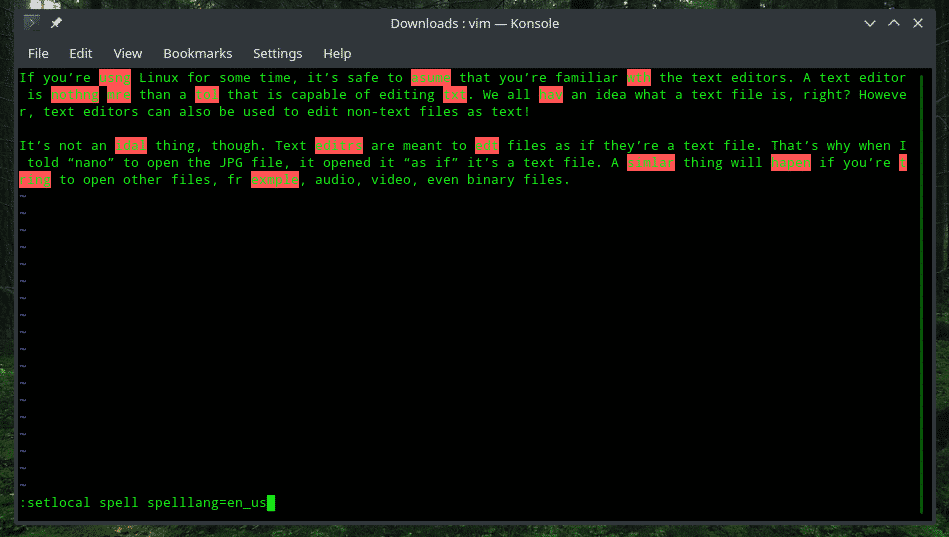
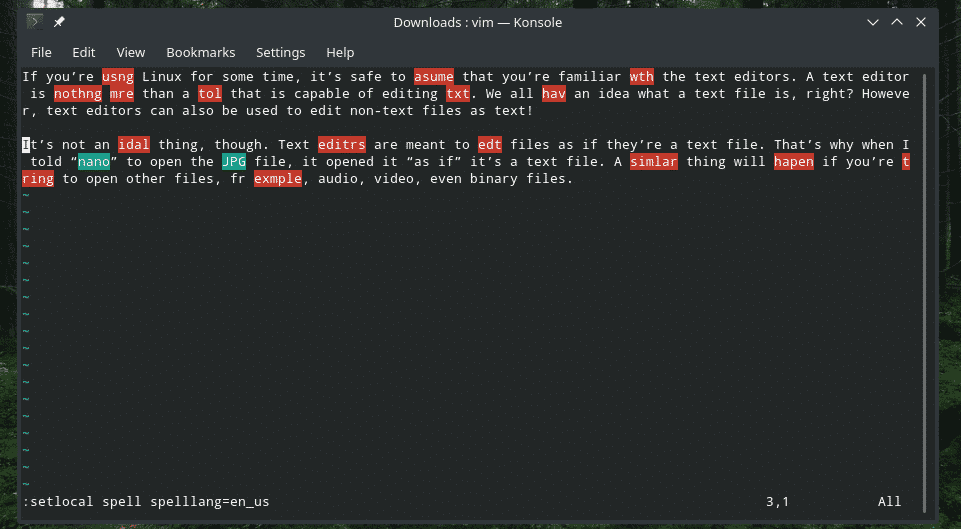
As you can see, after telling Vim to check against American English (en_US), there are 2 additional highlights in green. Here’s a short list of English locales.
- Universal: en
- America: en_us
- British: en_gb
- Australia: en_au
- New Zealand: en_nz
- Bonus
- Spanish: es
- French: fr
- Russian: ru
Now, it’s time to fix the misspelled words. How to do it? Locate your cursor next to one of the incorrect words and type the following command.

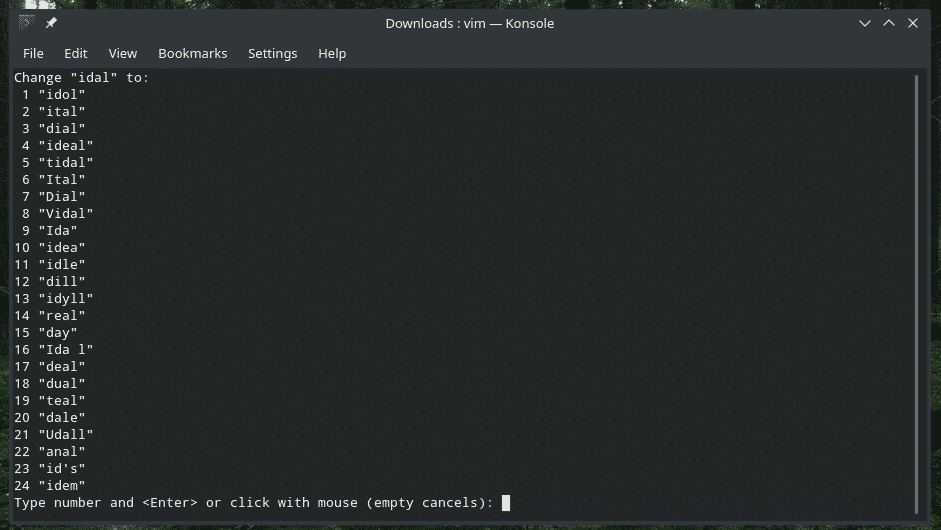
There’s the long list that offers all the possible fixes for the mistake. Choose one (enter the associated number) and hit Enter.


If you’re confident that spelling is absolutely correct and Vim is the stupid one here, or, you want the spelling to be added to your personal dictionary, Vim can do that, no problem. Before that, we have to perform some manual tweaks in the system.
Ensure that the “.vim/spell” directory exists. In my case, it didn’t. So, let’s create the directories.
cd .vim
mkdir spell


Now, fire up Vim and run the following command for setting the spellfile.

Note: Make sure to add the spellfile with the name of the proper locale for better management.
Vim is ready to save your own spellings! Write down the word(s), fire up the spell check and use the following command at each of the words.

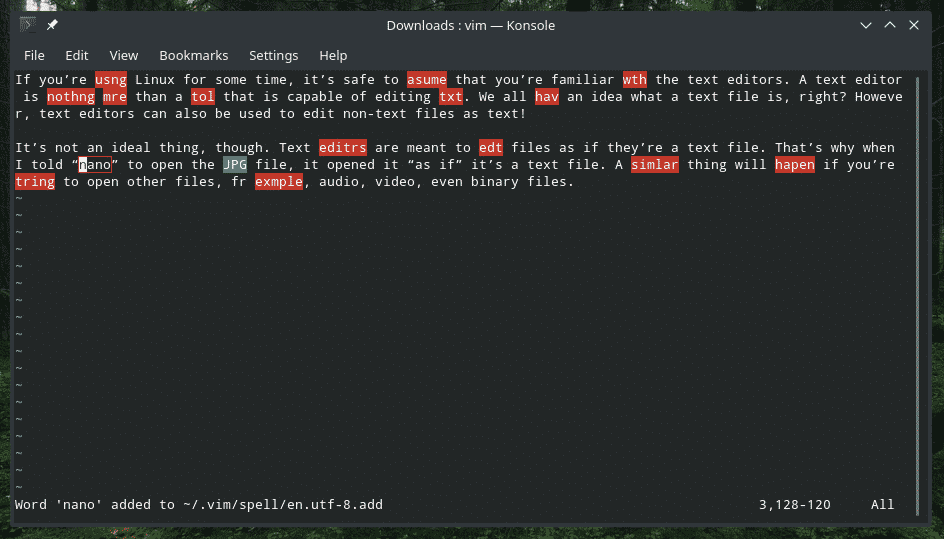
Note: Make sure to add the spellfile with the name of the proper locale for better management.
Vim is ready to save your own spellings! Write down the word(s), fire up the spell check and use the following command at each of the words.
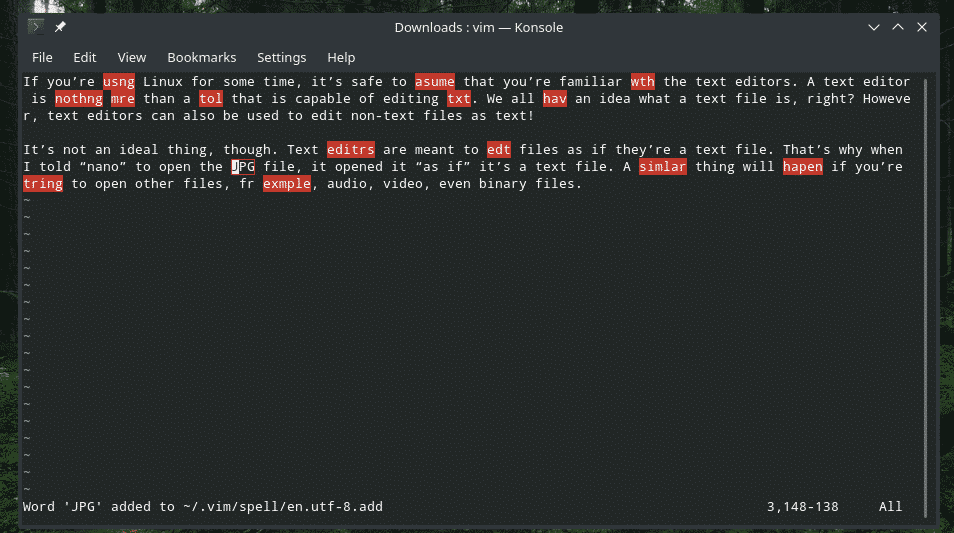
You can also manually check out the spellfile.
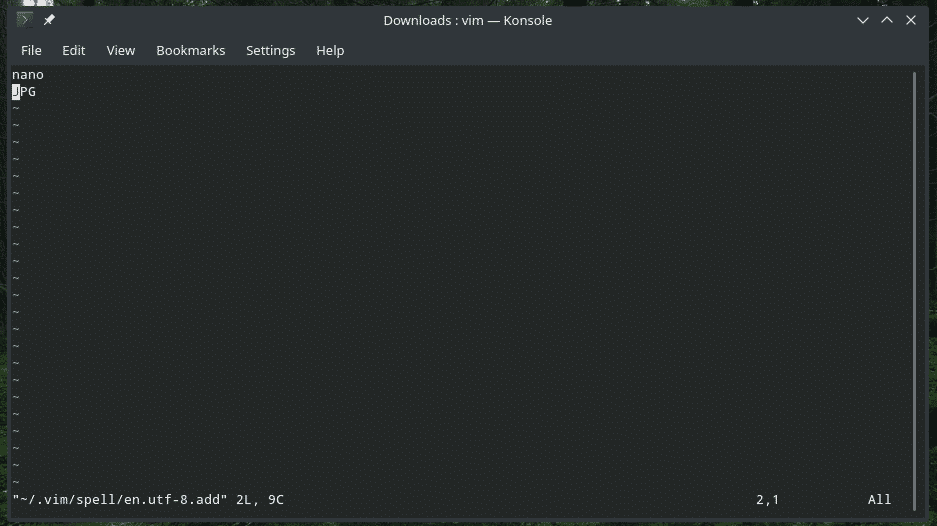
If you want, you can add whatever word you’d like NOT to be fixed whenever you run the Vim’s default spell check function.
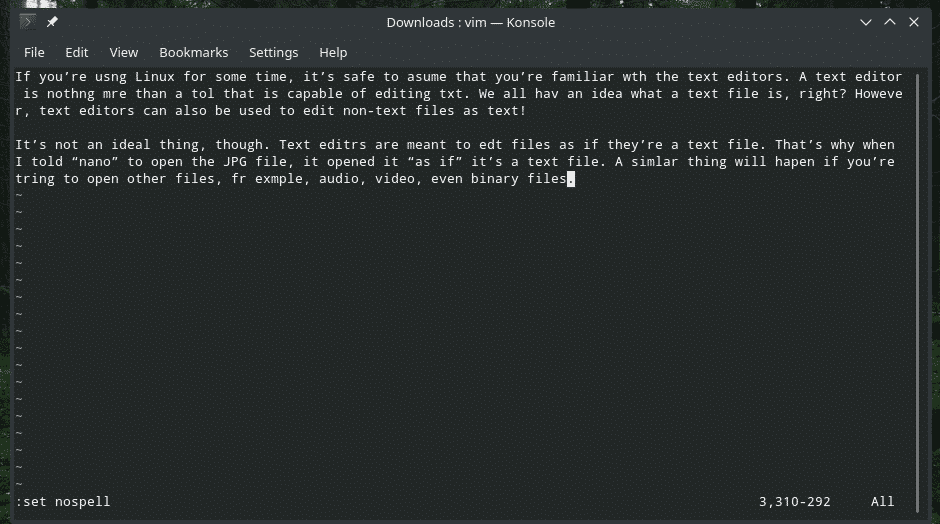
If you want to get out of the spell check, run the following command.

Vim spell check plugins
While the default feature of spell check is fine, it’s just the plain, old spell checking. There’s no additional feature like a thesaurus, auto-completion etc. If you’re in need of those features, you should be looking for a suitable Vim plugin.
There are numerous Vim plugins out there that offer a similar feature set. Let me introduce you to vim-lexical. It’s my favorite one for such a function. Setting up vim-lexical require some tweaking but it’s worth the effort for sure.
For installing vim-lexical, it’s better to use any suitable Vim plugin manager. I use vim-plug as the plugin manager for Vim. It’s one of the simplest and easiest Vim plugin managers out there. Check out vim-plug.
Declare the installation of vim-lexical in vimrc.
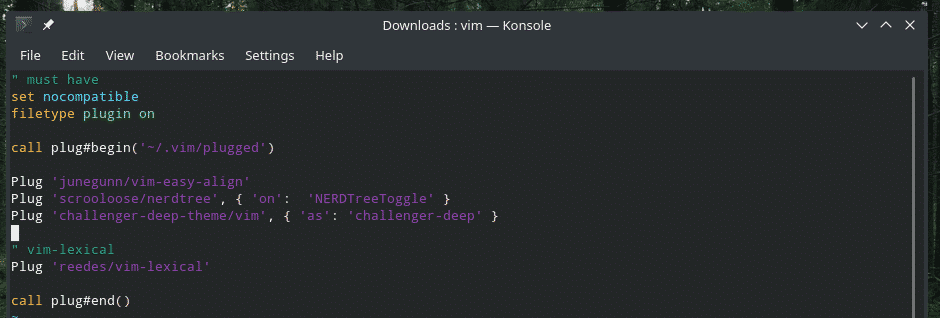
Install all the plugins of vim-plug.
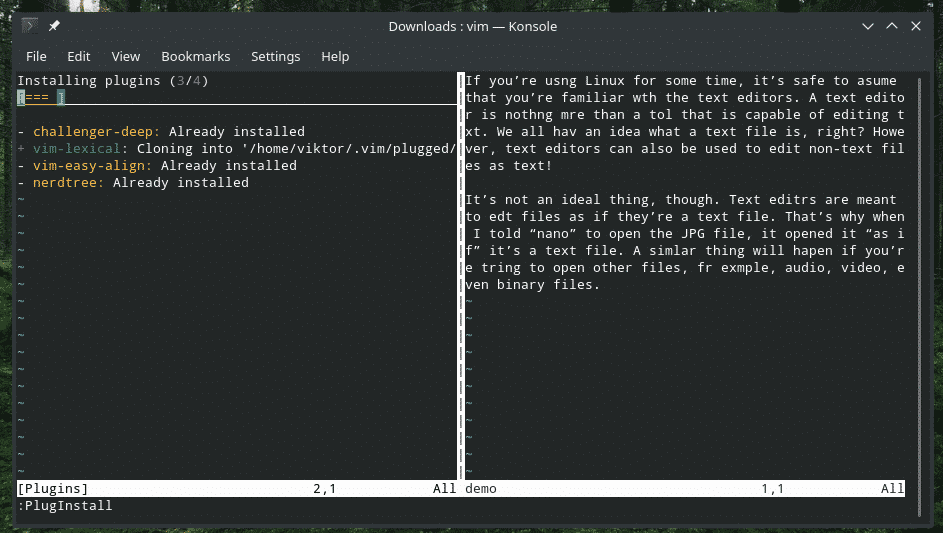
After the installation, there needs to be some slight configuration. You don’t need the spell-check, thesaurus etc. feature on every single file type, right? Tell vim-lexical the file types where the features will be active.
autocmd!
autocmd FileType markdown,mkd call lexical#init()
autocmd FileType textile call lexical#init()
autocmd FileType text call lexical#init({ ‘spell’: 0 })
augroup END

To enable spell-check, add the following line in vimrc.

You can also specify which spelllang values will be used to check for spellings.

Note: You can check out all the available spell files on the official Vim FTP server. If the spell file wasn’t present in the system, Vim will attempt downloading it.
It’s time to configure the thesaurus. For thesaurus, you need to have a thesaurus downloaded and located on your system. According to the official documentation of vim-lexical, recommended thesauruses include Grady Ward’s Moby Thesaurus at Zeke’s moby thesaurus or, Project Gutenberg. In this example, I’ll be using the first one. Get Grady Ward’s Moby Thesaurus at Zeke’s moby thesaurus.
Tell vim-lexical where the thesaurus is located.

Next up, the spellfile configuration. Remember we had to create a new spellfile in Vim? Just like that, create a spellfile and tell vim-lexical where it’s located.
Ready? Save the file and reload Vim.
For all the available commands that vim-lexical offer, check out the official GitHub documentation. Every single command is wrapped nicely with small key binds.
Honorary mentions
vim-lexical isn’t the only plugin that can do the job. Feel free to check out these plugins as well!
Final thoughts
If you’re working with something that requires spell check, there’s nothing to worry about. Vim got you covered. If needed, feel free to extend the functionalities with your favorite plugin.
Enjoy!
