Important: This tutorial shows how to run a Debian Live Image with VirtualBox but it is useful to use on physical devices too. If you are going to try Debian Live on your physical device you can skip the “Creating a Virtual Device” section and start reading from “Using Debian Live Images“.
Creating a Virtual Device
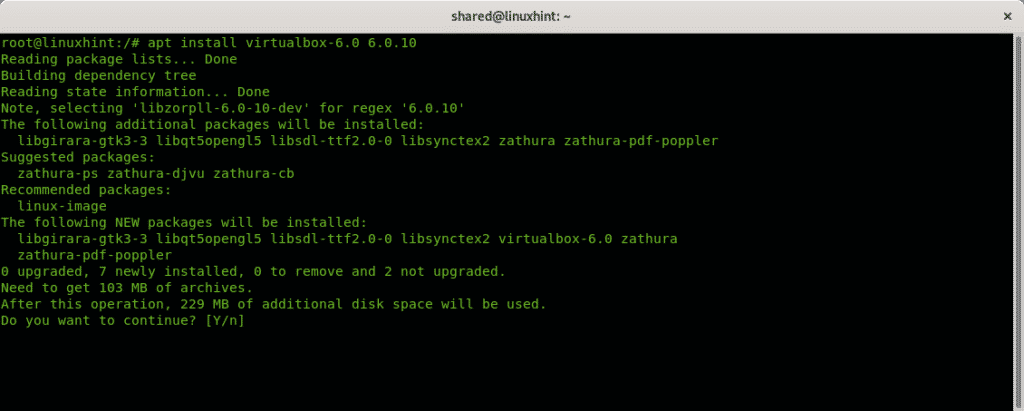
First download VirtualBox from https://www.virtualbox.org/wiki/Linux_DownloadsInstall VirtualBox by running:
Note: replace <installer.deb> for the file you downloaded.
You can also add VirtualBox repositories to your /etc/sources.list file.
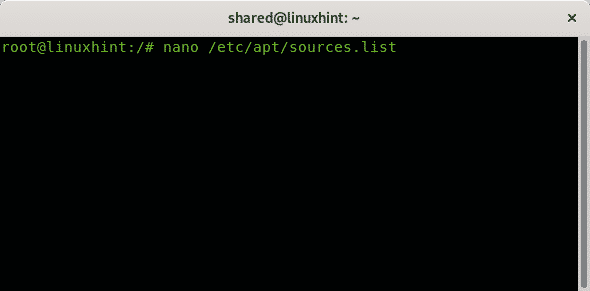
Add the following line:
Note: replace <mydist> for your distribution, e.g buster, jessie, etc.
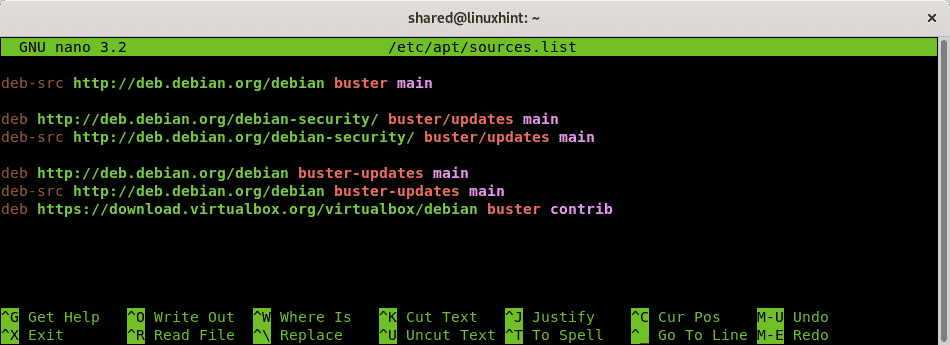
Press CTRL+X to save and exit and run:
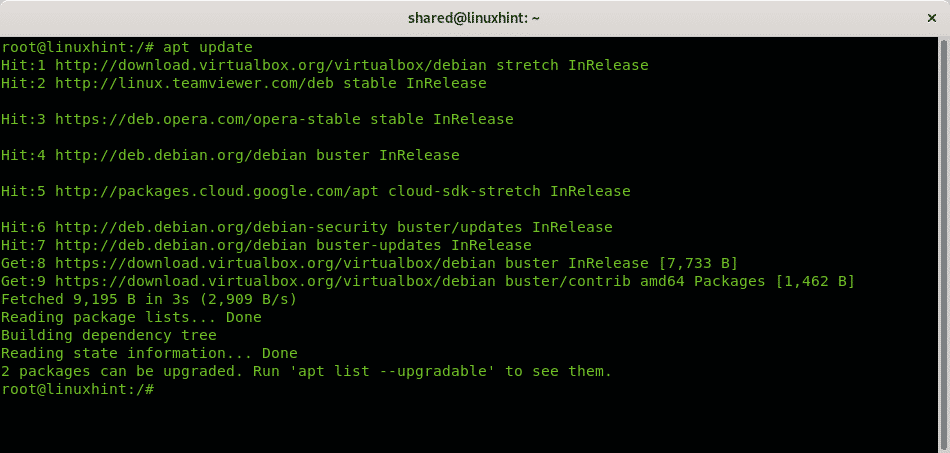
Note: replace <virtualbox-x-x-x> for the version to install. In my case it was:
Download also the Debian Live Image from https://www.debian.org/CD/live/
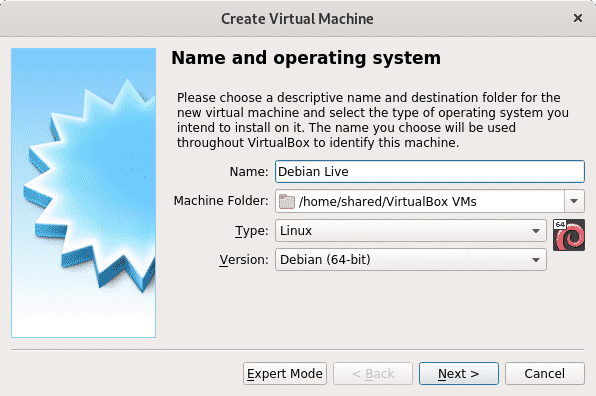
Launch VirtualBox, set the new virtual computer name, this field is arbitrary.
Select the OS type (Linux) and the distribution and architecture, Debian Live Images support only 32 and 64 bits architectures. Then press “Next” to continue.
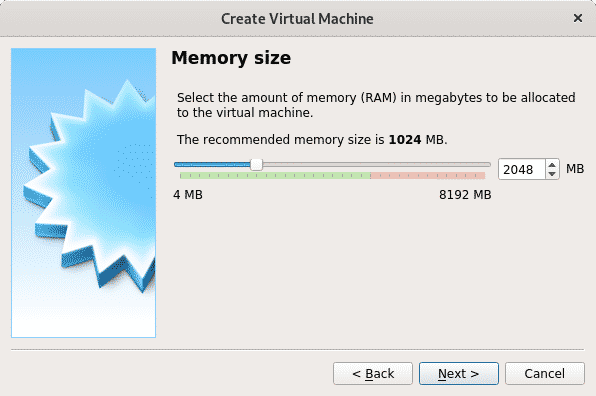
The next step is to determine que ram size for your virtual device, take into consideration your physical computer capability, otherwise the host OS will lack the memory assigned to your virtual pc while using it. Assign memory according to the use you’ll give the Live Image and according to your hardware capability.
Since we are using a live distribution which doesn’t rely on the hard disk assigning disk space isn’t mandatory, but Debian Live Images optionally allows to install Debian and this tutorial shows the procedure, if you consider the possibility to install assign the space you want according to your hardware capability and use you’ll give your system. Select “Create a Hard Disk Now” and press Create.
Note: If you aren’t going to install Debian and you’ll use the Live Image only select “Do not add virtual hard disk” and ignore the following 2 steps.

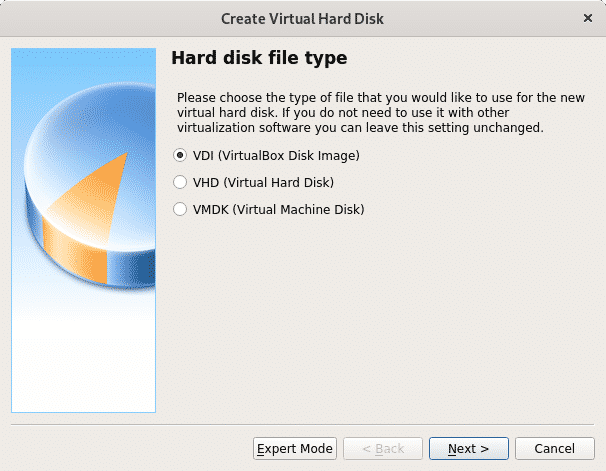
If you decided to create the hard disk press Next leaving the default choice VDI.
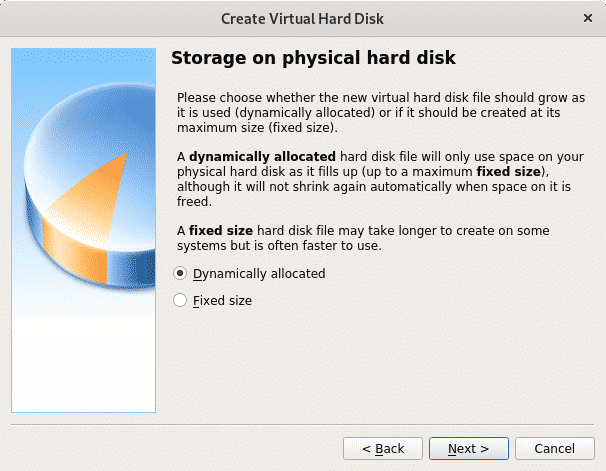
In this step you can define a fixed size for your virtual device, you can also leave it dynamic which means the virtual OS will use the free space of your hard disk upon need, in the next step you will be able to limit the maximum amount the virtual system can use, but only the needed space will be used in contrast to the fixed space option which will reserve the whole defined size for the virtual system without being available for the physical device (Host OS). In my case I left the default option Dynamic.
Now decide on the space you want to assign, for simple use you can leave 8GB, or more, since the option is dynamic the unused space will remain available for the host OS (the physical device). After setting the space press “Create” to continue.

Once your virtual device is ready you’ll see it listed in VirtualBox. Press start to boot.
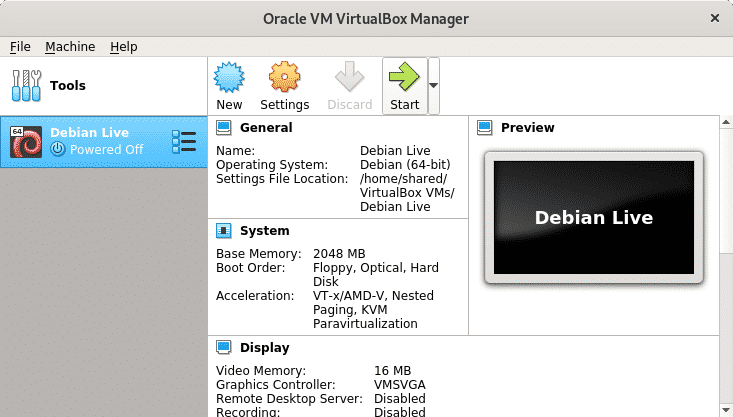
When booting VirtualBox will ask for the booting device, click on the folder icon to browse your computer.

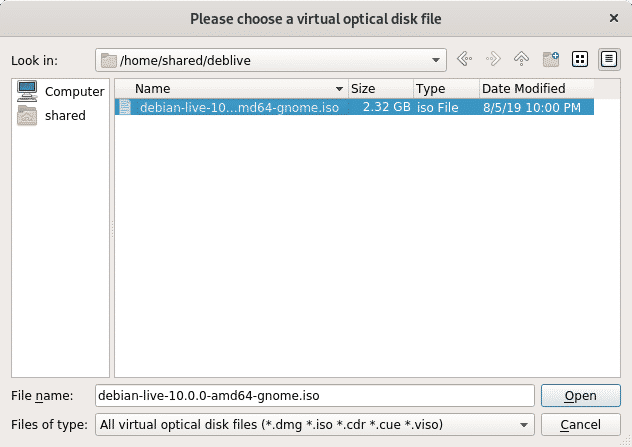
Select the Debian Live Image you downloaded in the first steps and press Open.
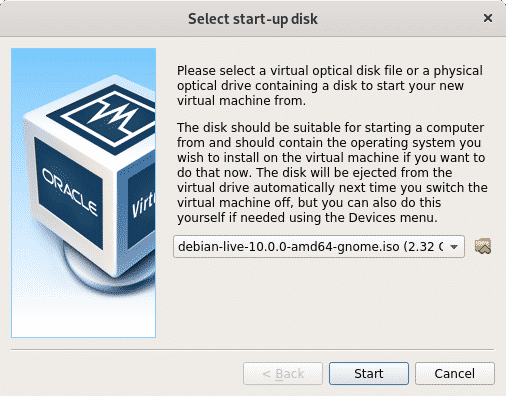
The ISO image is now selected, press Start to boot it.
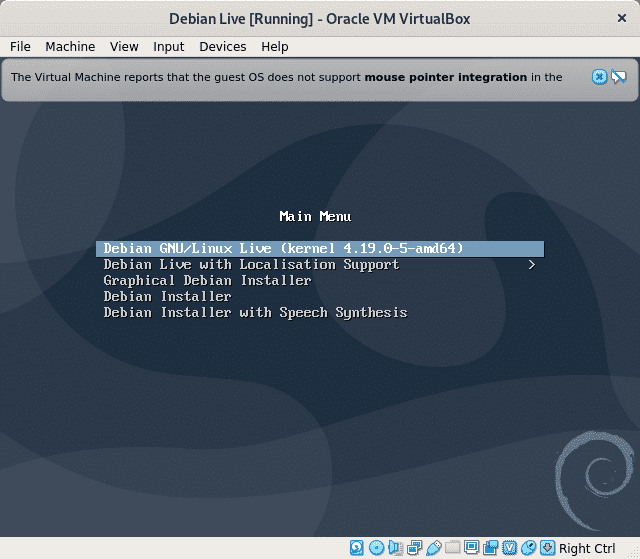
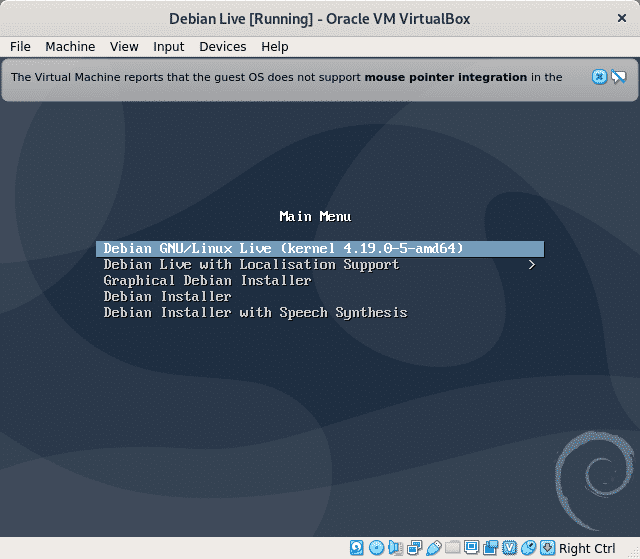
Debian will boot with a variety of options including booting the live image or installing the system. Press ENTER leaving the first option to boot your live image.
Using Debian Live Images
Download the Debian Live Image from https://www.debian.org/CD/live/

Wait until Debian loads and you are ready to use your new system. Use sudo to run privileged commands, you can use sudo to set a root password too.
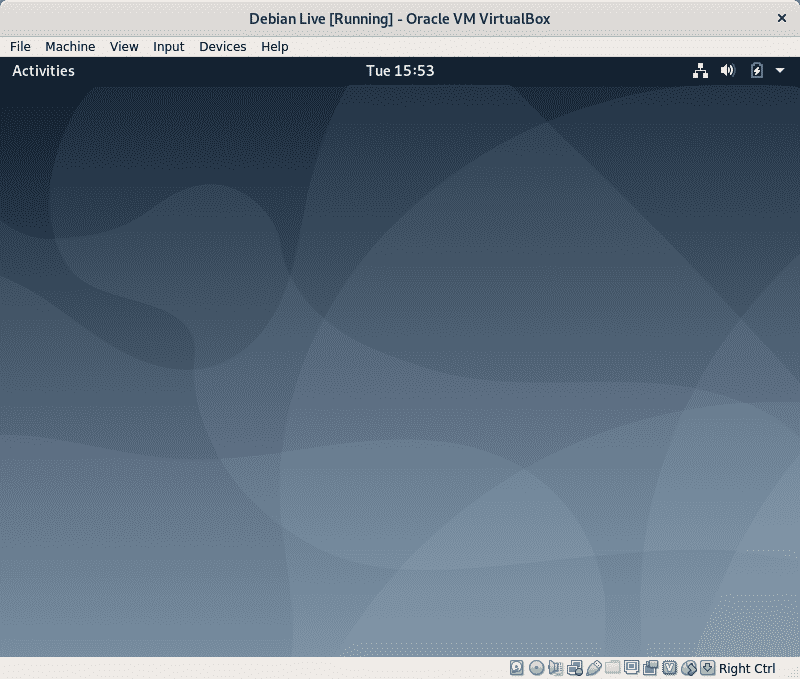
As said in the introduction, any change you do won’t be persistent and the OS will return to this state, the original state after rebooting. Let’s open a terminal to do some tests.
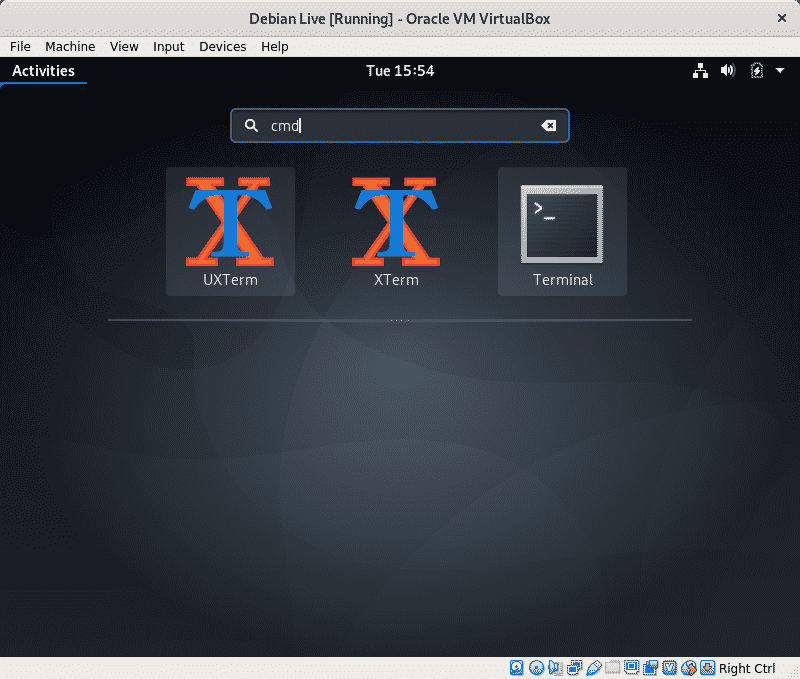
Add a user, run:
Note: replace <username> for the username you want to add.

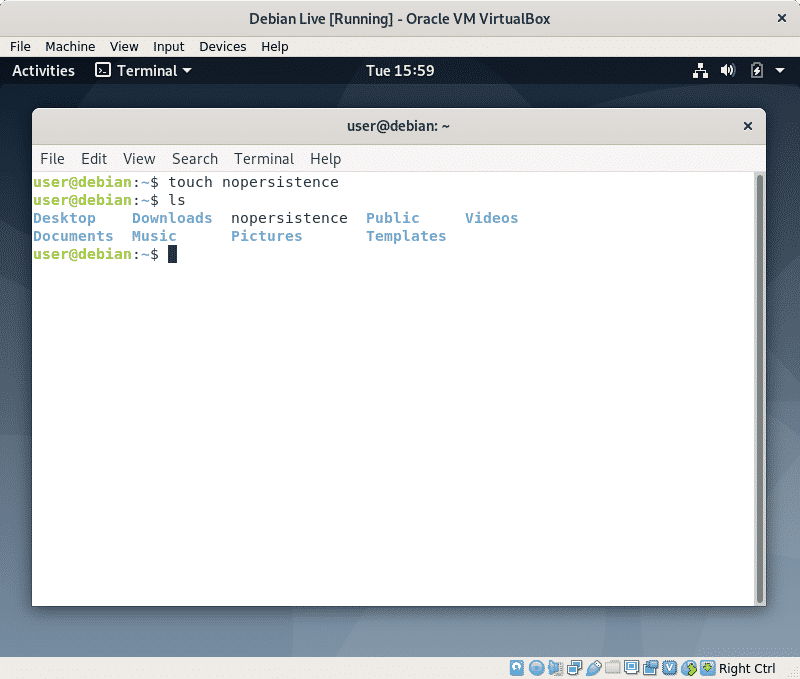
Now lets create a file, run:
To confirm if the file “nopersistence” was created run ls.
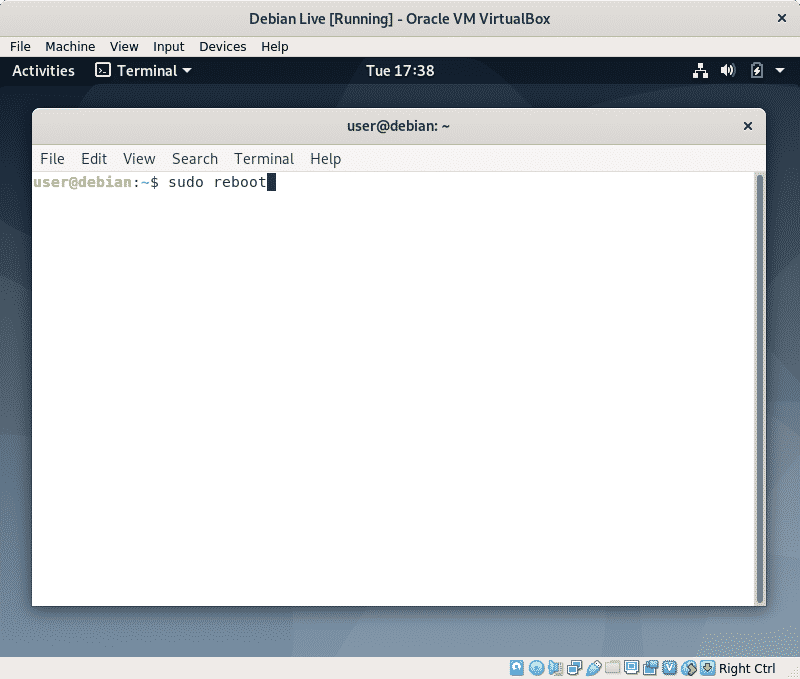
Now reboot your system by running:
Then press ENTER to boot the live image again.
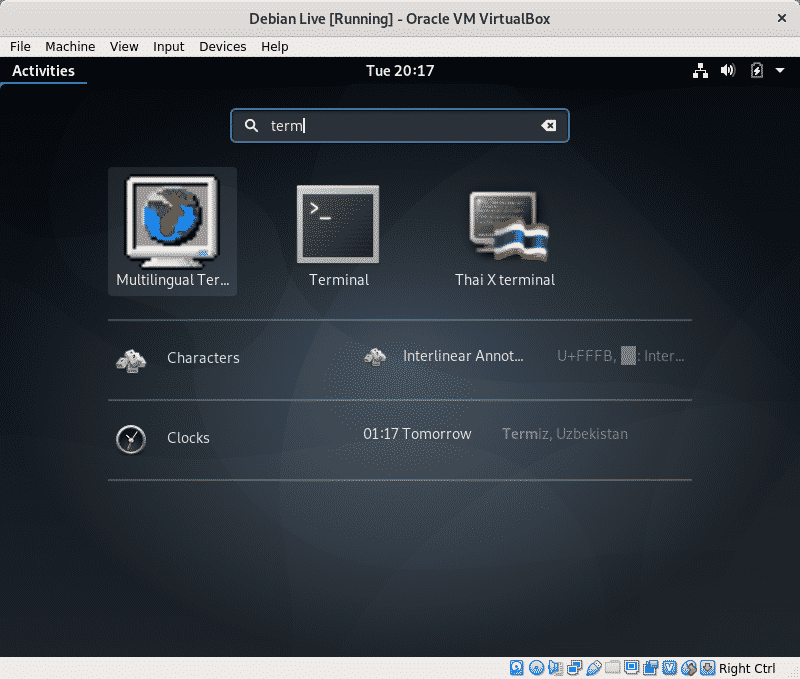
 Open a terminal again
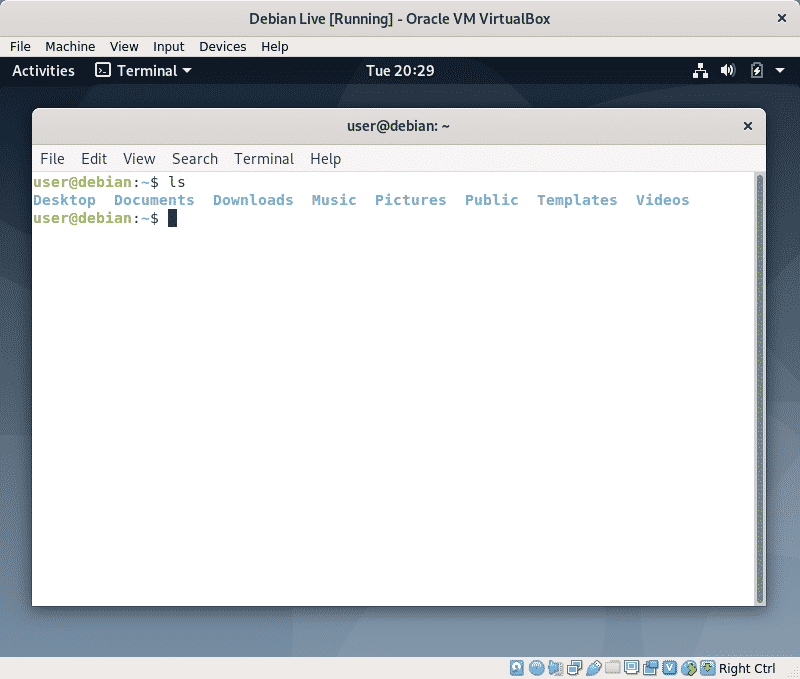
Run the command “ls” to confirm the file you created before, nopersistence, isn’t there anymore.
While you can check if the user linuxhint added before exists by reading the file /etc/passwd do it easy instead, type:
Note: replace “linuxhint” for the username you added.
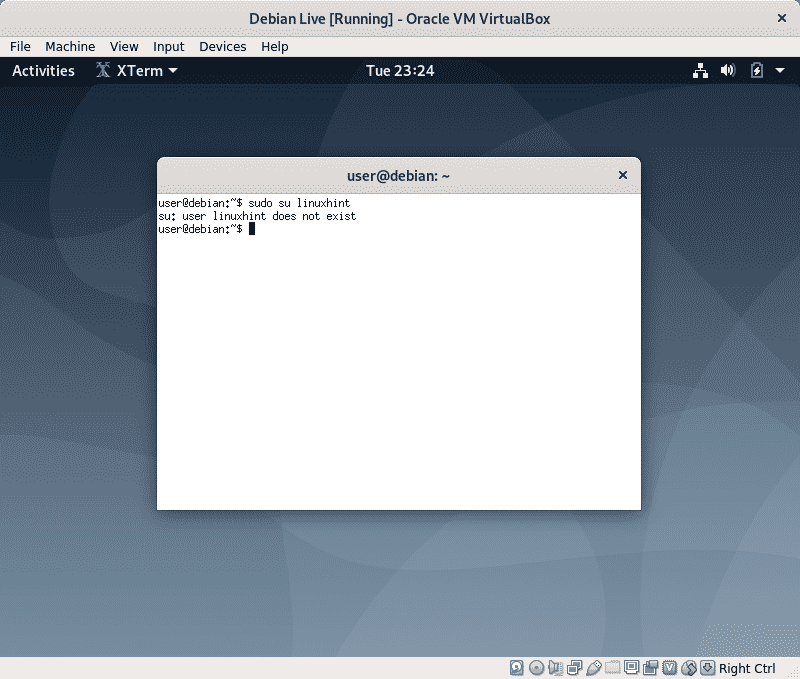
As you see the file and user you created no longer exist.
If you need persistence and decide to install Linux, reboot and when booting select “Graphical Debian Installer” and follow the instructions at Installing Debian 10 tutorial by Shahriar Shovon.
Conclusion:
Live Images are great to solve problems when we can’t access our OS, they can be useful to extract information or edit files, just like with Hiren’s Boot CD which included Knoppix and a Windows Live version. It is also good to check for compatibility with our hardware prior to installation or to get introduced to Linux when for some reasons a complete migration from Windows isn’t possible among other uses you may find.
I hope you found this tutorial useful, keep following LinuxHint for more tips and updates on Linux and networking.
