Following annoncement by Microsoft during its 2017 Build Developer’s Conference earlier this year that Ubuntu was to be made available on the Windows Store, now that announcement had been accomplished. Your popular linux distros “Ubuntu” is now available for download on Windows Store. We will be looking at steps on how to install Ubuntu on Windows later in the article.
As a linux fan, this latest development is a welcomed achievement. My primary day to day tasks are carried out on a Windows machine while all my Linux related tasks are carried out via a virtual machine.
With this, I can now use the Ubuntu Terminal on Windows and run basic Ubuntu command lines using the available utilities which includes bash, ssh, git, apt and many more.
Install Ubuntu on Windows 10
1) First enable Developer Mode
- Click Start > Search “Windows Update” > Click “For developers” > Enable “Developer mode” > Click yes to accept change
- Restart your machine for install to complete
Turn On Ubuntu Feature via Control Panel
- To use this feature, first go to Control Panel > Programs and Features > Click on “Turn Windows features on or off”
- Now select “Windows Subsystem for Linux” > click OK > reboot your machine
Turn On Ubuntu Feature via PowerShell commandline
- To enable it using Administrator PowerShell prompt, open powershell and run the following command
Enable-WindowsOptionalFeature -Online -FeatureName Microsoft-Windows-Subsystem-Linux
2) Now install Ubuntu using bash command
- Open the windows command prompt > type ‘bash” and enter Y to install Ubuntu
- After install is completed > follow the prompt to enter username as well as the password
- Now you are ready to run your linux commands
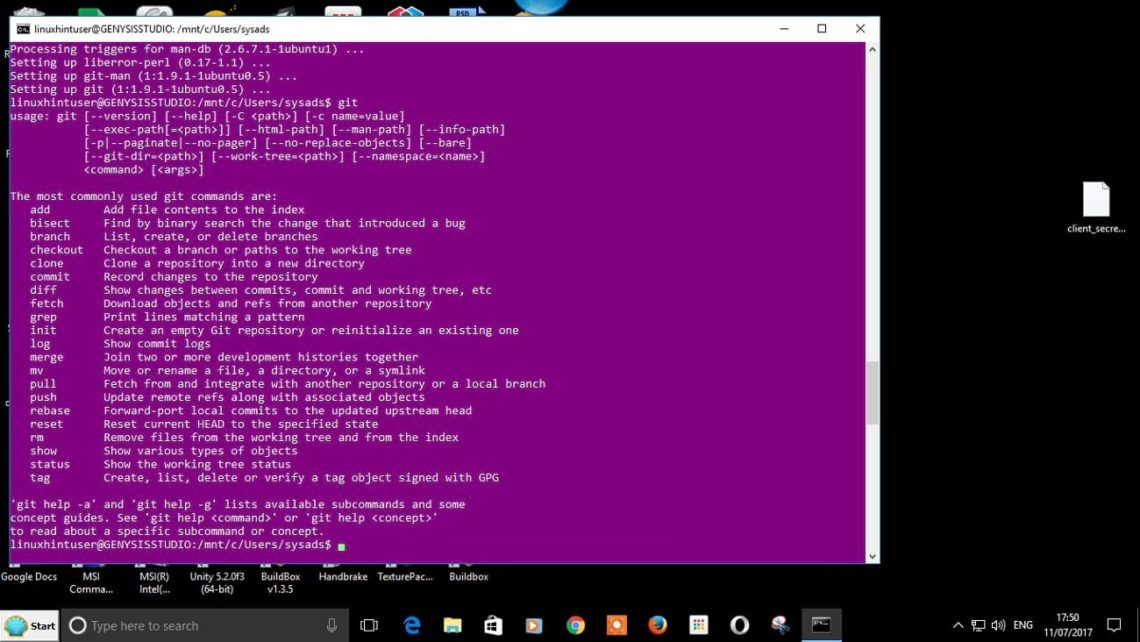
Install Git command as a demo
- We will install git tool to confirm if you can actually run a linux command
sudo apt-get update && sudo apt-get install git
- As you can see, we have successfully installed git and are able to execute a git command. There are other commands you can install or enable before you can start using them


