Using the command netstat to find open ports:
One of the most basic commands to monitor the state of your device is netstat which shows the open ports and established connections.
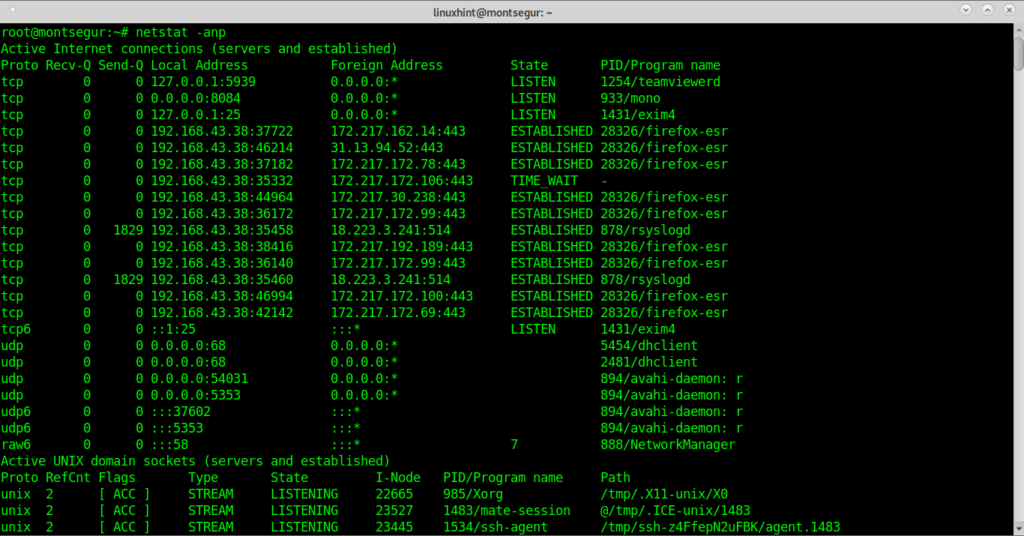
Below an example of the netstat with additional options output:
Where:
-a: shows the state for sockets.
-n: shows IP addresses instead of hots.
-p: shows the program establishing the conenction.
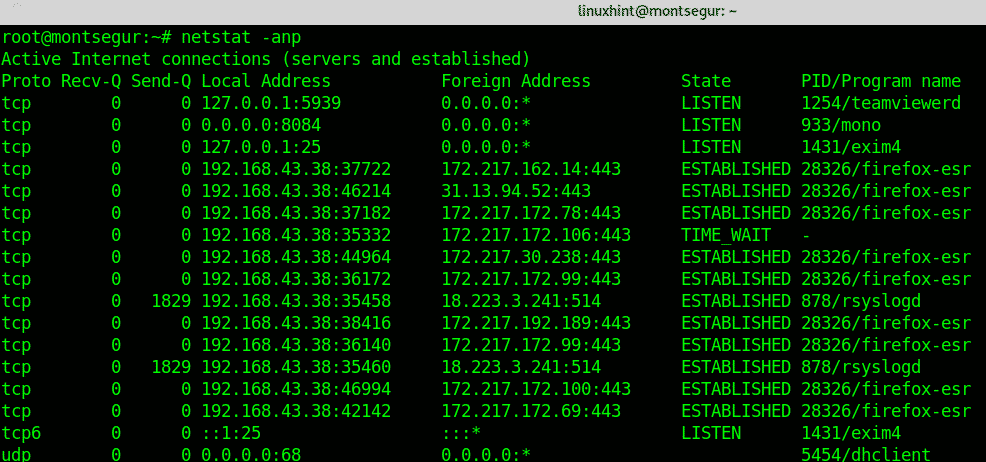
An output extract better look:
The first column shows the protocol, you can see both TCP and UDP are included, the first screenshot also shows UNIX sockets. If you are suspicious that something is wrong, checking ports is of course mandatory.
Setting basic rules with UFW:
LinuxHint has published great tutorials on UFW and Iptables, here I will focus on a restrictive policy firewall. It is recommended to keep a restrictive policy denying all incoming traffic unless you want it to be allowed.
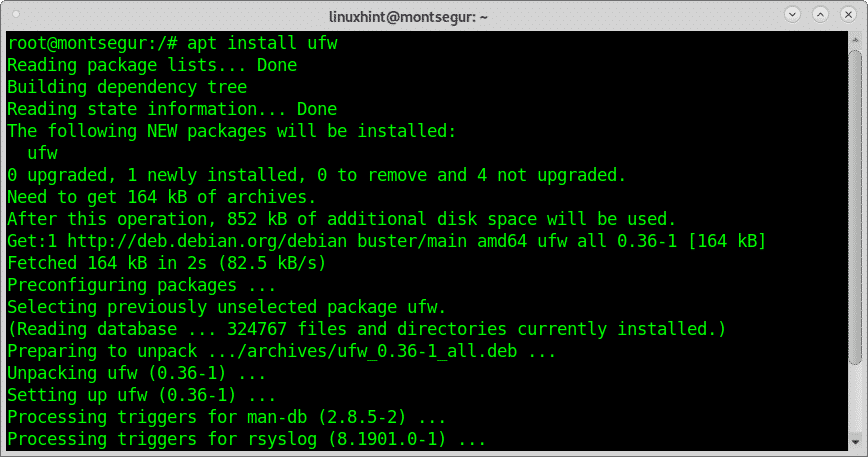
To install UFW run:
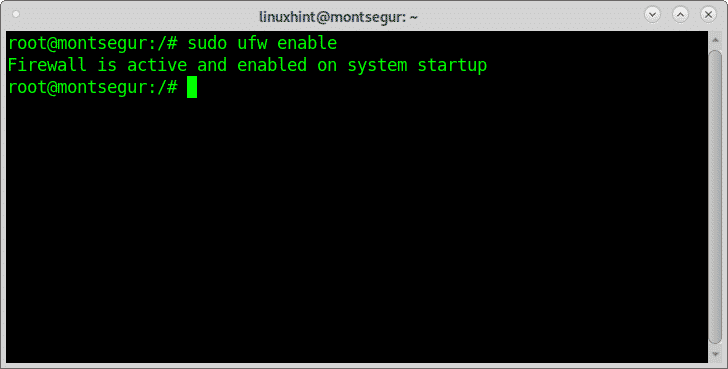
To enable the firewall at startup run:
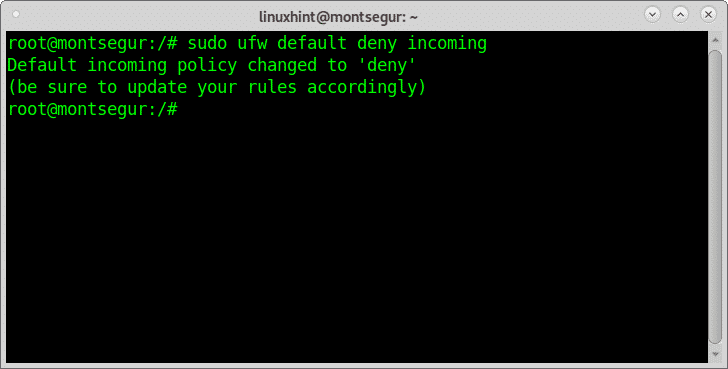
Then apply a default restrictive policy by running:
You will need to manually open the ports you want to use by running:
Auditing yourself with nmap:
Nmap is, if not the best, one of the best security scanners in the market. It is the main tool used by sysadmins to audit their network security. If you are in a DMZ you can scan your external IP, you can also scan your router or your local host.
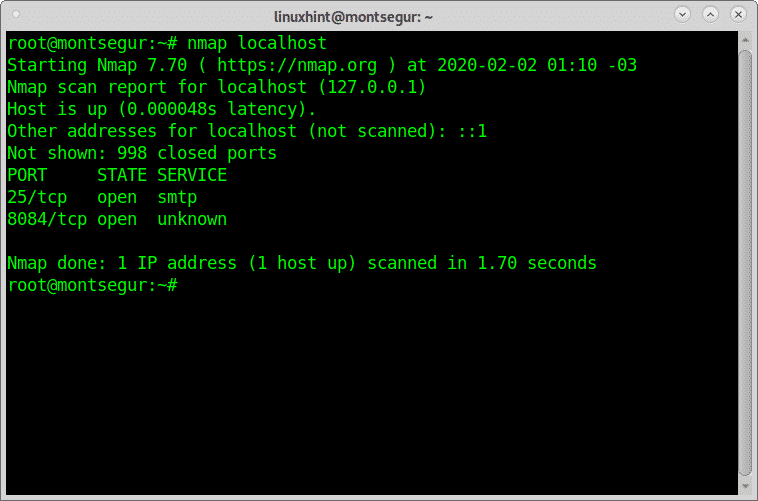
A very simple scan against your localhost would be:
As you see the output shows my port 25 and port 8084 are open.
Nmap has a lot of possibilities, including OS, Version detection, vulnerability scans, etc.
At LinuxHint we have published a lot of tutorials focused on Nmap and its different techniques. You can find them here.
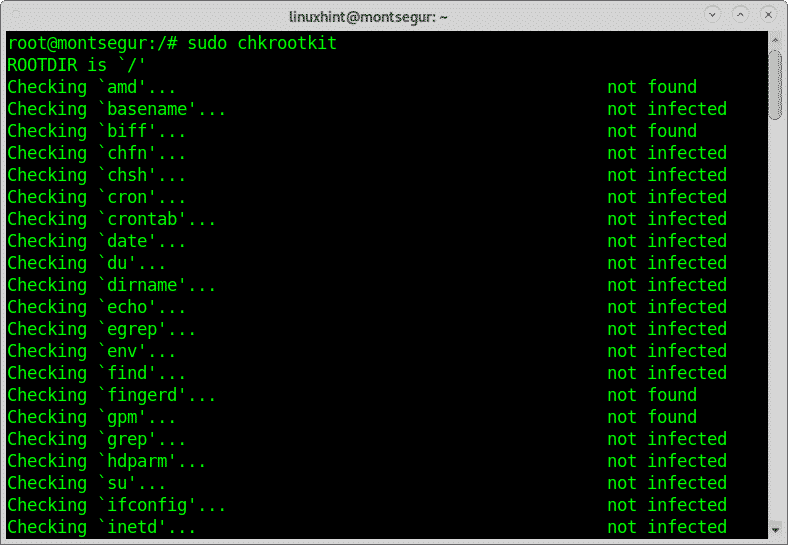
The command chkrootkit to check your system for chrootkit infections:
Rootkits are probably the most dangerous threat to computers. The command chkrootkit
(check rootkit) can help you to detect known rootkits.
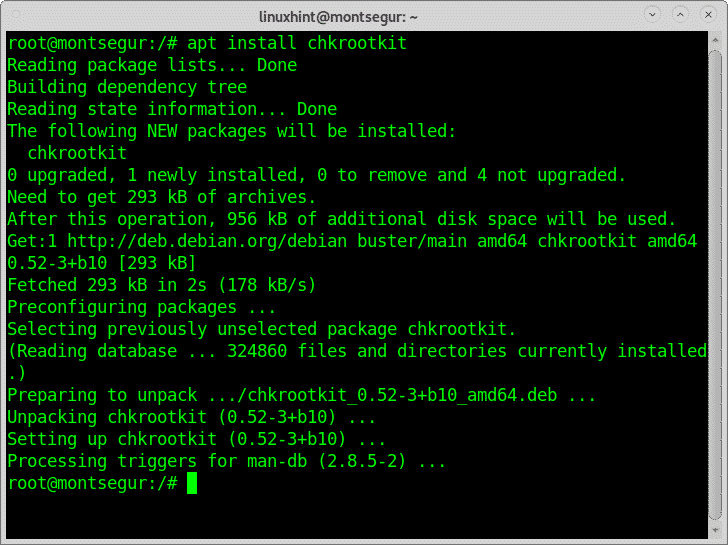
To install chkrootkit run:
Then run:
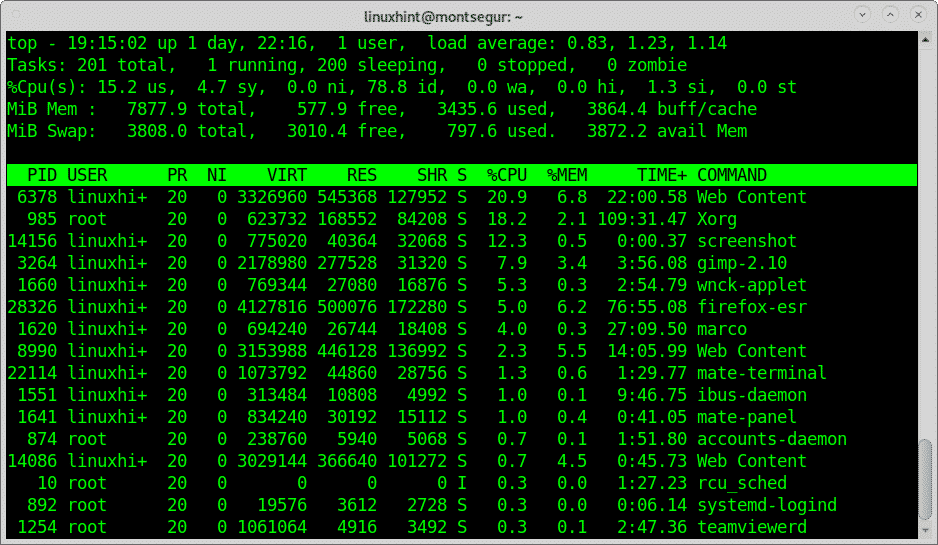
 Using the command top to check processes taking most of your resources:
To get a fast view on running resources you can use the command top, on the terminal run:
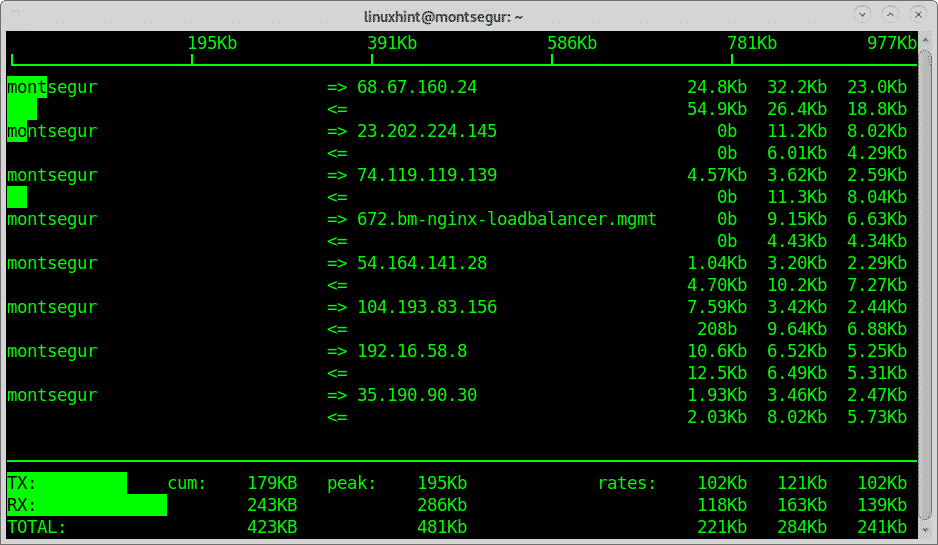
The command iftop to monitor your network traffic:
Another great tool to monitor your traffic is iftop,
In my case:
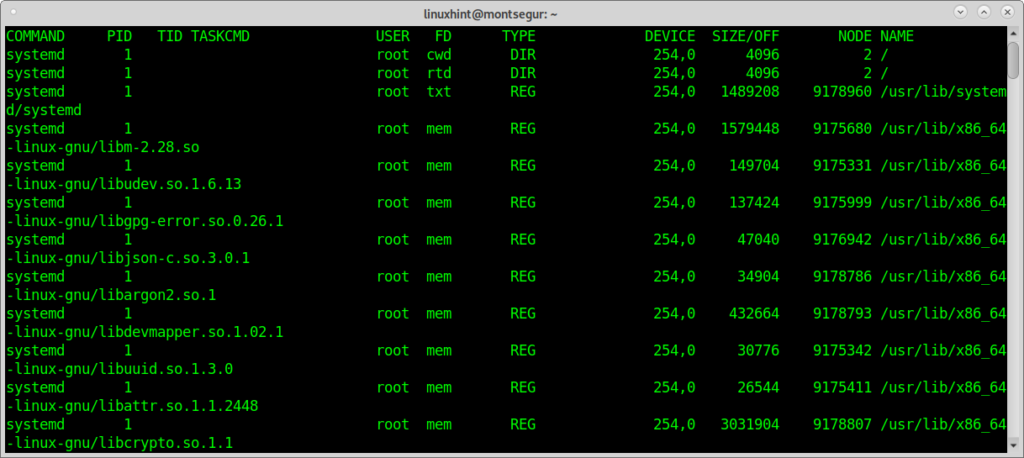
The command lsof (list open file) to check for files<>processes association:
Upon being suspicious something is wrong, the command lsof can list you the open processes and to which programs are they associated, on the console run:
The who and w to know who is logged into your device:
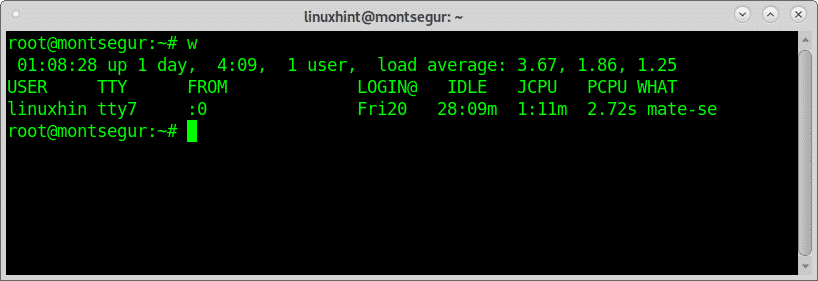
Additionally, to know how to defend your system it is mandatory to know how to react before you are suspicious your system has been hacked. One of the first commands to run before such situation are w or who which will show what users are logged into your system and through what terminal. Let’s begin with the command w:
Note: commands “w” and “who” may not show users logged from pseudo terminals like Xfce terminal or MATE terminal.
The column called USER displays the username, the screenshot above shows the only user logged is linuxhint, the column TTY shows the terminal (tty7), the third column FROM displays the user address, in this scenario there are not remote users logged in but if they were logged in you could see IP addresses there. The LOGIN@ column specifies the time in which the user logged in, the column JCPU summarizes the minutes of process executed in the terminal or TTY. the PCPU displays the CPU used by the process listed in the last column WHAT.
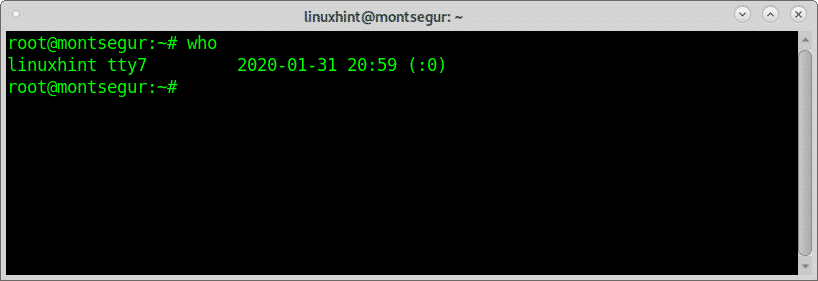
While w equals to executing uptime, who and ps -a together another alternative, despite with less information is the command “who”:
The command last to check the login activity:
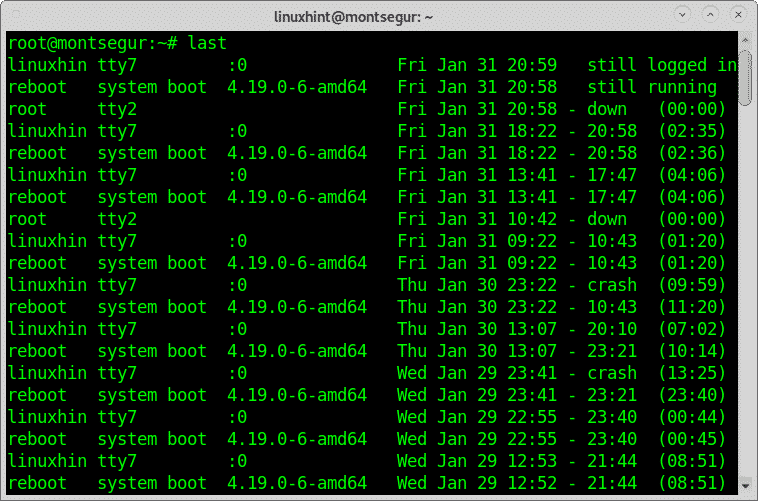
Other way to supervise users’ activity is through the command “last” which allows to read the file wtmp which contains information on login access, login source, login time, with features to improve specific login events, to try it run:
Checking the login activity with the command last:
The command last reads the file wtmp to find information on login activity, you can print it by running:
Checking your SELinux status and enable it if needed:
SELinux is restriction system which improves any Linux security, it comes by default on some Linux distributions, it is widely explained here on linuxhint.
You can check your SELinux status by running:
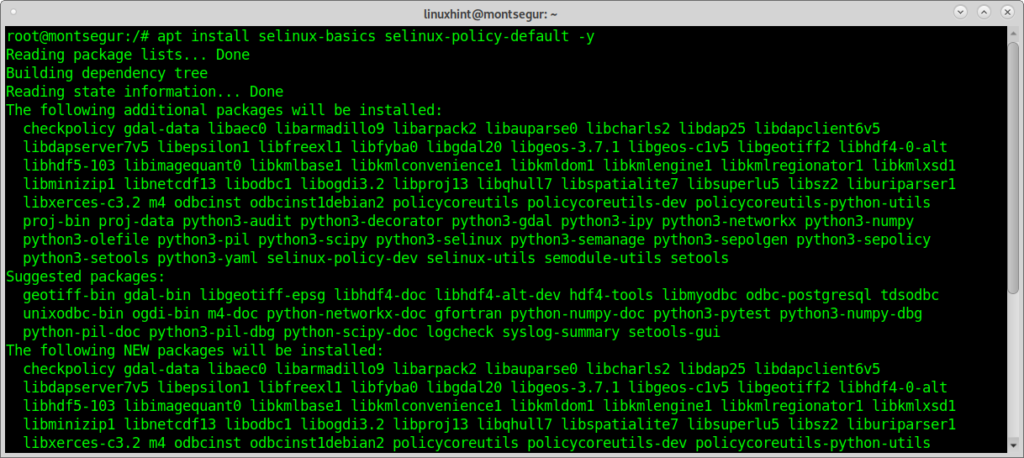
If you get a command not found error, you can install SELinux by running:
Then run:
Check any user activity using the command history:
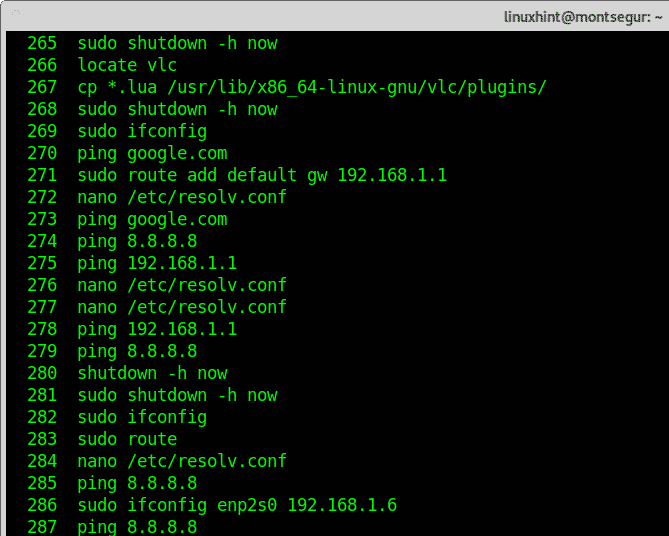
At any time, you can check any user activity (if you are root) by using the command history logged as the user you want to monitor:
The command history reads the file bash_history of each user. Of course, this file can be adulterated, and you as root can read this file directly without invoking the command history. Yet, if you want to monitor activity running is recommended.
I hope you found this article on essential Linux security commands useful. Keep following LinuxHint for more tips and updates on Linux and networking.
