Today, we’ll be focusing on upgrading the software of our beloved Linux Mint system. In the case of Linux, software updates are pretty simple. In the case of Linux Mint, updating your system along with all the software is EXTREMELY simple. Believe it or not, it’s so simple that you can always run the tasks within a couple of minutes.
Upgrading Linux Mint
Software update
To keep all the software up-to-date, this is the simplest way. Fire up a terminal and run the following command.
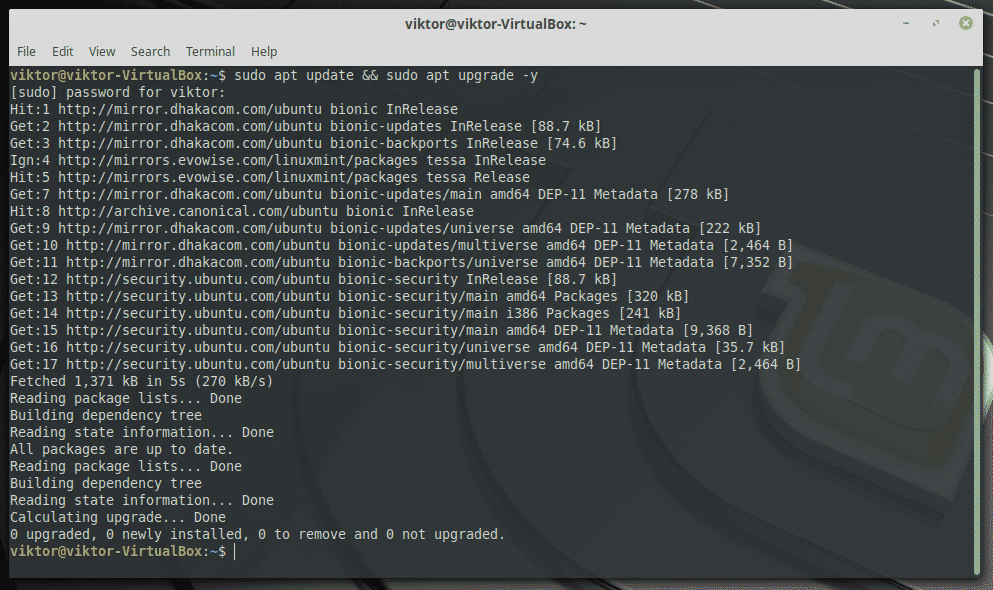
This command tells APT to update the cache and upgrade all the necessary components of the system at one fell swoop.
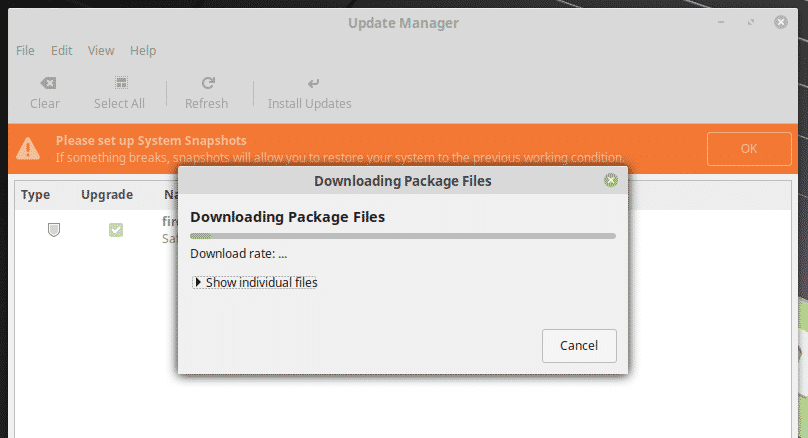
If you’re looking for a GUI, then check out the “Update Manager”. It’s a great GUI tool with self-explanatory options.
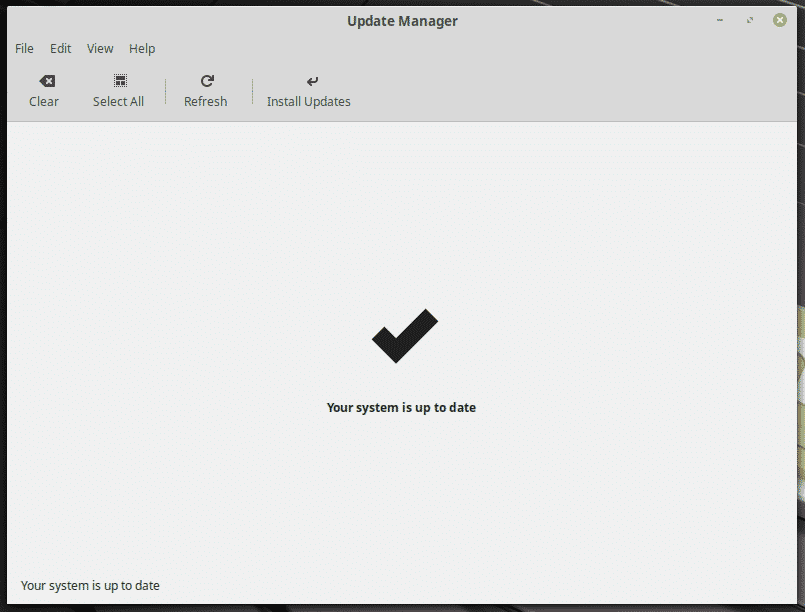
Hit “Refresh” to update the APT cache and find out if there’s any new update available for the installed software.
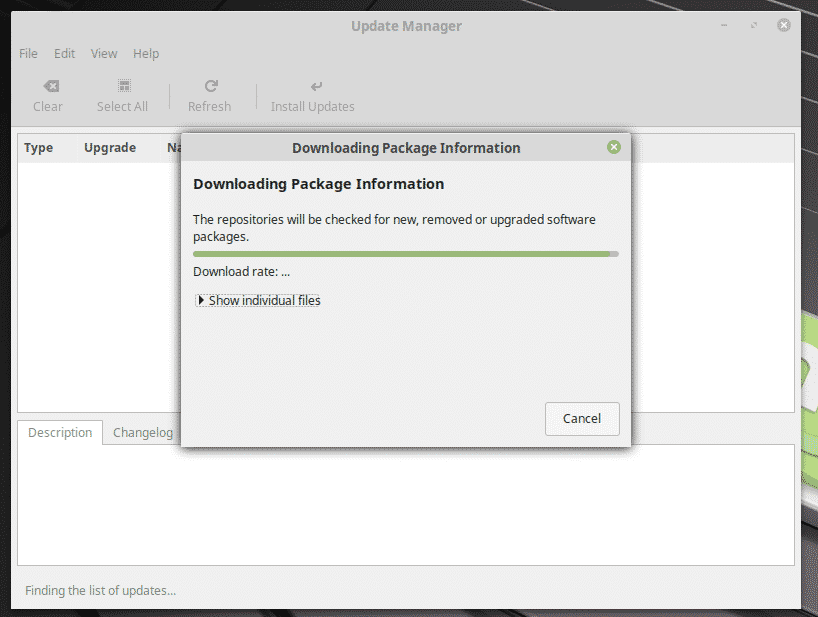
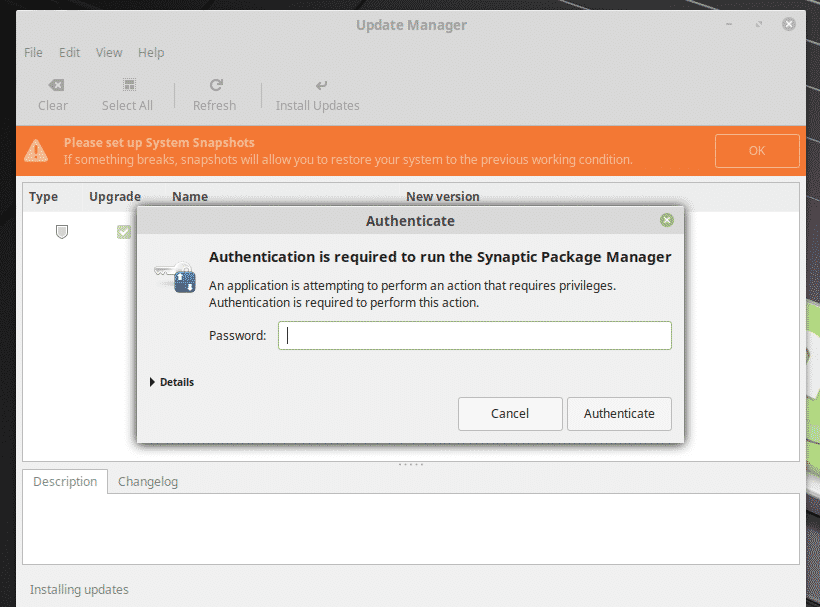
If there’s any an update available, you’ll the option of selecting which updates to install. Then, click “Install Updates” to complete the procedure.

Distro upgrade
This is another major part of the lifecycle of Linux. All the major distros release a system upgrade on a regular basis with lots of patches, bug fixes, and improvements. It’s really necessary to upgrade to the latest version. This way, you’ll always stay on the top of the support and enjoy the latest features.
In the case of Linux Mint, this process is a little bit rough. Linux Mint devs like to release such major system upgrades only when it’s necessary. Because of this strategy, Linux Mint system upgrades are more important than you can imagine.
For example, I have this old Linux Mint 17.3 Rosa with MATE desktop. Currently, the latest version is Linux Mint 19, Tessa. How do you upgrade to the latest version?
There are 2 ways you can follow.
Reinstall the OS
When a new Linux Mint version is out, you can’t upgrade your old, existing Linux Mint to the latest one right away. Devs have to work on preparing for the “mintupgrade” process.
For the time being, the best way to enjoy the latest features and improvements is by reinstalling the entire OS. I know that it sounds tedious and of course, it is. It depends on yourself whether you can afford the tedious process of reinstalling the entire OS.
If you’re so obsessed with the latest features, you should grab the latest Linux Mint ISO and update your system right away! Learn how to install Linux Mint.
Mint upgrade
This is the most hassle-free way of enjoying the latest Linux Mint system. This process is the least troublesome but devs also need time to prepare this method. So, if you can afford to wait for a few days to weeks, this is the best way to go.
For example, let’s upgrade my old Linux Mint 17.3 to the latest Linux Mint 19.
Preparing the system
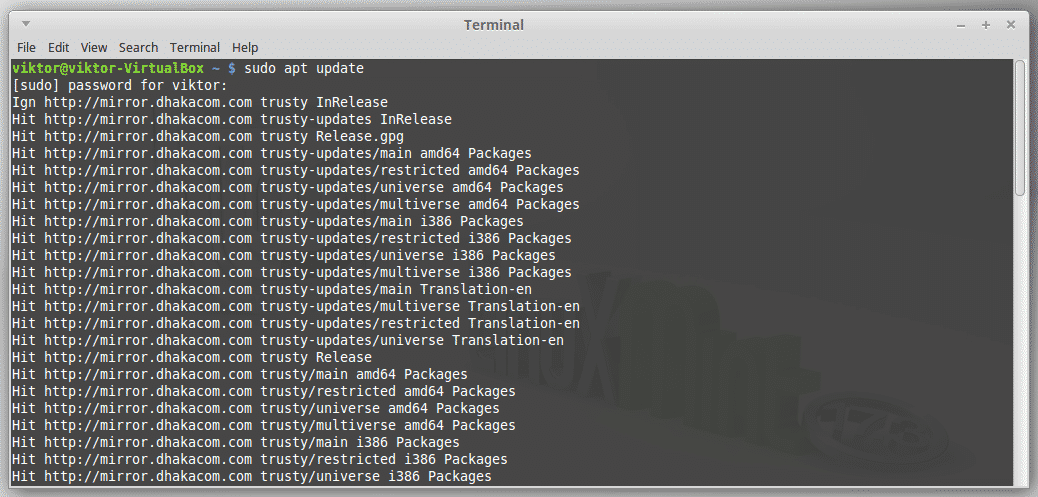
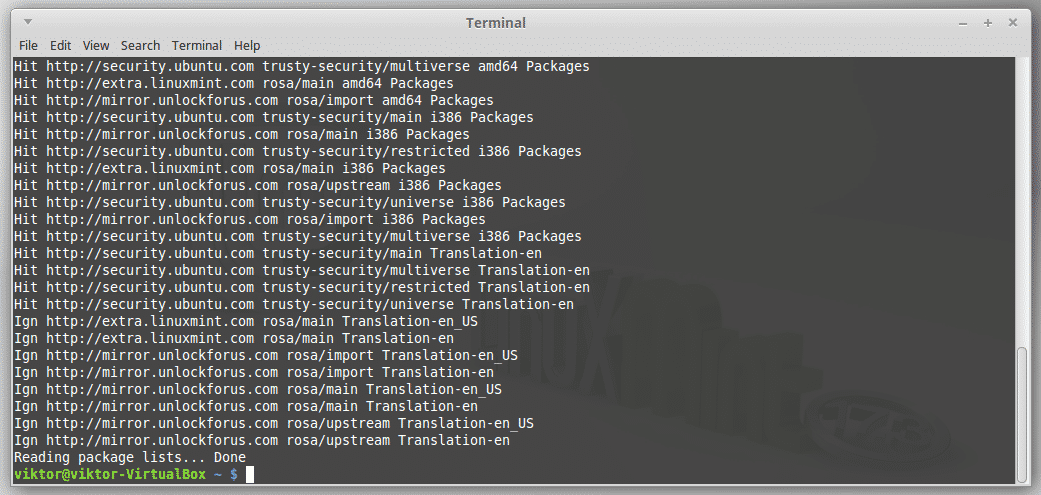
At first, fire up the terminal and refresh the APT cache.
Make sure that your system is using LightDM as the display manager. LightDM is the default one for Linux Mint. However, if you’ve changed it to something else, you have to revert back to LightDM.
Run the following command.

If the result would be
Then there’s nothing to do. Unfortunately, my old system is using MDM. If your system is also using anything other than LightDM, then follow the following procedures.
Install LightDM.
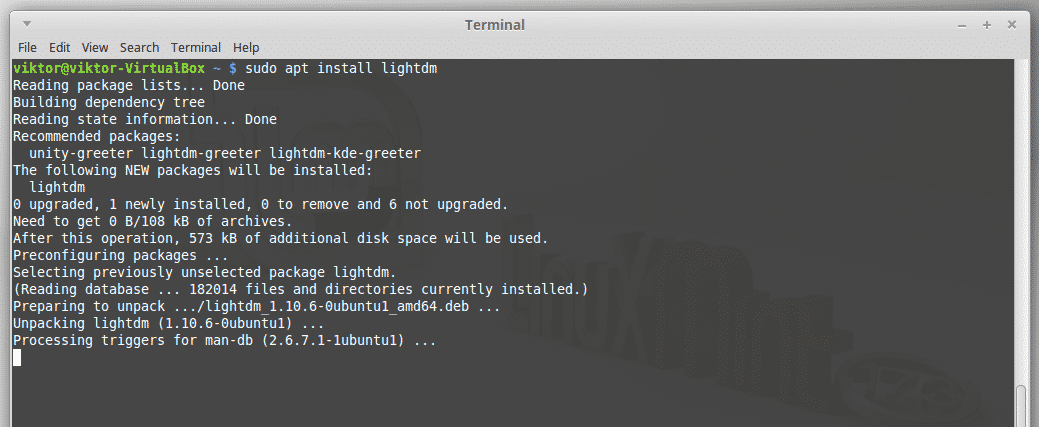
When prompted, select “lightdm”.
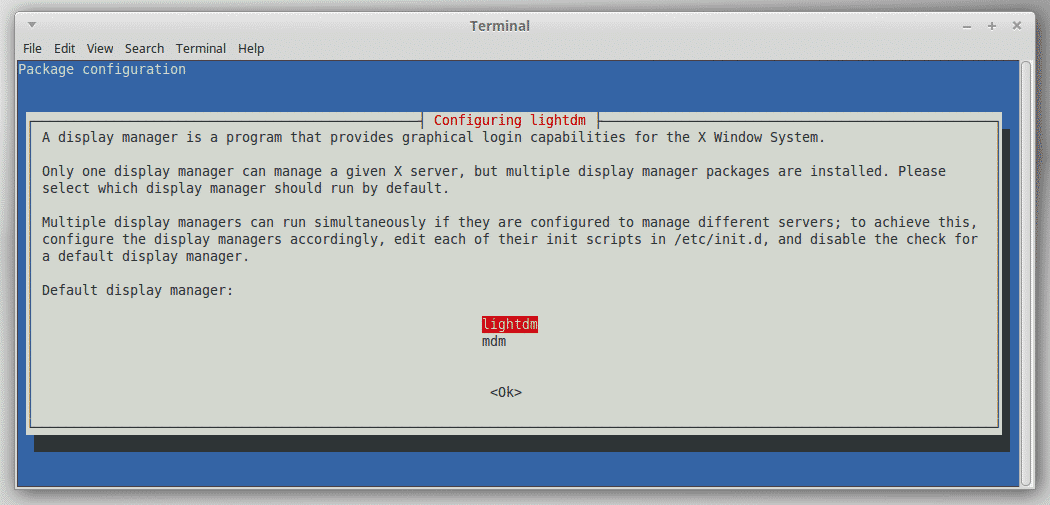
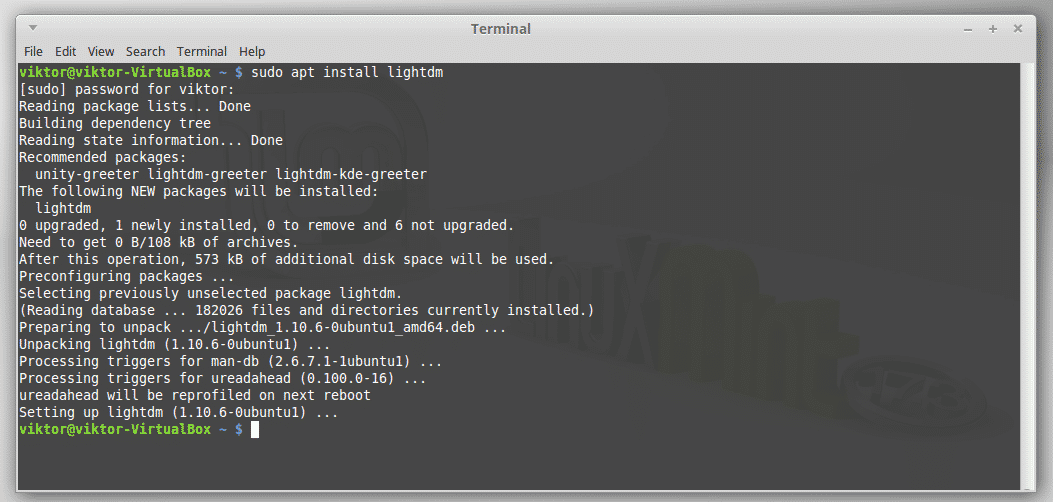
Now, run the following commands for completing the configuration.

sudo reboot

Install upgrade tools
Run the following command for installing the “mintupgrade” tool.

Begin upgrading the system
Before this step, make sure that you’ve configured Timeshift properly. It’s not necessary to create a backup with Timeshift. All you need is just open the tool and configure it.
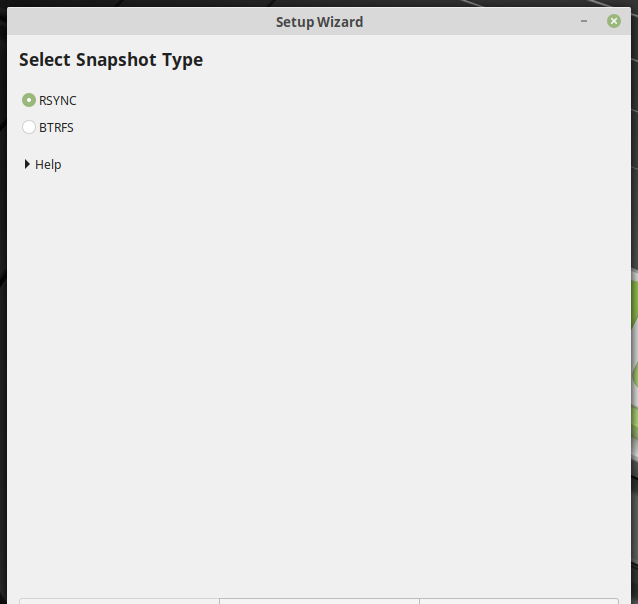

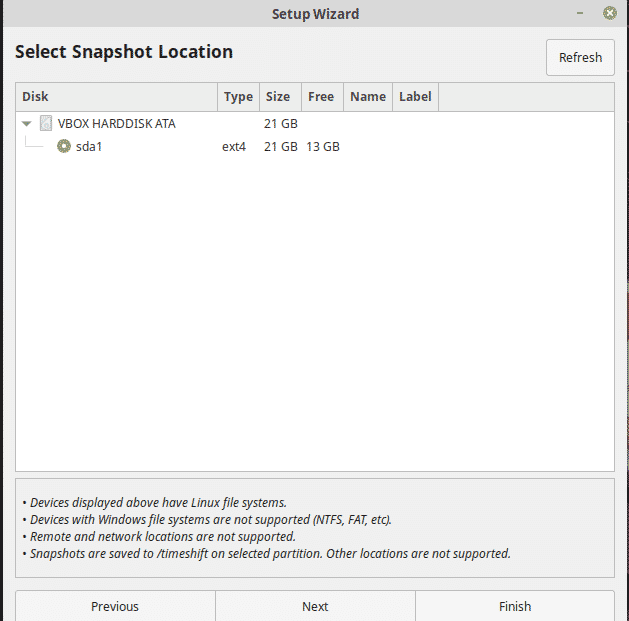
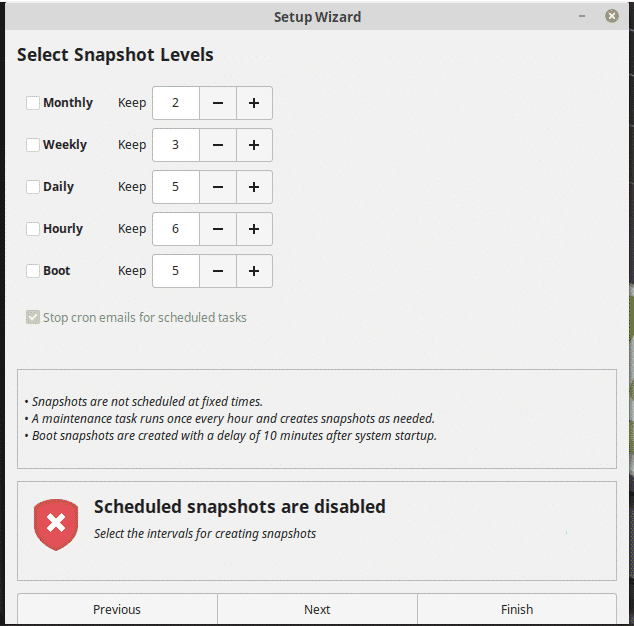
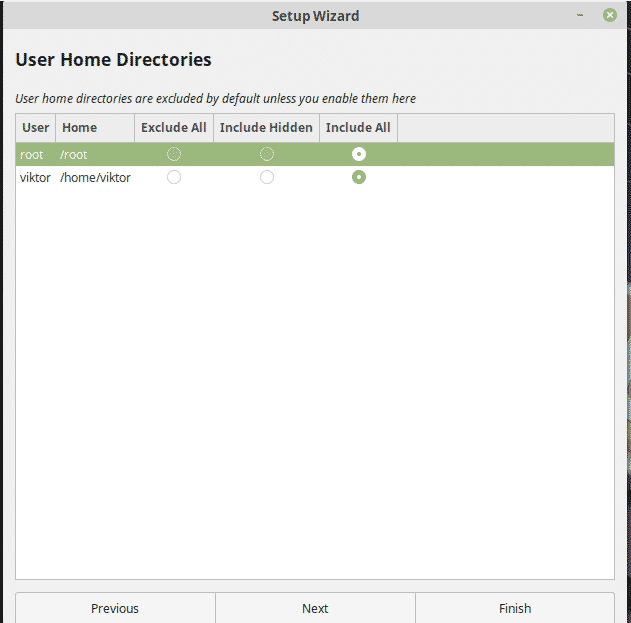
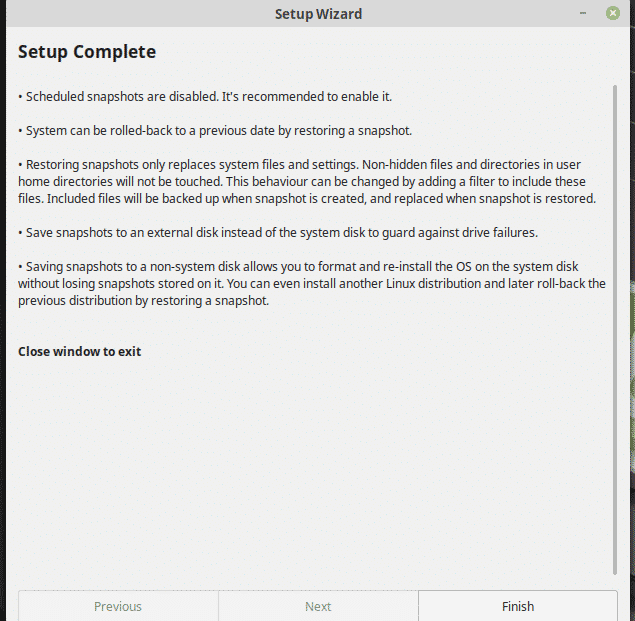
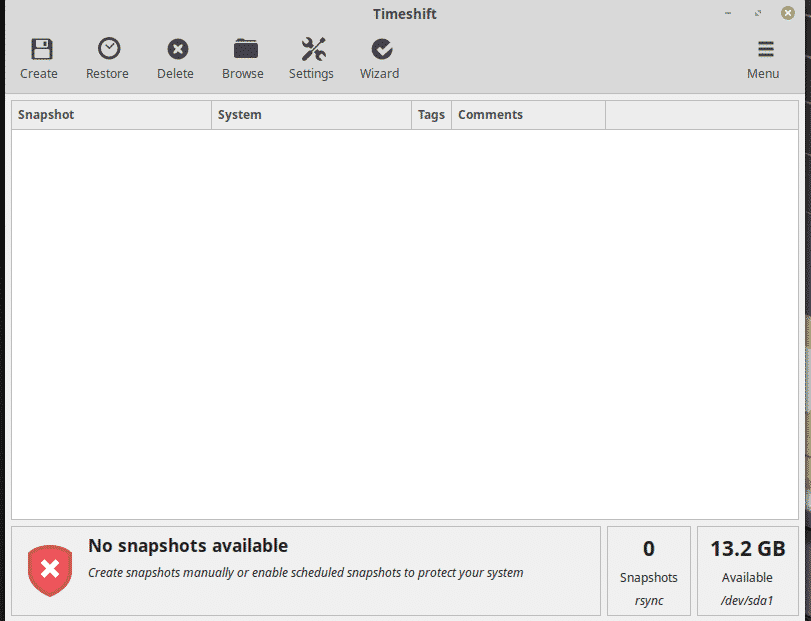
Let “mintupgrade” check for any existing upgrades.

“mintupgrade” will continue all the procedures all by itself. This step will check all the packages necessary for the upgrade.
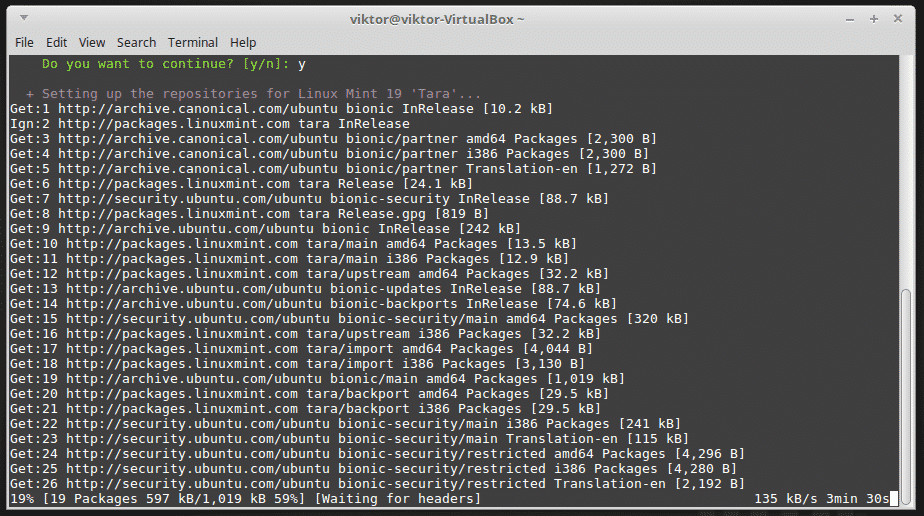
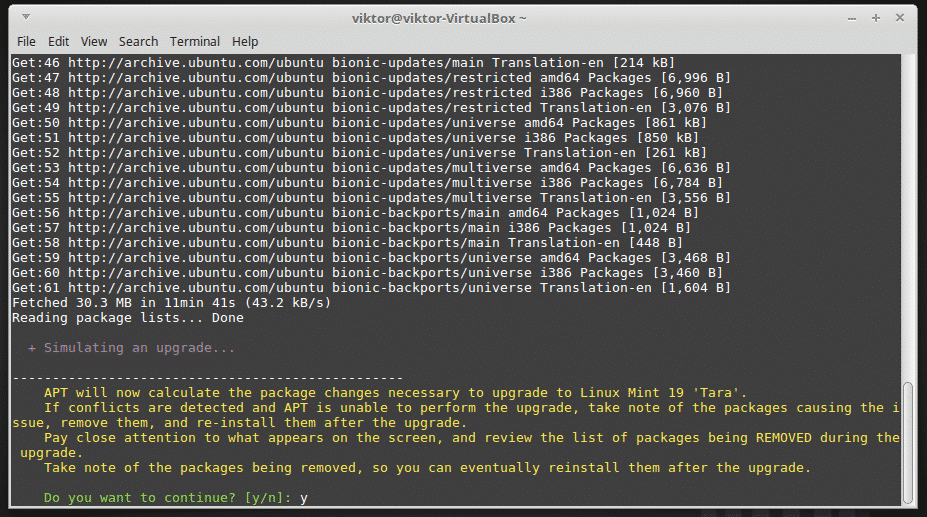
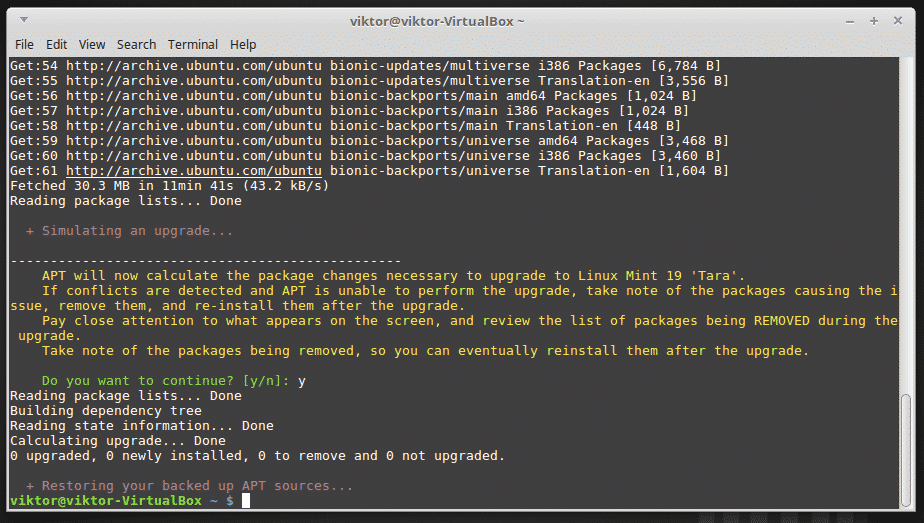
The next command will download all the necessary packages and tools to perform the upgrade.
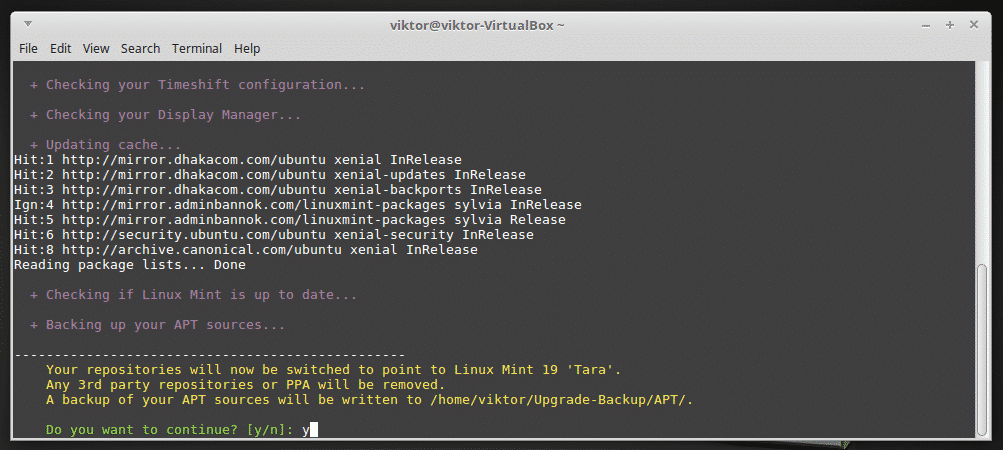
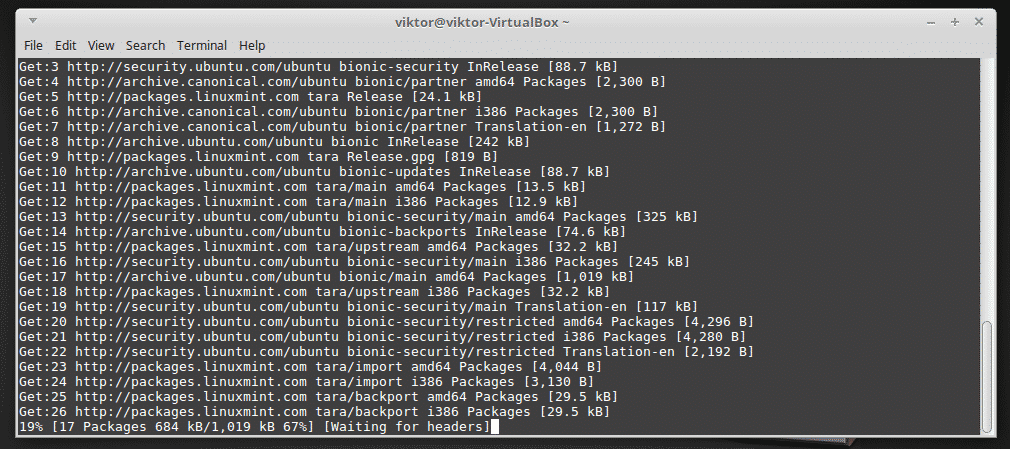
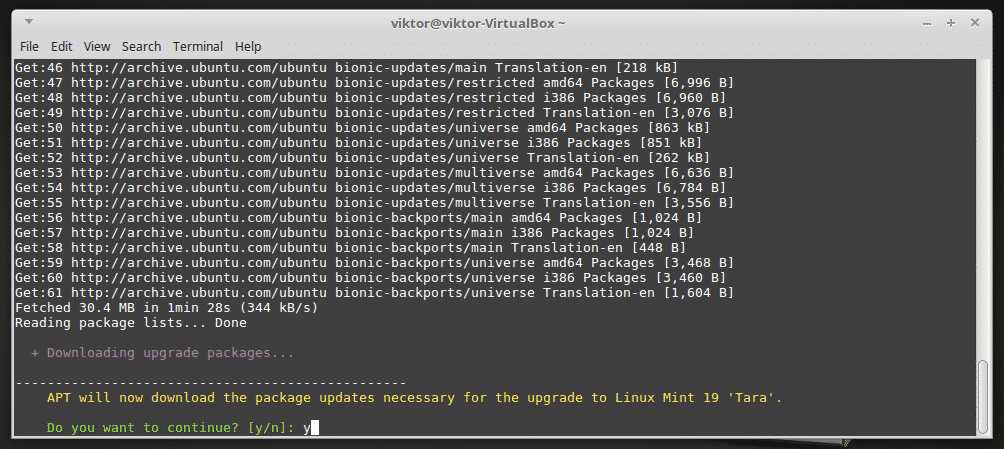
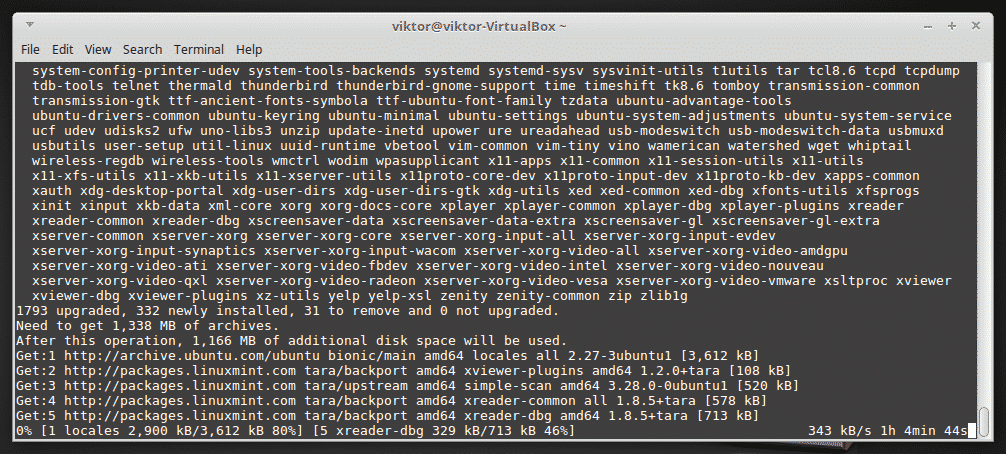
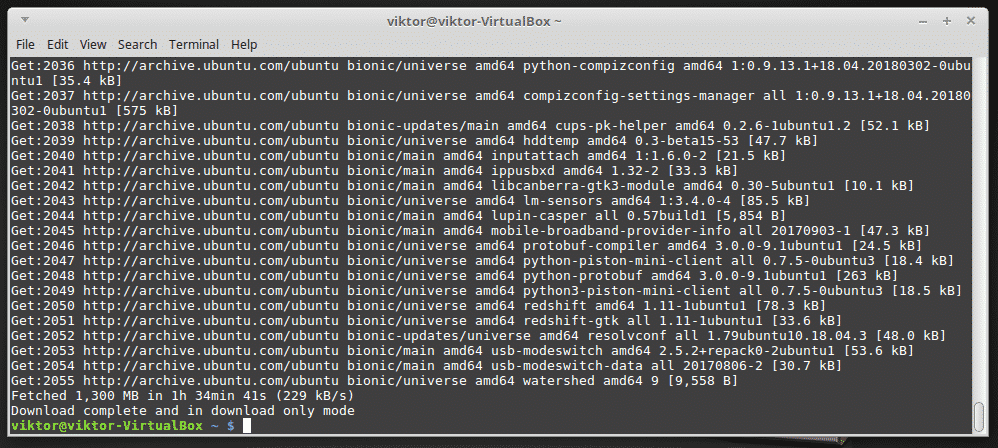
The process is automatic and will require time (depending on your internet connection).
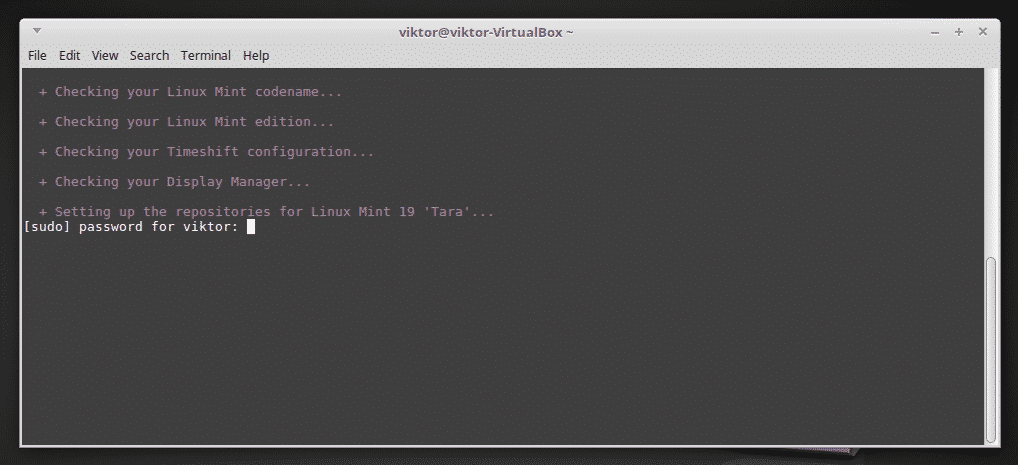
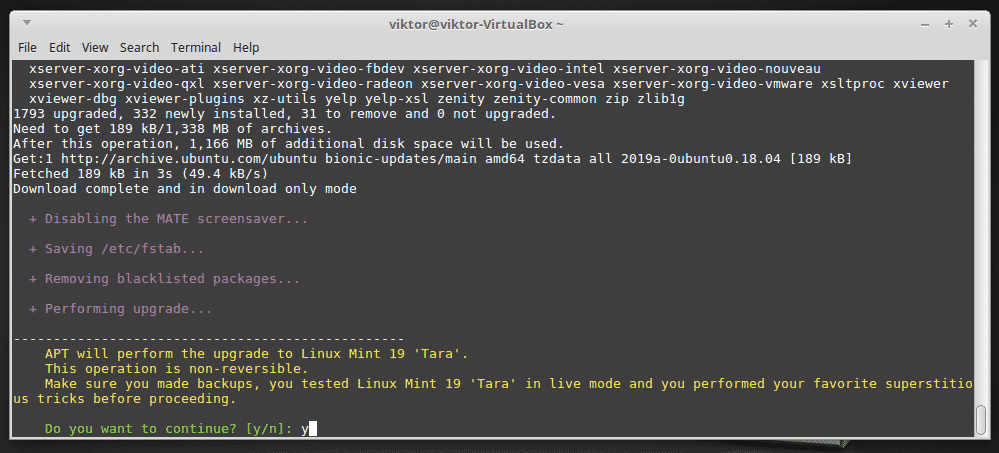
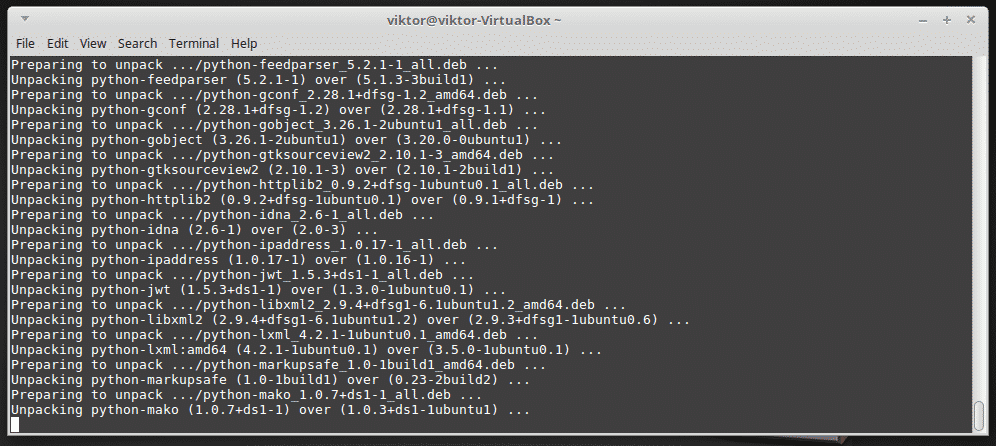
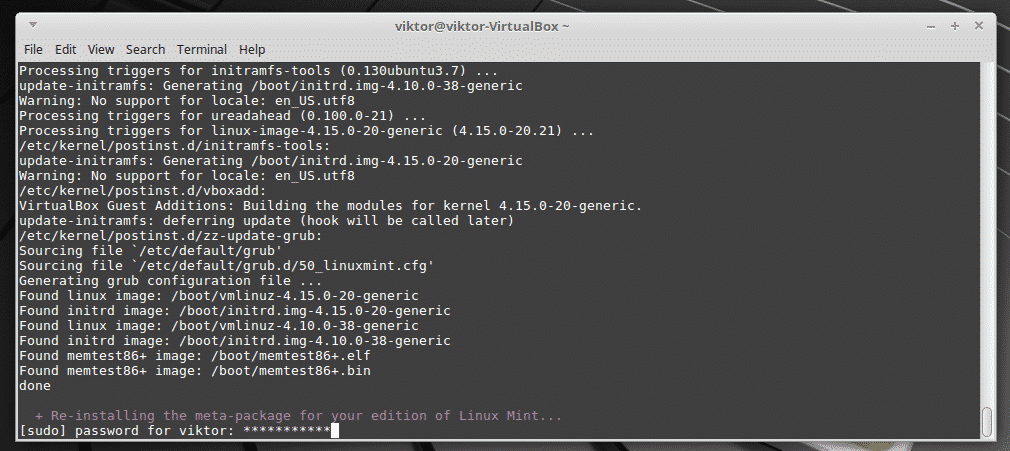
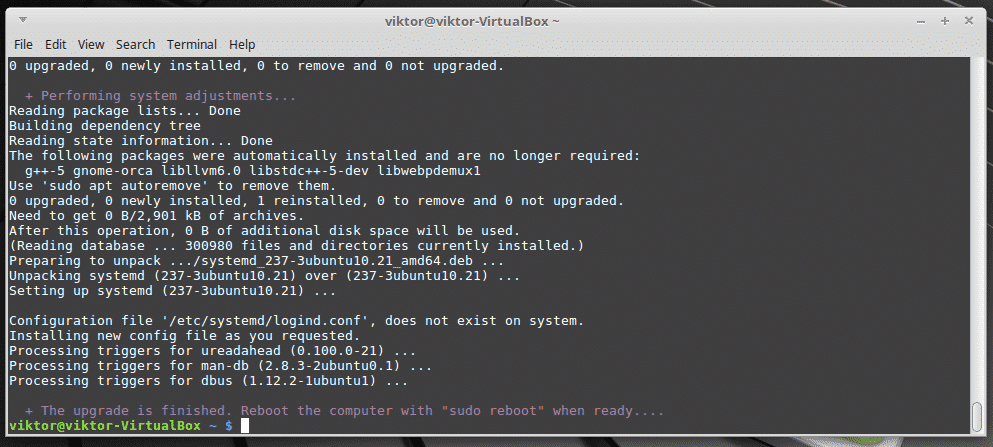
Download complete? Good. Now, tell “mintupgrade” to complete the upgrade. This is another lengthy process, so be patient.

Completing the installation
Finally, the system upgrade is complete. Reboot the system to complete.

Voila! Upgrade successful!


