In this article, I am going to show you how to install Eclipse IDE on Debian 10. So, let’s get started.
Installing Dependency Packages:
Eclipse IDE is written on Java. So, you must have JDK installed on your computer in order to run Eclipse IDE. You can use either Oracle JDK or OpenJDK. It’s up to you.
In this article, I am going to use OpenJDK as it is available in the official package repository of Debian 10. If you want to use Oracle JDK, check out the article Install JDK on Debian 10.
First, update the APT package repository cache with the following command:

The APT package repository cache should be updated.

Now, install OpenJDK from the official package repository of Debian 10 with the following command:

Now, press Y and then press <Enter> to confirm the installation.

APT will download and install all the required packages from the internet automatically.
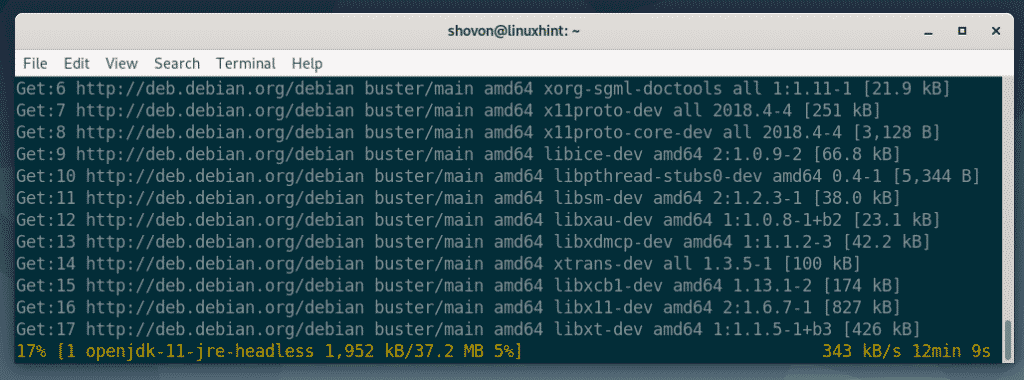
At this point, OpenJDK should be installed.

Downloading Eclipse IDE:
Eclipse IDE is not available in the official package repository of Debian 10. But, you can easily download Eclipse IDE from the official website of Eclipse and install it on Debian 10.
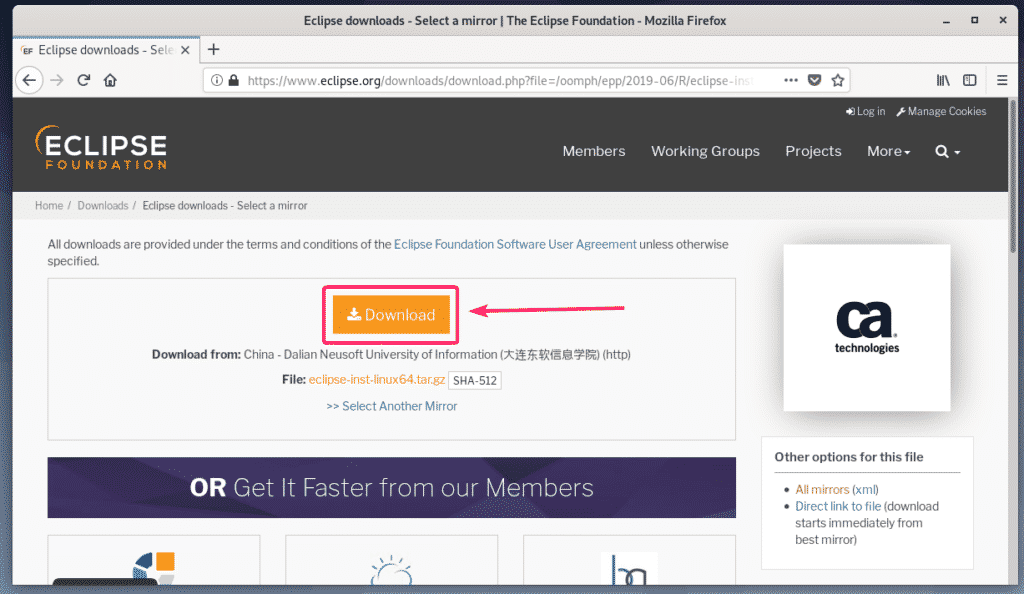
First, visit the official website of Eclipse from your favorite browser. Once the page loads, click on Download.
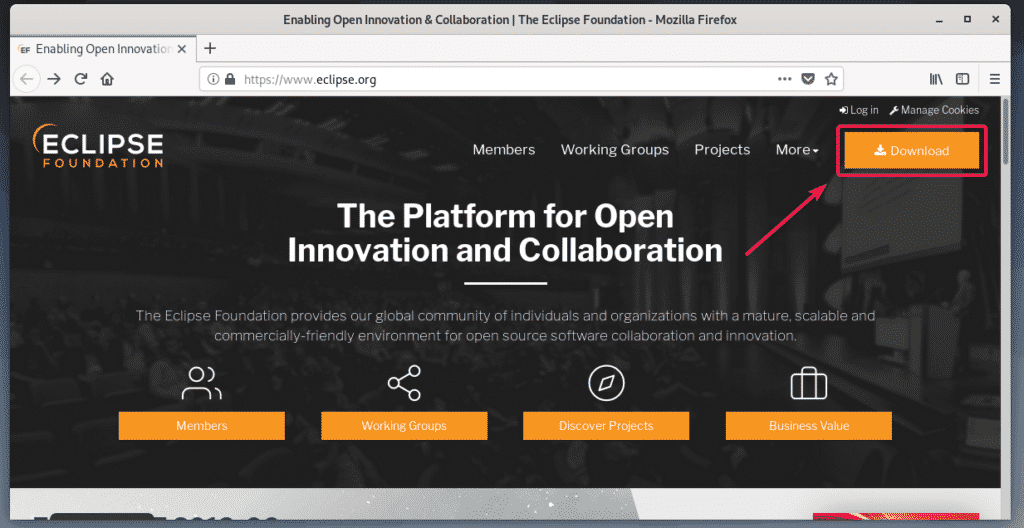
Now, click on the download button as marked in the screenshot below.
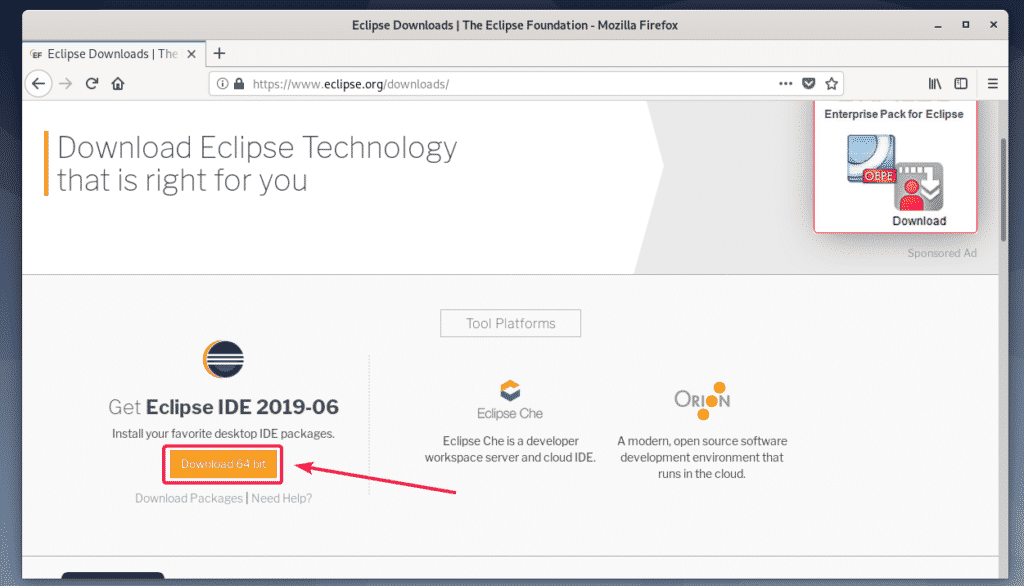
Now, click on Download as marked in the screenshot below.
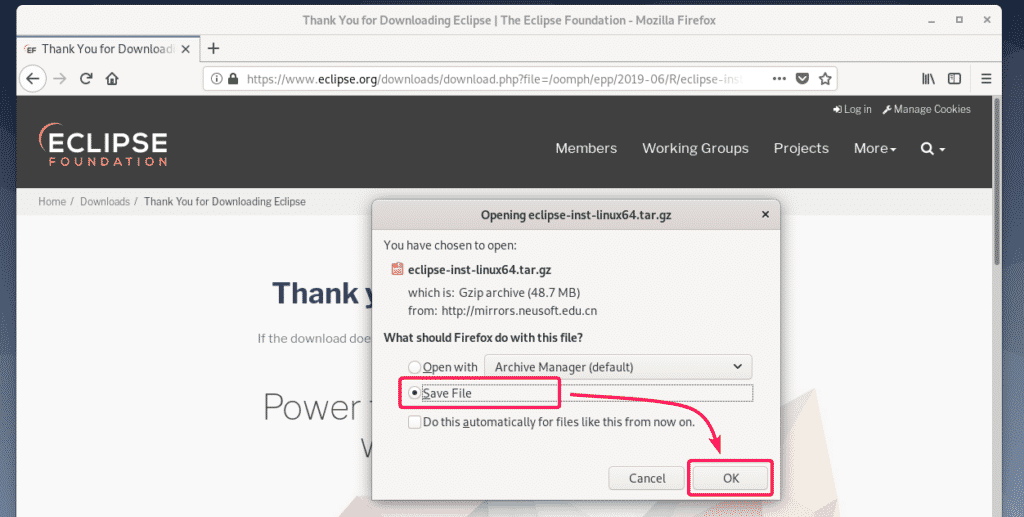
Your browser should prompt you to save the file. Now, select Save File and click on OK.
Your download should start. It will take a while to complete.

Installing Eclipse IDE:
Once the Eclipse IDE archive is downloaded, navigate to the ~/Downloads directory with the following command:

Eclipse IDE archive file (eclipse-inst-linux64.tar.gz) should be here as you can see in the screenshot below.

Now, extract the archive with the following command:

The archive should be extracted.
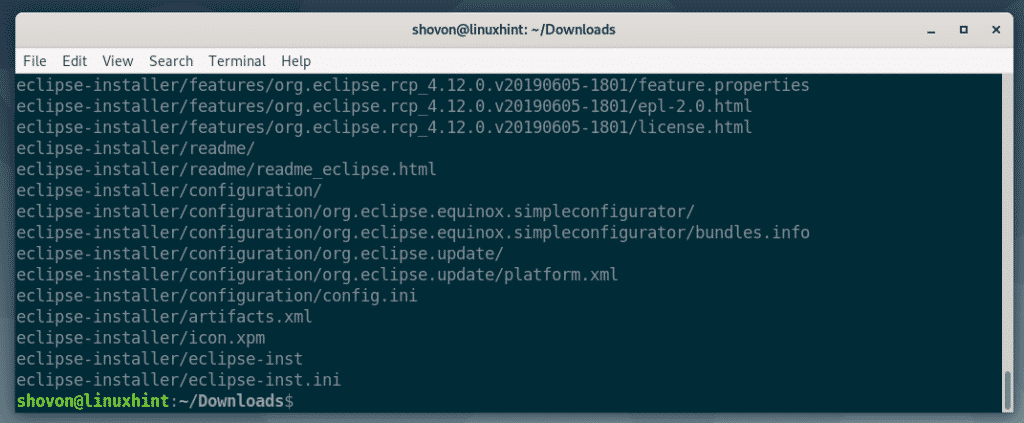
Now, navigate to the eclipse-installer/ directory with the following command:

You should find eclipse-inst binary in this directory. You must run this binary to start the Eclipse installer.

Now, start the Eclipse installer with the following command:

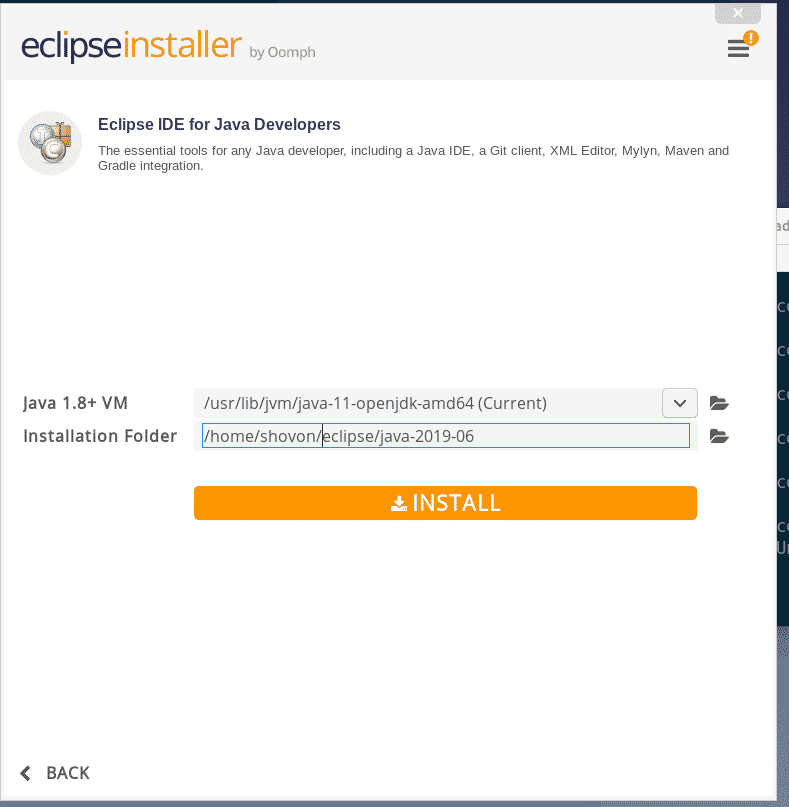
Eclipse installer should start. Now, every type of Eclipse IDE should be listed. Depending on what type of project you want to use Eclipse IDE for, click on your desired Eclipse IDE to install it.

I am installing Eclipse IDE for Java Developers in this article.

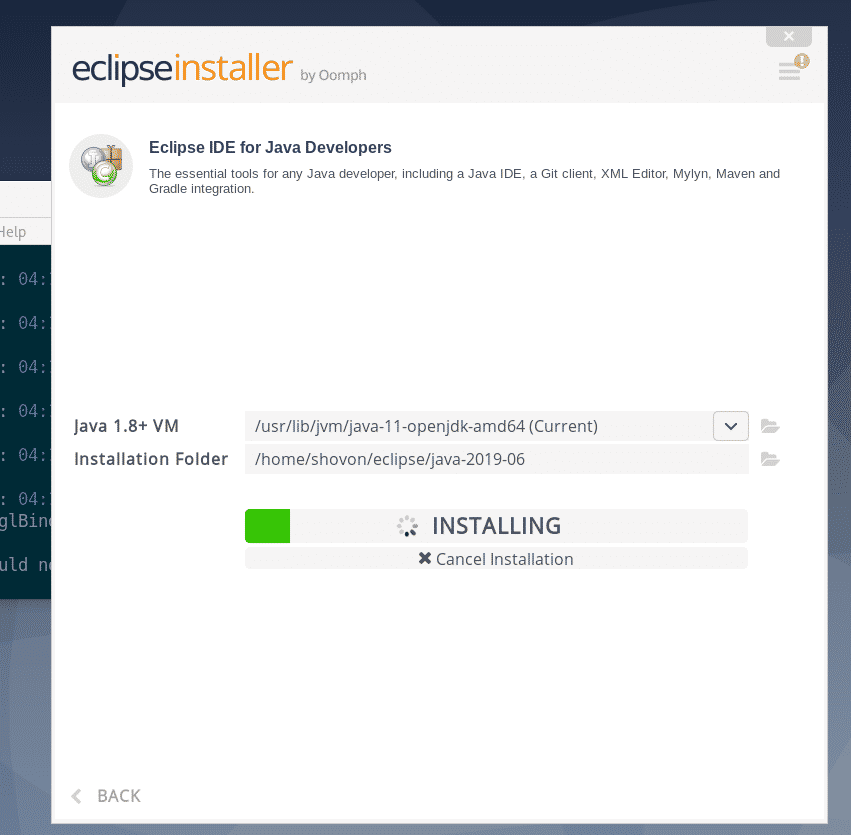
Now, select an Installation Folder and click on the Install button to start the installation. In my case, the Installation Folder is /home/shovon/eclipse/java-2019-06. Memorize the installation directory, as we will need it later.
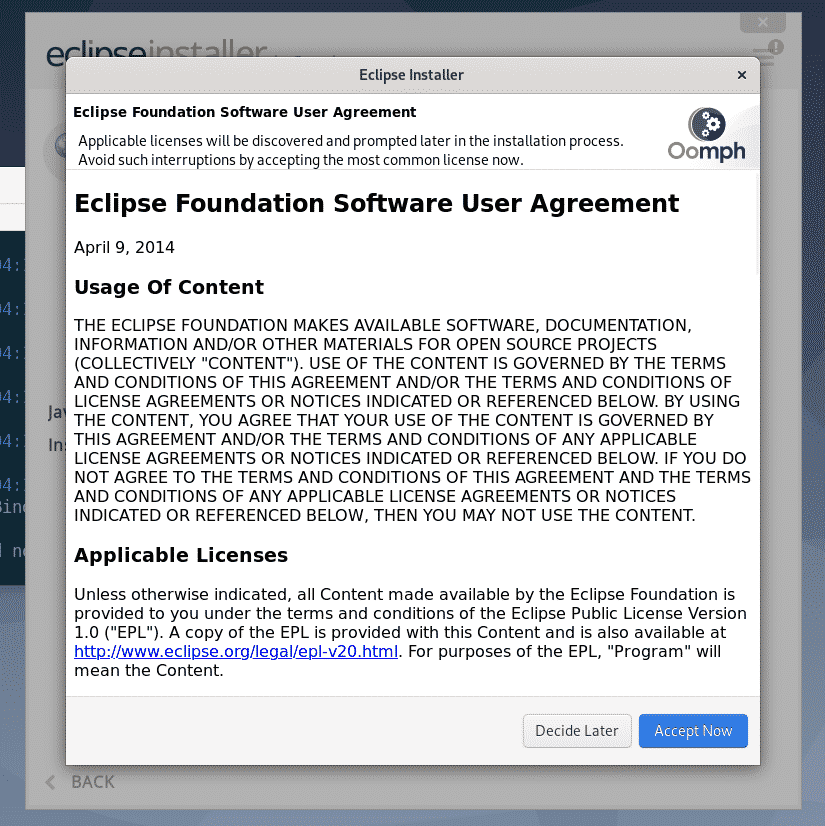
Now, click on Accept Now.
The installation should start.
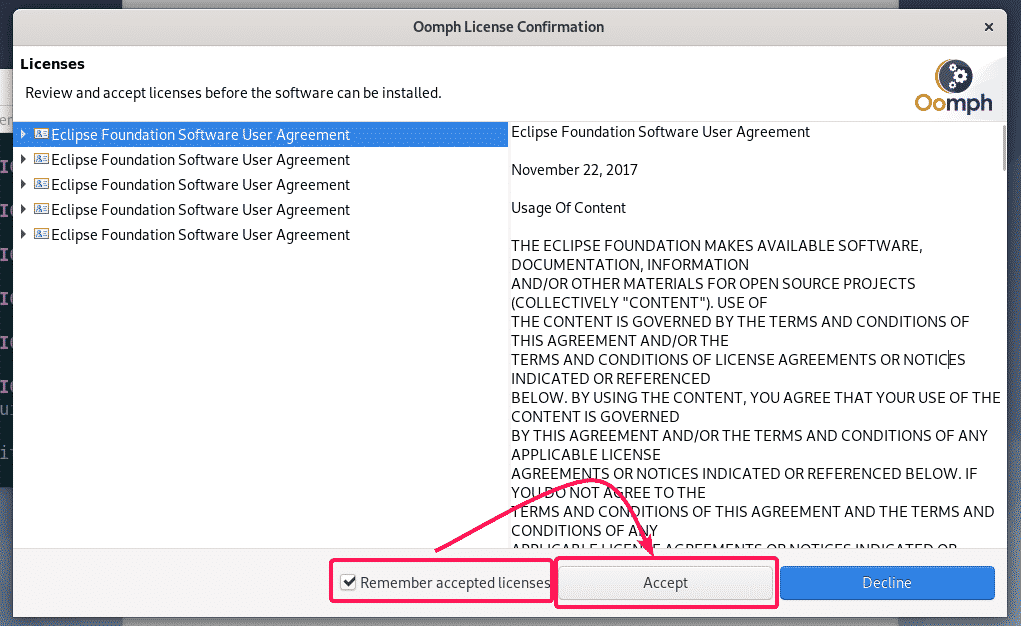
Now, click on Accept to accept the user agreement.
The installation should continue.

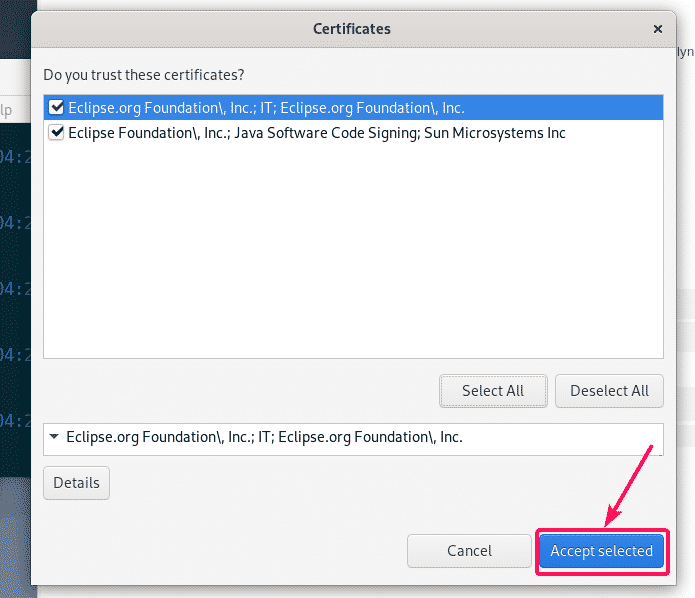
Now, click on Select All to select all the certificates.

Now, click on Accept selected to accept all the certificates.
The installation should continue.
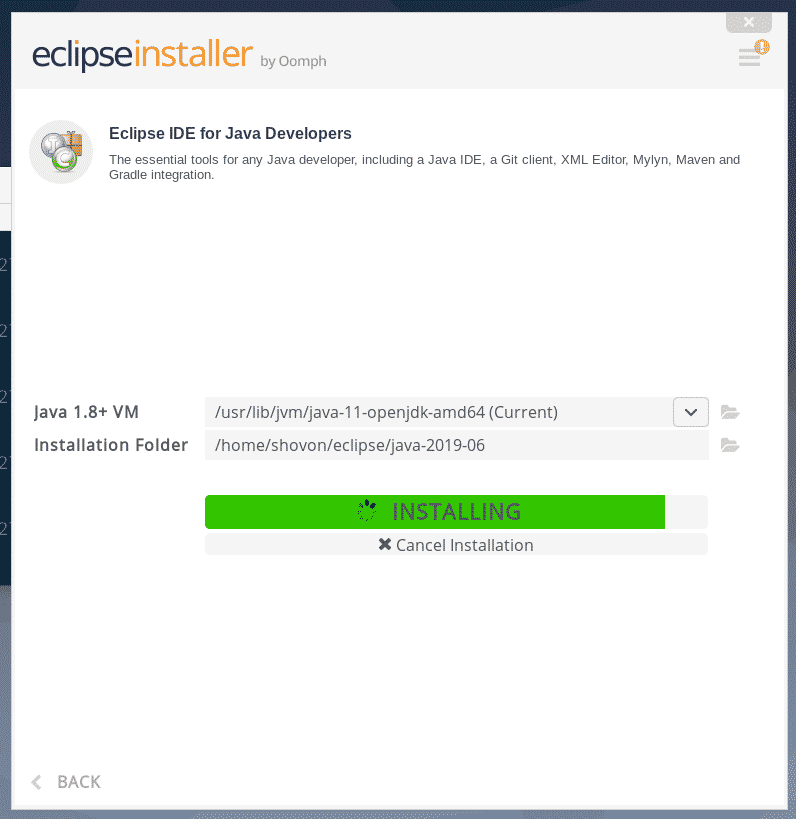
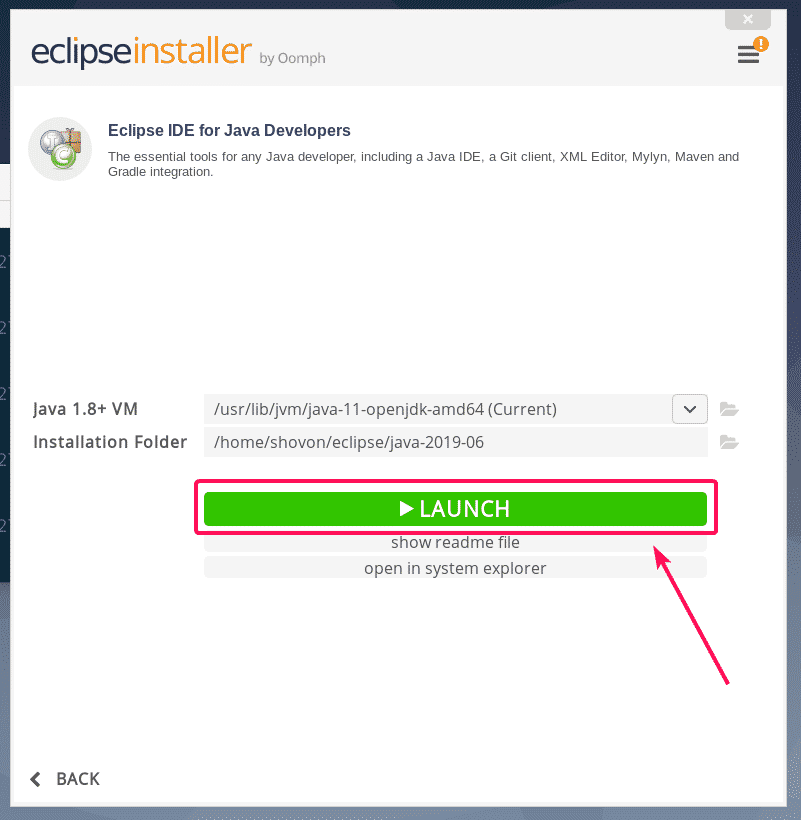
The installation should be complete. If you want, you can launch Eclipse now by clicking on the LAUNCH button. But, I am going to show you a better way to launch Eclipse in a later section of this article. So, just close the installer for now.
Now that Eclipse IDE is installed, you can remove the Eclipse installer from your computer.
To do that, open a new Terminal and navigate to the ~/Downloads directory as follows.

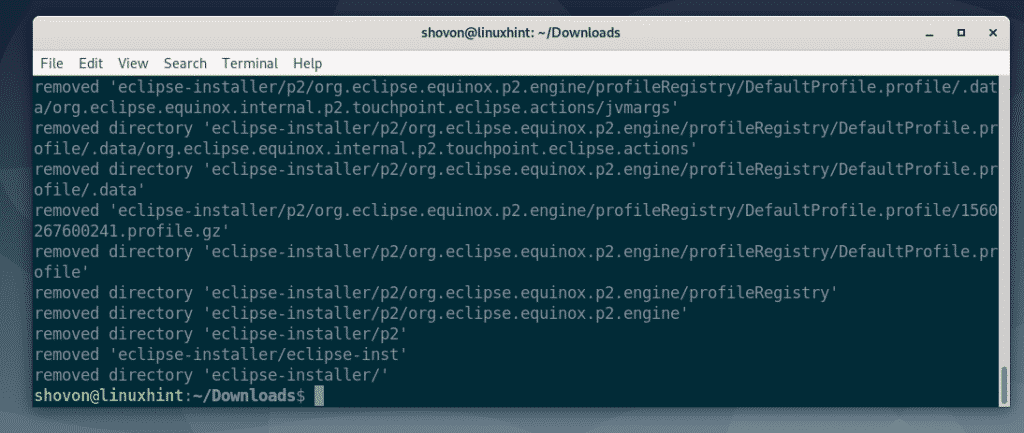
Now, remove the eclipse-installer/ directory with the following command:

Eclipse installer files should be removed.
Creating Eclipse IDE Desktop Shortcut:
Now, I am going to show you how to create a desktop shortcut for Eclipse IDE. This way, you can start Eclipse IDE very easily from the Application Menu of Debian 10.
First, create a new file eclipse.desktop in ~/.local/share/applications directory with the following command:

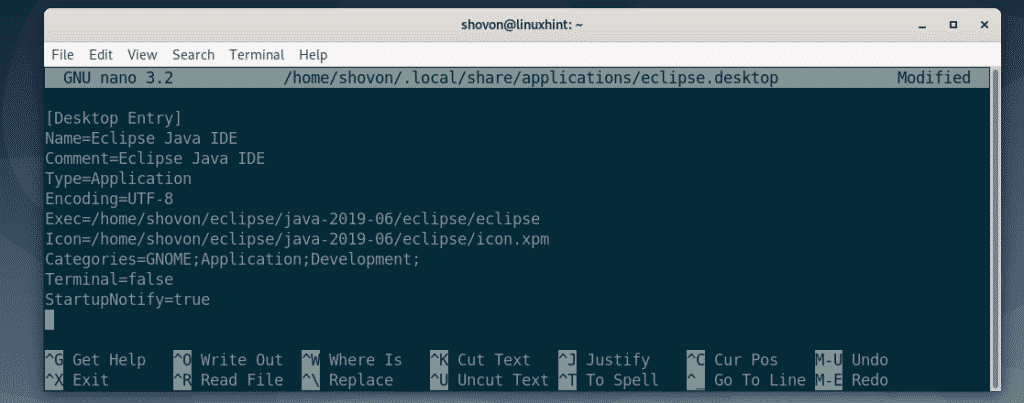
Now, type in the following lines in the new file.
Name=Eclipse Java IDE
Comment=Eclipse Java IDE
Type=Application
Encoding=UTF-8
Exec=/home/shovon/eclipse/java-2019-06/eclipse/eclipse
Icon=/home/shovon/eclipse/java-2019-06/eclipse/icon.xpm
Categories=GNOME;Application;Development;
Terminal=false
StartupNotify=true
NOTE: Change the bold text with the Installation Folder path of your Eclipse IDE.
The eclipse.desktop file looks as follows once all the lines are added to the file. Finally, save the file by pressing <Ctrl> + X followed by Y and <Enter>.
Now, add executable permission to the eclipse.desktop file with the following command:

Now, you should be able to find Eclipse IDE in the Application Menu of Debian 10 as you can see in the screenshot below. Click on it to start Eclipse IDE.

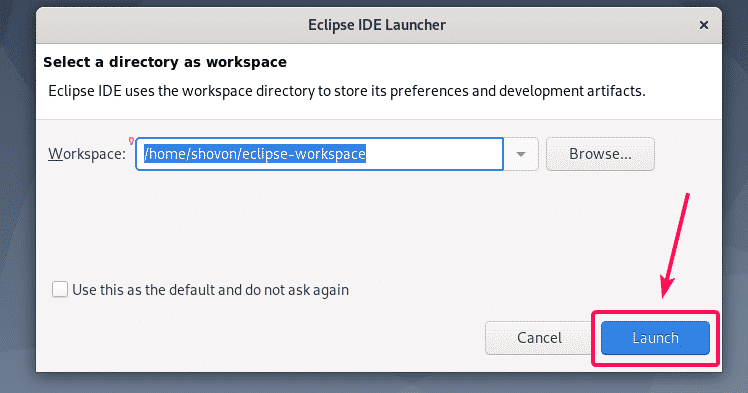
Now, select your workspace directory and click on Launch. If you want to set this workspace directory as default, then mark Use this as the default and do not ask again checkbox before you click on Launch.
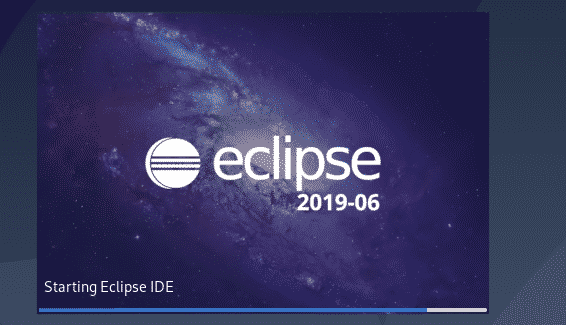
As you can see, the splash screen of Eclipse IDE is displayed. Eclipse IDE is loading.
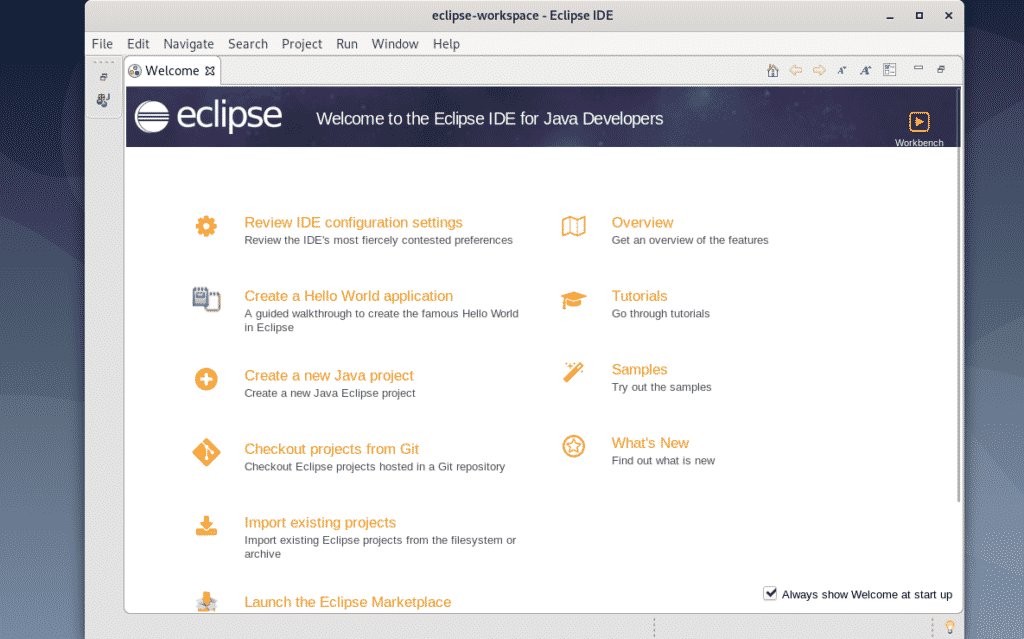
After a while, Eclipse IDE should start as you can see in the screenshot below.
So, that’s how you install Eclipse IDE on Debian 10. Thanks for reading this article.
