Enabling Hardware Virtualization Extension:
In order to install any type of hypervisor, you must enable hardware virtualization feature of your processor from the BIOS of your motherboard. Otherwise, your virtual machines will be very laggy and won’t perform as expected.
If you’re using an Intel processor, then the hardware virtualization feature is called VT-x or VT-d.
If you’re using an AMD processor, then the hardware virtualization feature is called AMD-v.
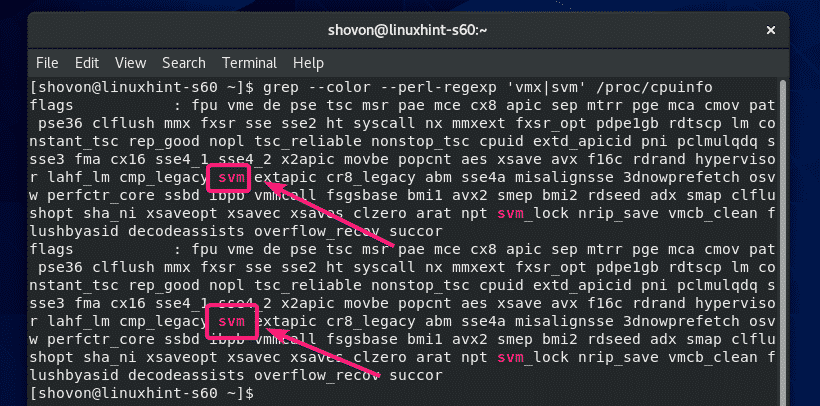
Once you enable hardware virtualization from the BIOS, start CentOS 8 and run the following command to confirm it.
As you can see, svm (for AMD) is available as a CPU feature in my case. I am using an AMD processor.
If you’re using an Intel processor, then the CPU feature will be called vmx.
Installing Required Tools for Building VirtualBox Kernel Modules:
Your CentOS 8 machine must have all the required tools installed in order to build VirtualBox kernel modules. Otherwise, VirtualBox won’t work.
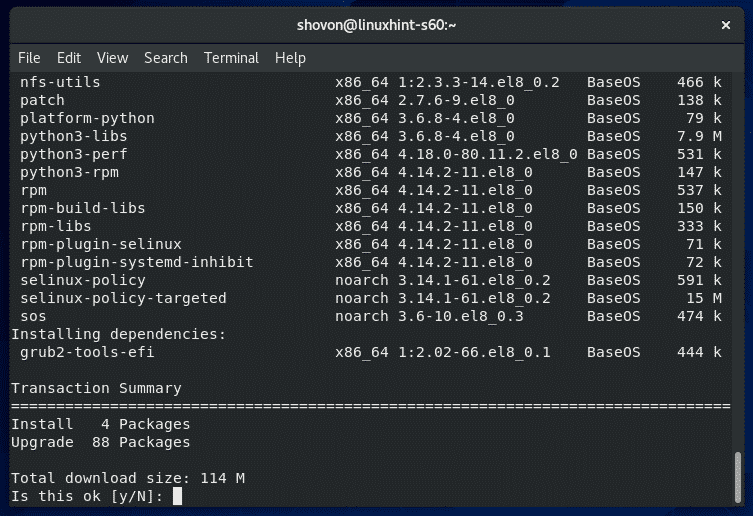
First, do a system update with the following command:
To confirm the installation, press Y and then press <Enter>.
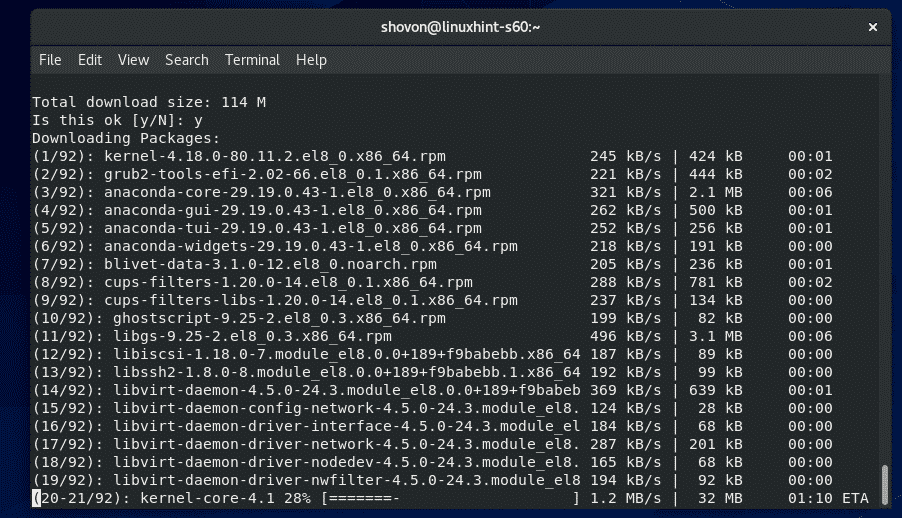
YUM will download and install all the required packages from the internet. It may take a while to complete.
At this point, the system update should be complete.
Now, reboot your CentOS 8 machine with the following command:
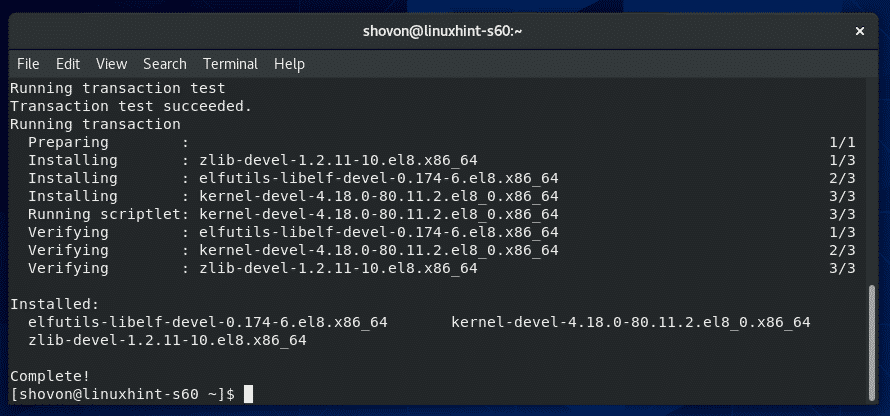
Once your CentOS 8 machine starts, install ELF utils and kernel development libraries with the following command:
Press Y and then press <Enter> to confirm the installation.
ELF utils and kernel development libraries should be installed.
Downloading VirtualBox 6:
VirtualBox is not available in the official package repository of CentOS 8. But, you can easily download it from the official website of VirtualBox.
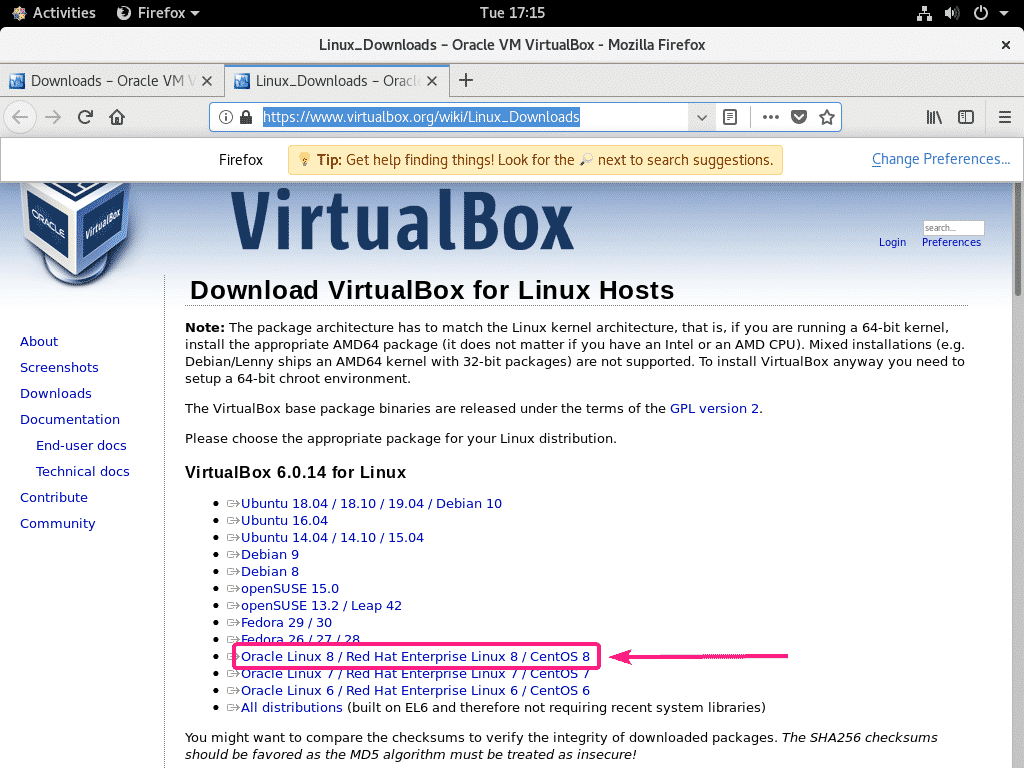
First, visit the official Linux download page of VirtualBox. Now, click on Oracle Linux 8 / Red Hat Enterprise Linux 8 / CentOS 8 link as marked in the screenshot below.
Your browser should prompt you to save the VirtualBox RPM package file. Select Save File and click on OK.
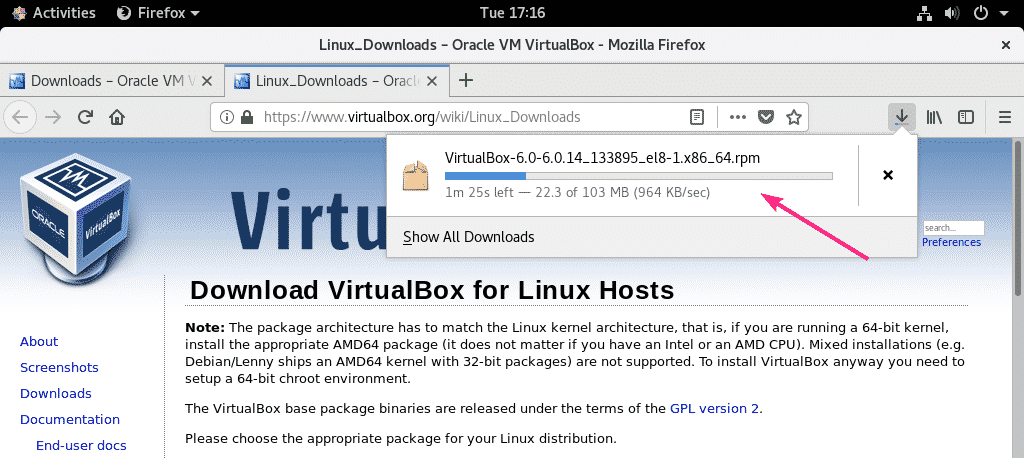
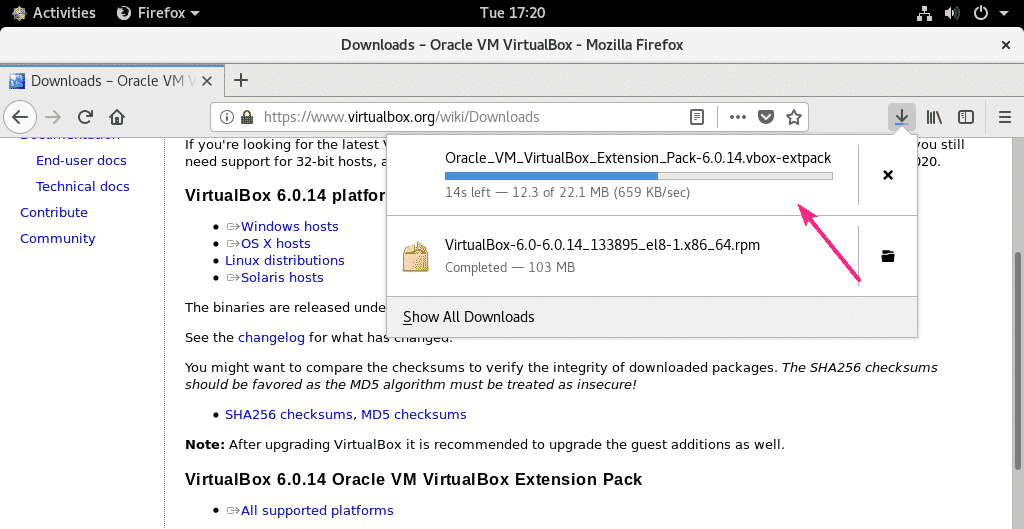
Your browser should start downloading VirtualBox RPM package file. It may take a while to complete.
Downloading VirtualBox 6 Extension Pack:
You should also download VirtualBox 8 Extension Pack.
First visit the official downloads page of VirtualBox. Then, click on All supported platforms link from the Oracle VM VirtualBox Extension Pack section as marked in the screenshot below.
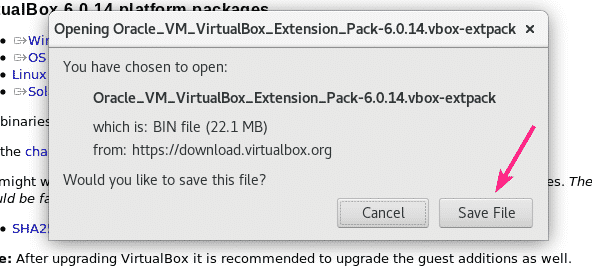
Your browser should prompt you to save the file. Click on Save File.
Your browser should start downloading VirtualBox Extension Pack file. It may take a while to complete.
Installing VirtualBox 6:
Once the download is complete, navigate to the ~/Downloads directory as follows:
You should find the VirtualBox-6.0-6.0.14_133895_el8-1.x86_64.rpm and Oracle_VM_VirtualBox_Extension_Pack-6.0.14.vbox-extpack file in this directory as you can see in the screenshot below.
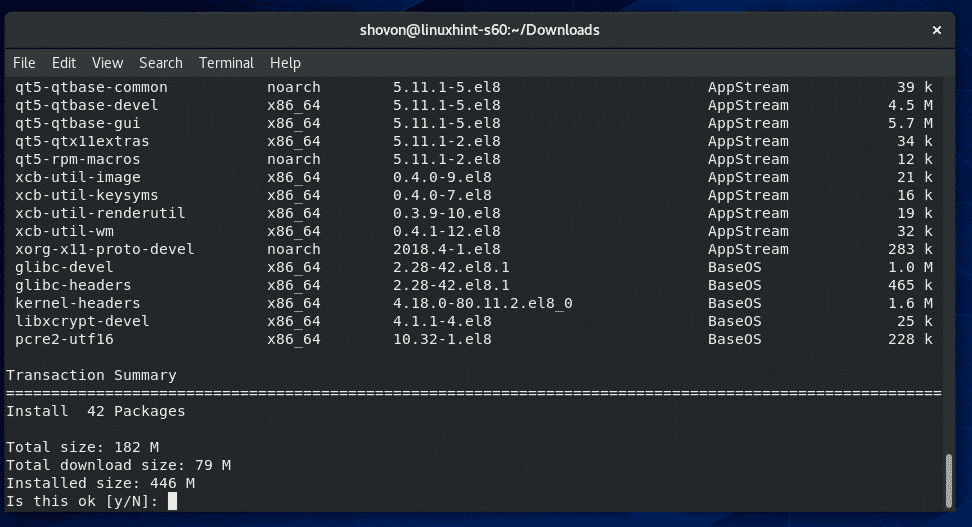
Now, install VirtualBox RPM package using YUM package manager as follows:
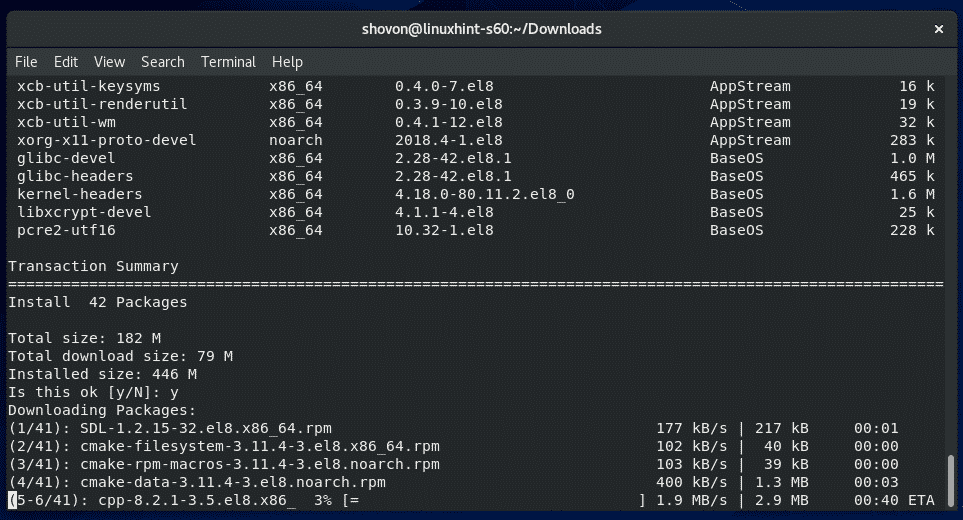
To confirm the installation, press Y and then press <Enter>.
YUM package manager will automatically download all the required dependency packages and install VirtualBox. It may take a while to complete.
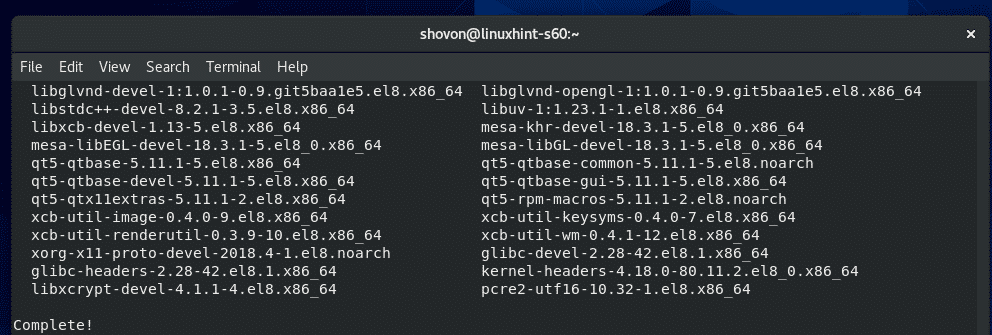
At this point, VirtualBox should be installed.
Now, to check whether VirtualBox is working correctly, run the following command:
As you can see, I am using VirtualBox 6.0.14. So, it’s working just fine.
Fixing Error Building Kernel Module:
If you did not install all the required tools to build VirtualBox kernel modules, then you may see the following WARNING message when you try to run VBoxManage –version command.
To solve this, make sure you install all the required tools to build VirtualBox kernel modules (as shown in the Installing Required Tools for Building VirtualBox Kernel Modules section of this article) and then run the following command to manually build the VirtualBox kernel modules.
The VirtualBox kernel modules should rebuilt.
Starting VirtualBox 6:
Now, you can find VirtualBox in the Application Menu of CentOS 8. Click on the VirtualBox icon.
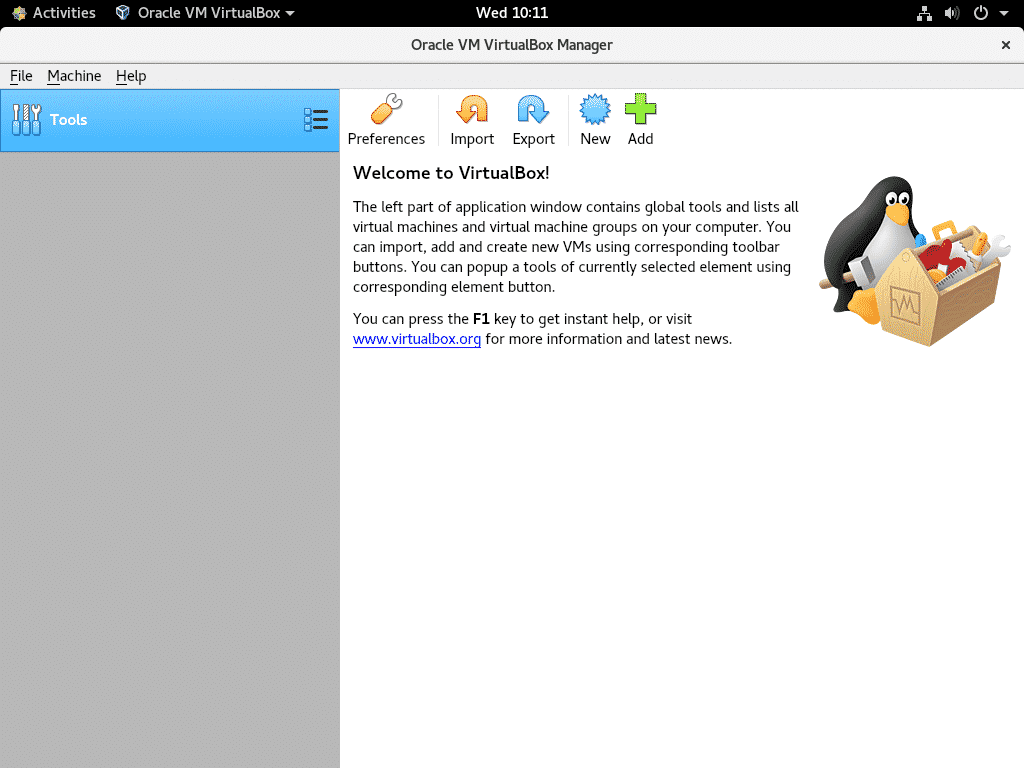
VirtualBox 6 should start.
Installing VirtualBox 6 Extension Pack:
VirtualBox Extension Pack adds some new functionalities to VirtualBox. i.e,
- USB 2.0 and USB 3.0 support
- Access host webcam
- VirtualBox RDP (Remote Desktop Protocol) server for accessing VMs over RDP.
- PXE boot ROM
- Disk encryption
- NVMe virtual SSD
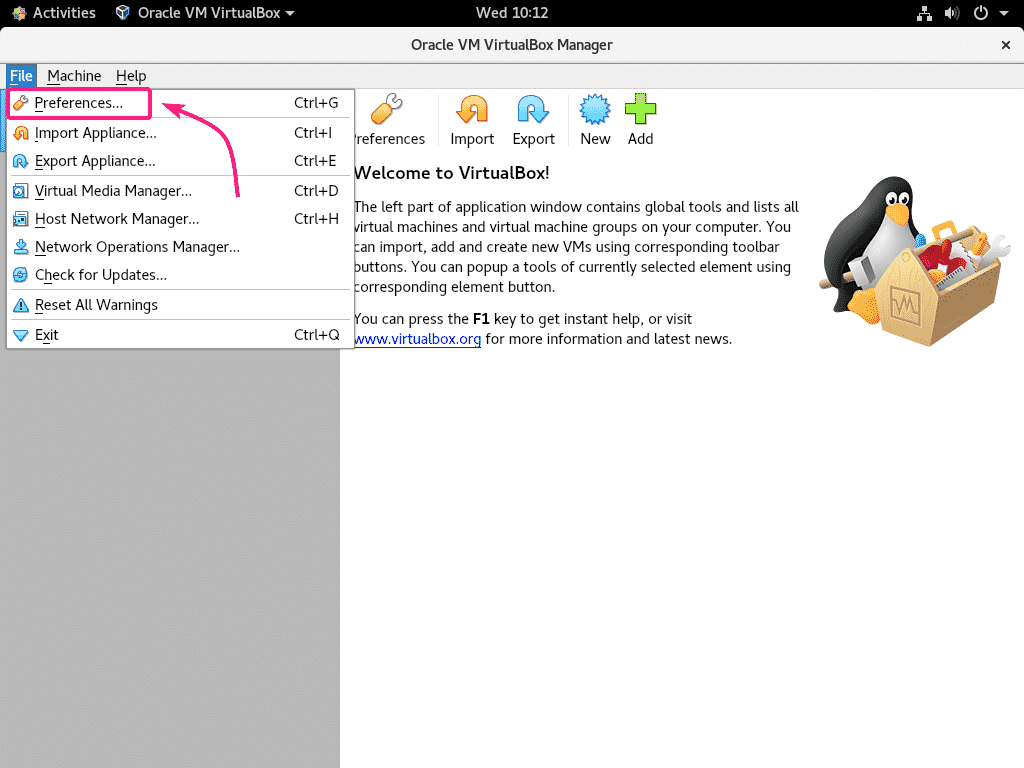
To install VirtualBox Extension Pack, go to File > Preferences…
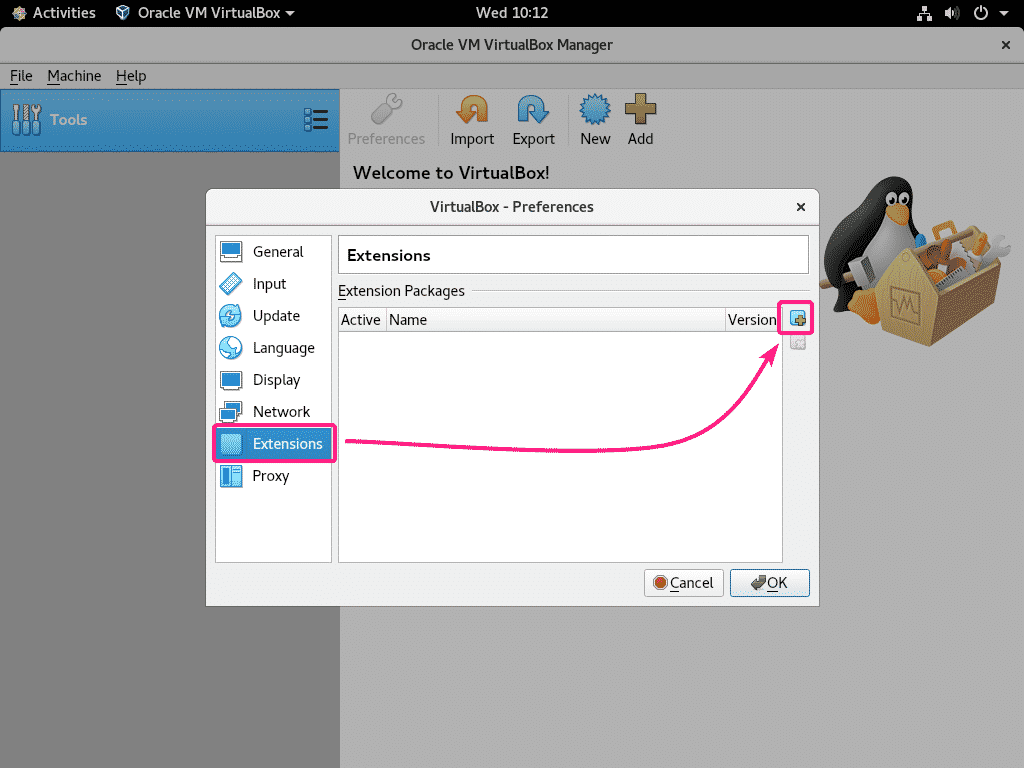
Then, go to Extensions and click on the + icon as marked in the screenshot below.
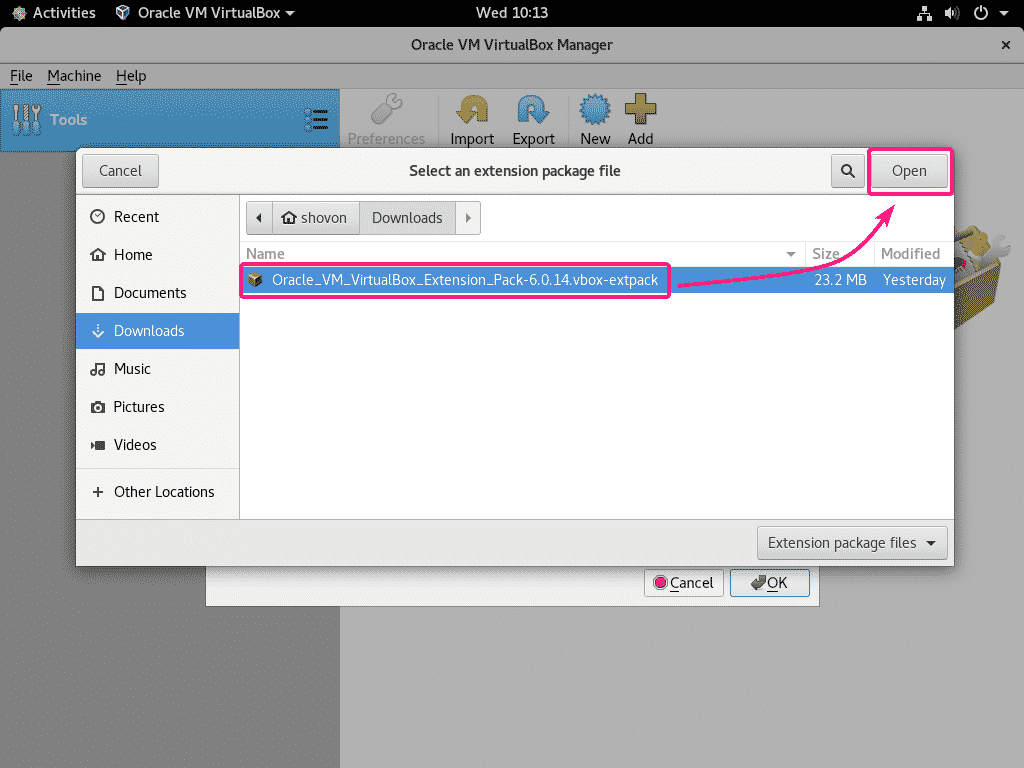
Then, select VirtualBox Extension Pack file that you’ve downloaded and click on Open.
Now, click on Install.
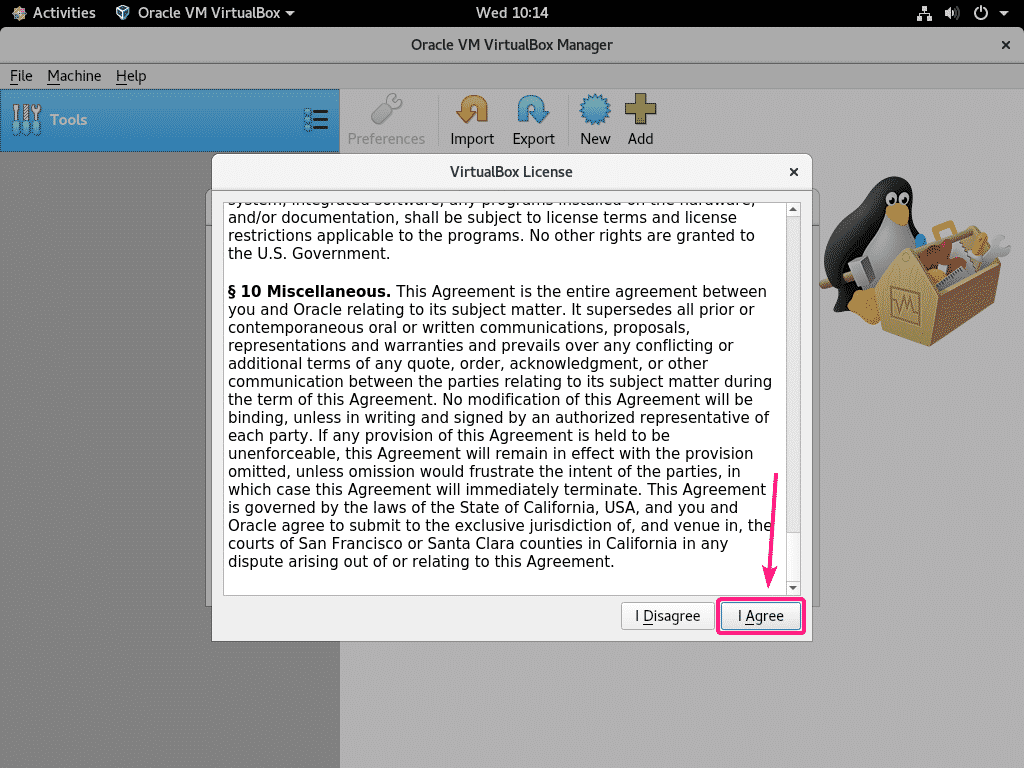
Scroll down all the way and click on I Agree.
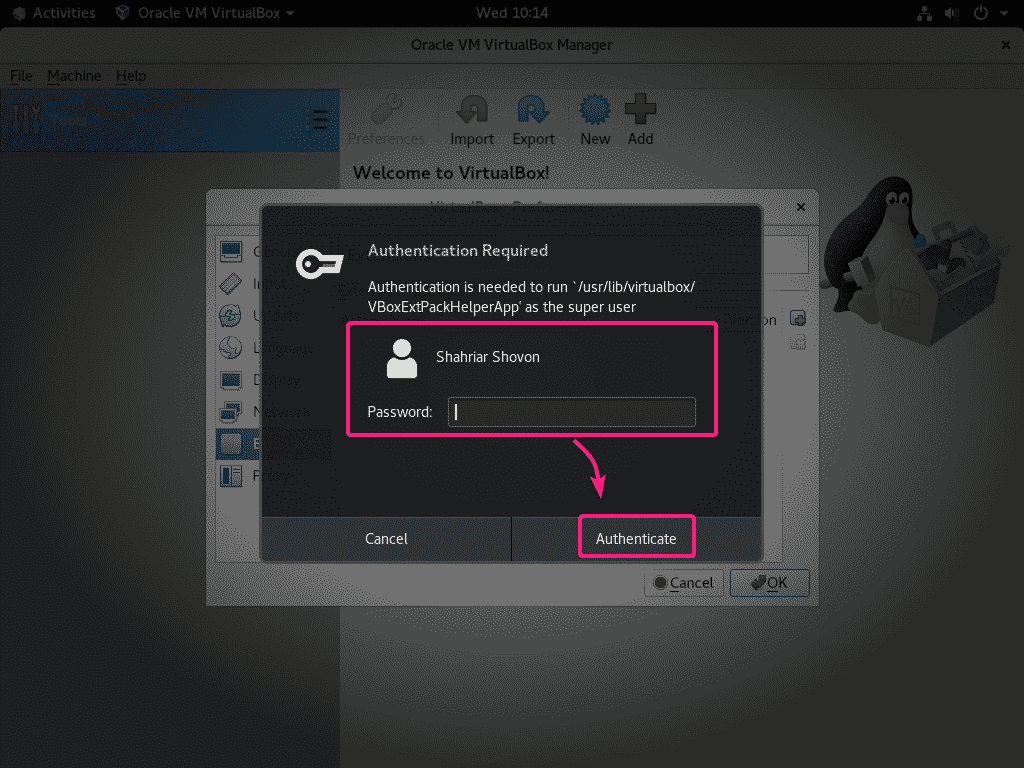
Type in your login password and click on Authenticate.
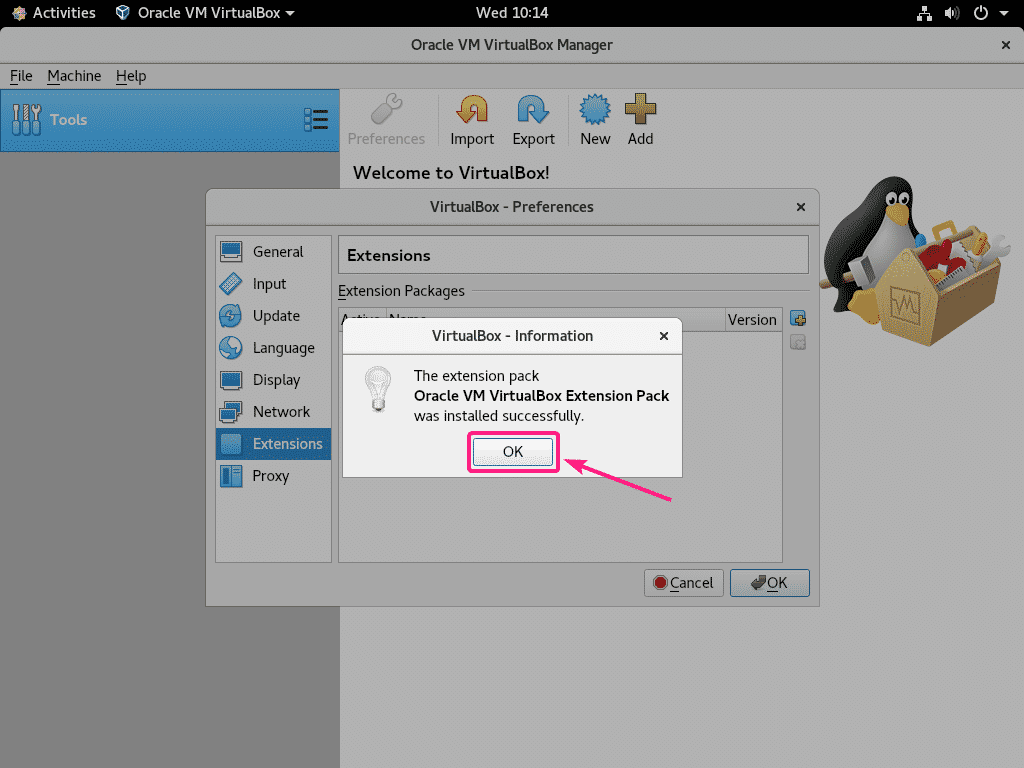
VirtualBox Extension Pack should be installed. Click on OK.
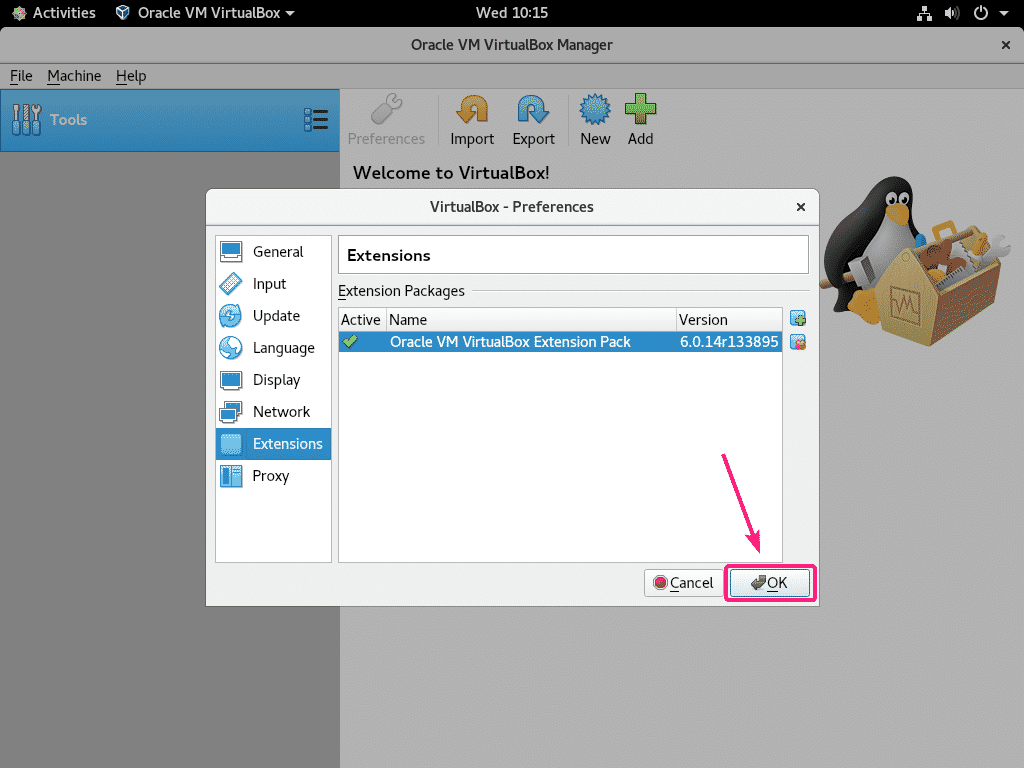
Now, click on OK.
That’s how you install VirtualBox 6 on CentOS 8. Thanks for reading this article.
