Install Sublime Text 3 on Ubuntu 17.10
Sublime Text is a very popular text editor for programmers and developers. It supports many programming languages. It supports syntax highlighting and it has different syntax themes as well as UI themes. The user interface of Sublime Text is very user friendly. Sublime text’s user interface is configurable. Another reason why people like Sublime Text is because it’s lightweight and fast compared to Atom, Brackets and many other text editors. Sublime Text needs less system resources to run. The user interface of Sublime Text is very responsive. Sublime text is also available on Windows, Mac and Linux. Being cross platform has its advantages. You can have the same experience on different operating systems if you have to switch for some reasons. So it’s a very efficient Text Editor for almost everything you may want to do.
In this article, I will show you how to install Sublime Text 3 text editor on Ubuntu 17.10 Artful Aardvark. Let’s get started.
Getting your System Ready:
Before we can install Sublime Text 3 on Ubuntu 17.10 Artful Aardvark, we have to configure the apt package manager, so it knows where to download Sublime Text 3.
First, we have to install the GPG key of Sublime Text repository. This is very important for package verification. You don’t have to verify packages manually; the package manager will verify the downloaded packages on its own if the GPG keys are available. To add GPG key of Sublime Text repository, run the following command:
wget -qO - https://download.sublimetext.com/sublimehq-pub.gpg | sudo apt-key add –
The package repository of Sublime Text only supports HTTPS protocol. So the package manager of Ubuntu, which is apt, needs to have https support enabled. To make sure we have everything set up, run the following command to enable HTTPS support on apt package manager:
sudo apt-get install apt-transport-https
Now we have to add the Sublime Text 3 repository to Ubuntu 17.10. There are two versions of Sublime Text 3 available, one is the Stable version, and the other is the Development version. Most of the people would want a Stable version, because it has less bugs and its less likely to crash. But if you want to test a new development release, you can try the Development version as well. Be warned, the Developer version has a lot of bugs and may crash very often.
In this article, I will add the Stable version repository. But you can add the Development repository as well. The steps are the same other than the commands for adding Stable and Development repositories.
NOTE: Don’t add both Stable and Development repositories at once. Add only one of them.
To add Stable repository, run the following command:
echo deb https://download.sublimetext.com/ apt/stable/ | sudo tee /etc/apt/sources.list.d/sublime-text.list

To add the Development repository, run the following command:
echo "deb https://download.sublimetext.com/ apt/dev/" | sudo tee /etc/apt/sources.list.d/sublime-text.list
Now we have to update the package repository cache of the apt package manager. To do that, run the following command:
sudo apt-get update
Installing Sublime Text 3:
Now we are all set to install Sublime Text 3. To install Sublime Text 3, run the following command:
sudo apt-get install sublime-text

It may take a while to download and set everything up depending on your Internet connection. Please wait until the command is complete.
Running Sublime Text 3:
Once the installation is complete, click on “Show Applications”.
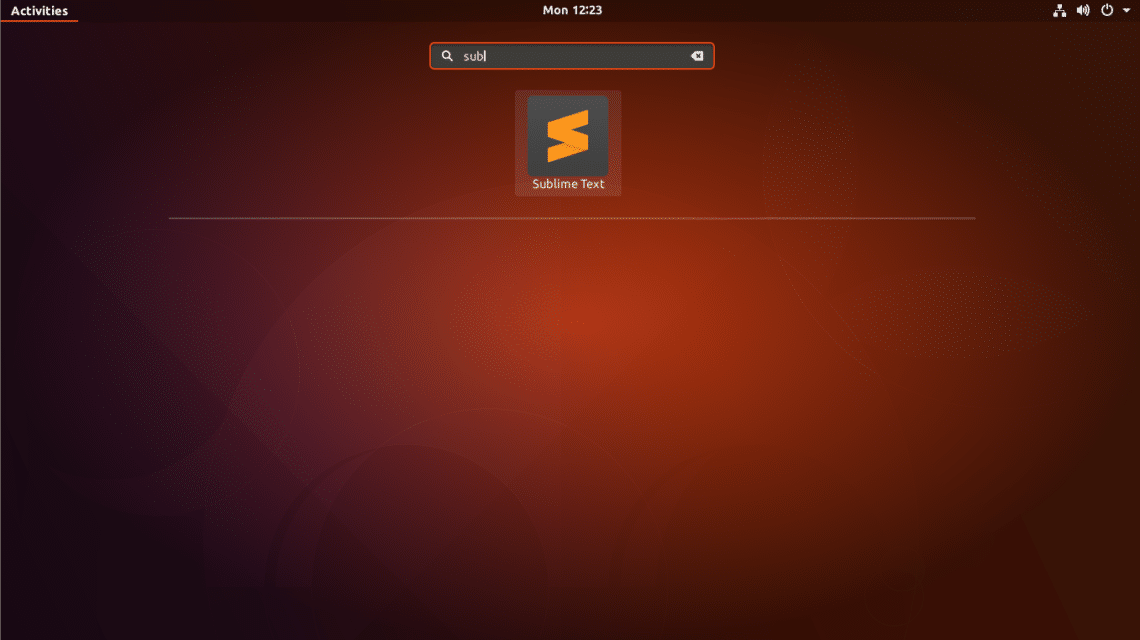
Then search for Sublime Text.
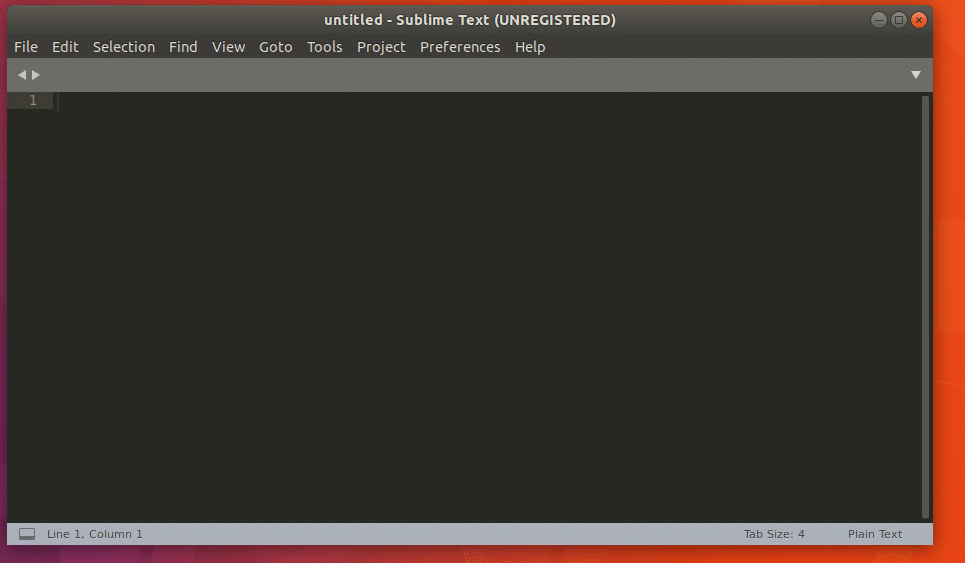
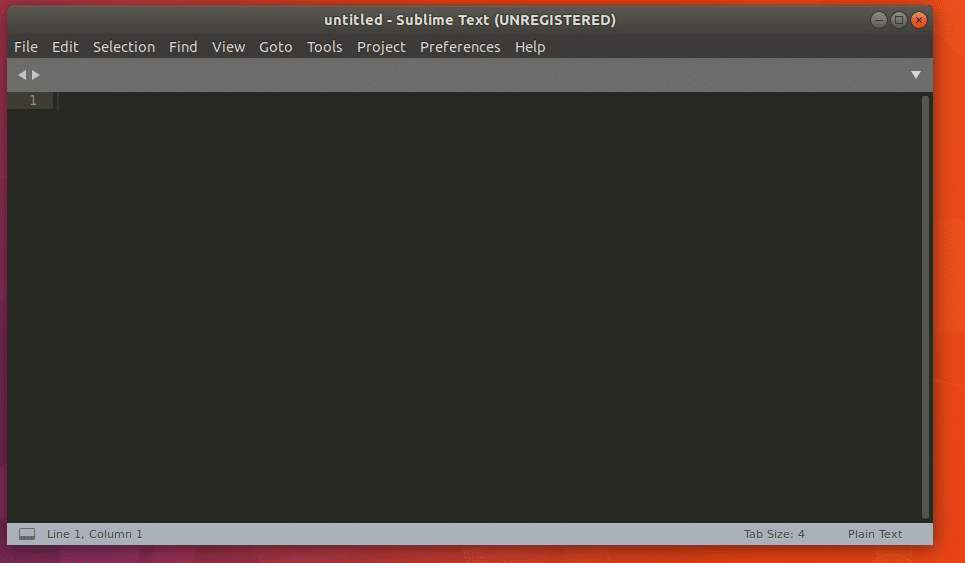
Then click on Sublime Text icon to run Sublime Text 3. Sublime Text should start as shown in the screenshot.
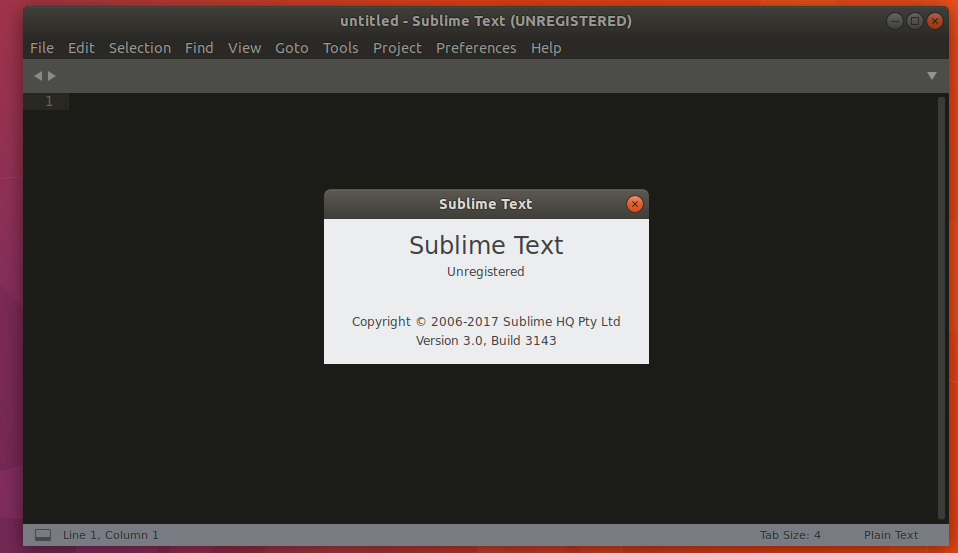
If you click on “Help” and then click on “About Sublime Text”, you should see the following window. You can see that; the version is 3.0
That’s how you install Sublime Text 3 on Ubuntu 17.10 Artful Aardvark. Thanks for reading this article.


