How to Install, Setup and Use Spotify on Arch Linux
Spotify is a free music streaming service. With Spotify, you can listen to millions of songs for free. In this article, I will show you how to install and use Spotify app on Arch Linux 2018. Let’s get started.
Installing Spotify on Arch Linux:
Spotify is not available in the official package repository of Arch Linux. The official Spotify app can be directly installed through apt package manager on Ubuntu/Debian based operating systems only. For other operating systems like Arch, Spotify is distributed as a snap package.
Arch removed snapd package from its official repository. But it’s still available as a AUR (Arch User Repository) package. Before you can install Spotify app, you must install snapd package from AUR.
To install packages from AUR, Git is required.
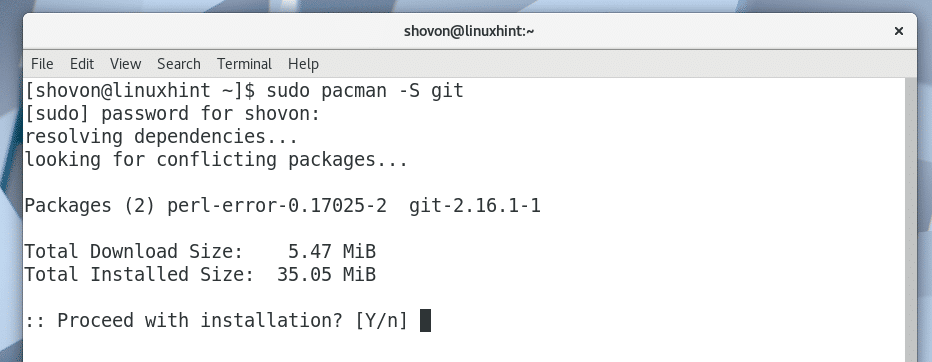
First install Git version control system with the following command:
Press ‘y’ and then press <Enter> to continue.
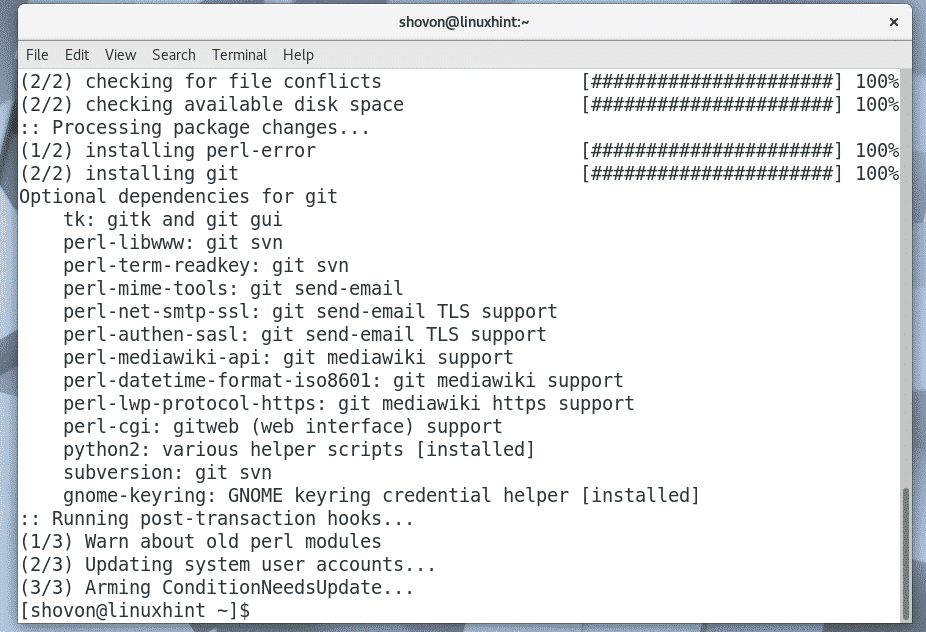
Git should be installed.
Now navigate to any directory. It can be a temporary directory like /tmp as well. I will navigate to the ~/Downloads directory on my user’s home directory.
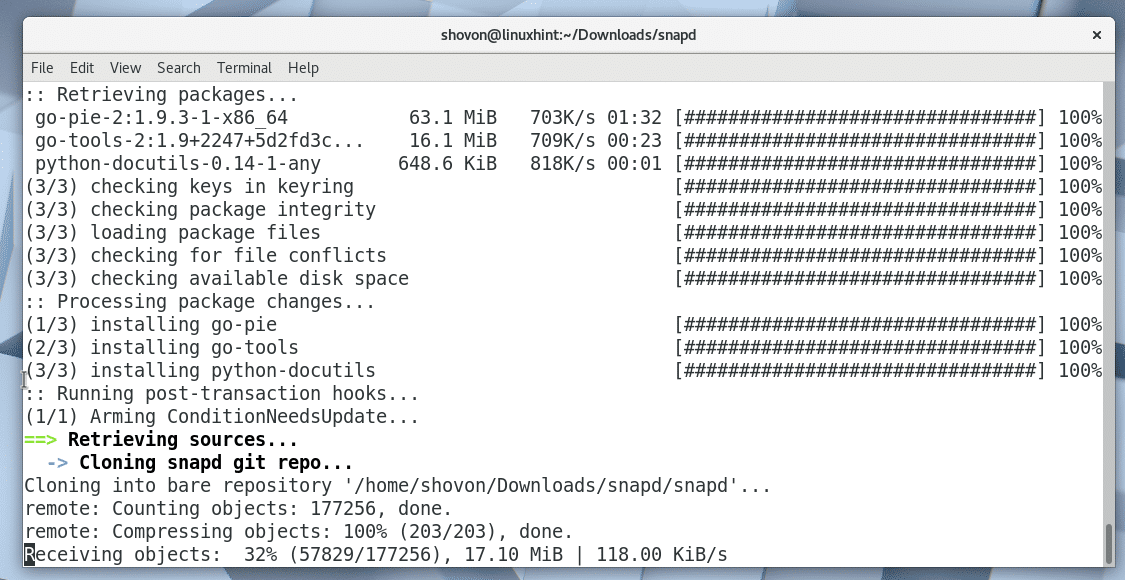
Now clone the snapd AUR repository with Git with the following command:
snapd AUR Git repository should be cloned.
A new directory snapd/ should be created.
Navigate to the newly created snapd/ directory with the following command:
Now you have to make a pacman package using snapd AUR repository. A utility makepkg is provided by default for this purpose.
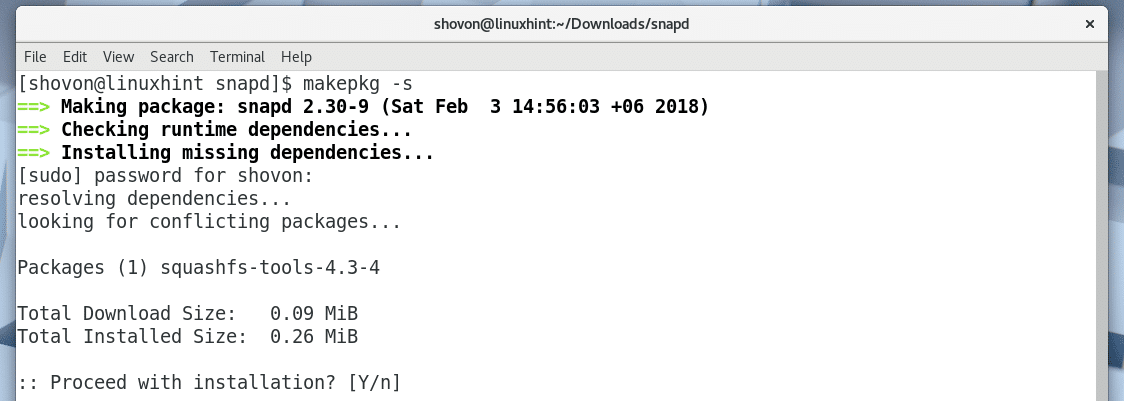
To make a pacman package of snapd AUR repository, run the following command:
Press ‘y’ and press <Enter> to continue.
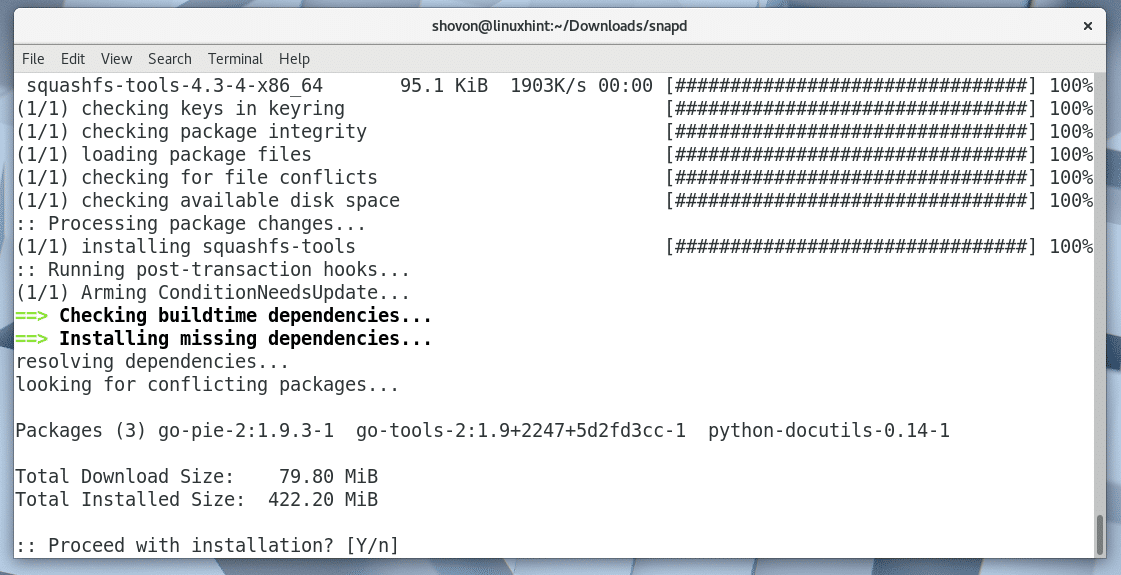
Press ‘y’ and press <Enter> again.
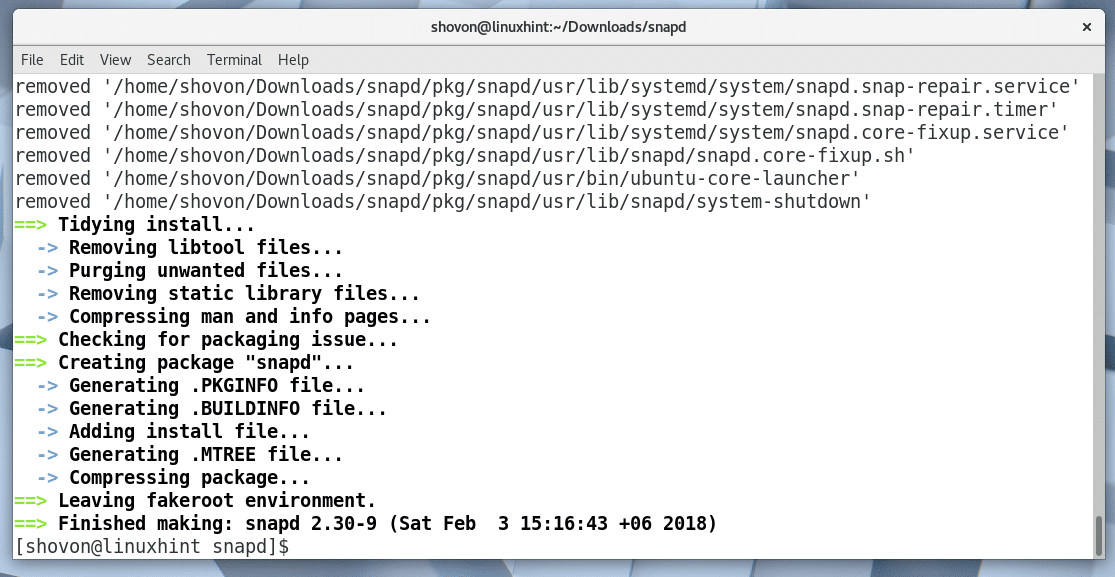
The snapd pacman package compilation process should continue.
The snapd pacman package compilation process.
The snapd package has been compiled for pacman at this point.
By Listing the directory contents with ls command, you should be able to see the following .tar.xz file as marked in the screenshot below. This is the file that you have to install using pacman package manager.
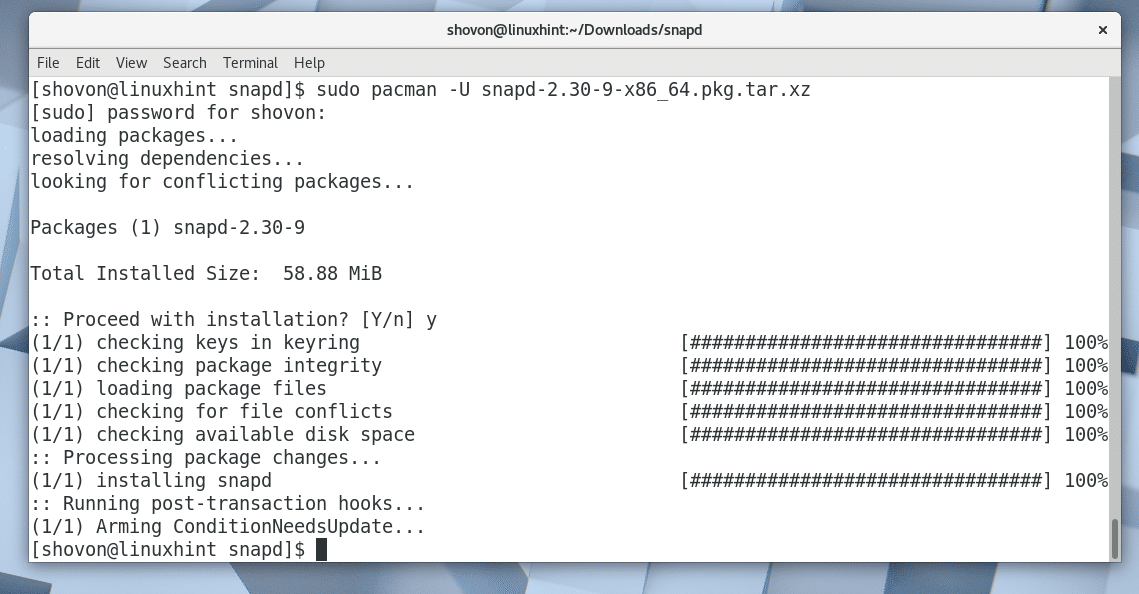
To install the snapd .tar.xz package using pacman, run the following command:
Note that the file name may change by the time you read this article.
Press ‘y’ and then press <Enter> to continue.
snapd should be installed.
Now you add snapd service to the startup of Arch Linux. So it will start automatically when your computer boots.
To add snapd service to the startup, run the following command:
As you can see from the following screenshot, snapd service is added to the startup.
Now restart your computer with the following command:
Once your computer boots, run the following command to check whether snap and snapd is working:
As you can see from the screenshot below, snap and snapd are both working correctly and the version installed as of this writing is 2.30. If you forgot to enable snapd service, then you should see some errors here.
Now you can install Spotify as snap package with the following command:
Spotify should be installed.
Once Spotify is installed, you should be able to find Spotify in the Application Menu as shown in the screenshot below.
Click on the Spotify.
Spotify should start as shown in the screenshot below.
If you don’t have a Spotify account, you can create one by clicking on the ‘SIGN UP’ button as marked in the screenshot below.
You can also login to Spotify using your Facebook account.
Using Spotify:
In this section, I will show you how to use Spotify.
Once you login to Spotify through the app, it should look like as shown in the screenshot below.
You can search for a music through the search bar as marked in the screenshot below.
For example, I searched for avril I love you music and as you can see from the screenshot below that song is found.
Now click on the result.
The album where the song belongs to should be opened.
You should be able to find the song you are looking for in the list. You may need to scroll down a little bit if the list is long. Once you find what you are looking for, you can hover over the song and click on the play button as shown in the screenshot below.
The song should be playing as you can see from the screenshot below.
You can click on the plus icon to add the song to the Library.
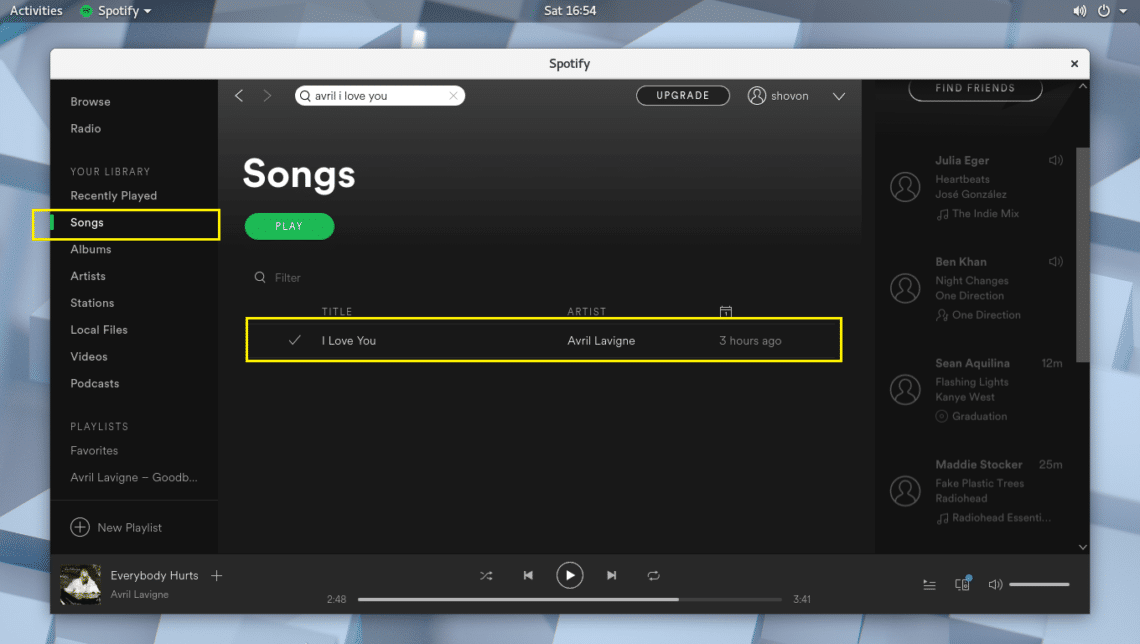
Once the song is added to the library, you should see a tick mark icon as marked in the screenshot below.
Once you add a song to the Library, you can click on the Songs Library and find the song you added as marked in the screenshot below.
You can also add the whole Album to the Library. Just click on the Save button as marked in the screenshot below.
The Album should be saved to the Library.
You can click on the Albums Library and you should be able to find the Album you just added as marked in the screenshot below.
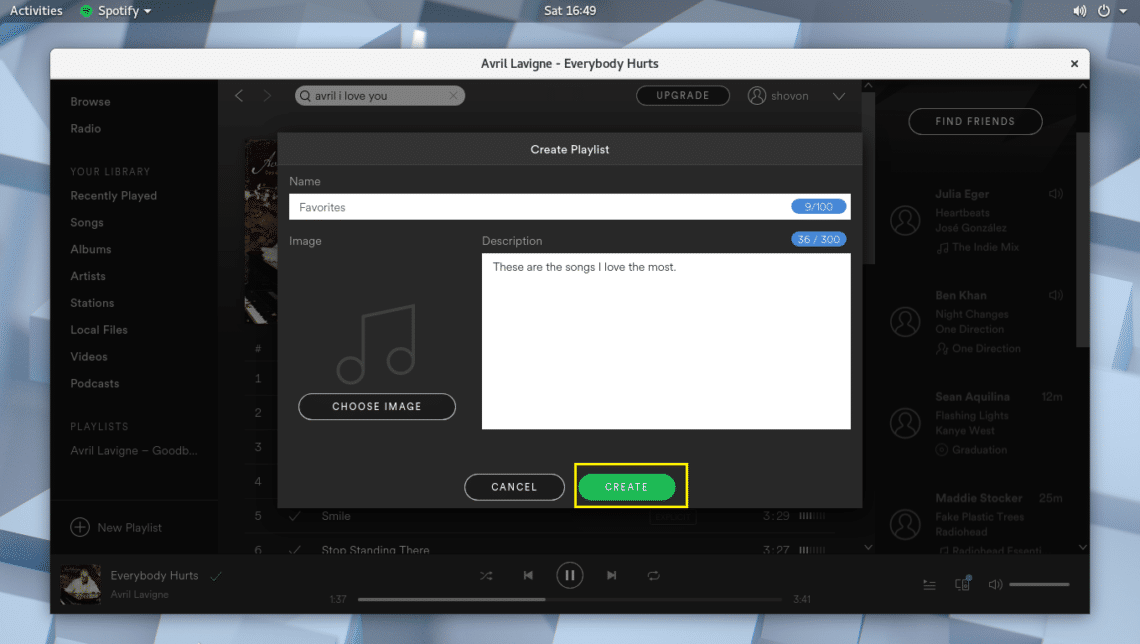
You can also create a new playlist in Spotify where you can add all your desired songs. To create a new Playlist, just click on the marked button as shown in the screenshot below.
You should see the following window. Here you can type in a name for your Playlist, a short description and also pick an image as marked in the screenshot below.
Once you’re done, click on Create and your playlist should be created.
Now you can click on the marked icon as shown in the screenshot below.
And add your music to the playlist.
There are a lot more things you can do with Spotify app. But it’s out of the scope of this article.
Anyway, that’s how you install and use Spotify on Arch Linux 2018. Thanks for reading this article.


