In this article, I will show you how to install Rancher OS on your computer. I will be using a VMware virtual machine to show you how to install Rancher OS on your hard drive. But you can easily install it Bare-Metal (on real computers) with just a few changes that I think you will be able to figure out on your own. So, let’s get started.
System Requirements:
To install Rancher OS, you should have,
- Working internet connection.
- A computer or Virtual Machine with at least 2GB of RAM for installing Rancher OS.
Downloading Rancher OS:
You can download an ISO installer image of Rancher OS from the official GitHub repository of Rancher OS. To download the Racher OS ISO image, go to the official GitHub repository of Rancher OS at https://github.com/rancher/os/releases and navigate to the Latest release section.
Now, click on the rancheros.iso link as marked in the screenshot below.

Your browser may prompt you to save the Rancher OS ISO image. Click on Save File.
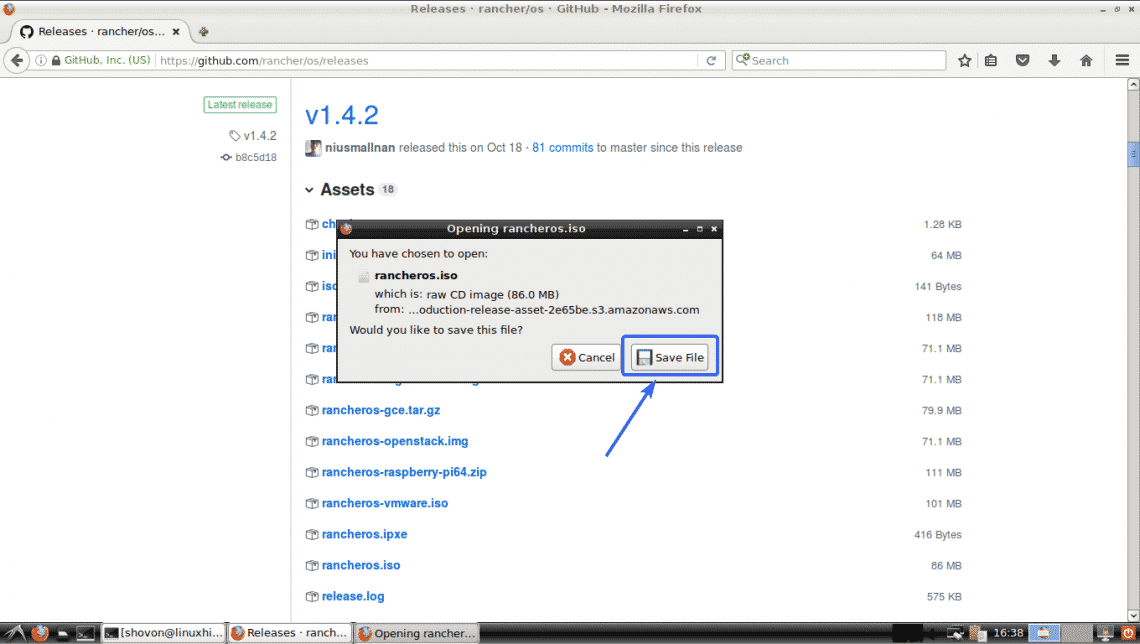
Your browser should start downloading Rancher OS ISO image.

Making Bootable USB of Rancher OS:
If you’re running Windows, then you can use Rufus to create a bootable USB thumb drive of Rancher OS. Rufus can be downloaded from the official website of Rufus at https://rufus.ie/en_IE.html
It’s out of the scope of this article to show you how to make a bootable USB of Rancher OS using Rufus. But, you should be able to do it on your own. If you need any help, then you can read the following article at LinuxHint.com where I demonstrated the process of making a bootable USB thumb drive using Rufus.
- Install Elementary OS 5 Juno (https://linuxhint.com/install_elementary_os_5_juno/)
If you’re using Linux, then you can use the dd command to make a bootable USB of Rancher OS as follows:
NOTE: Here, sdX is the USB thumb drive. You can find out what it is with the lsblk command.
Generating SSH Public and Private Keys:
Before you install Rancher OS on your computer or virtual machine, you have to generate SSH public and private key pairs on your computer from where you are planning to access Rancher OS. Because, by default, Rancher OS won’t let you login using password.
On Linux, you can generate SSH public and private key pairs with the following command:

Now, press <Enter> to continue.

Then, Press <Enter>.

Press <Enter> again.

SSH public and private key pairs should be generated.
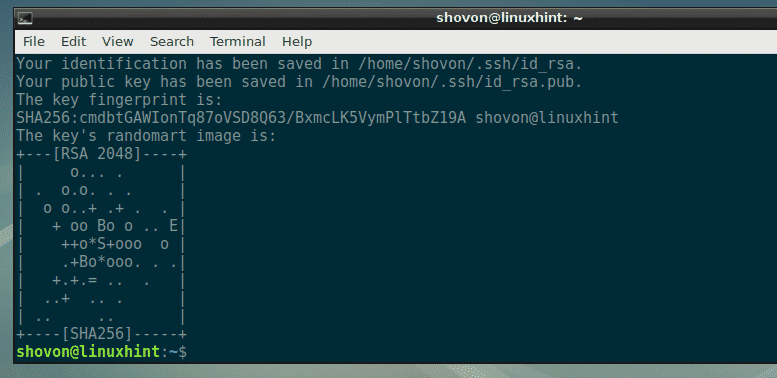
If you’re using Windows, then you can also use GitBash (can be downloaded for free from https://git-scm.com/downloads) to generate public and private SSH keys the same way.
You can use PuTTY to generate public and private key pairs on Windows. But it is out of the scope of this article to show you how.
Creating cloud-config.yml Configuration File:
Now, you have to create a cloud-config.yml configuration file. In this file, you have to add your public SSH key and the necessary details for configuring network on Rancher OS.
The format of the cloud-config.yml file is as follows. Make sure to change the configuration file depending on your specific setup.
rancher:
network:
interfaces:
eth0:
address: 192.168.2.6/24
gateway: 192.168.2.1
dhcp: false
dns:
nameservers:
– 192.168.2.1
– 8.8.8.8
ssh_authorized_keys:
– <Replace this with the contents of the `cat ~/.ssh/id_rsa.pub` command>
The output of the `cat ~/.ssh/id_rsa.pub` command in my case is as follows:

So, the final cloud-config.yml file in my case looks like this.

Booting Rancher OS from the ISO image:
Now, attach the ISO image on your virtual machine or insert the USB thumb drive on your computer and select it from the BIOS of your computer. Once you see the following window, press <Enter>.
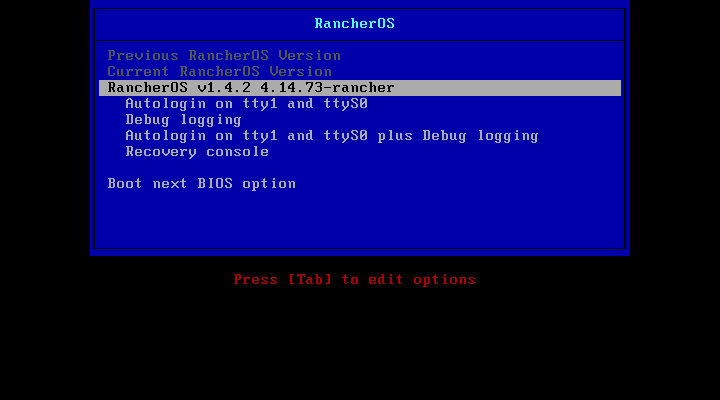
As you can see, Rancher OS is booting.
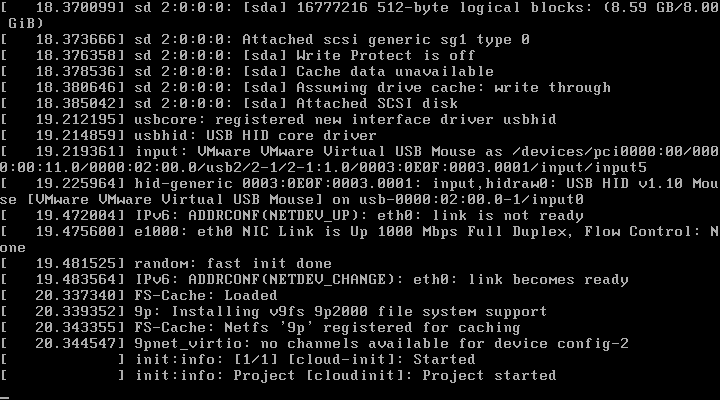
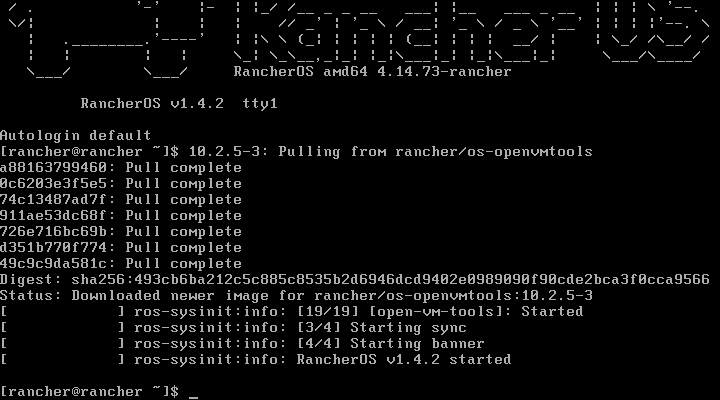
After a while, you should be logged into Rancher OS as you can see in the screenshot below.
Installing Rancher OS on Hard Drive:
First, setup a password on Racher OS installer with the following command:
Now, type in a password and press <Enter>. The password doesn’t have to be secure as it’s an installer.

Now, retype the password and press <Enter>.

The password should be set.

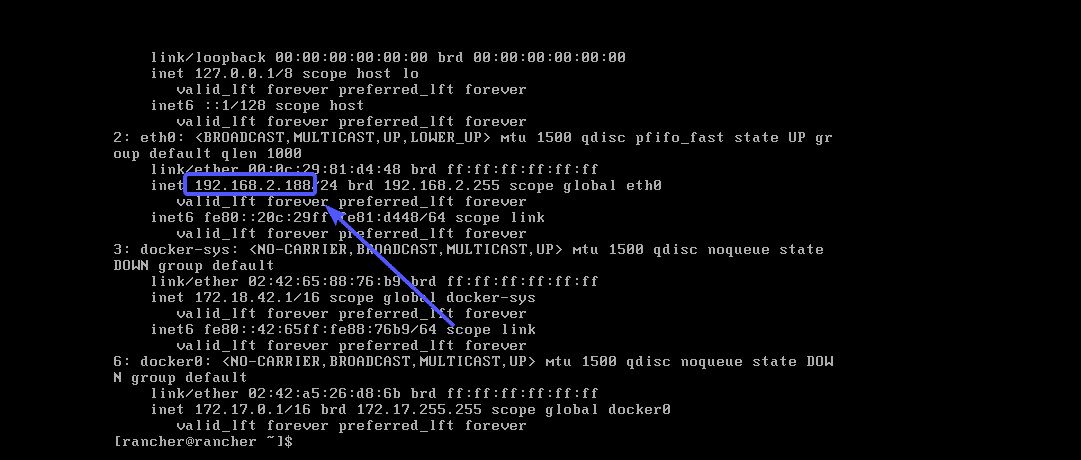
Now, find out the IP address of the Rancher OS installer with the following command:
As you can see, the IP address in my case is 192.168.2.188. It should be different in your case. Make sure you replace it with yours from now on.
Now, SFTP into your Rancher OS installer with the following command:

Now, type in yes and press <Enter>.

Now, type in the password that you just set and press <Enter>.

Now, you’re ready to transfer cloud-config.yml file to your Rancher OS installer from your computer.

As you can see, the cloud-config.yml file is available in the HOME directory of my computer.

To send it on the Rancher OS installer, just type in the following command:

Now, exit out of the SFTP session with the following command:

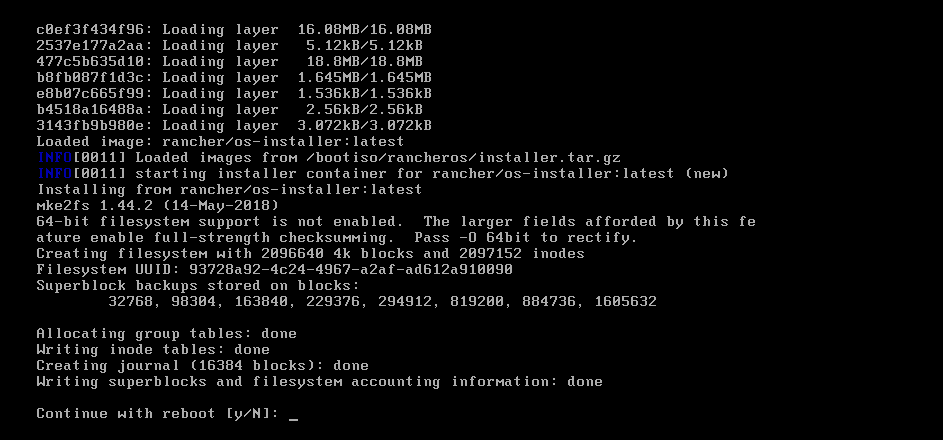
Now, from the Rancher OS installer console, run the following command to install Rancher OS on your hard drive:

Now, press y and then press <Enter>.

Rancher OS should be installed on your hard drive. Once it’s done, press y and then press <Enter> to reboot.
As you can see, Rancher OS booted from the hard drive and the network interface is configured correctly.
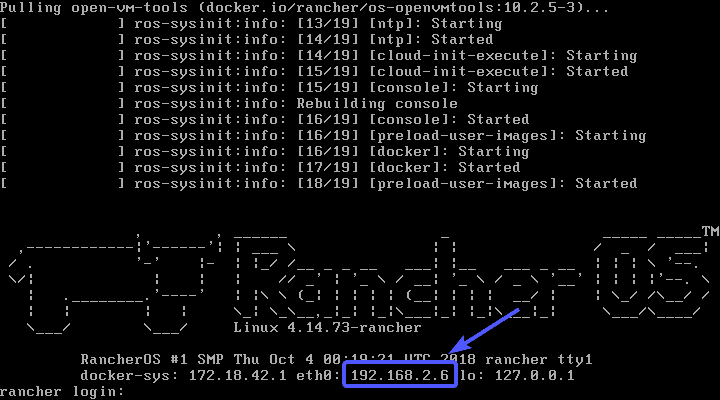
Now, you can SSH into Rancher OS as follows:
As you can see, I am connected and it didn’t prompt me for a password.

All the Docker commands are available on Rancher OS by default.

If you want to SSH into Rancher OS from any computer on your network, just setup a password with the following command as before:
Now, you should be able to SSH into your Rancher OS machine using user rancher and your password.
So, that’s how you install Rancher OS on your computer. Thanks for reading this article.
