Install Nvidia Optimus Drivers on Linux Mint 18.2
In this article, I will show you how to install Nvidia drivers on Linux Mint 18.2 with Optimus supported graphics card. Most of the new Laptops/notebooks these days have Optimus supported graphics card installed. The reason is that; Nvidia Optimus technology lets a device run in hybrid graphics mode. In hybrid graphics mode, you only use Nvidia high performance graphics card when you need it. Otherwise, you use the Intel HD Graphics if you’re using an Intel processor.
I am using ASUS Zenbook UX303UB for the demonstration in this article. It has Nvidia GeForce 940M Optimus Supported Graphics Card and Intel HD Graphics 520. So let’s get started.
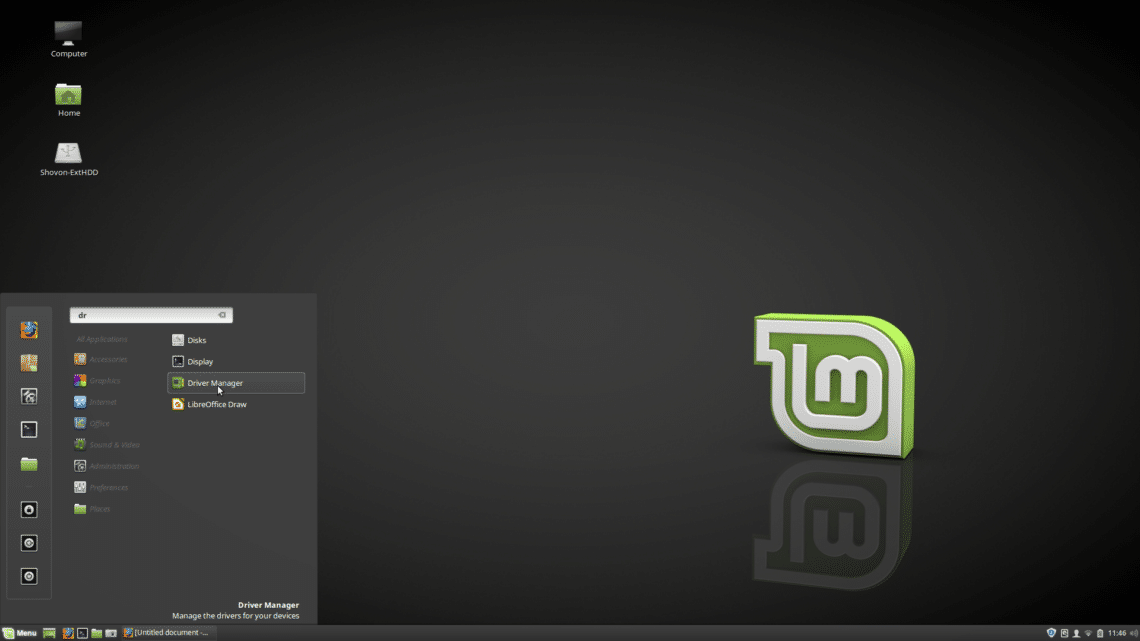
You can install Nvidia drivers from “Driver Manager”. Click on Linux Mint “Menu”  and search for “driver” and you should see “Driver Manager” on the list.
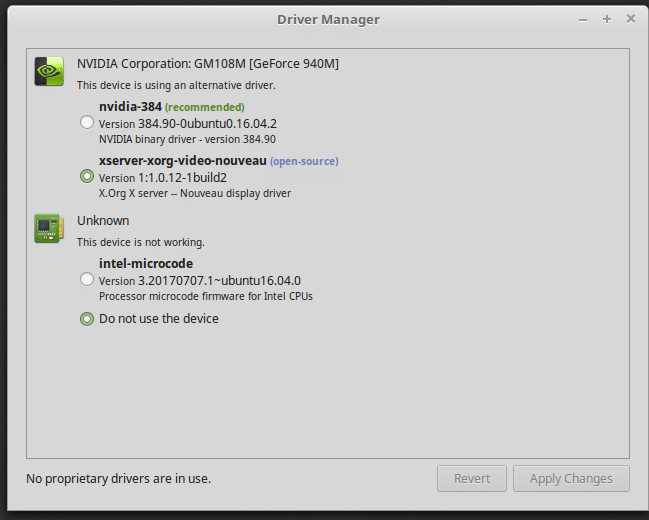
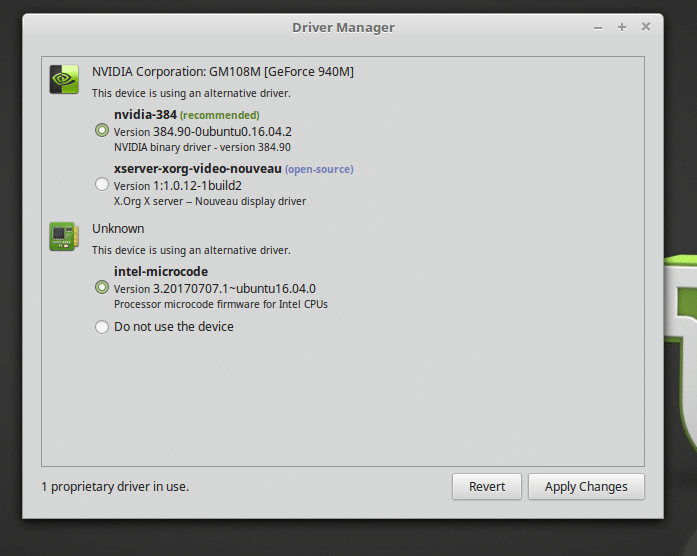
Open “Driver Manager” and you should see a list of the proprietary hardwares you’re using.
As you can see, I have Nvidia GeForce 940M graphics card installed on my computer. Linux Mint is now using the open source nouveau driver. To install Nvidia drivers, click on ‘nvidia-384 (recommended)’ and click on Apply changes.
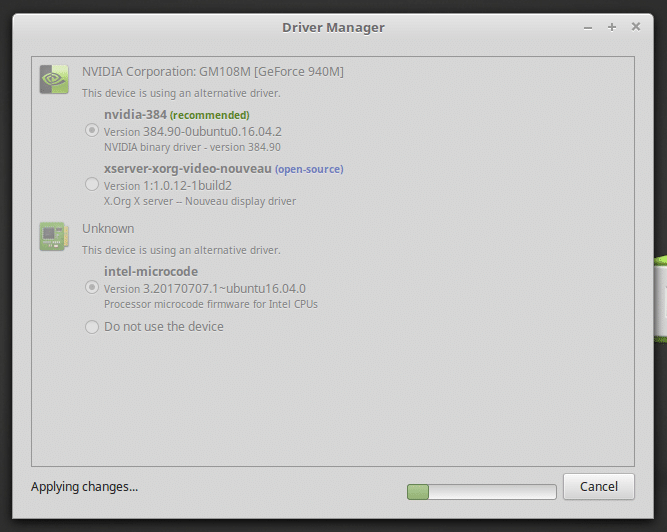
The installation should begin. It should take several minutes depending on your internet connection.
Once the installation is complete, just click on “Restart” to restart your computer.
Once the computer boots, you should see the following window.
Have you noticed any difference? Take a look at the panel. You should see Nvidia icon.
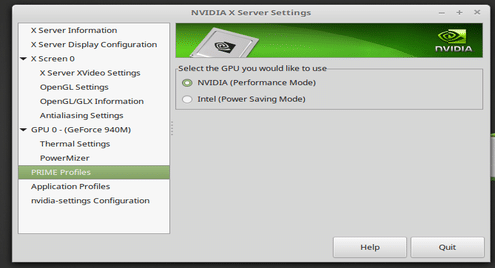
Click on the Nvidia icon from the panel, and it should open Nvidia settings.
You can see that Nvidia GPU is active. If you select the Intel GPU if you want as well.
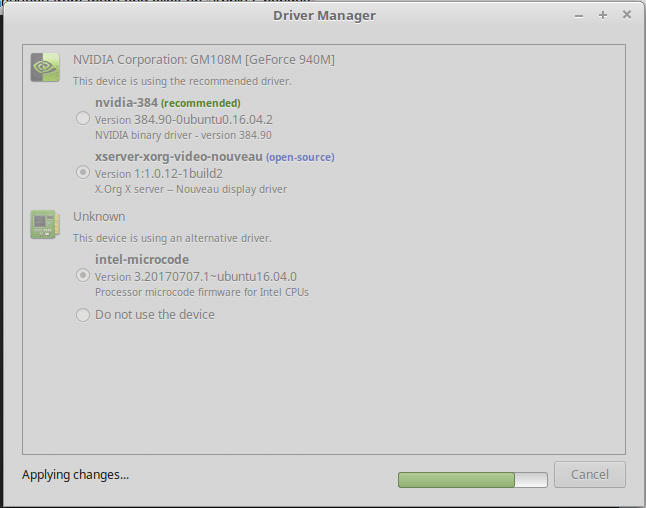
If you want to use the open source nouveau drivers again, just open “Driver Manager” as select nouveau from there and click on “Apply Changes”.
It should take a minute to configure everything.
Once the changes are applied, you should be able to see a “Restart” button. Click on it and wait till your computer restarts.

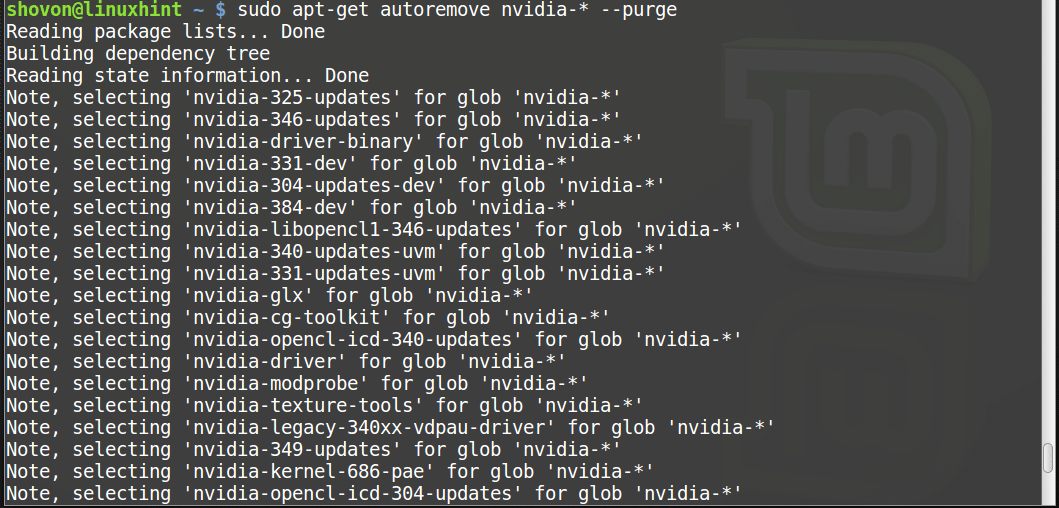
To completely uninstall Nvidia drivers, open your terminal and run the following command:
sudo apt-get autoremove nvidia-* --purge
Type in ‘y’ and press to continue. Nvidia drivers should be uninstalled.
Now restart your computer and you’re good to go.
That’s how you install and uninstall Nvidia drivers on Linux Mint 18.2. Thanks for reading this article.
