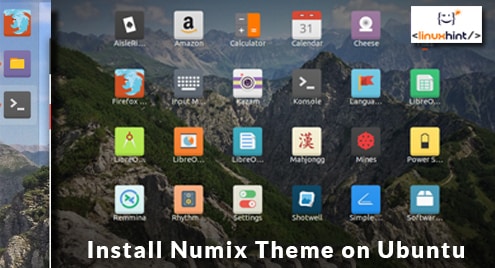
In this tutorial, let’s check out on the installation and activation procedure of the well-reputed Numix GTK theme. There are also other GTK themes out there, for example, Vimix, and Vertex, etc.
Numix theme
Numix is a popular GTK theme for Linux system. It’s a flat theme with a nice combo of light and dark elements. As it’s a GTK theme, all the desktop environments that use GTK for theming, for example, GNOME, Xfce, Unity, and Openbox, etc. will support Numix. At least, these desktop environments are officially supported by Numix.
Note: Numix is a modern GTK theme that requires GTK v3 or higher. If your system doesn’t support GTK v3 (it should), then Numix won’t be available for you.
Installation
There are 2 ways you can install this theme.
From Ubuntu repo
It’s the simplest way you can install this theme. All you have to do is tell APT to do the job. Everything else will be taken care of.
At first, you need to make sure that the APT cache is up-to-date. Run the following command.

In my case, there are some upgrades pending. Let’s upgrade them first.
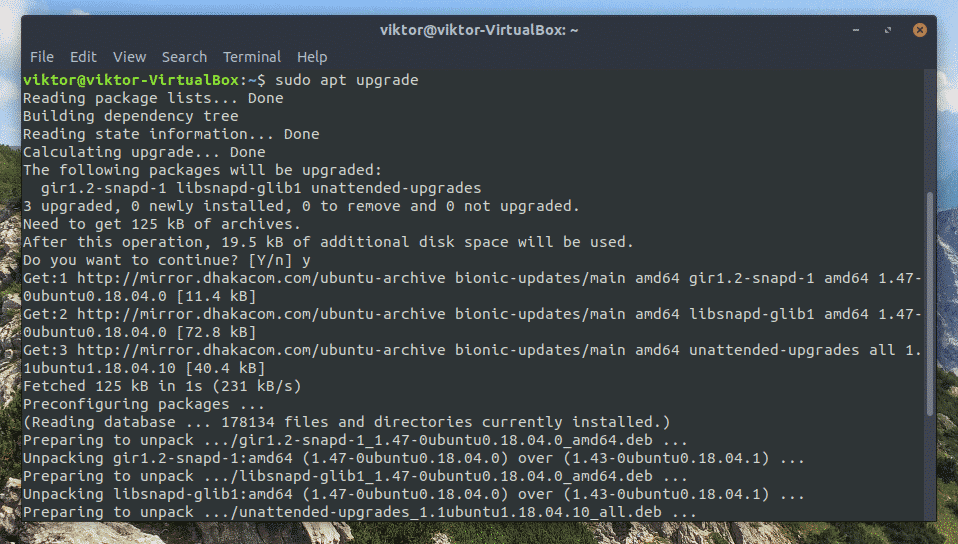
Now, your system is ready to grab the Numix theme from the repository. Run the next command.
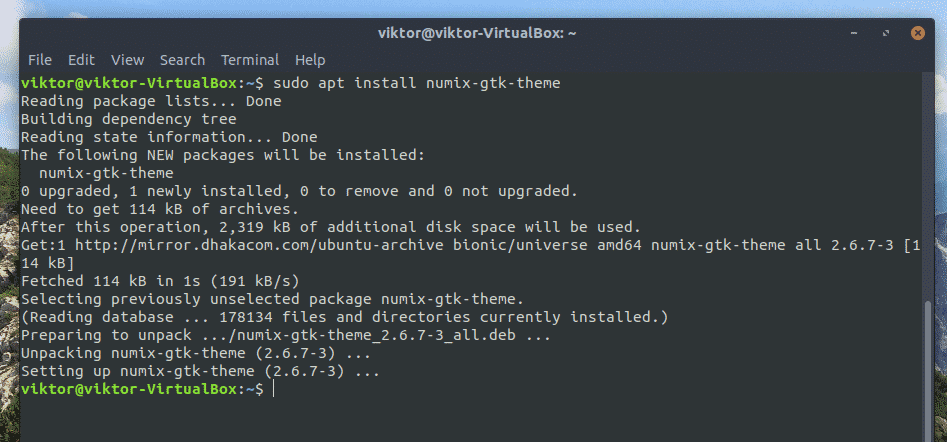
Simple, right?
From source
This is a difficult path to follow. But it’s doable. All you need is just a little focus.
At first, make sure that your system includes all the required tools and dependencies.
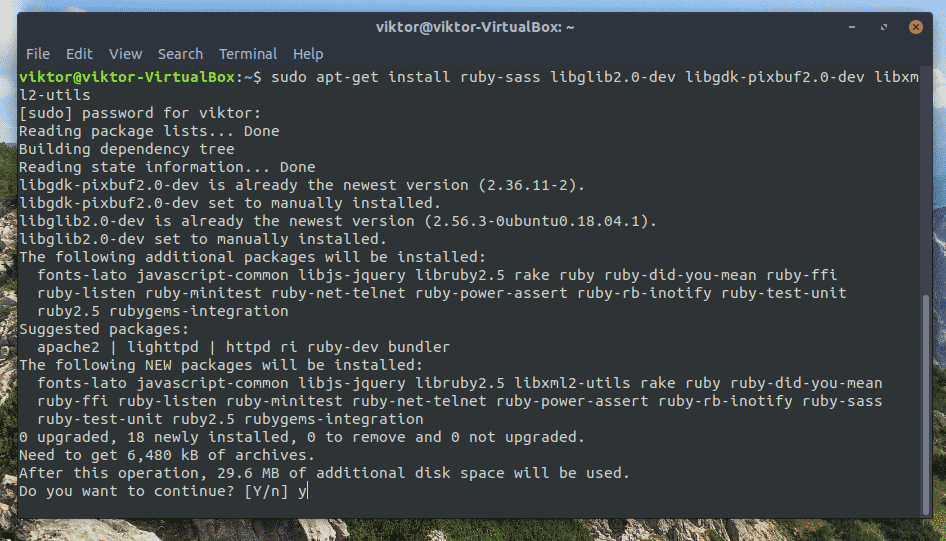
For grabbing the source code, it’s best to use the Git client. Run the following command for installing Git.

Now, tell Git to grab the source code from Numix GitHub repository.

Once the clone is complete, change the active directory to the Numix directory.

Once you’re in there, just run the following command for completing the installation.
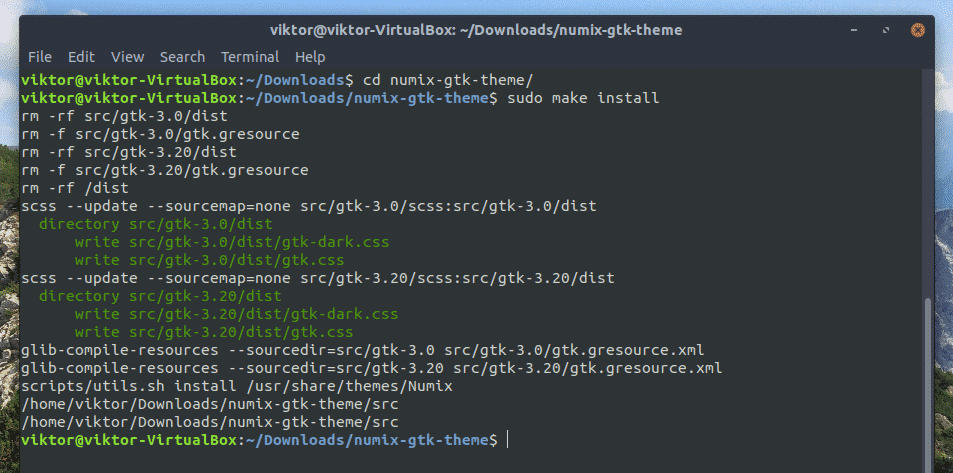
Voila! Numix installation complete!
Numix icons
Well, how about the icons? All the big GTK themes out there have their own icon packs. How about Numix? Numix also got its own! In fact, there are 3 total variants of Numix icons (the CLASSIC, Numix Circle and Numix Square)!
Numix icon theme is another awesome to make your system more Numixy! The icons are greatly inspired by the icons of elementary OS, GNOME and Humanity icon themes. The installation is simple as always.
Installing Numix icons
The Numix icon theme is a bit strange. If you want to enjoy the icon pack, you have to install 2 different packs: the base icon pack + (Numix Circle or Numix Square). So, I think that installing all 3 of them is the best choice. This tutorial will show how to install all the 3 variants in one swoop.
Unfortunately, only the base icon theme is available on the official repository of Ubuntu. If you want to enjoy all the icon themes altogether, we need the Numix PPA added into the system.
Let’s add the Numix PPA.

Update the APT cache.

Now, it’s time to install all the Numix icon themes at once!
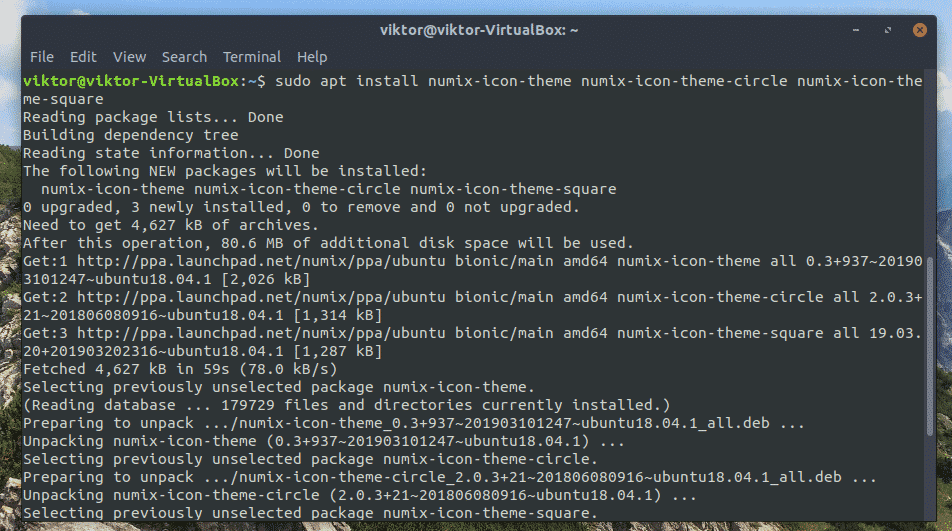
Uninstall Numix
Just like the way of installing Numix, uninstallation is also quite simple. In fact, it’s simpler than the installation! Just like before, you have 2 uninstallation options available. Depending on which installation method you chose, you have to follow the according to uninstallation method.
Uninstall using APT
If you’ve installed Numix using APT, then it’s just another single line command for uninstalling the theme. Just run the following command:

Uninstalling from source
If you followed the installation using the source, then this method is going to be a bit difficult. However, it’s still easier than the installation, so need to panic.
At first, change the currently active directory of the terminal to the “source code” folder.

Then, run the uninstall command.

Activating Numix theme
Even if you’ve successfully installed the theme, it’s still not activated. You have to activate it from the appropriate settings.
GNOME
In the case of GNOME, there are 2 ways to activate the theme.
Terminal
Fire up the terminal and run the following commands:
gsettings set org.gnome.desktop.wm.preferences theme "Numix"

GNOME Tweak Tool
This tool is quite handy for GNOME environments. However, Ubuntu doesn’t have the tool pre-installed. Run the following command for installing the GNOME Tweak Tool.
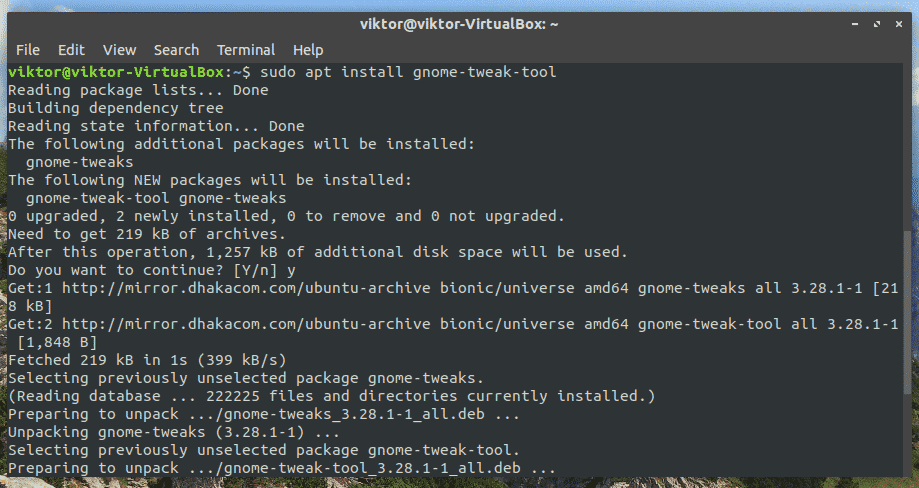
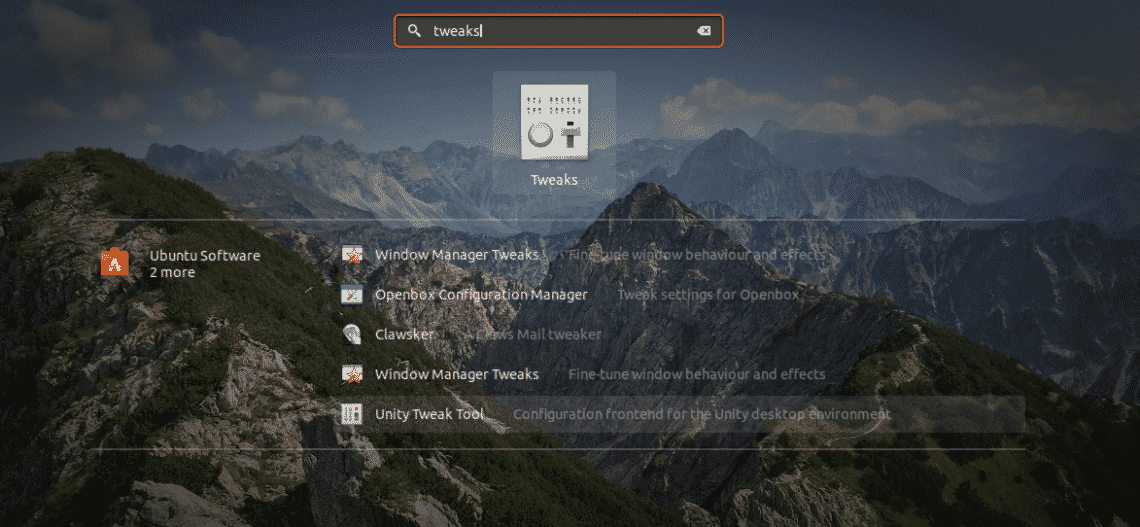
Now, start the tool from Menu >> Tweaks.
Now, choose “Numix” from “Applications” and/or “Icons”.
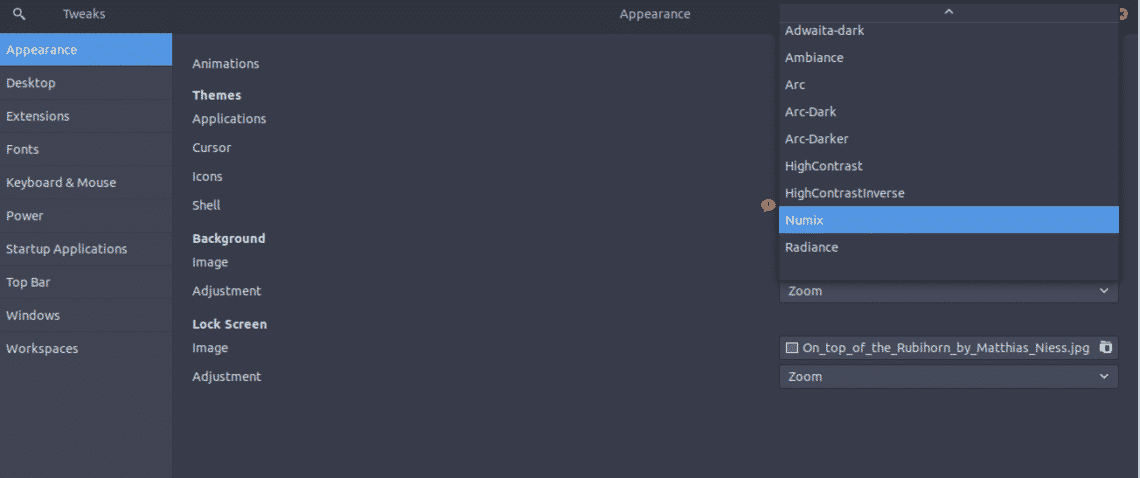
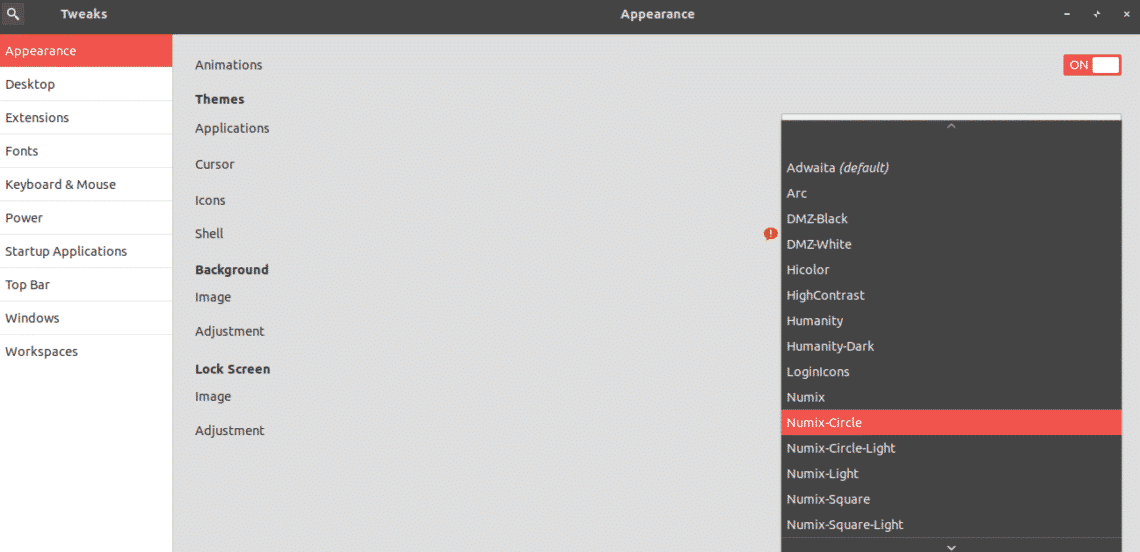
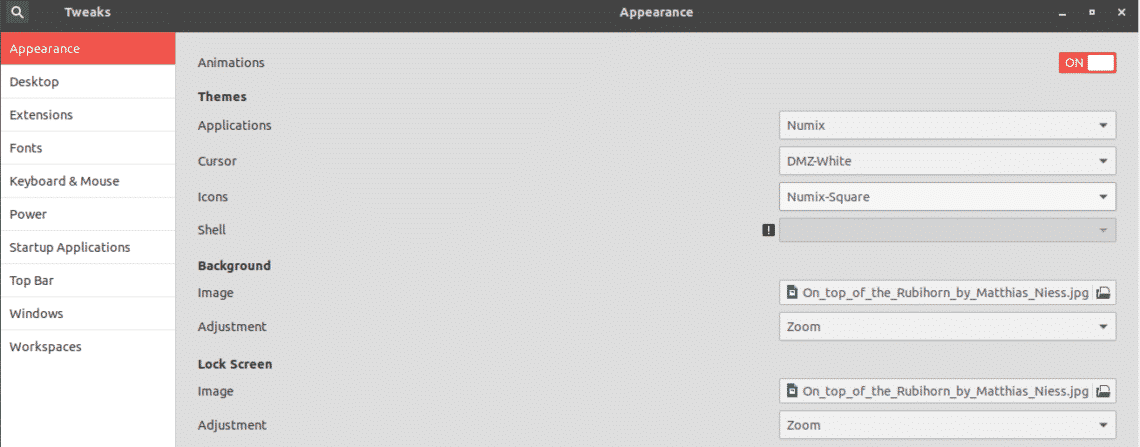
Voila!
Xfce
If you’re running Xfce desktop environment, then you have to use the following commands instead.
xfconf-query -c xfwm4 -p /general/theme -s "Numix"
Numix effects
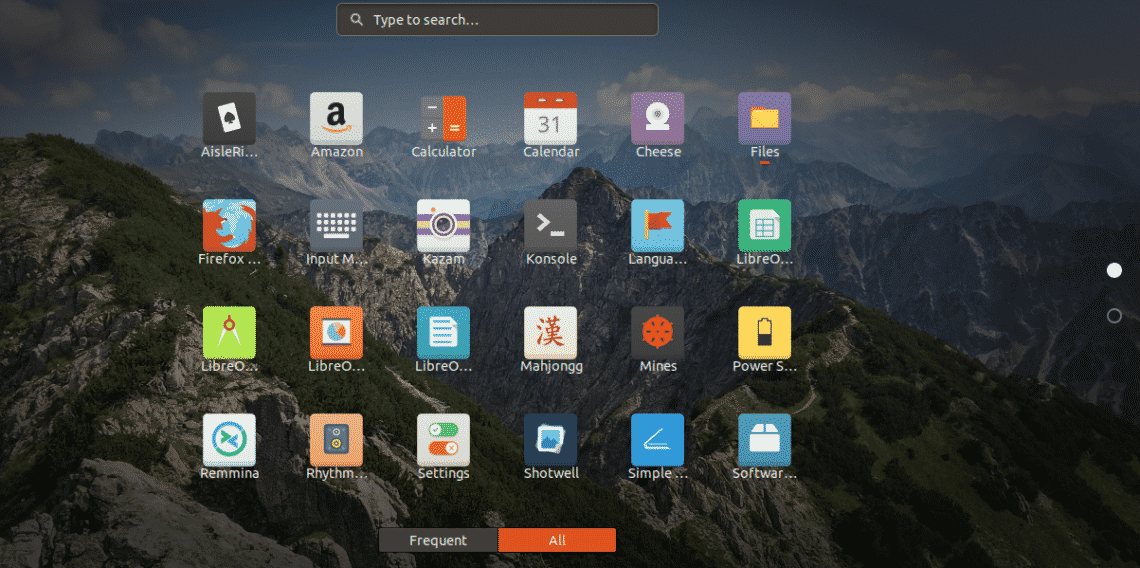
Here are a couple screenshots showcasing the result of the Numix theme.
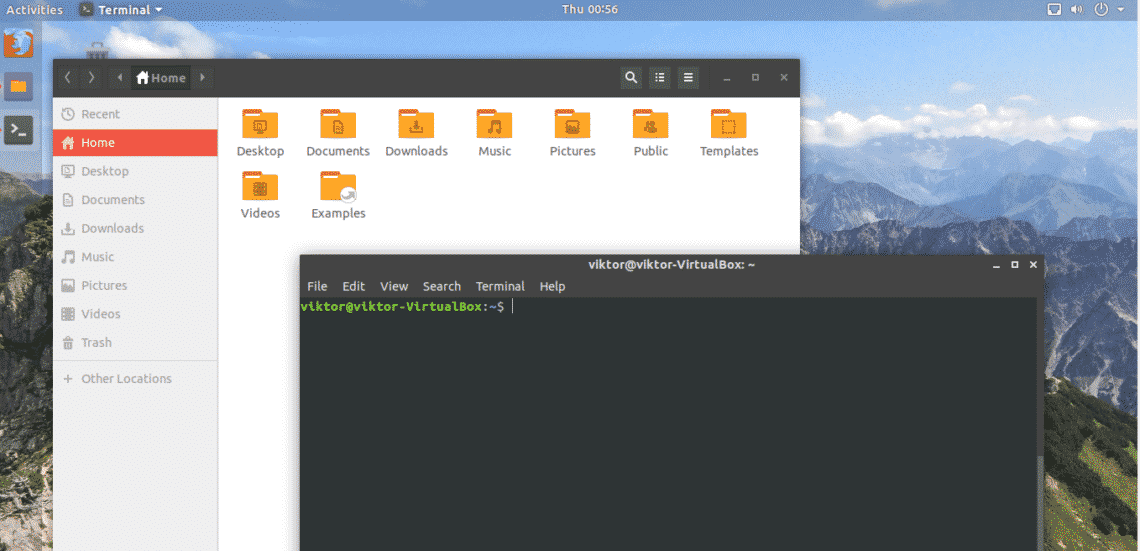
Final thoughts
Numix is definitely worth the time and effort to set it up. It blends up pretty nice with the existing environment. The icon theme also helps to clarify the dominance of Numix throughout the system.
There are a number of GTK themes out there. Check out the best GTK themes for Linux Mint! Interestingly, these themes will also work for Ubuntu!
