There are a number of available server apps out there. The most popular ones include Apache and NGINX. Both of them are free and open-source. Of course, in terms of popularity, Apache is a quite popular choice even in the world. In fact, more than 65% of all the servers in the current cyber world is powered by Apache!
However, that doesn’t diminish the benefits of NGINX (engine-ex – that’s how it’s pronounced). There are tons of additional benefits that NGINX provide that Apache fails to serve.
The first and foremost reason is the performance. NGINX, being a lightweight alternative to Apache, offers better overall performance than Apache. NGINX is also well-suited with the Linux and other UNIX-like environment. However, NGINX falls short in terms of flexibility. You need to compile additional modules into the NGINX binary in most cases as not all the modules of NGINX support dynamic module loading.
As both of them are free, you can easily start your own server right now! In today’s tutorial, we’ll be checking out NGINX running on my test CentOS system.
Installing NGINX
NGINX is available on the EPEL repository. Let’s start the installation!
At first, make sure that your system has EPEL repository enabled –
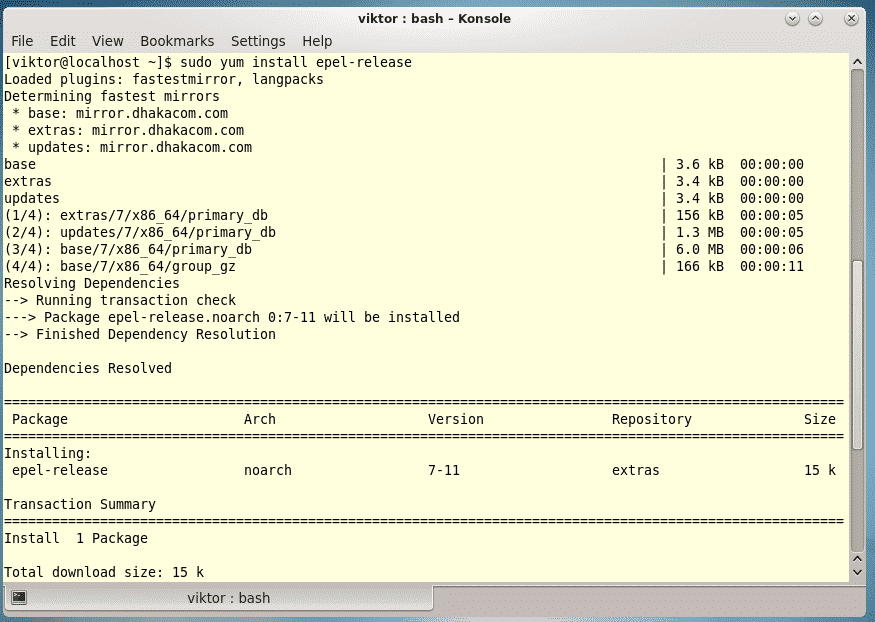
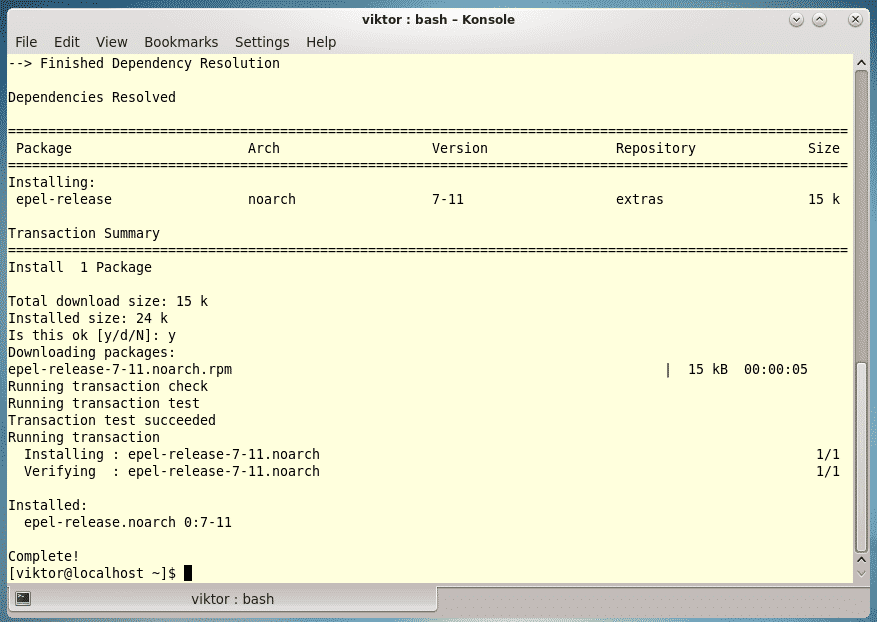

Now, time to perform the installation!!!
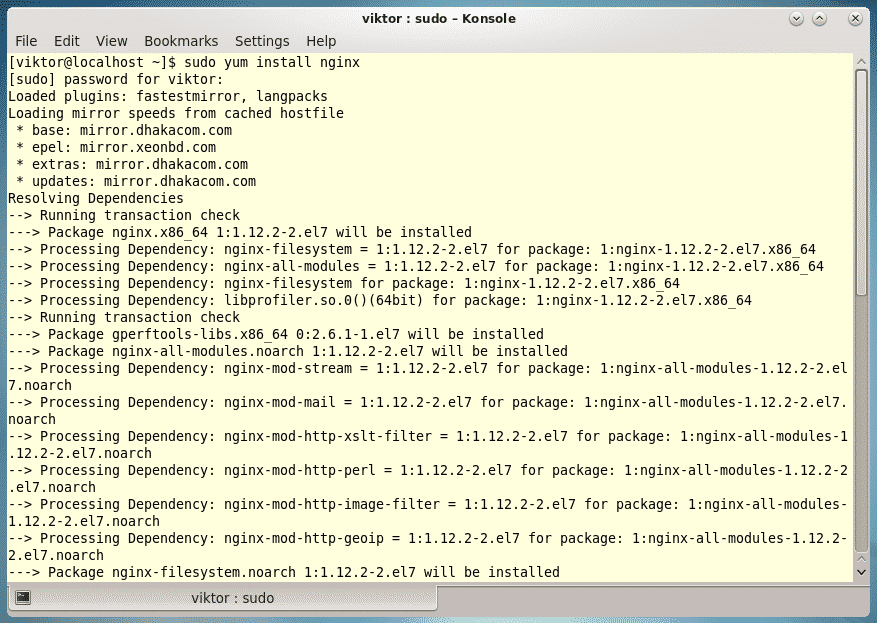

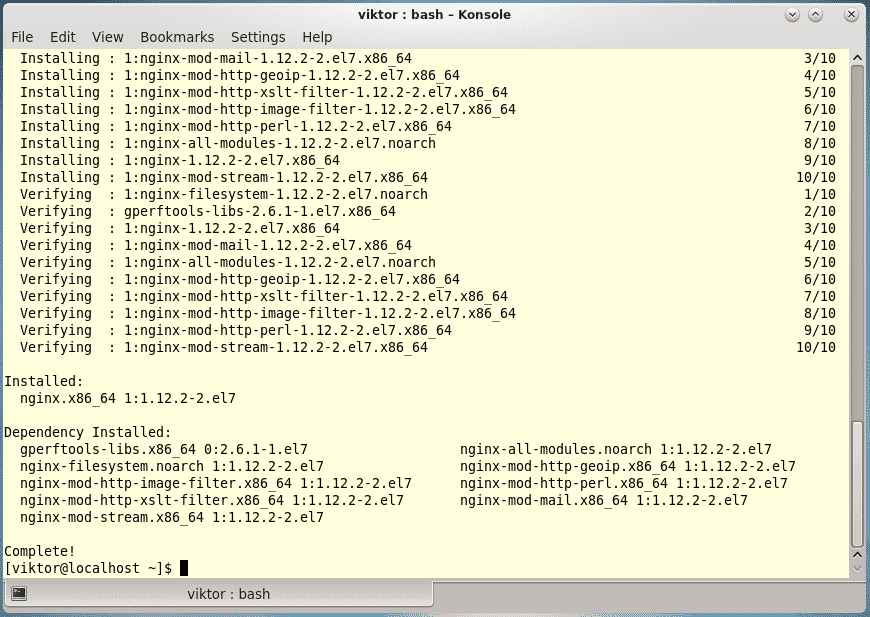
Starting NGINX
The installation is complete, time to fire it up! It’s not going to start itself all by itself!

If your system is configured to use a firewall, enable HTTP and HTTPS traffic from/to the server –
sudo firewall-cmd –permanent –zone=public –add-service=https
sudo firewall-cmd –reload

Time to test the server working –
Don’t have the IP address of the server? Then you can find out by running the following command –
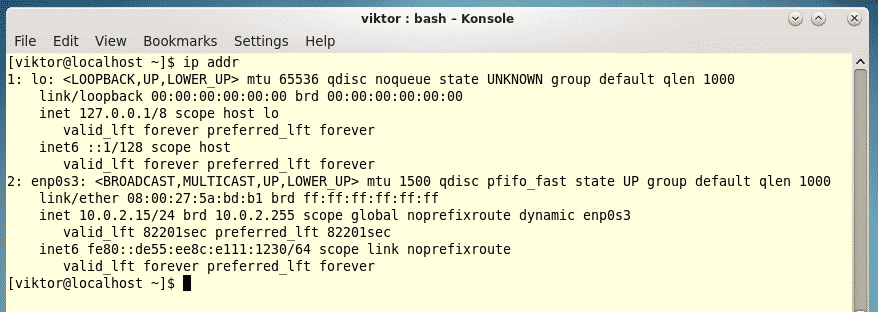
In my case, I need the “enp0s3” connection. Now, find out the IP address by running the following command –

You may also want to enable NGINX every time your system boots up –
Additional configurations
The default configuration isn’t always the best one as it depends on the particular usage case. Fortunately, NGINX comes up with a handy set of configuration files.
- NGINX global configuration file /etc/nginx/nginx.conf
- Default server root /usr/share/nginx/html
- Server block configuration /etc/nginx/conf.d/*.conf
Enjoy!


