In this post, we will see how we can install one of the most popular Graph-based database, Neo4J on Ubuntu and start using it as well. But first a little background information.
Neo4J Database
Neo4J is known to be the #1 Graph-based platform to store and query connected data.
Connected data is a form of data which can be best defined in the form of relationships. For example, Facebook is a social networking site with users being connected as ‘Friends’. Now, ‘Friends’ is the relationship between users which connect and define them. Neo4J is possibly a very good solution for storing and querying this kind of data.
Connected data in Neo4J can be represented as a Graph. A graph is connected set of vertices which are attached by edges. Edges represents relationships. Let’s visualize these:
The lines which connect two nodes or vertices are called edges.
Installing Java
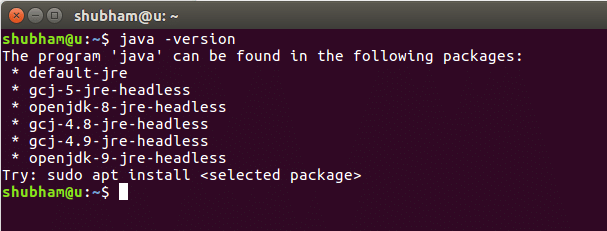
To install Neo4J on Ubuntu, we must install Java first. Java might not be installed by default. We can verify it by using this command:
When we run this command, we get the following output:
We will now install Java on our system. Use this command to do so:
sudo apt-get update
sudo apt-get install oracle-java8-installer
Once these commands are done running, we can again verify that Java is now installed by using the same command.
Installing Neo4J
Now, installing Neo4J is just a matter of few commands. To start, add the Neo4J to the apt package manager:
| sudo apt-key add –
sudo echo ‘deb http://debian.neo4j.org/repo stable/’ >
/etc/apt/sources.list.d/neo4j.list
Next, install Neo4J:
sudo apt-get install neo4j
service neo4j status
When we run the Neo4J service, it starts at its default port, which 7687. Once it starts, we can even visit the Neo4J panel in a browser like this:
You can visit this panel on this URL:
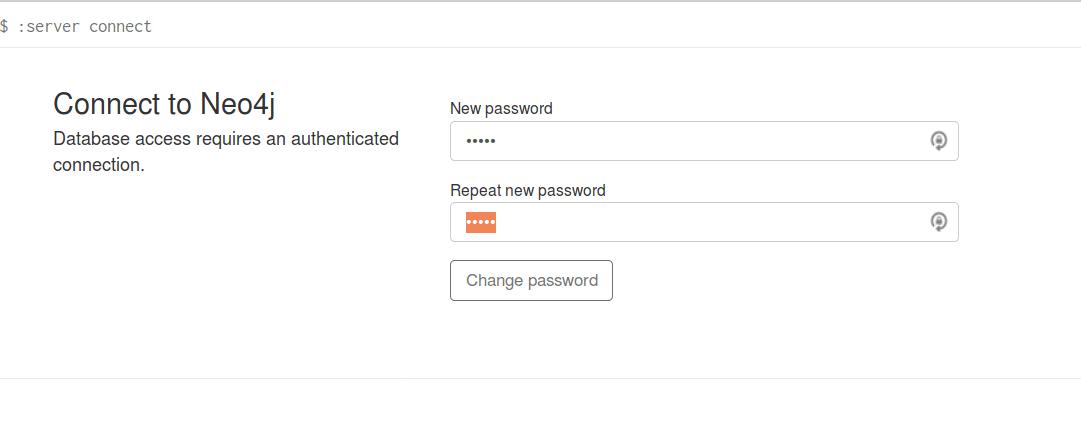
Login using the default Neo4j password ‘neo4j’ and then you will be prompted to set a new password. For this example set the password to be ‘hello’.
Inserting Data in Neo4J
To finally check if we were able to install and start Neo4J on our Ubuntu machine, we will see if we can insert data and query it with Curl commands which push data to port 7474 as well.
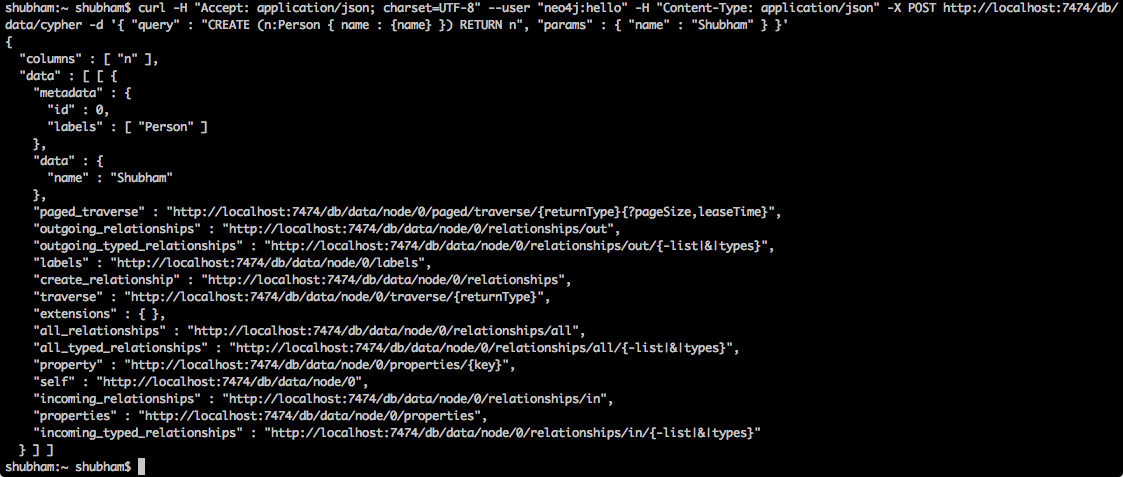
We first insert one Person node:
"Content-Type: application/json" -X POST http://localhost:7474/db/data/cypher -d
‘{ "query" : "CREATE (n:Person { name : {name} }) RETURN n", "params" :
{ "name" : "Shubham" } }’
When we run the above command, we will see the following response:
Then another:
"Content-Type: application/json" -X POST http://localhost:7474/db/data/cypher -d
‘{ "query" : "CREATE (n:Person { name : {name} }) RETURN n", "params" :
{ "name" : "LinuxHint" } }’
As we were able to insert data into the Neo4J database, this means it was up and running on our Ubuntu machine!


