Install and Setup ZFS Filesystem on Debian 9 Stretch
ZFS is a very popular filesystem on Linux. It is available on every Linux distribution. But on Debian operating systems, getting ZFS to work is not very straightforward.
In this article I will show you how to install and create RAID0 setup with ZFS filesystem on Debian 9 Stretch operating system. Let’s get started.
Installing ZFS on Debian 9 Stretch:
In this section, I will show you how to correctly install ZFS on Debian 9 Stretch.
Before we can install ZFS on Debian 9 Stretch, we must enable the official ‘contrib’ and ‘non-free’ repositories of Debian 9. We can enable ‘contrib’ and ‘non-free’ repositories on Debian 9 by editing ‘/etc/apt/sources.list’ file directly. We can also edit ‘/etc/apt/sources.list’ file with ‘apt’ command. I will use the later.
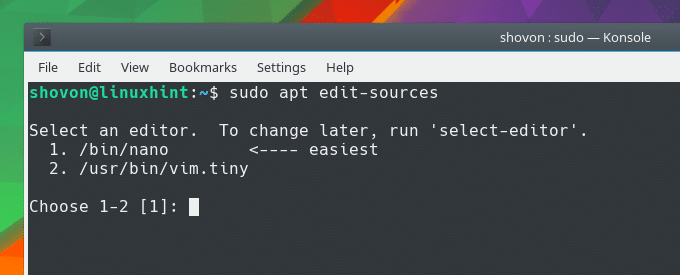
To edit ‘/etc/apt/sources.list file’, run the following command:
Once you run the command, apt should ask you to select a text editor. As you can see from the screenshot I was asked to select nano or vim. If you have other command line text editor installed, they should also be listed here. I will select nano. Just type in the given number on the left side of the editor name and press <Enter>.
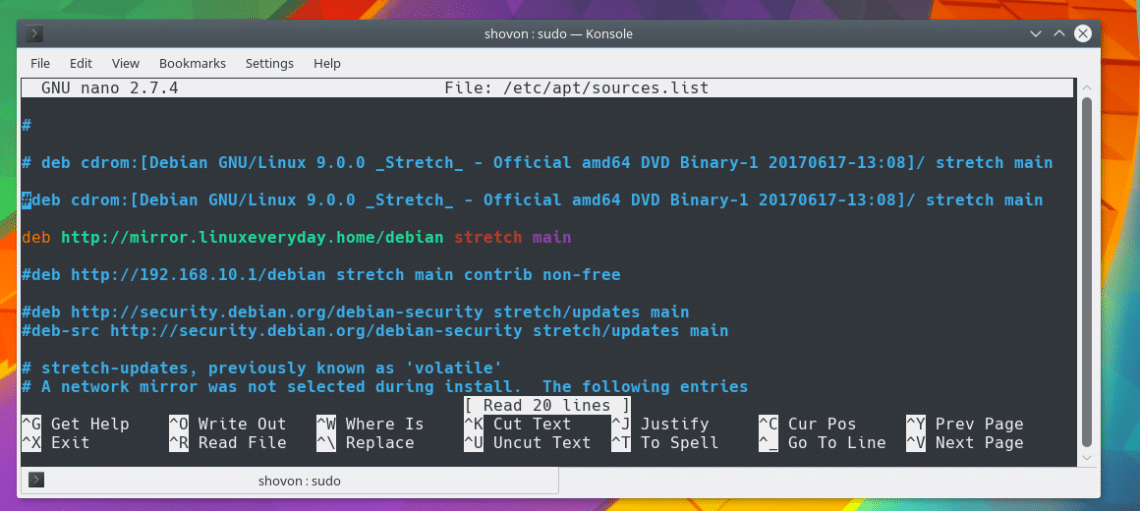
The /etc/apt/sources.list file should open up with your selected text editor. In my case it is nano.
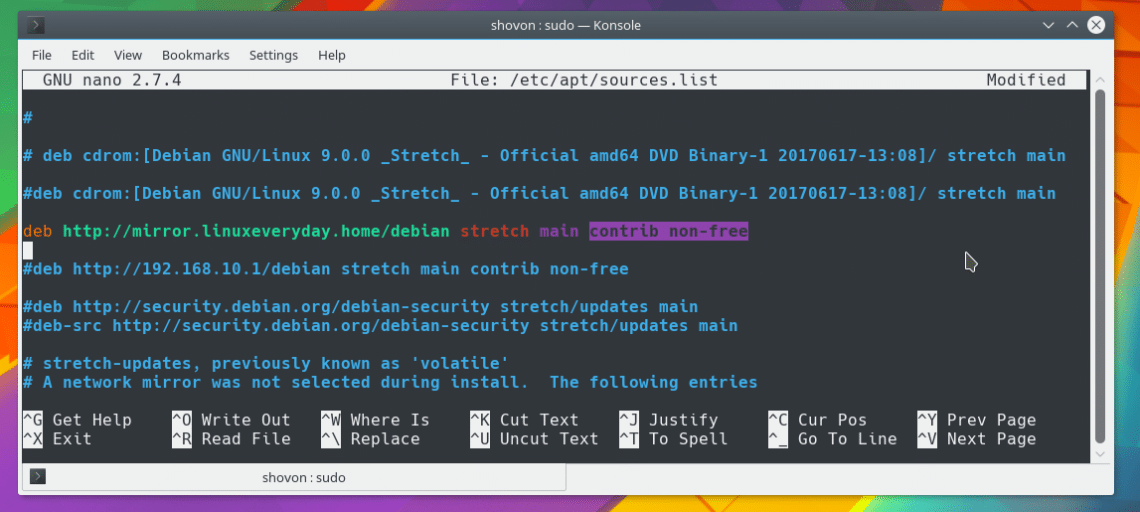
Notice the line ‘deb http://mirror.linuxeveryday.home/debian stretch main’. In the end you can see that, I have only ‘main’. It means only the ‘main’ official repository enabled. If you have ‘contrib’ and ‘non-free’ as well, you’re good to go. If you don’t, just add these there as shown in the screenshot below.
Now press Ctrl+X and press ‘y’ and then press <Enter> to save the file.
Now to update the package repository cache, run the following command:
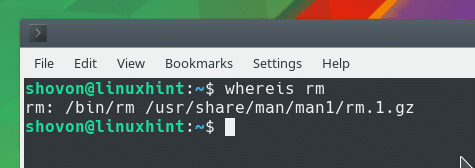
A bug in ZFS on Debian breaks ZFS filesystem. ZFS tries to access the ‘rm’ program from ‘/usr/bin/rm’ path. But in Debian, the ‘rm’ program is in ‘/bin/rm’.
The problem is really easy to fix. All you have to do is create a symbolic link of ‘/bin/rm’ to ‘/usr/bin/rm’. That’s all.
Run the following command to create a symbolic link of ‘rm’ to the correct location:
You can see that the symbolic link is created correctly.
Now you can install ZFS filesystem on your Debian 9 operating system.
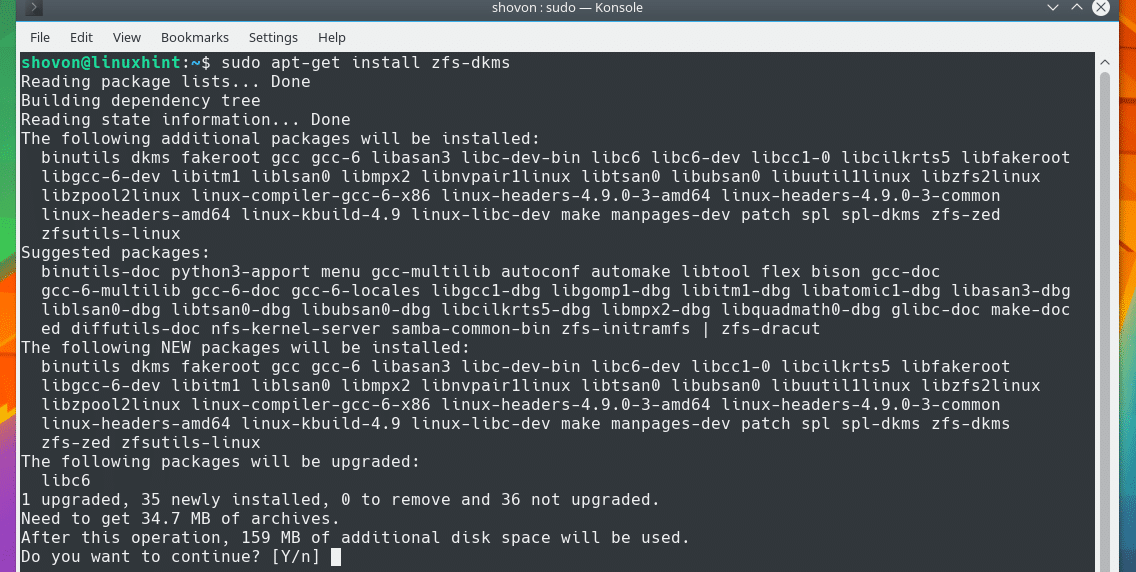
To install ZFS filesystem on Debian 9, run the following command:
Press ‘y’ and then press <Enter> to continue.
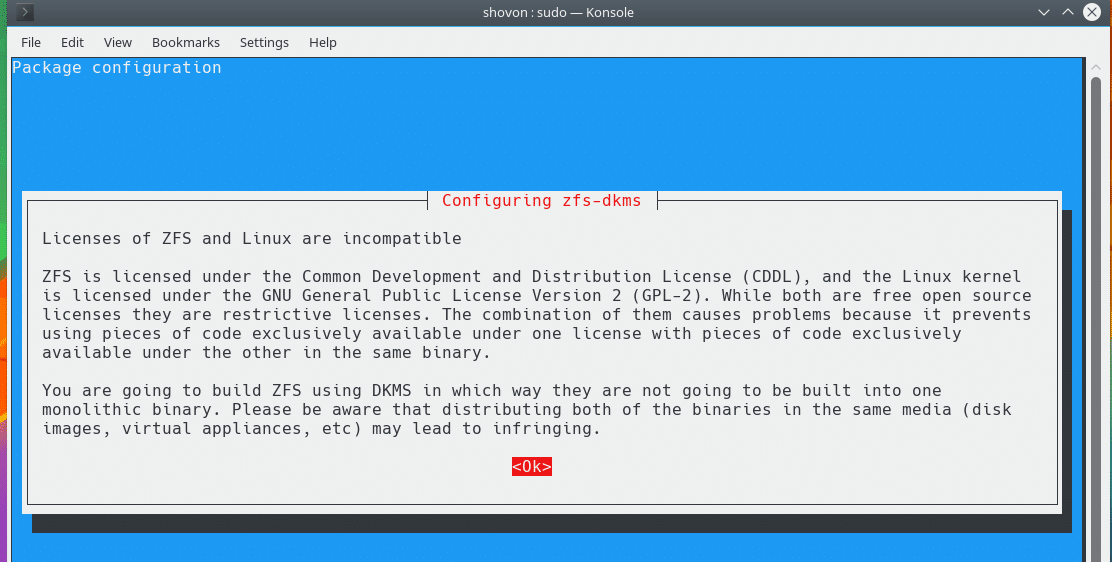
You should be prompted to accept the license agreement of ZFS. Just press <Enter> to continue.
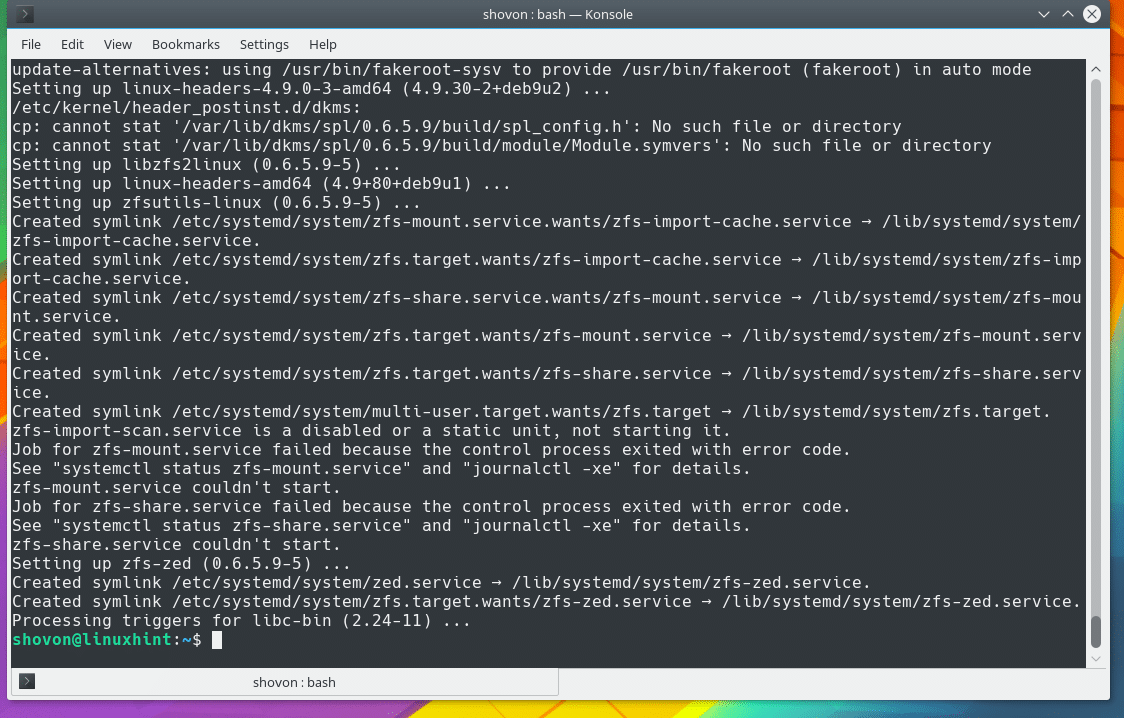
The installation should take a while. Because it has to build the DKMS kernel module for ZFS.
The installation is completed.
Now you must load the ZFS kernel module manually and restart all the ZFS services for ZFS to work for the first time. Then you must create a ZFS pool for ZFS to work even after restarting your computer. If a ZFS pool if available, Debian 9 can load the required kernel modules automatically on system boot. Otherwise it can’t.
Now run the following command to load the ZFS kernel module manually:
You can see that the ZFS kernel module was loaded.
Now run the following commands to restart all the ZFS services:
$ sudo systemctl restart zfs-import-scan
$ sudo systemctl restart zfs-mount
$ sudo systemctl restart zfs-share
Creating a ZFS RAID0 Pool:
Now I am going to create a RAID0 (stripe) pool. I inserted a virtual hard disk drive into my Debian 9 Virtual Machine. But the procedures are the same with real hardwares.
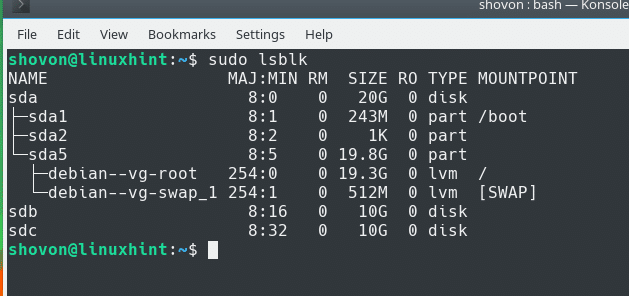
First use the following command to list all the available block/storage devices you have attached on your computer:
You can see that I have 3 hard disk drives sda, sdb, sdc added to my system. I can access them as ‘/dev/sda’, ‘/dev/sdb’ and ‘/dev/sdc’
‘/dev/sda’ is the drive I have my operating system installed on. ‘/dev/sdb’ and ‘/dev/sdc’ are the drives that I will be using to create a ZFS pool with RAID0 setup. You can see that both of these drives are of 10GB each. Together in RAID0, they will be 20GB in size.
So create a ZFS pool ‘files’, run the following command:
A ZFS pool with name ‘files’ is created.
You can run the following command to list all the ZFS pools you have:
You can see that ‘files’ pool was created and the size is 19.9GB.
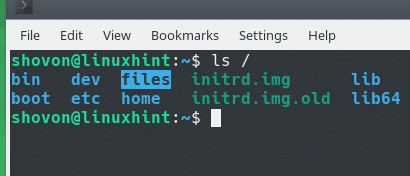
A directory ‘files’ was also created in the root directory of your filesystem as you can see in the screenshot below. You can create, copy, delete files from this ‘/files’ directory as usual.
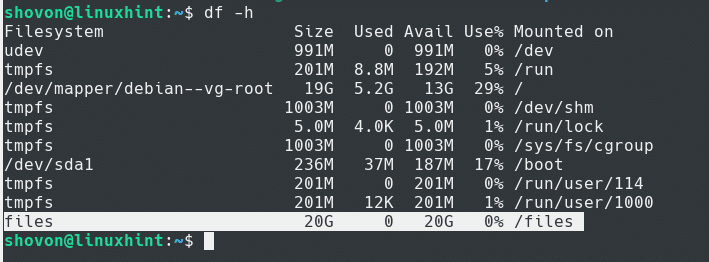
You can also verify whether the ZFS pool ‘files’ was mounted on ‘/files’ directory with the following command:
You can see that the ‘files’ pool was mounted on ‘/files’ as marked in the screenshot below.
By default, you as a normal user can’t create any files in the ‘/files’ directory. Because it is owned by root.
But if you want to create, delete, copy, move files to and from the ‘/files’ directory, just run the following command to change the ownership of the ZFS pool directory ‘/files’.
By default, the USERGROUP is the same as the USERNAME on Linux. My username and usergroup is ‘shovon’, so that’s what I used.
You can see from the screenshot that the permission was changed.
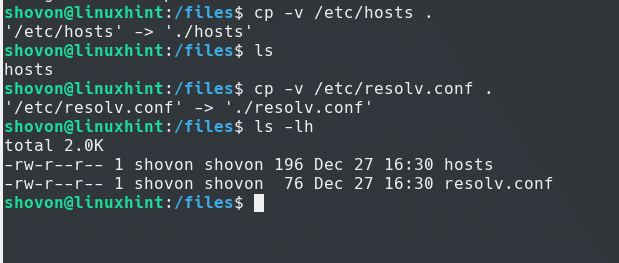
Now you can do anything with ‘/files’ mount point as you like. You can see that I copied several files without any problem.
That’s how you install and setup ZFS filesystem on Debian 9 Stretch. Thanks for reading this article.
