Downloading Anaconda Python:
In this section, I am going to show you how to download Anaconda Python for CentOS 7.
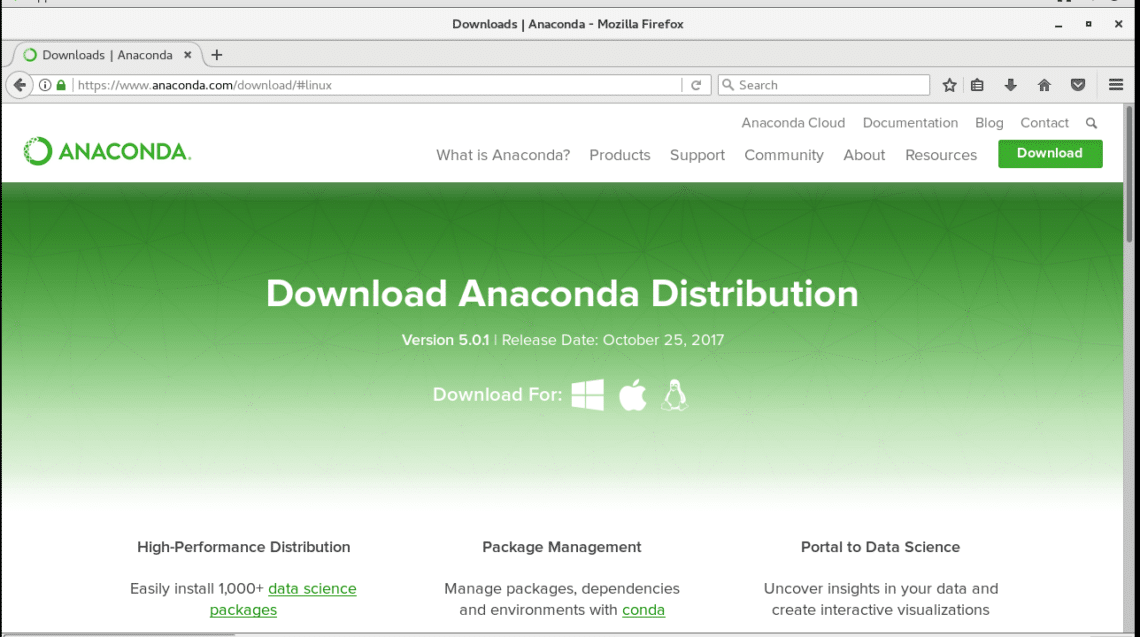
First, go to https://www.anaconda.com the official website of Anaconda Python.
Click on the green “Download” button on the top right corner of the page. You should see the following page.
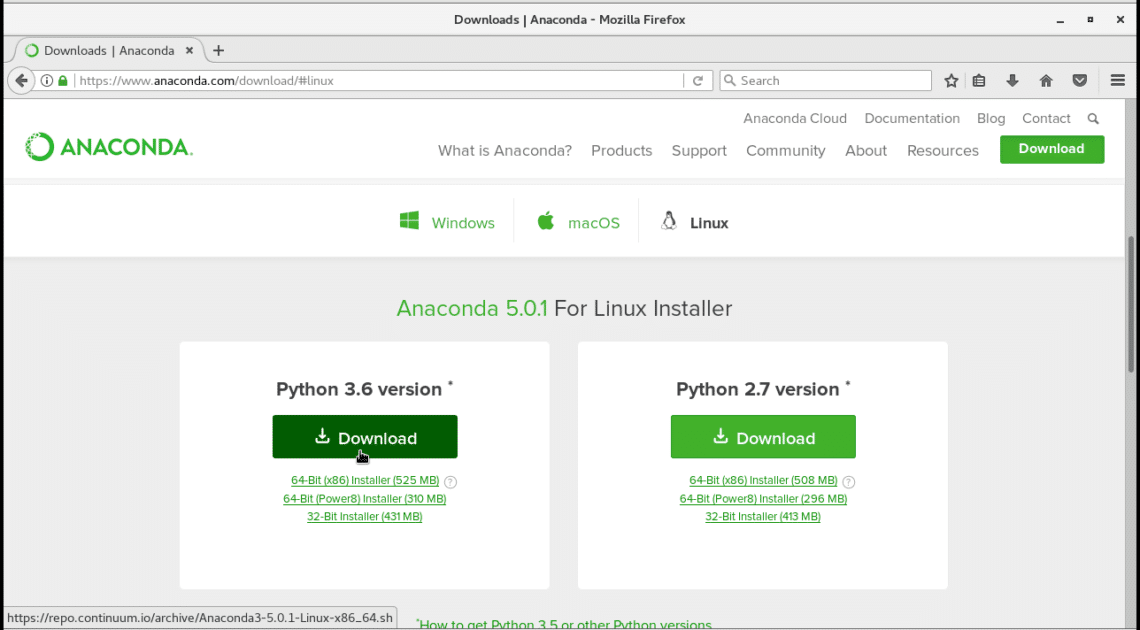
Now scroll down a little bit and you should see the following section. Make sure “Linux” is selected. Now click on “Download” to download Anaconda Python. You may select Python 2.7 or Python 3.6 depending on your requirements. If you’re unsure, select Python 3.6.
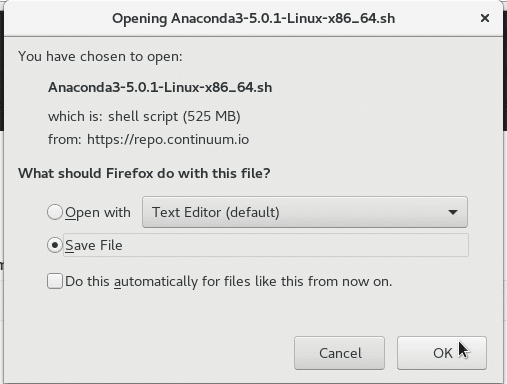
The browser should prompt you to save the file. Click on “Save File” and click on “OK”. The download should start. It’s a pretty big file. So it may take a while for the download to complete.
Verifying the Downloaded file:
In this section, I am going to show you how to verify the integrity of the downloaded file.
This is very important. Because if we try to install a software from a corrupted file, the installation may not work properly. It is also a security risk to not verify the integrity of the file. If a checksum is given in the website of the software that we are downloading, we should check it. Since Anaconda Python do provide these, I think it’s best to take advantages of it.
Once the download is complete, go to the directory where you downloaded the file. In my case it is the Downloads directory on my HOME directory.
Run the following command to change the directory to HOME/Downloads:
$ cd ~/Downloads
Now if I list the contents of the ~/Downloads directory, you can see that Anaconda Python’s installation file is there. At the time of this writing, the installation file is ‘Anaconda3-5.0.1-Linux-x86_64.sh’.
Now run the following command to generate a SHA256 hash of the downloaded file:
$ sha256sum Anaconda3-5.0.1-Linux-x86_64.sh
You should see something like this:
Now copy the hash as shown in the screenshot.
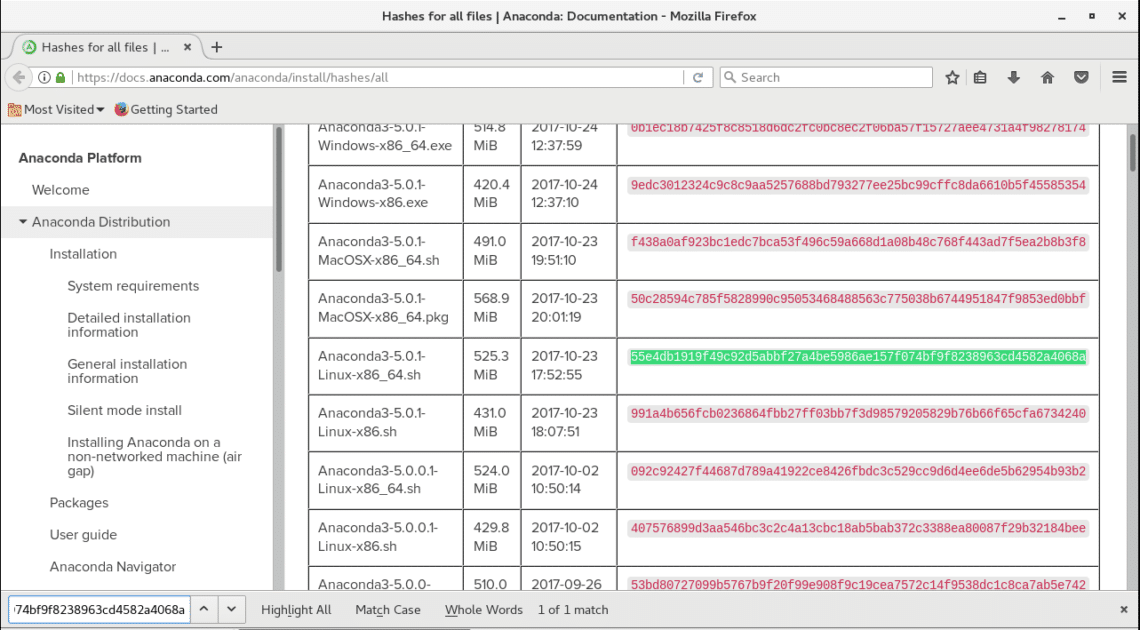
Go to https://docs.anaconda.com/anaconda/install/hashes/all from any browser of your choice. You should see the following page. This page contains the hashes of all versions of Anaconda Python ever released. This page is trusted because it is in the official documentation of Anaconda Python.
The easy way to verify the hash is to copy the hash we generated earlier and search for it in this page. If a match is found, the hash is correct, otherwise it is not.
Now press Ctrl+F to bring the search bar. You can see that the search bar is at the bottom of the screen.
Now paste the hash we generated earlier in the box. You can see that a match was found as marked green in the screenshot. So the downloaded file is ok.
Installing Anaconda Python:
At this point, we are ready to install Anaconda Python. Open a terminal and go to the directory where you downloaded Anaconda Python.
Run the following command to change to the Downloads directory:
$ cd ~/Downloads
Now run the following command to start the installer:
$ bash Anaconda3-5.0.1-Linux-x86_64.sh
You should see the following window:
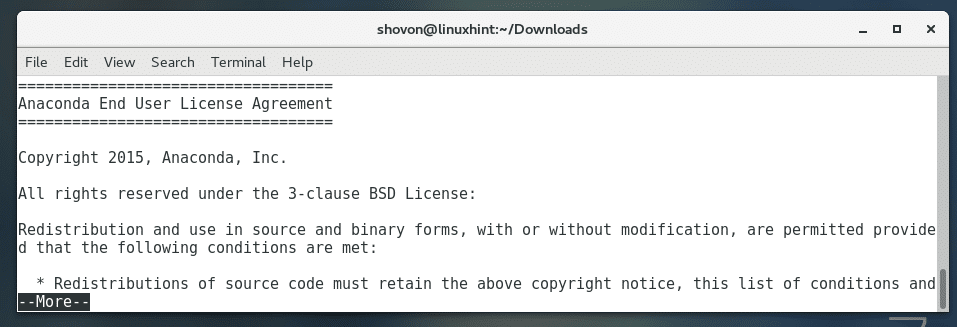
Press <Enter> to continue the installation. Once you press <Enter>, you should see the following window. This is the license agreement of Anaconda Python. Read through the license agreement by pressing <Enter> or <Space Bar>.
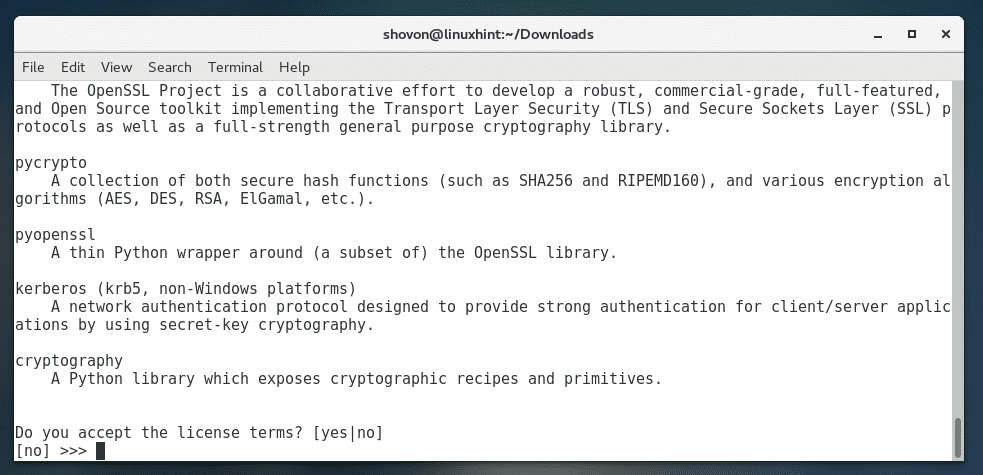
Once you’re at the end of the license agreement, type ‘yes’ and press <Enter> to continue.
Now Anaconda Python should ask you for the directory where Anaconda Python will be installed. The default is /home/YOUR_USER/anaconda3. If you wish, you can change it. But I will leave the default. Once you’re done, press <Enter> to continue.
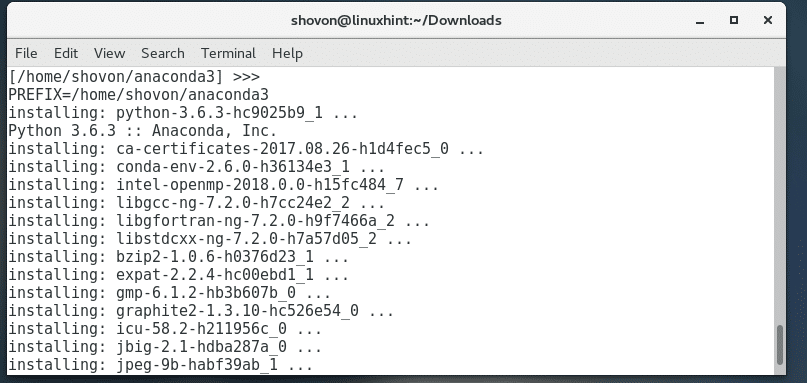
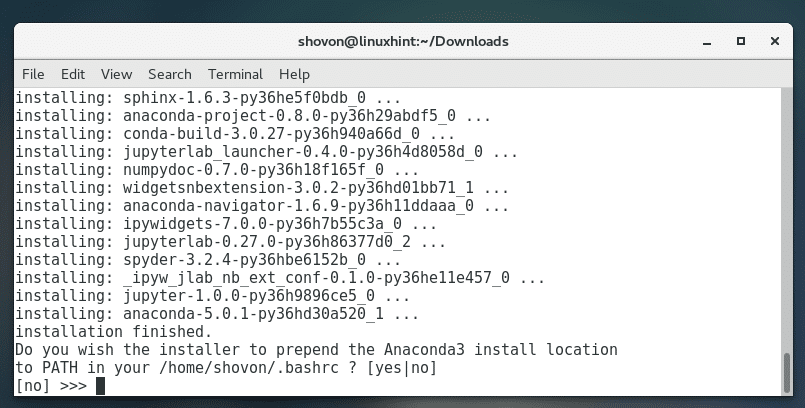
The installation of Anaconda Python should start. It may take a while to install, as the installation file is pretty big.
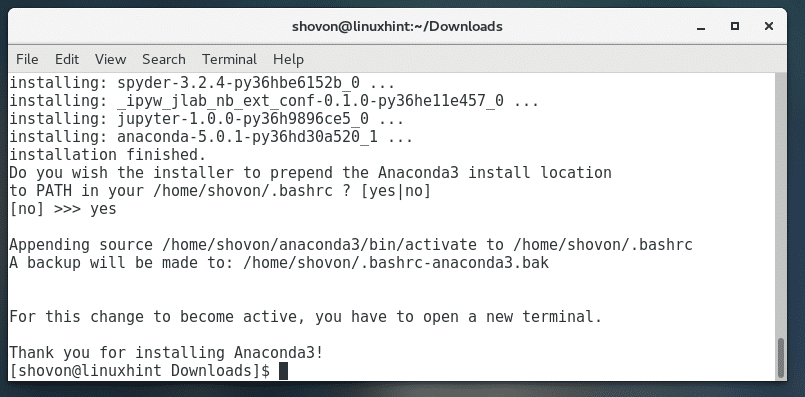
At the end of the installation, Anaconda Python installer may ask you whether to add Anaconda Python to the PATH variable of CentOS 7. That way you can execute anaconda python without specifying the full installation path. Most of the people would want this. So type ‘yes’ and press <Enter> to continue.
Once the installation is complete, you should see something like this.
Verifying the installation:
Now open a new Terminal and run the following commands to verify whether Anaconda Python was installed correctly.
$ conda --version
So that’s how you install Anaconda Python on CentOS 7. Thanks for reading this article.

