Installing VIM
VIM text editor is available on the official package repository of almost all Linux distributions such as CentOS, RHEL, OpenSUSE, Ubuntu, Debian, Linux Mint etc.
For Debian Based Operating Systems
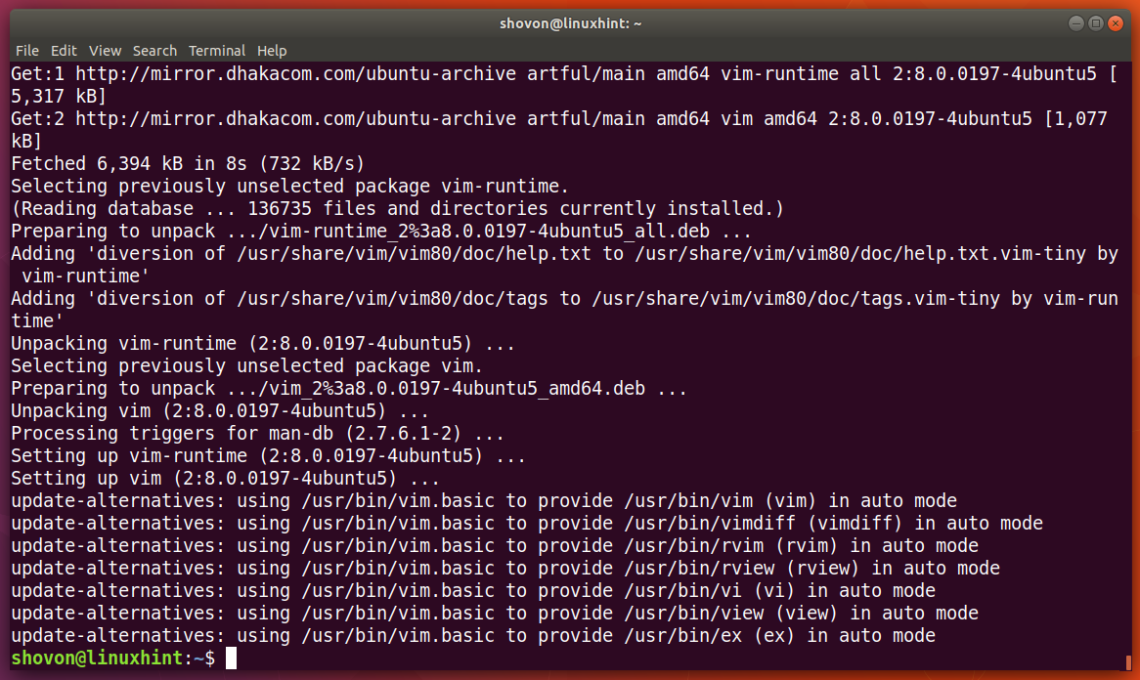
On Ubuntu, Debian, or Linux Mint, run the following command to install VIM if you don’t have it yet.
$ sudo apt-get install vim -y
VIM should be installed.
For RPM Based Operating Systems
On RHEL, CentOS, or Fedora, run the following command to install VIM:
Basics of VIM
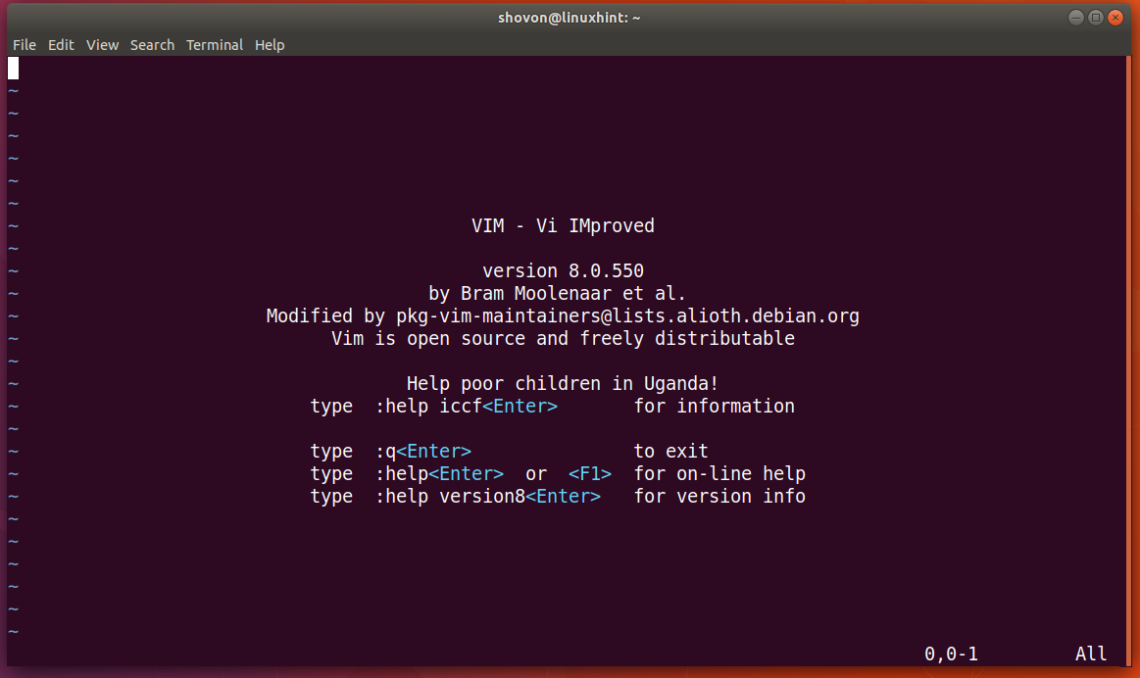
Once VIM is installed, you can start VIM with the following command:
This is the welcome screen of VIM text editor.
VIM has many modes. The most important ones are “Command Mode” and “Insert Mode”. When VIM starts, you’re in “Command Mode”. In this mode, you run VIM commands to open file, save file, close VIM, search substrings in file and many more.
You can press ‘i’ to switch to “Insert Mode”. In this mode, VIM works like any other text editor. You can press <ESC> to go back to “Command Mode” from “Insert Mode”.
Opening a File on VIM
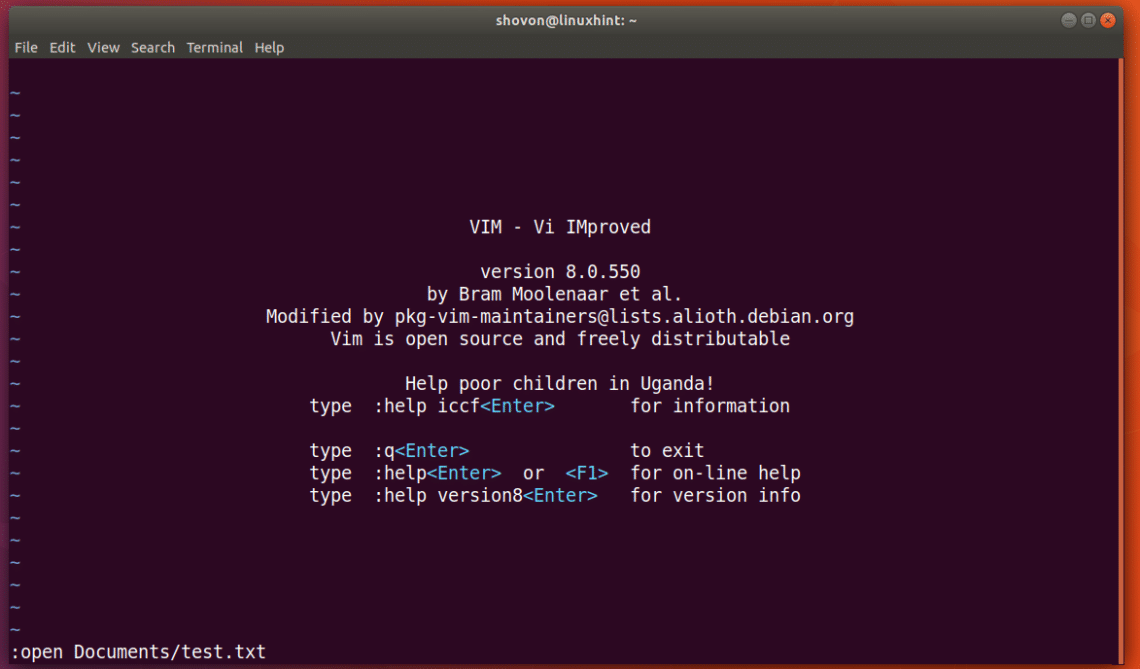
To open a file on VIM, you go to the “Command Mode” and then type the following command to open a file.
FILE_PATH can be relative path to the directory where you opened VIM from or full path.
Splitting VIM screen Horizontally and Vertically
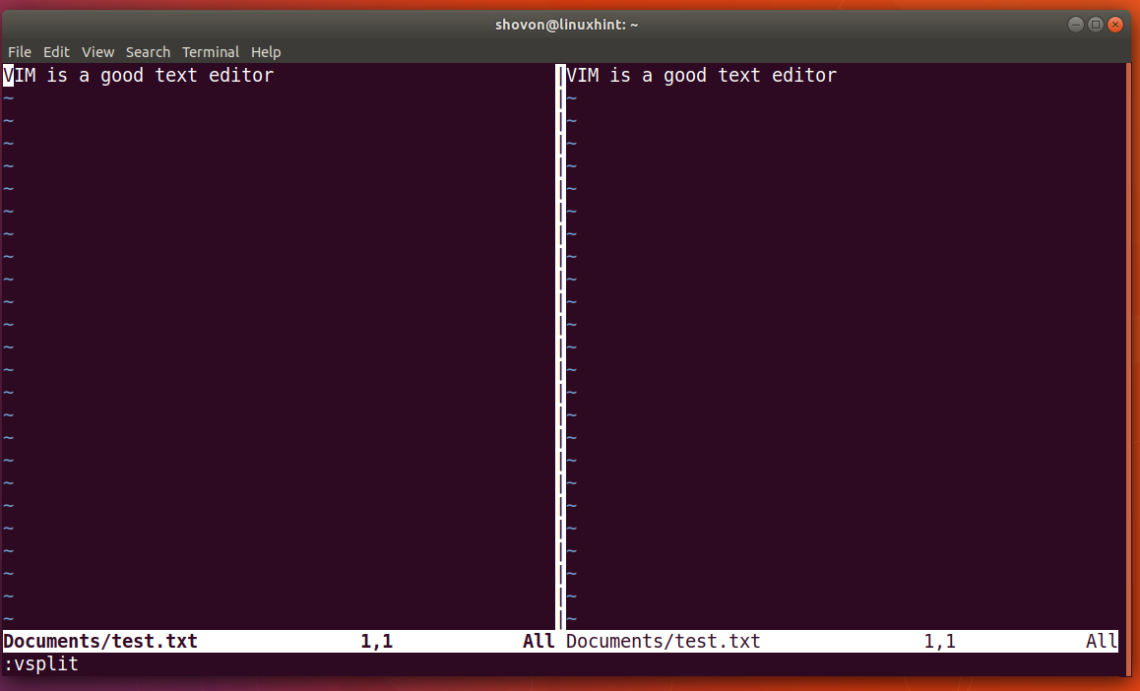
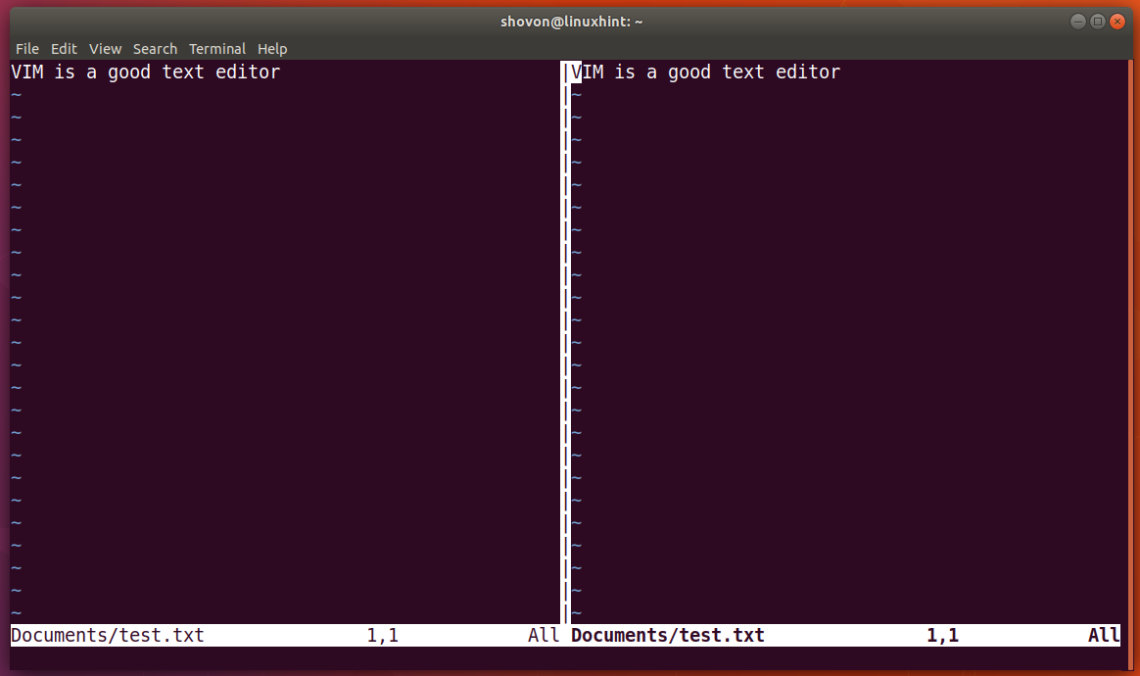
To open a new VIM window next to the existing one, press <Ctrl>+<w> then press <v>.
Now you can move to the right window from the left by pressing <Ctrl>+<w> and then pressing <l>
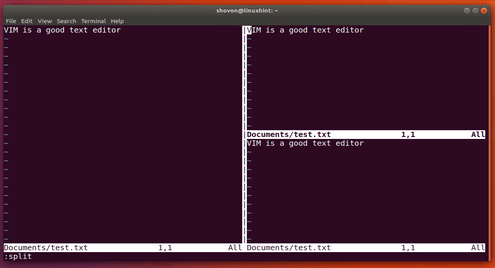
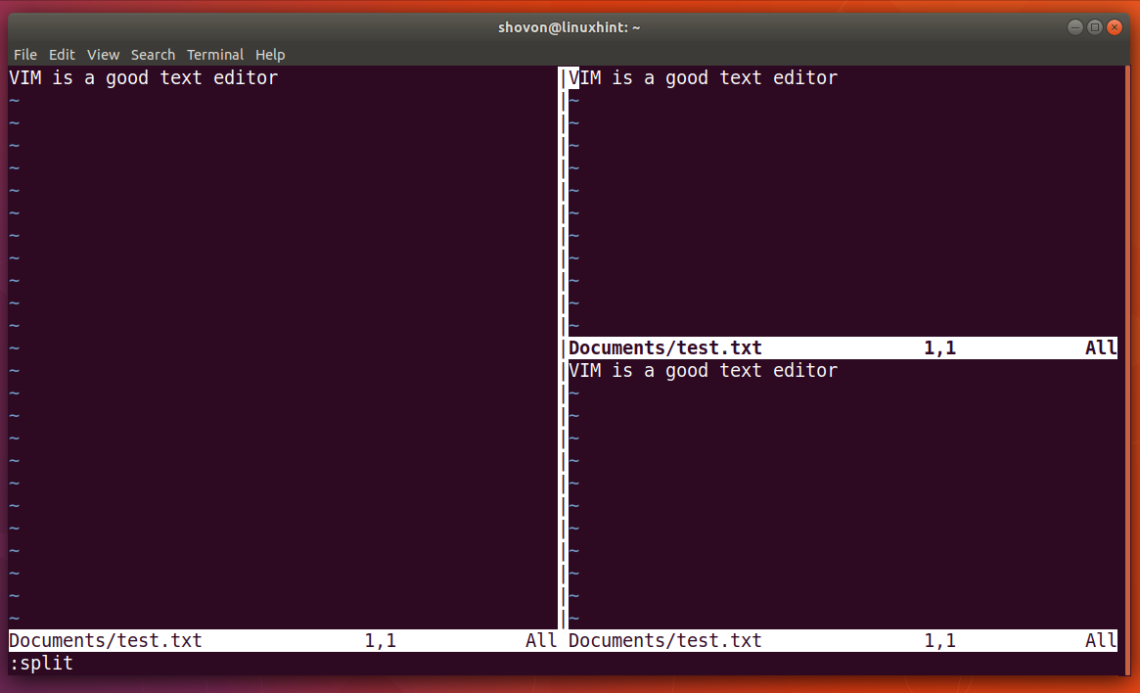
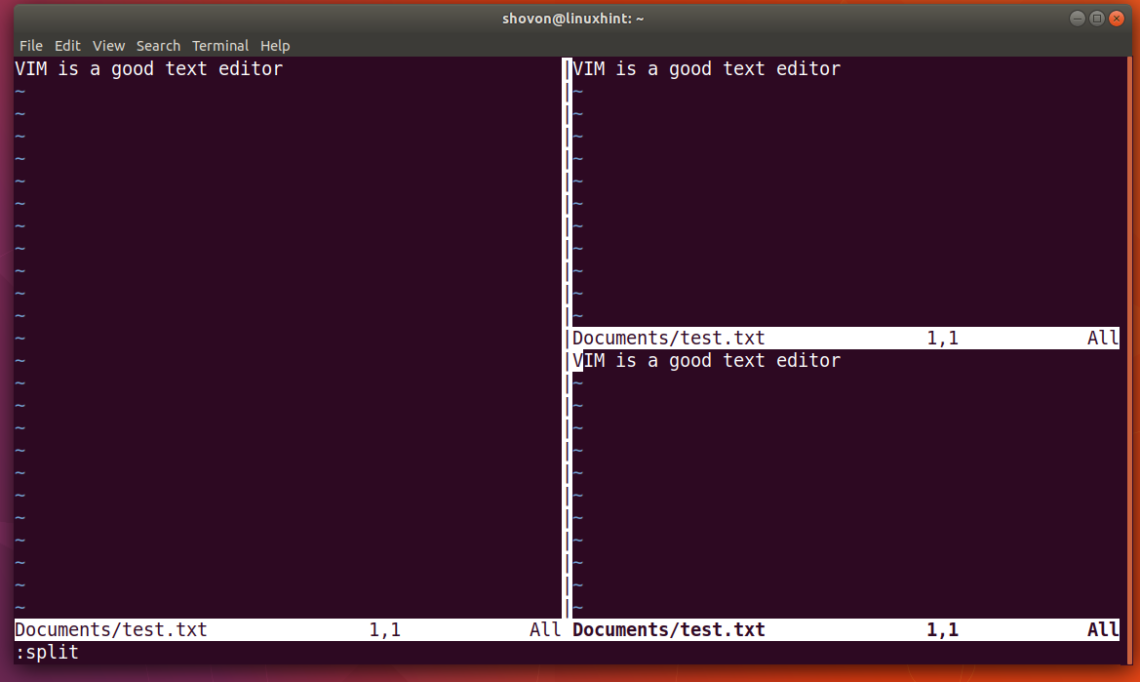
You can move to the left window again by pressing <Crtl>+<w> and then pressing <h>. To open a new VIM window on the bottom of the currently selected window, press <Ctrl>+<w> then press <s>. You currently selected window should be split vertically as shown in the screenshot below.
You can go to the window below the selected window by pressing <Ctrl>+<w> and then pressing <j>
You can go to the window above the selected window by pressing <Ctrl>+<w> and then pressing <k>
Copy and Paste Texts Between VIM Split Screens
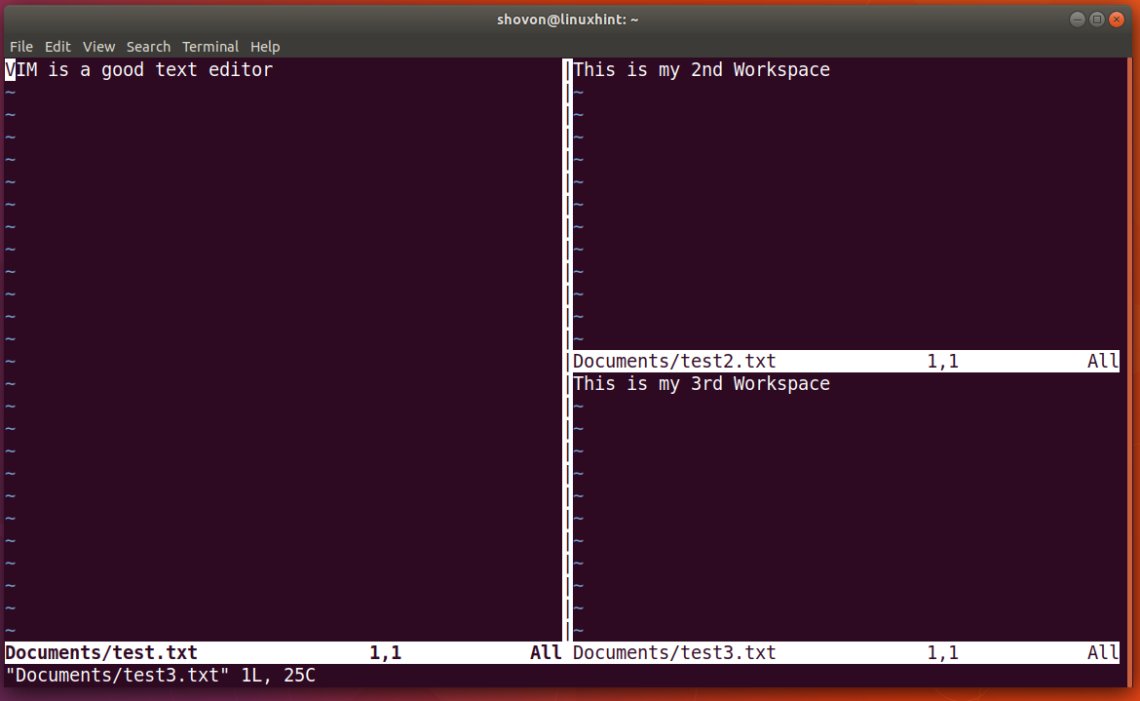
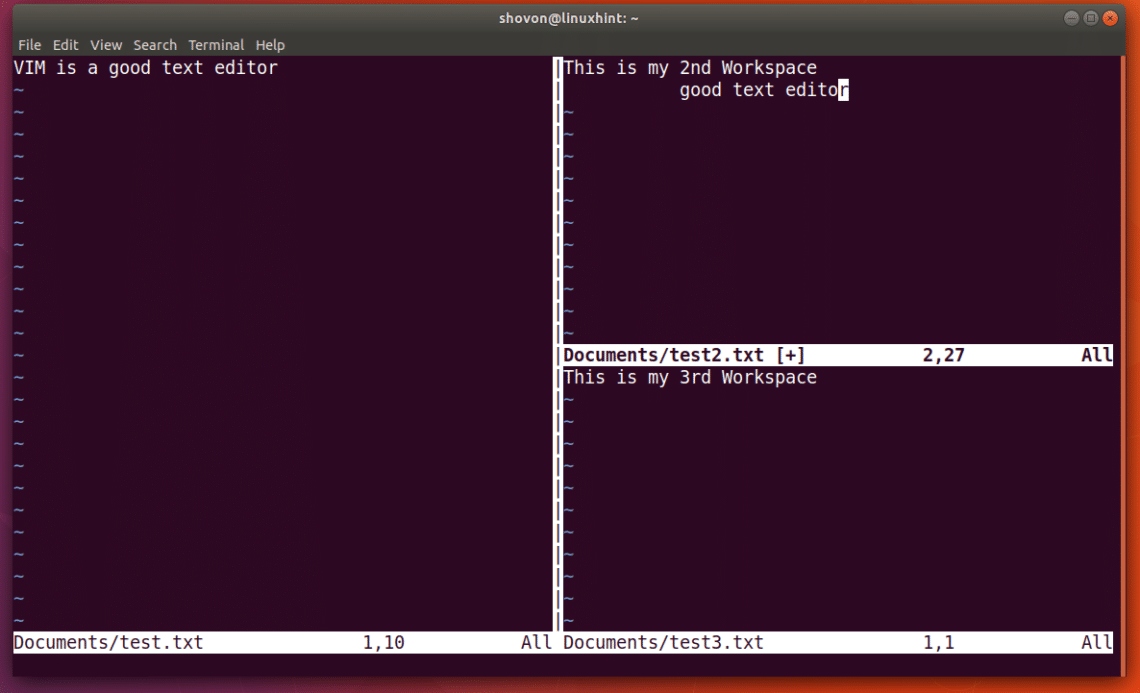
I have 3 different text files opened in 3 different windows on VIM as you can see from the screenshot.
Let’s say I want to copy the text “good text editor” to another VIM window.
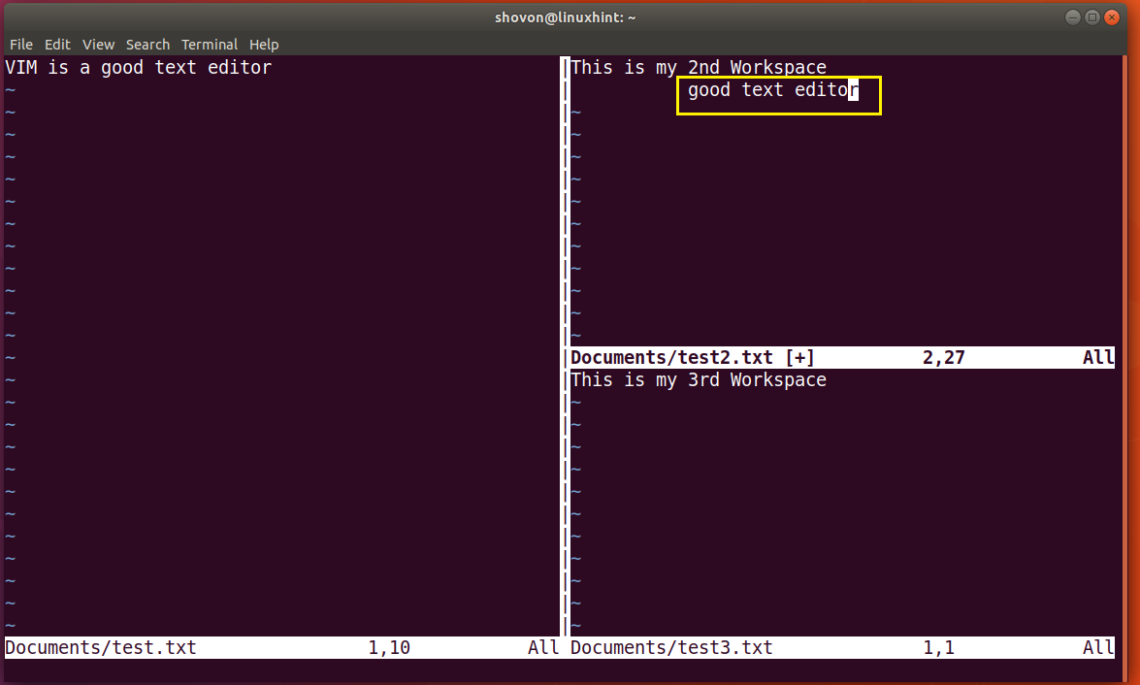
To do that, from the “Command Mode”, first go to the location from where you want to start your selection and press <v> to go to the “Visual Mode” of VIM and select the substring and press <y>. The text should be copied.
Now go to another window by pressing <Ctrl>+<w> and then any of <h> <j> <k> or <l> depending on your choice. Now go to “Insert Mode” by pressing ‘i’ and navigate to the place where you want to paste the text. Then go back to “Command Mode” by pressing <ESC> and press <p> to paste the copied text.
You can see from the screenshot below that the copied text is pasted correctly.
Change the Split Screen Window Size of VIM
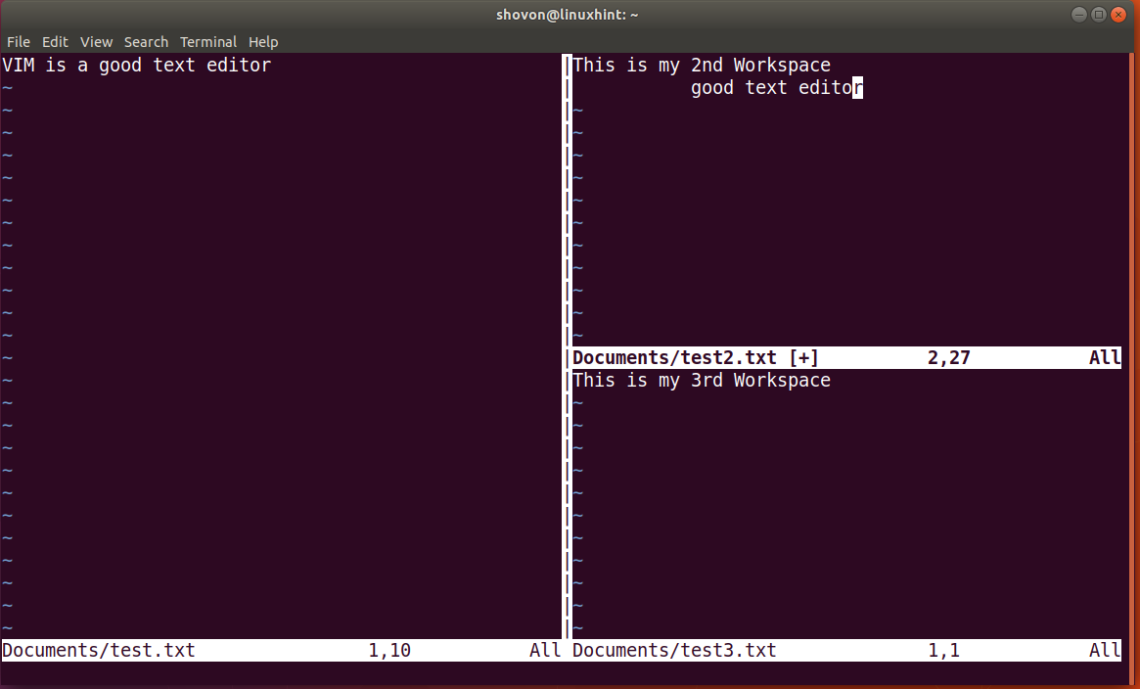
There are several shortcuts to change the split screen window size of VIM. You can increase the width of your window by pressing <Ctrl>+<w> and then ‘>’ and decrease the width by pressing <Ctrl>+<w> and then ‘<’.
This is how my VIM window looks now.
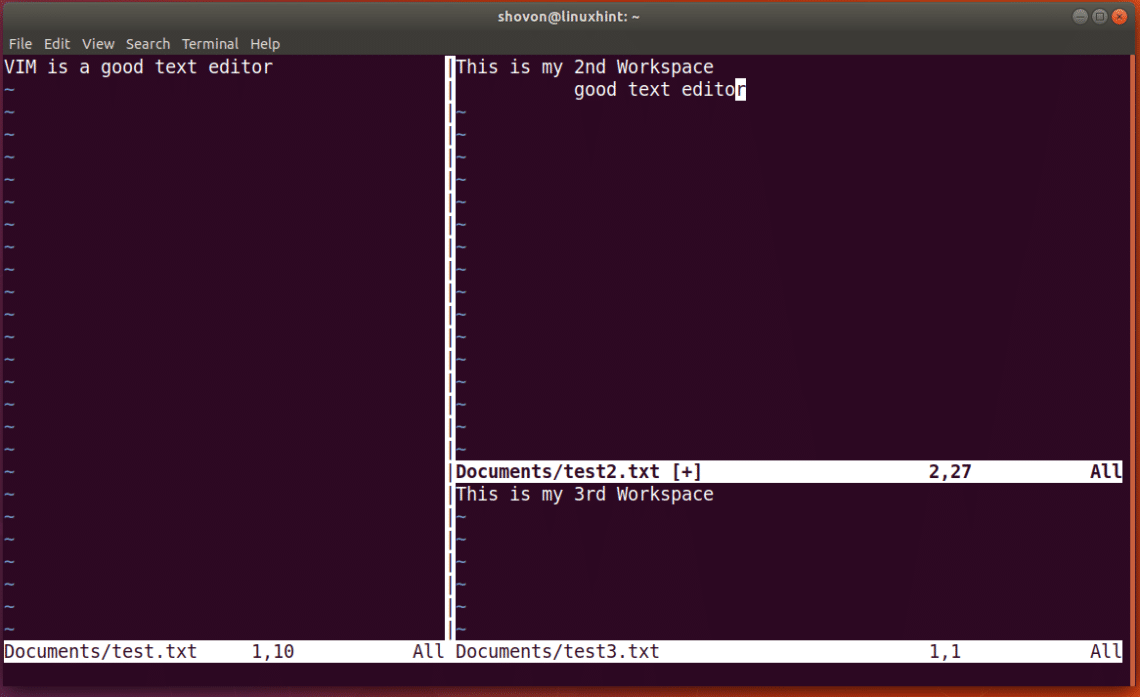
After increasing the width, this is how it looks like now:
You can also increase or decrease the height of your VIM window. To increase the height of your window, press <Ctrl>+<w> and then press ‘+’ and to decrease the width press <Ctrl>+<w> and then press ‘-’.
After increasing the height one of my VIM window, this is how it looks like now:
You can reset to the equal width and height windows by pressing <Ctrl>+<w> and then pressing ‘=’ as you can see from the screenshot below.
That’s how you use VIM shortcut keys to use VIM split screen feature, navigate between them, resize them and copy/paste between windows. Thanks for reading this article.
