Listing Directory Contents with ls:
You can list the contents of your current working directory with ls. This is the most common usage of ls.
To list the contents of your current working directory, run ls as follows:
As you can see, the directory contents of my current working directory (which is the login user’s HOME directory by default) is listed.

You can also list the contents of another directory using the full/absolute path or relative path of that directory.
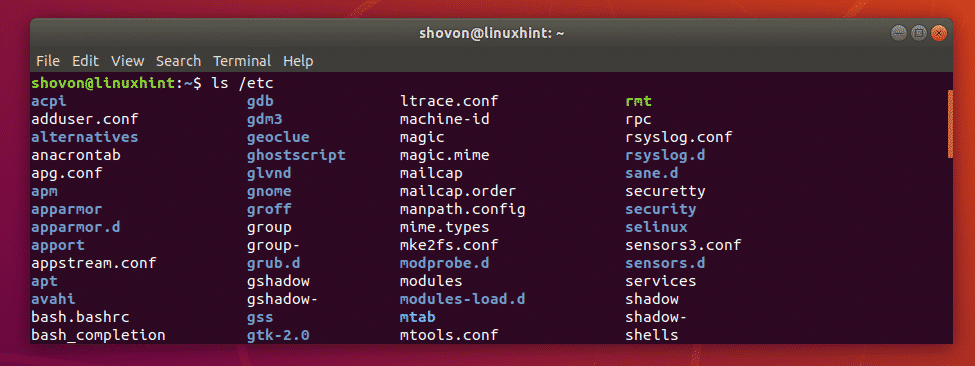
For example, let’s say you want to list the contents of the /etc directory. To do that, run ls as follows:
As you can see, the contents of the /etc directory are listed.
Again, let’s say, you want to list the contents of the ~/Downloads directory using the relative path of the directory from your current working directory which the login user’s HOME (~) directory by default.
To do that, run ls as follows:
As you can see, the contents of the ~/Downloads directory are listed.

Listing Hidden Files with ls:
On Linux, files and directories starting with . (such as .profile, .bashrc, .local/ etc) are hidden files and directories. By default, the ls command does not list them. But you can use the -a option of ls to list hidden files and directories.
As you can see, the hidden files and directories are listed.

You can also use the -A option of ls to list hidden files and directories. The good side of this option is that, it does not list the . (current directory) and .. (parent directory) directories as -a option does. It may be helpful for shell scripting.
For example,
If you compare the output with the previous one, you should see that there is no more . and .. directory in the list.

Enable and Disable Colored Output:
You can enable and disable the colored output of the ls command using the –color option. The –color option takes 3 values, never, always and auto.
On almost every modern Linux distribution, the colored output is enabled by default. If you don’t like the colored output of ls, use –color=never with ls.
If for any reason, you don’t have colored output by default, you can use –color=always with ls.
If you only want colored output when the standard output (STDIN) is connected to a terminal, then you can use –color=auto.
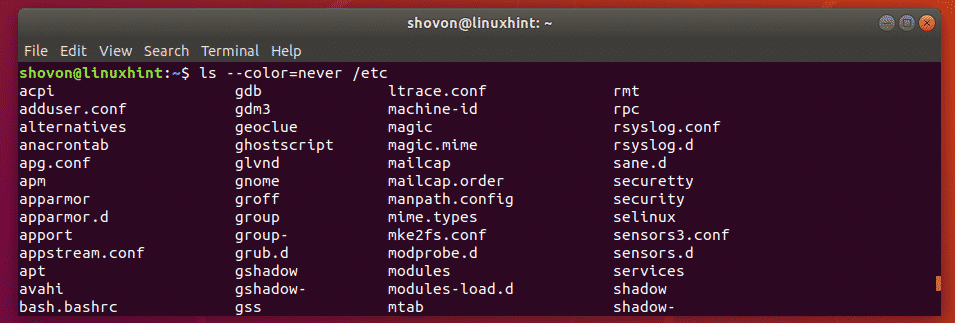
For example, let’s disable the colored output of ls,
As you can see, the colored output is disabled.
Long Listing Format of ls:
The ls command has an awesome long listing format. In the long listing format, you can see the file and directory permissions, file size, the owner and primary group of the files or directories, the number of hard links or the depth of the directory, last modification date, and the name of the files and directories.
The -l option of ls is used to enable long listing format.
For example,
As you can see, all the information I told you about is displayed nicely.

This is the directory or file permission section. For directories, this section starts with d and for files, it starts with –. Then the first 3 characters are for user permissions, then the next 3 characters are for group permissions, then the last 3 characters are for others permissions. The character r = read, w = write and x = execute permission. – just means no value is set.

This section represents the number of hard links for files and the depth for directories.

You have the owner and primary group of the file or directory respectively here.

Here, you have the total file size in bytes. You can change the unit with other ls options which I will cover in the next section of this article.

Here, you have the last modification date of the file or directory.

Finally, you have the filename or the directory name.

Changing the File Size Unit in Long Listing Format of ls:
In ls long listing format, by default the file size unit used is bytes. But, you can easily change that with the –block-size option of ls.
To set the unit to kilobytes, use –block-size=k
To set the unit to megabytes, use –block-size=M
To set the unit to gigabytes, use –block-size=G
To set the unit to petabytes, use –block-size=P
For example,
As you can see, the file sizes are printed in megabyte unit. This will give you incorrect results as the file sizes are rounded.

Printing Human Readable File Sizes in Long Listing Format of ls:
In the earlier section, you saw how specifically defining file size unit gives incorrect results. Luckily, you can use the -h option of ls to print the file sizes in human readable format, that is, the unit will change depending on the actual file size. So, you will get the correct file size output.
For example,
As you can see, the required file size units are used. The output is also accurate.

Printing inode Numbers with ls:
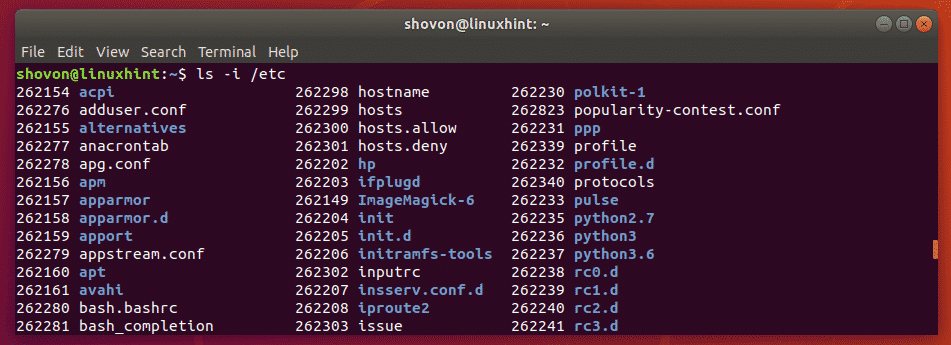
You can print the inode number of files and directories with the -i option of ls.
For example,
As you can see, the inode number of all the files and directories are printed before the file and directory name.
Printing SELinux Contexts with ls:
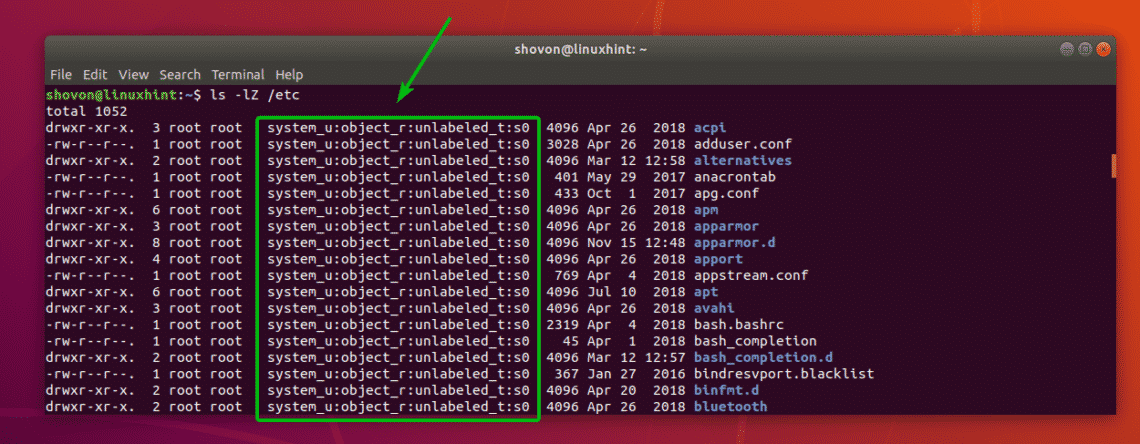
You can print the SELinux contexts of files and directories with the -Z option of ls if you have SELinux enabled on your machine.
For example,
As you can see, the SELinux contexts are printed.
Getting Help:
For more information on ls, you may check out the man page of ls with the following command:
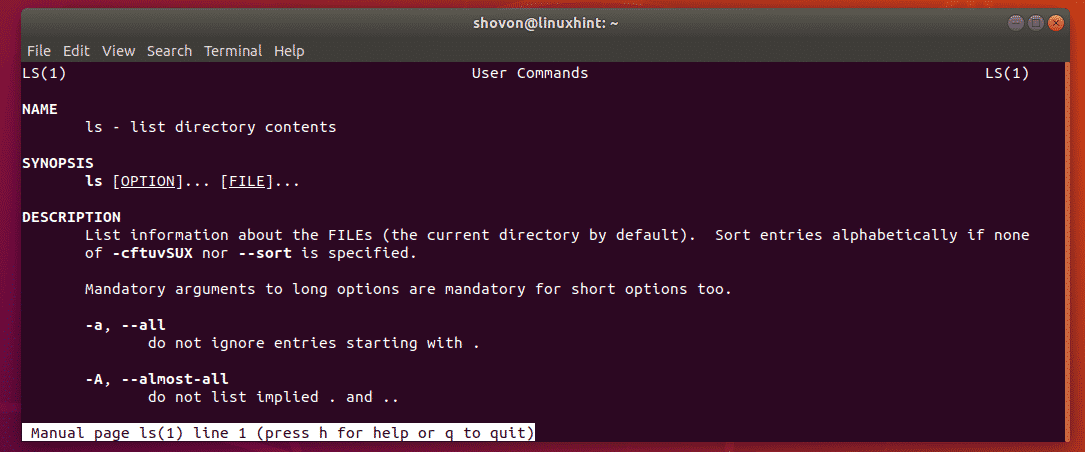
So, that’s how you use the ls command in Linux. Thanks for reading this article.


