In this article, I am going to show you how to use the rsync command to copy files and directories and take incremental backup. I will be using Ubuntu for the demonstration. But any modern Linux distribution should work just fine. So, let’s get started.
Installing rsync:
rsync should already be installed on Ubuntu. But, if it isn’t installed on your computer for some reason, you can easily install it from the official package repository of Ubuntu with the following command:

Format of the rsync Command:
The basic format of the rsync command is,
- source can be a file or a directory or a network path.
- destination can be a directory or a network path.
- rsync has many options. You can change the behavior of rsync using these options. We will take a look at some of the most common options along the way.
When you use rsync, you need to know the following things:
- If you put a / after the directory name in the source of rsync such as myfiles/, then it means copy all the files from inside the directory only to the destination.
- If you don’t put a / after the directory name in the source of rsync such as myfiles, then rsync will copy all the files from the directory to the destination including the directory.
- If you type in a destination directory path that does not exists, then rsync will automatically create it as required.
Backing Up Local Files and Directories with rsync:
You can copy files from one directory to another directory on your computer very quickly with rsync.
For example, let’s say, you have some important files in the ~/Downloads directory. Now, you want to backup all the files from the ~/Downloads directory to your USB thumb drive /dev/sdb1 mounted in the directory /mnt/myusb.
Let’s make some dummy files in the ~/Downloads directory.

Now, copy all the files from the ~/Downloads directory to /mnt/myusb directory with the following rsync command:

The files should be copied.

As you can see, the files are in the /mnt/myusb directory.

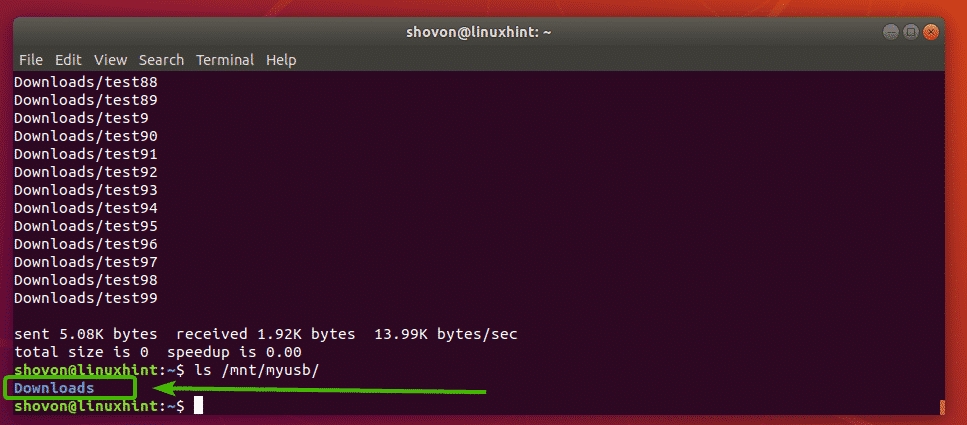
You can also copy the whole ~/Downloads directory to your USB thumb drive as follows:

As you can see, the whole directory is copied over to the USB thumb drive.
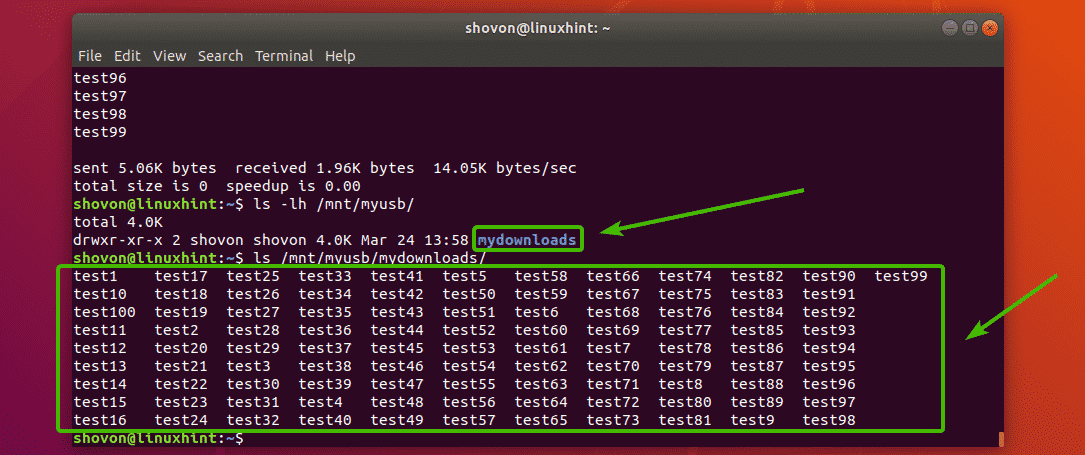
Again, if you wanted to copy all the files from the ~/Downloads directory to another directory (let’s say mydownloads/) on your USB thumb drive, run rsync as follows:

As you can see, the files are correctly copied over to the USB thumb drive.
Backing Up Remote Files and Directories with rsync:
With rsync, you can copy files and directories from a remote server to your local filesystem or USB thumb drive for backup purposes. You can also copy files and directories from your local filesystem to your remote backup server. rsync uses SSH for copying files and directories to/from remote server.
You must have SSH server package (openssh-server on Ubuntu) and rsync package installed on the remote server if you want to use rsync for file backup purposes.
For example, let’s say, you want to copy all the contents (including the directory) of the /www directory from your remote server www.example1.com to your USB thumb drive mounted on the path /mnt/myusb on your local filesystem.
To do that, you may use the following rsync command:
NOTE: Here, root is the remote username, www.example1.com is the remote server’s DNS name and /www is a directory path on the remote server. You can also use the IP address of the remote server instead of DNS name if you want.

You may see the following message if you’re connecting to the remote server for the first time. Just type in yes and then press <Enter>.

Now, type in the password for the remote user (in my case it’s root) and press <Enter>.

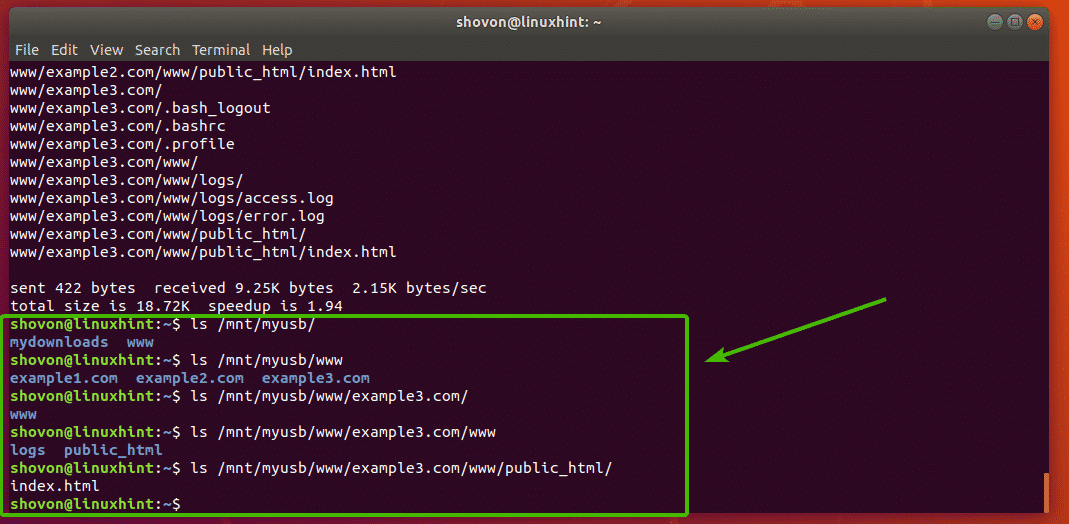
All the files and directories inside the /www directory including the directory /www should be copied over to the USB thumb drive as you can see in the screenshot below.
You can also copy files from your local file system to your remote server with rsync.
In the earlier example, you’ve taken a backup of the /www directory on the remote server. Now, let’s say, some of the files in the remote server is damaged and you want to recover them from the backup.
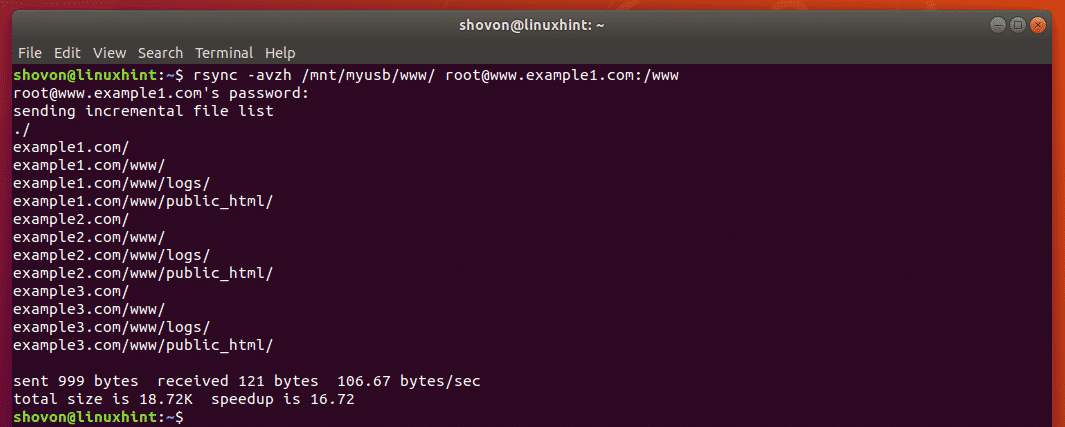
To do that, run the rsync command as follows:

Now, type in the password of your remote server and press <Enter>.

The files should be copied from your local file system to the remote server.
Taking Incremental Backups with rsync:
In this type of backup, the source and destination directories are kept in sync. If any file is added to the source directory, it’s added to the destination directory as well. The same way, if any file or directory from the source directory is removed, it’s removed from the destination directory as well.
rsync is a great tool for taking incremental backup.
Let’s say, you have a directory ~/cloud in your user’s HOME directory. Now, you want to take incremental backup of the directory to a USB thumb drive mounted on the path /mnt/usb1 on a remote server backup.example.com.
NOTE: You must have openssh-server and rsync packages installed on your remote server for this to work.

To take incremental backup of the ~/cloud, run the following command:

Now, type in the password for your remote user and press <Enter>.

The contents of the ~/cloud directory should be copied over to the USB thumb drive on the remote server.
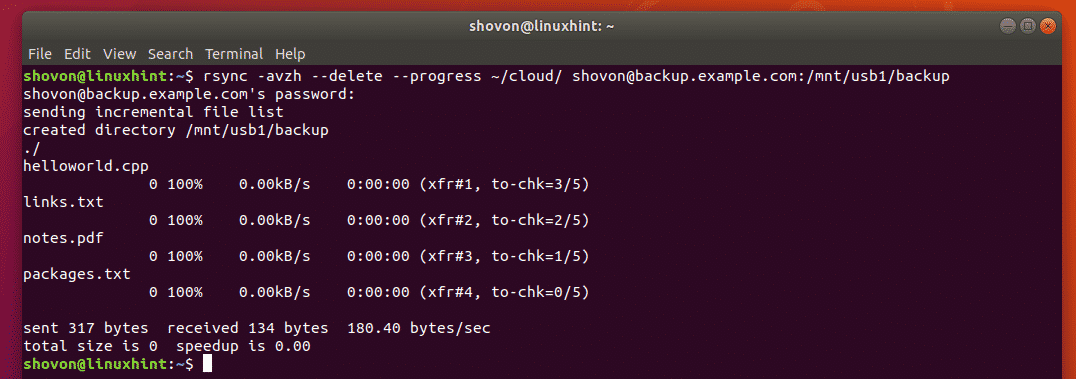
As you can see, all the files are copied over to the USB thumb drive mounted on the remote backup server.

Now, let’s remove a file from the local file system and see what happens.

Now, use rsync to sync the directories again with the same command as before.

As you can see, the file packages.txt is also removed from the USB thumb drive mounted on the remote backup server.

Where to Go Next:
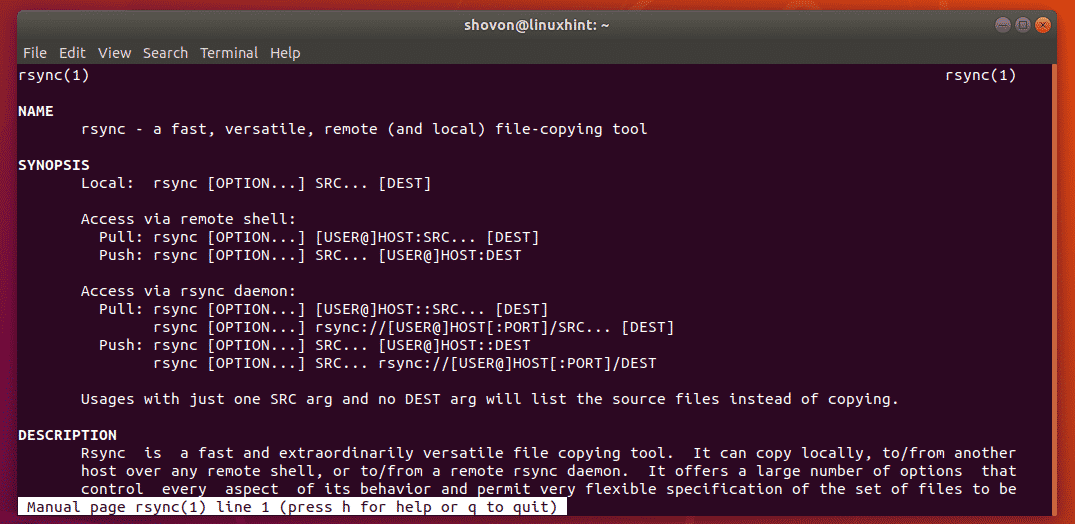
You can find more information on rsync in the man page of rsync. The man page of rsync has detailed description on all the options of rsync. I highly recommend you check that out.
You can access the man page of rsync with the following command:
So, that’s how you use rsync to copy files and take incremental backups on Ubuntu. Thanks for reading this article.

