In the case of SUSE Linux (openSUSE, SUSE Enterprise, and derivatives), zypper and YaST are the package managers. While YaST (Yet another Setup Tool) is for administrating, setting up and configuring SUSE Linux, zypper is the CLI interface of the ZYpp package manager. ZYpp is at the core of both zypper and YaST.
In this article, we’ll be having a deep dive into the usage of zypper for all sorts of purposes.
Note: As zypper commands perform system-wide changes, these commands must be run as root. Otherwise, the commands will fail.
Without further ado, let’s get started! All these examples are shown on openSUSE Tumbleweed. However, these commands are universal for the zypper package manager.
Zypper help
Running zypper without any command will print out a list of all the available commands.
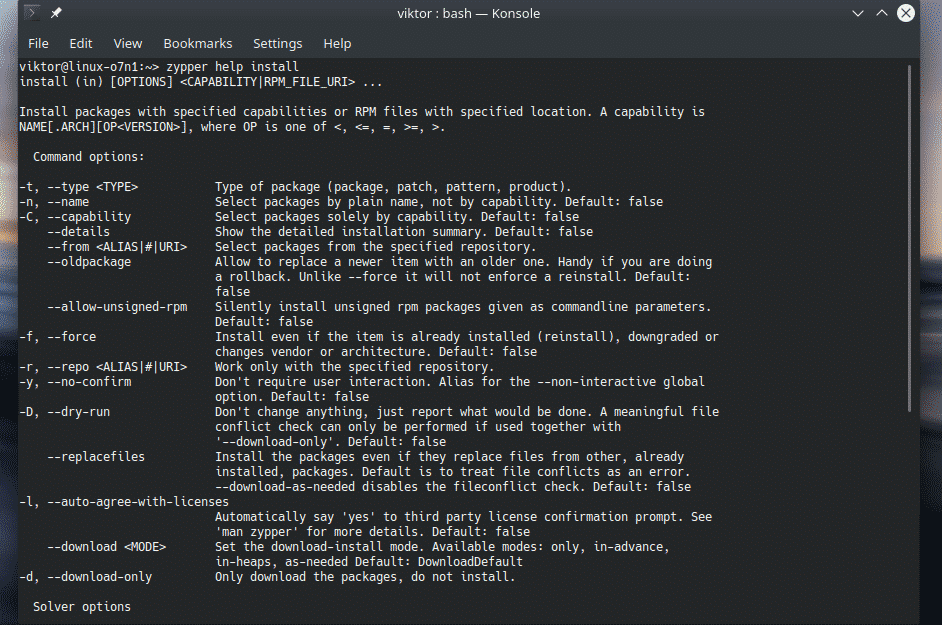
It’s a big list! If you’re in need of help regarding any specific command, run the following command.
Updating the Zypper database
This is one of the most common functions of zypper to keep its local package database updated with the package server.
Instead of using “refresh”, you can also use the abbreviation “ref”.
It’s also possible to force zypper to rebuild its local database. This can be useful in situations, for example, if the database is corrupted.
Update system packages
To grab and install all the latest package updates from openSUSE, run the following command.
However, I recommend using the following structure for maximum benefit.
If you’re interested in checking out the packages that have updates available, run the following command. Zypper will generate a list of available updates for you.
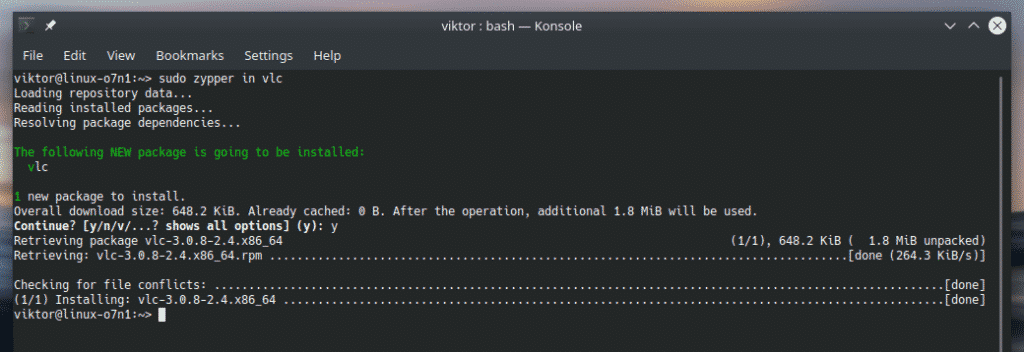
Installing a package
For installing a package, use the following command.
There are some interesting abbreviations of zypper commands. In this case, the following command is also valid and will do the same job.
If you have to install multiple packages at the same time, just include the package name one after another separated by a space.
When performing an action, zypper will ask for confirmation. To turn off the interactive mode, add “–non-interactive” or “-n” flag.
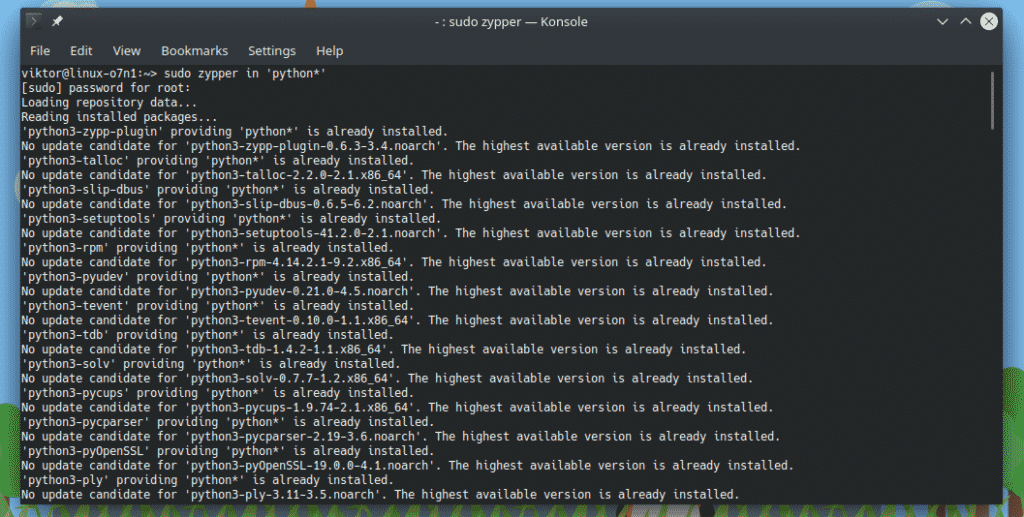
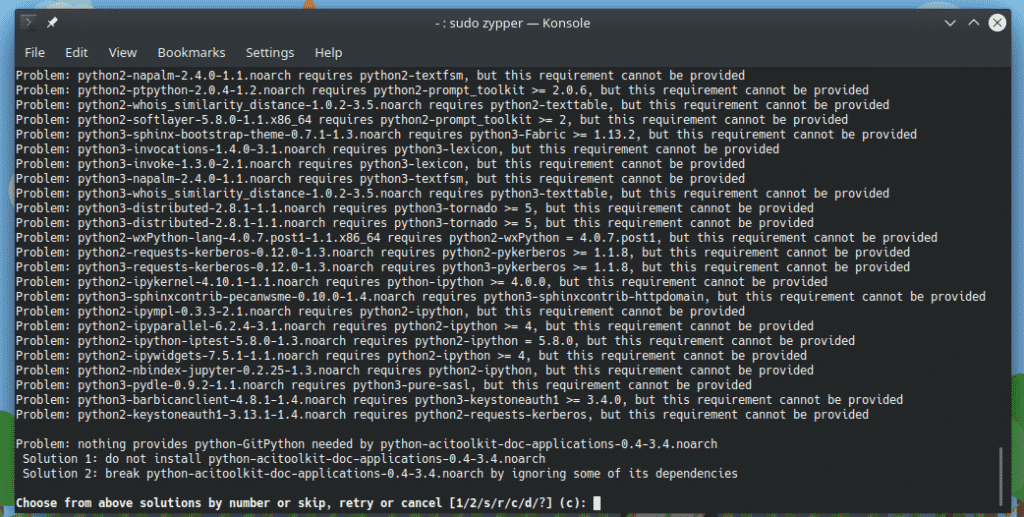
The wild card feature is also supported by zypper. For example, let’s try installing all the packages that start with the name
$ sudo zypper in ‘python*’
Source install a package
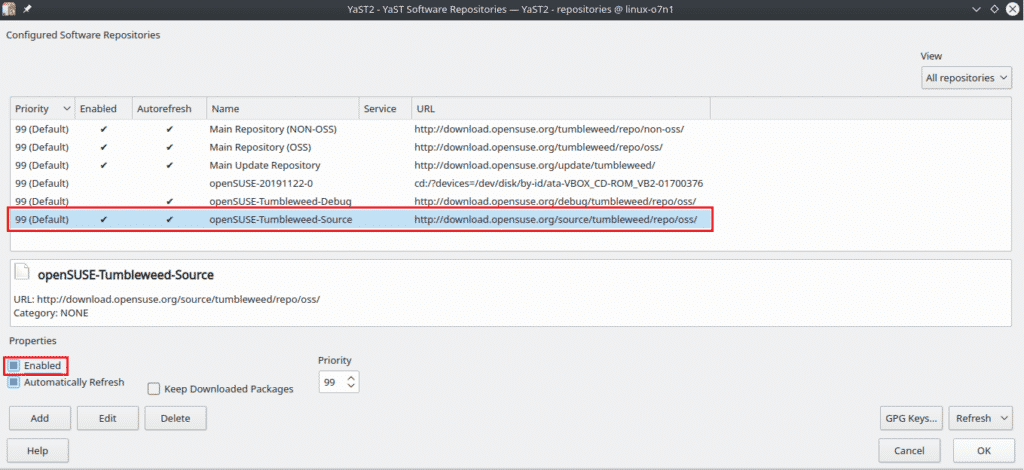
Note: Before performing the following steps, don’t forget to check whether the source repository is activated. Otherwise, source installations won’t succeed. Enable source repo from “YaST Software Repositories”.
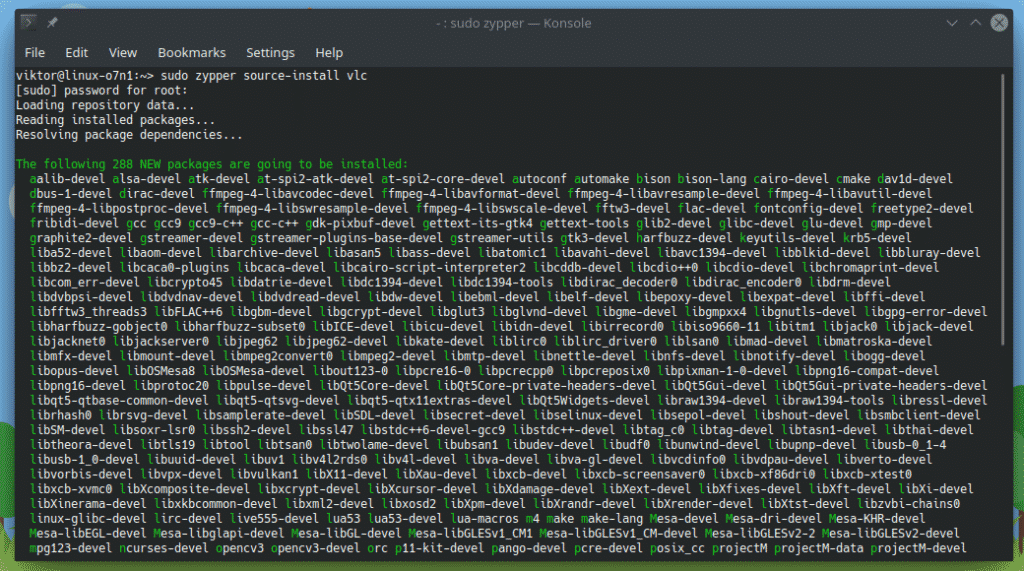
If you need to install the source package of a particular package, use the “source-install” flag.
By default, this command will also prompt for installing all the build dependencies. To avoid the build dependencies, add the “-D” flag.
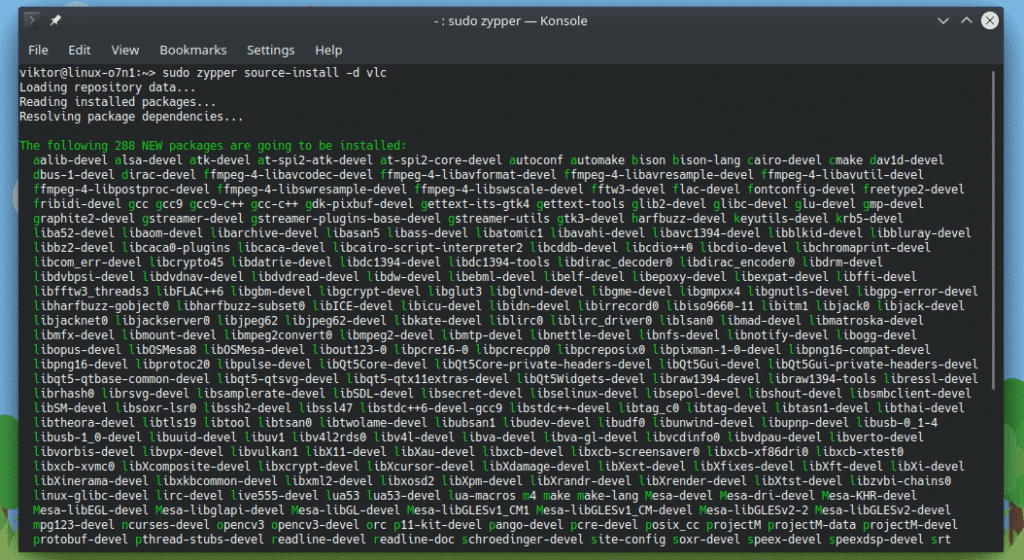
In case you just want to install the build dependencies, use “-d” instead.
Searching a package
There are thousands of packages in the openSUSE repository. For performing a search using zypper, use the following structure.
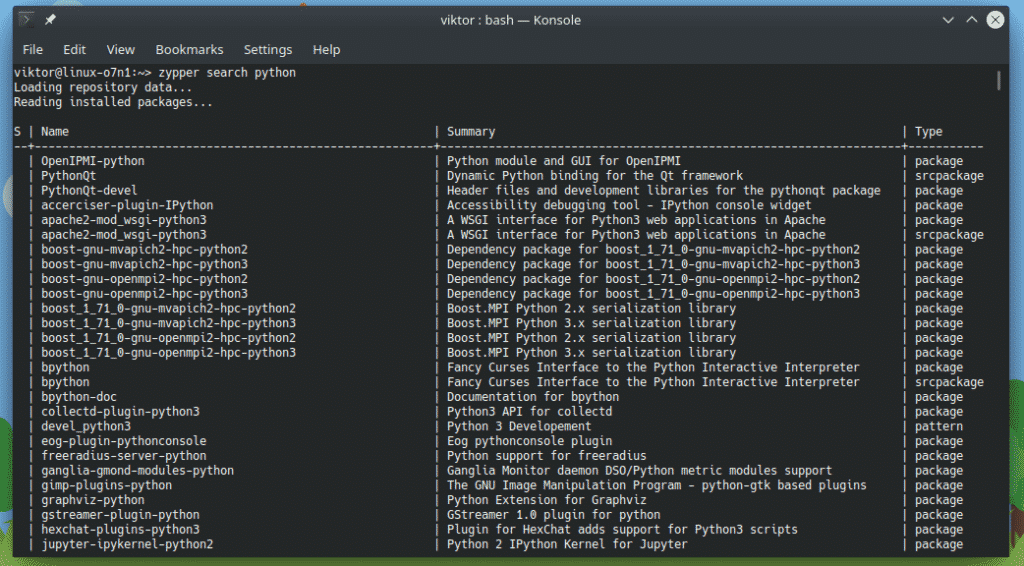
For example, let’s search for all the packages with the term “python” on it.
Such searching can print out a LONG list of packages. In such a situation, using “grep” or exporting the result and then performing can offer some comfort.
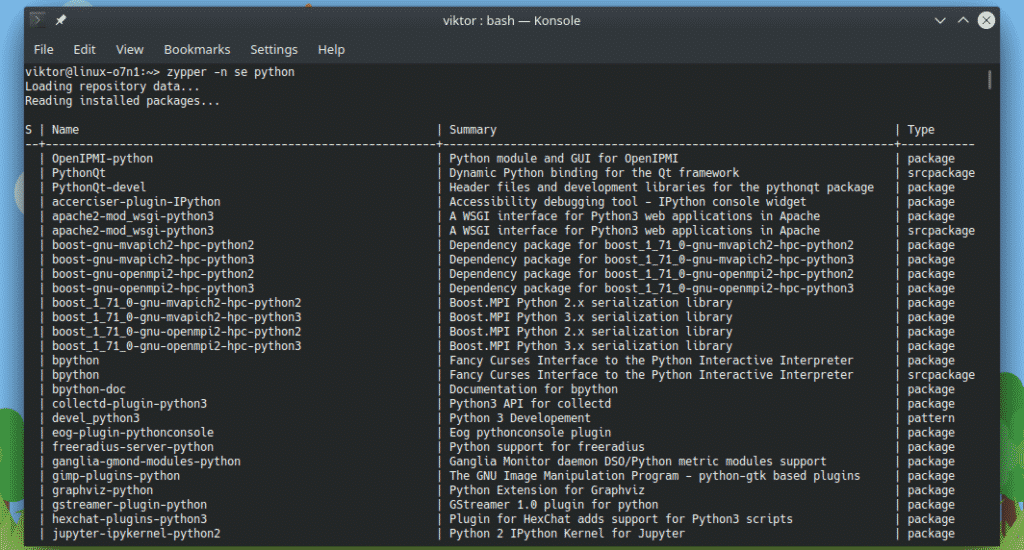
The “search” option also has an abbreviation “se”.
Note that for searching, we didn’t have to use “sudo” at the beginning. This is because zypper isn’t performing any system-wide change.
Removing a package
If you want to get rid of a certain package, use the “remove” option.
For example, let’s remove VLC from the system.
Instead of “remove”, let’s use “rm”. It’s the abbreviation of the term “remove”.
If you want to skip the interactive mode, use the “–non-interactive” or “-n” flag.
Installing and removing at the same time
It’s an interesting feature of zypper that allows installing and removing packages at the same time! Let’s check it out.
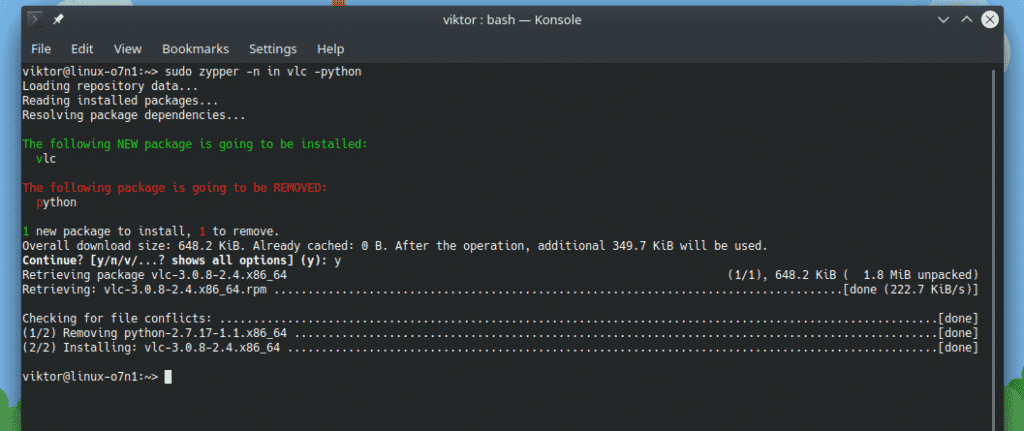
For example, let’s install VLC while removing Python. In this example, the main task of zypper is installing, not removing. Here, the “-n” flag is used for convenience.
Patch
This is an interesting part of the openSUSE ecosystem. While both patch and update operate the same way, both are fundamentally different. Confused?
In the case of “update”, in openSUSE’s term, will update the package to the latest version available from the repo. In the case of “patch”, however, it will only install package updates that are meant for bug and security fixes.
If you only install patches, it may or may not update all the packages. However, performing updates will make sure that all the latest packages are installed.
With that out of the way, let’s get started!
At first, installing the patch. The following command will install all the officially released patches.
In my case, there’s nothing to do. If there’s any latest patch, the command will install it.
To see the list of available patches, use this one. It doesn’t require root permission to run.
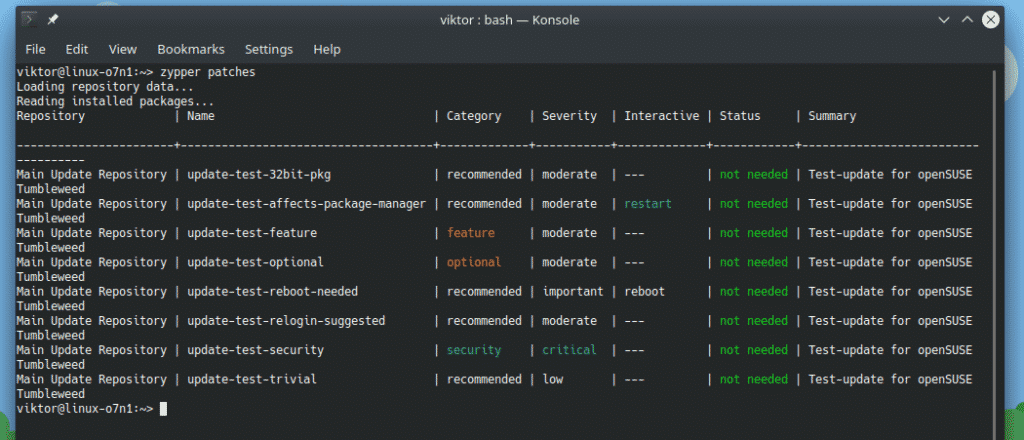
Zypper can list all the patches that are not currently installed. Run the following command.
The “list-patches” is also available in the abbreviated form of “lp”.
Interested in listing only the patches that are marked as security fixes?
To check the number of patches that are required, run this command.
Repository management
Zypper offers seamless methods of managing all the repositories. Here are some of the commands that come really handy in a lot of situation.
We’ve already covered how to update the local database of all the repos.
Need a quick list of all the repositories?
We can also use “lr”, the abbreviated form of “repos”.
Need the URI of the repos? Just add “-u” flag after “lr” or “repos”.
If you didn’t know, the repositories of openSUSE are ordered in a hierarchy. To list the repositories based on their priority, use the “-p” flag.
When running “refresh”, Zypper will update the local database for all the repositories. For updating a specific repository, run the following command.
Repos can be enabled/disabled without deleting them. In order to disable a particular repository, run the following command. Note that we need the repo number from the repository list.
Need to enable a disabled repo? Let’s run the following command.
Adding a new repository is also very simple. In this example, I’ll be adding the Packman. It’s an external repository that offers additional openSUSE packages. Depending on which version of openSUSE you’re running, the repo URI is going to change. However, the command structure will remain the same. Learn more about Packman
In the case of openSUSE Tumbleweed, the command will look something like this. Here, “ar” is the abbreviated form of “addrepo”.
packman
For removing a repo, you need the repo alias. Grab the repo alias from the list of repos and use the following command.
You can swap “removerepo” with its abbreviated form “rr”.
Cache management
Caching is a useful mechanism where zypper can keep a copy of all the RPM packages it grabs from the internet in a specific location. Any time you ask zypper to install the same package, it first looks into the cache. If it’s in the cache, zypper uses the RPM package from the cache to perform the installation. This way, it can speed up the installation and save time and bandwidth.
The cache is stored in the following location. Each repo has its own dedicated folder under the directory.
For cleaning the cache, run the following command.
This will clean all the stored RPM packages from the cache. I recommend enabling caching unless you’re somehow constrained by the storage. The following command will enable caching for all the repositories in the system.
Final thoughts
Zypper packs a ton of features. While these zypper usage methods are more than enough for regular users, there are plenty of advanced features that were not featured here.
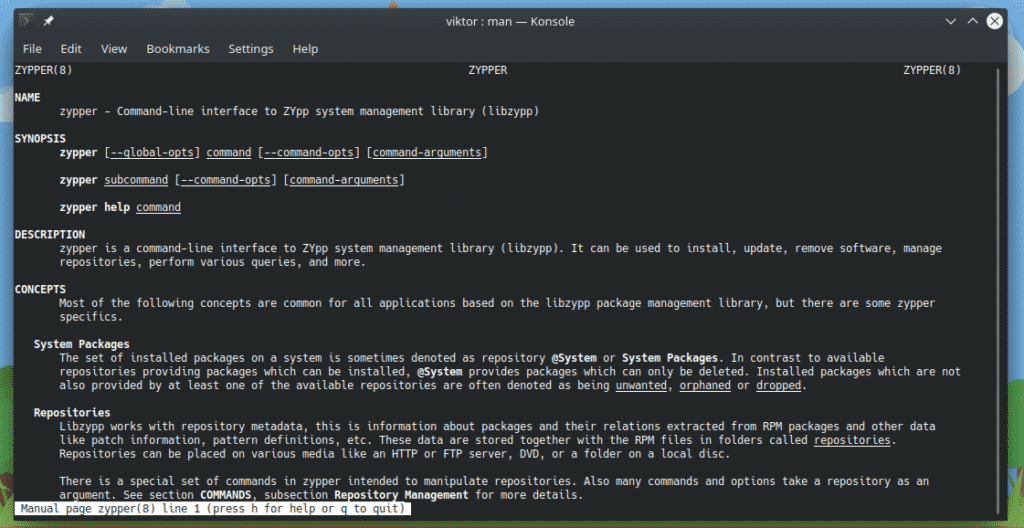
For the full zypper documentation, check out the man page.
Enjoy!
