Let’s check out the usage of NetworkManager on Arch Linux.
Installation
NetworkManager is readily available on Arch Linux official repository. All you need is just tell pacman to install it right away.
Update the pacman package database.

Now, install NetworkManager.

For mobile broadband support, don’t forget to install the additional packages.

If you need PPPoE/DSL support, install the following package.

In need of a UI? Install the following packages.

Configuring NetworkManager
At first, enable the NetworkManager service so that every time the system boots, it becomes the manager of networks.

In this case, you also have to disable the dhcpcd service. Otherwise, both NetworkManager and dhcpcd will try to configure the network and result in conflict and unstable network.

If you need the support for wireless connections, you also need the wpa_suplicant service enabled as well.

Finally, the system is ready to start the NetworkManager service. Start the service.

Reboot the system to ensure that all the changes take into effect.

Using NetworkManager
There are a couple of ways of using NetworkManager. The default method is through command-line using the CLI tool (nmcli). If you want an interactive UI, there are 2 options available – settings from the desktop environment or nmtui.
List nearby wireless networks
Ask nmcli to list all the available nearby wireless networks.


Connecting to a wireless network
You can directly connect to a wireless network.

If the network is a hidden one, use the following structure.
nmcli device wifi connect <SSID> password <SSID_password> hidden yes
List all the connected networks
Check out what networks your system is connected with. nmcli will report the UUID, type, and interface of the connection.

Device status
NetworkManager allows checking the status of all the network devices.

Disconnect a network
At first, determine the interface of the wireless network. Then, tell nmcli to disconnect from it.

Re-connect with a network
If there’s an interface that’s marked as disconnected, you don’t have to go through the lengthy process of re-entering the SSID and password. Instead, you can use the UUID to reconnect.
Determine the UUID of the network.

Now, use the UUID to reconnect with that network.

Disable Wi-Fi
NetworkManager can also be used to disable Wi-Fi access.

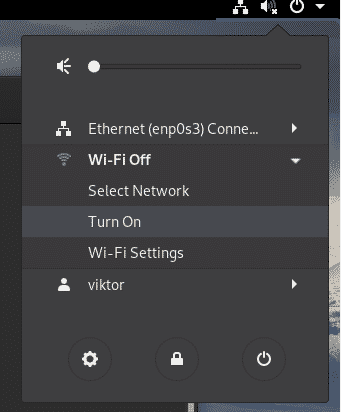
To turn it back, use the following command.

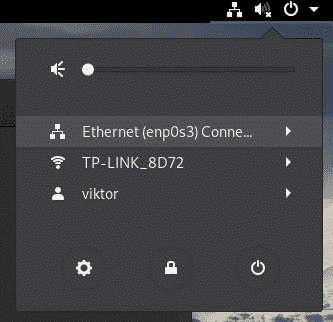
Note: This action will automatically attempt to connect your system with the most suitable Wi-Fi network from the list of known networks.
Editing a connection
THe connection options are stored in “/etc/NetworkManager/system-connections” directory in their respective “<connection_ID>.nmconnection” files.

Edit the respective file for changing the settings.
sudo nano /etc/NetworkManager/system-connections/<connection_ID>.nmconnection
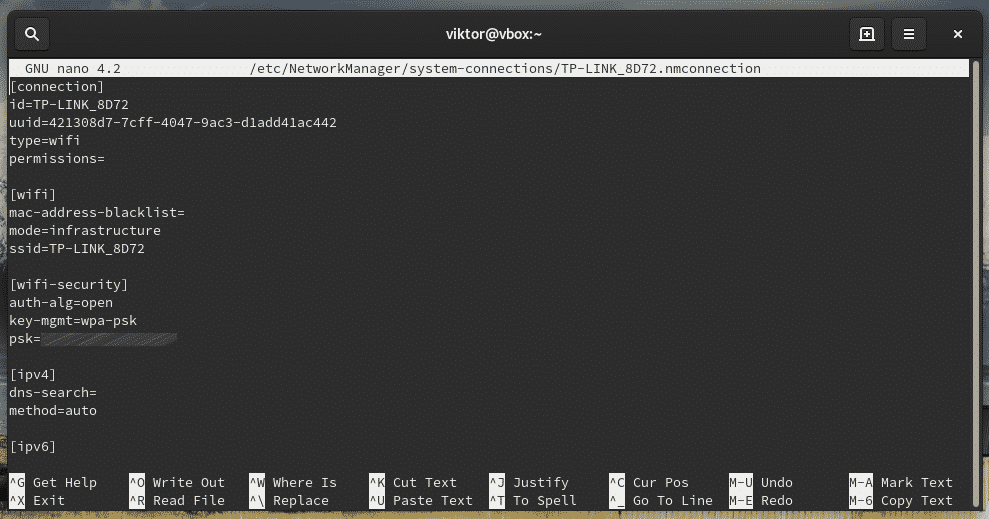
After editing, make sure that the new settings take into effect by reloading nmcli.

nmtui
When installing NetworkManager, a simplistic command-line UI is also installed. Using the UI, it’s easier to navigate through your desired actions.
Launch the interactive UI manager of NetworkManager.
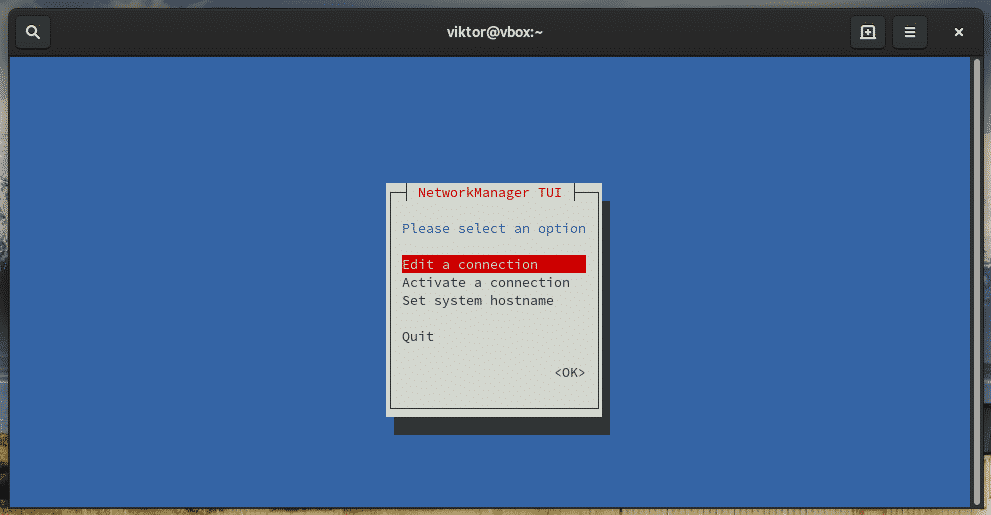
Editing a connection
From the main section, select “Edit a connection”.

Select which connection you want to edit.
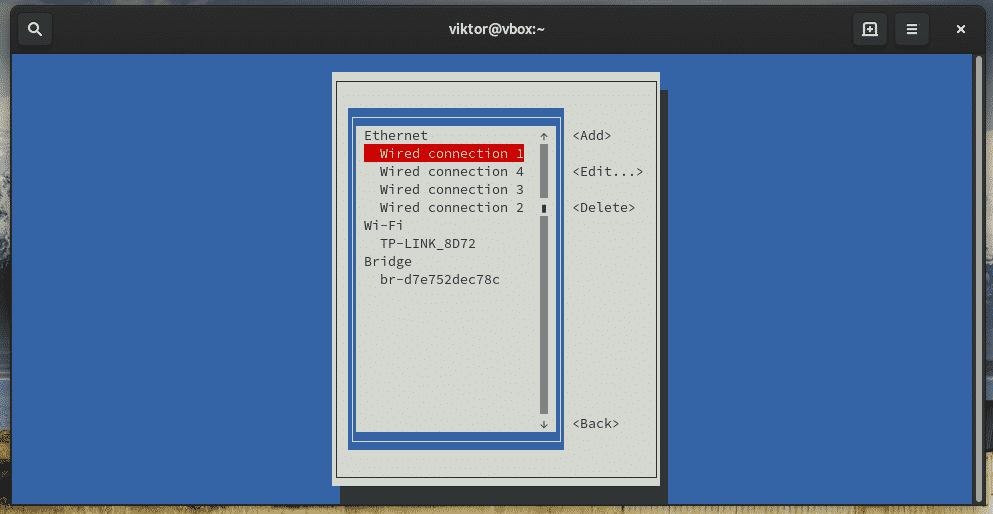
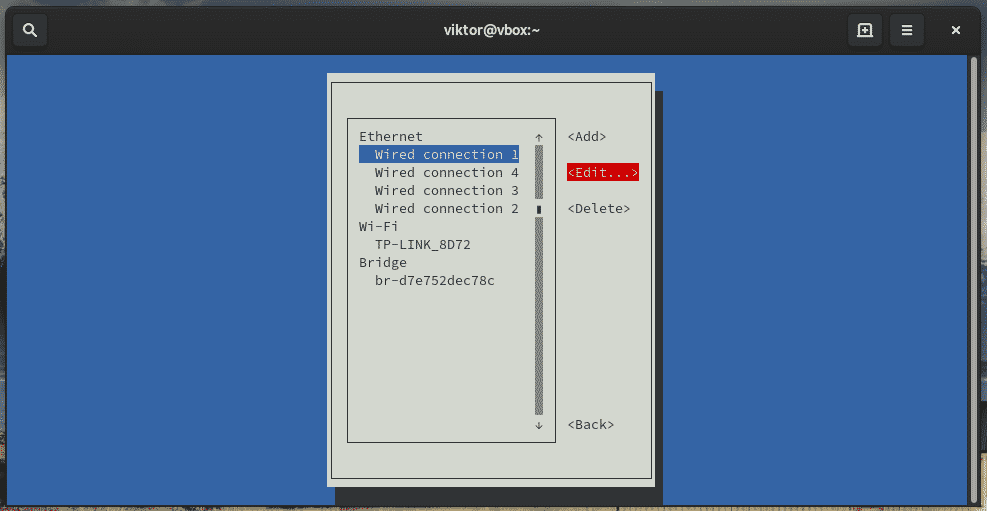

Deleting a connection
Go to “Edit a connection” from nmtui and select “Delete”.
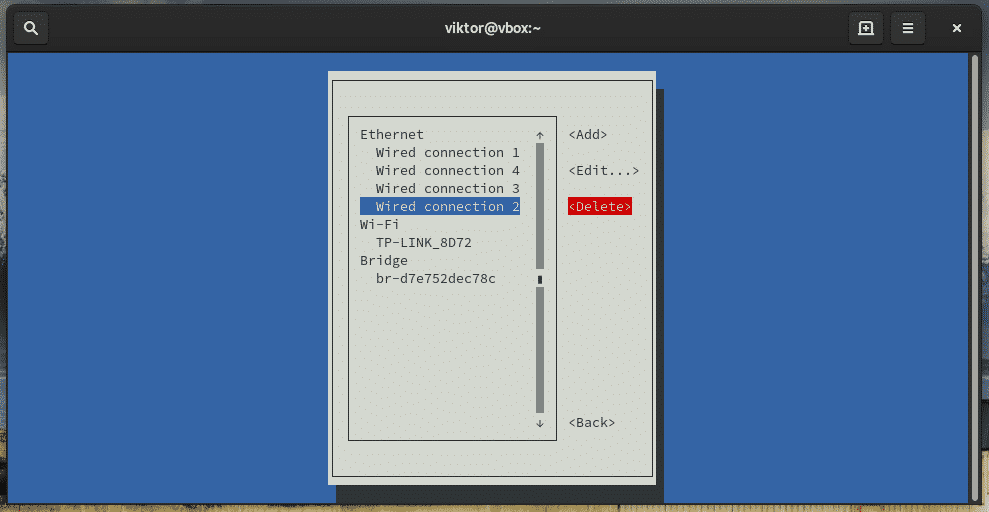

Adding a connection
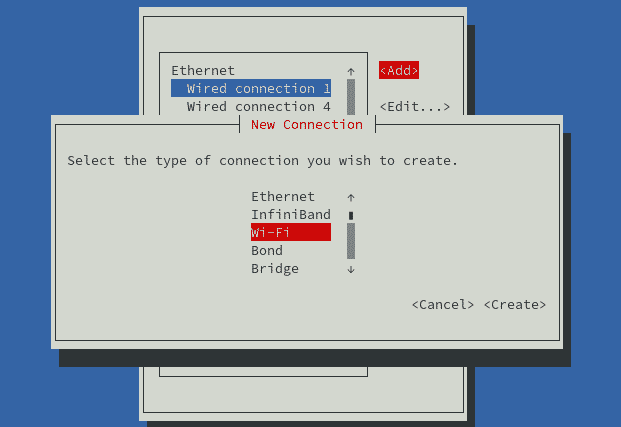
Go to nmtui >> Edit a connection >> Add.
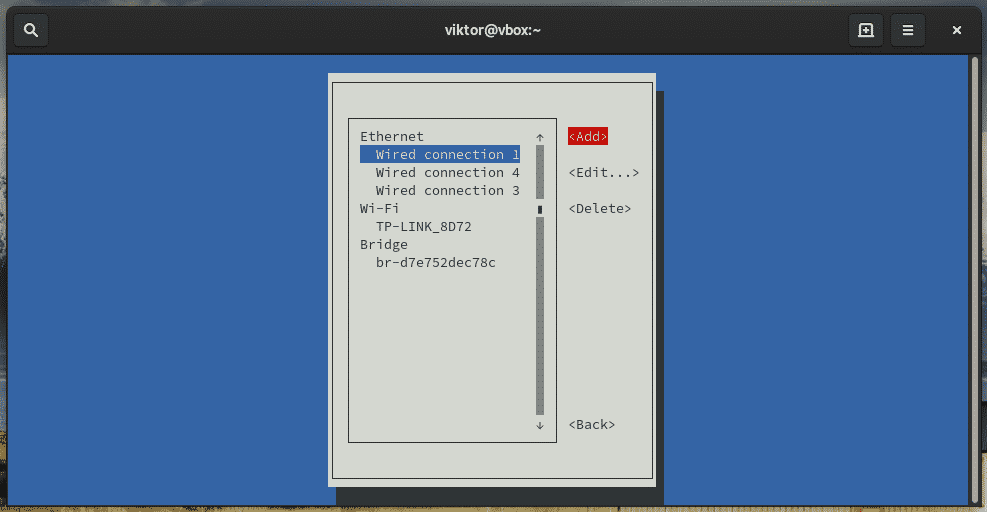
At first, select the connection type. In my case, I’ll be adding a wireless network.
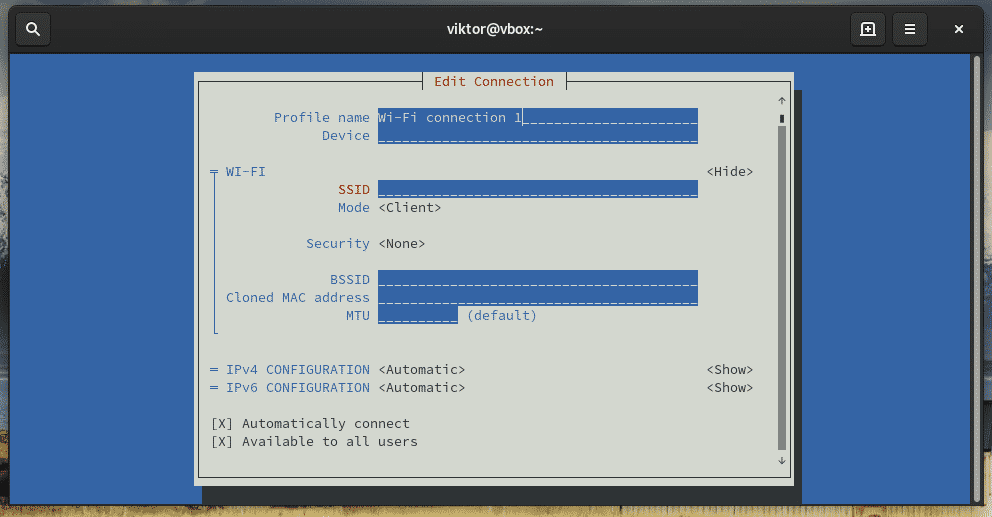
Enter all the information.
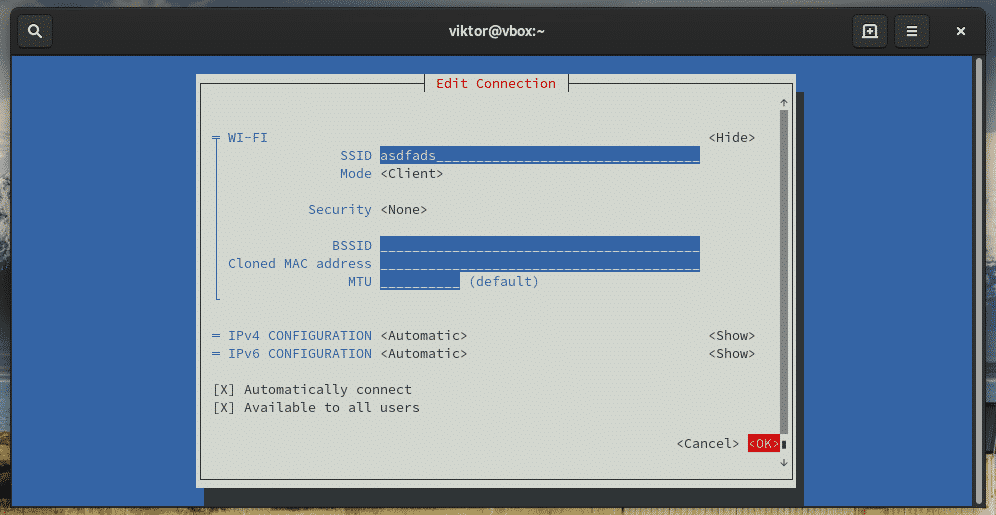
Once you’re done, select “OK”.
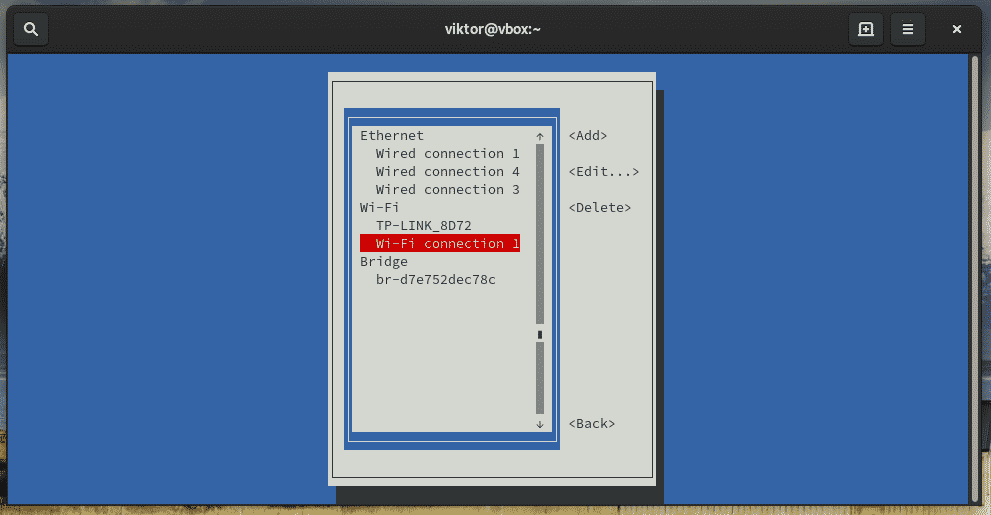
There you have it!
Activating/deactivating a connection.
Start nmtui and select “Activate a connection”.
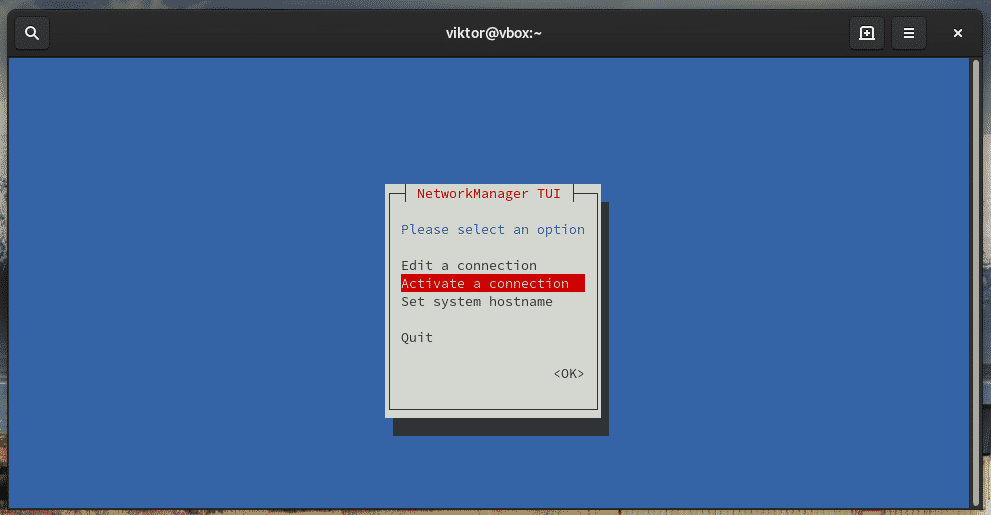
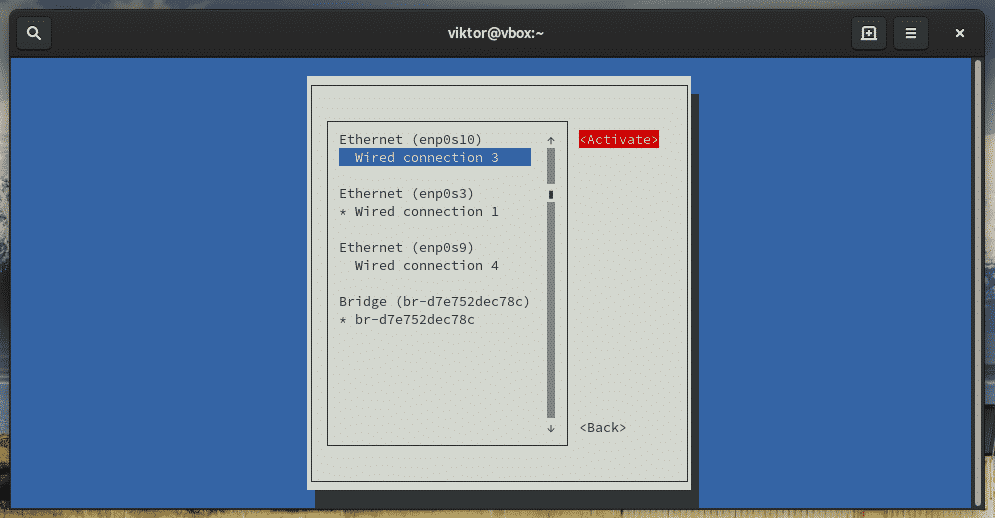
Select which connection you want to activate and choose “Actiavte”.
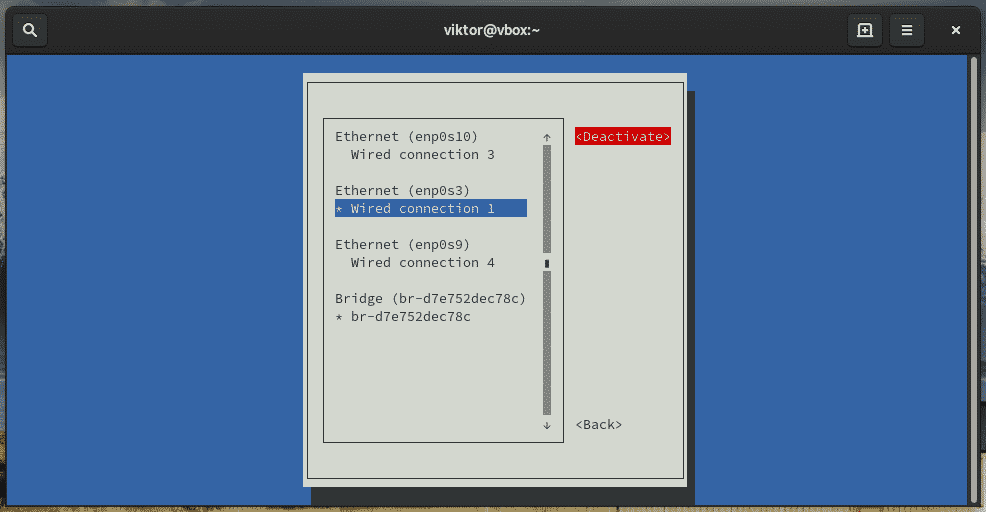
If you’re selecting an active connection, you’ll see the option to deactivate the connection.
Bonus: Setting hostname
Choose the option “Set system hostname”.
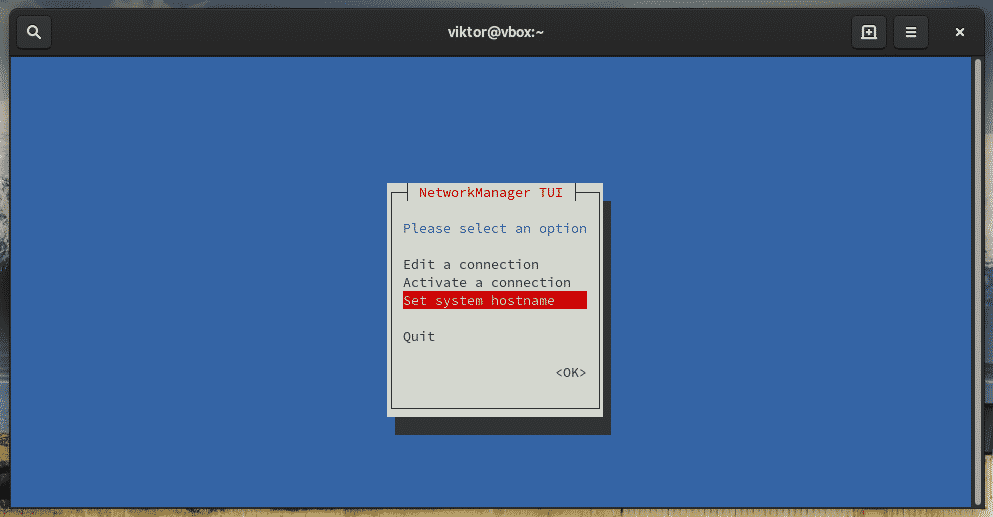
You can set a new hostname or modify the existing one.
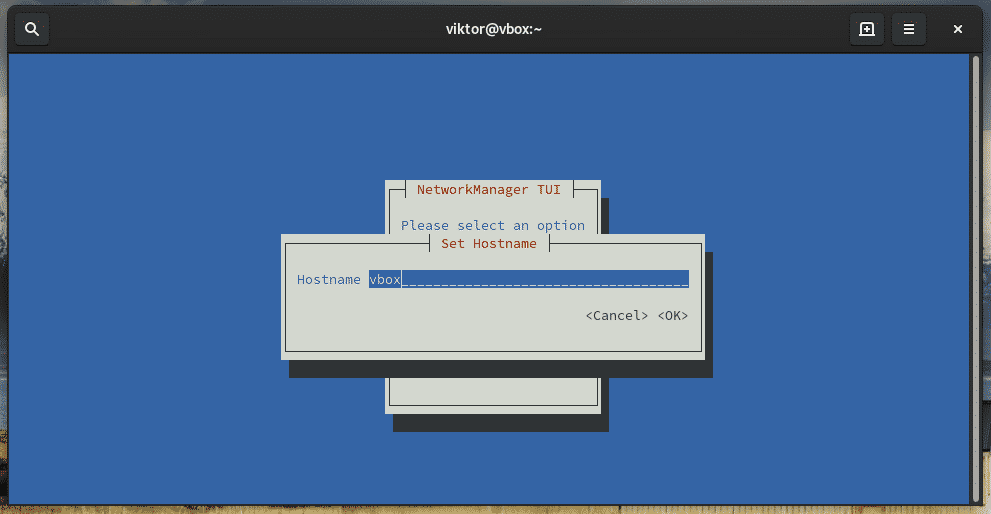
For completing the action, you need to enter the “root” password.

Desktop environment
NetworkManager also integrates with the existing desktop environment (if you have one set up). Here, we’ll check out on managing network using GNOME and KDE Plasma.
Note: You still have to install the NetworkManager packages.
GNOME
From the top-right corner, click the network icon.


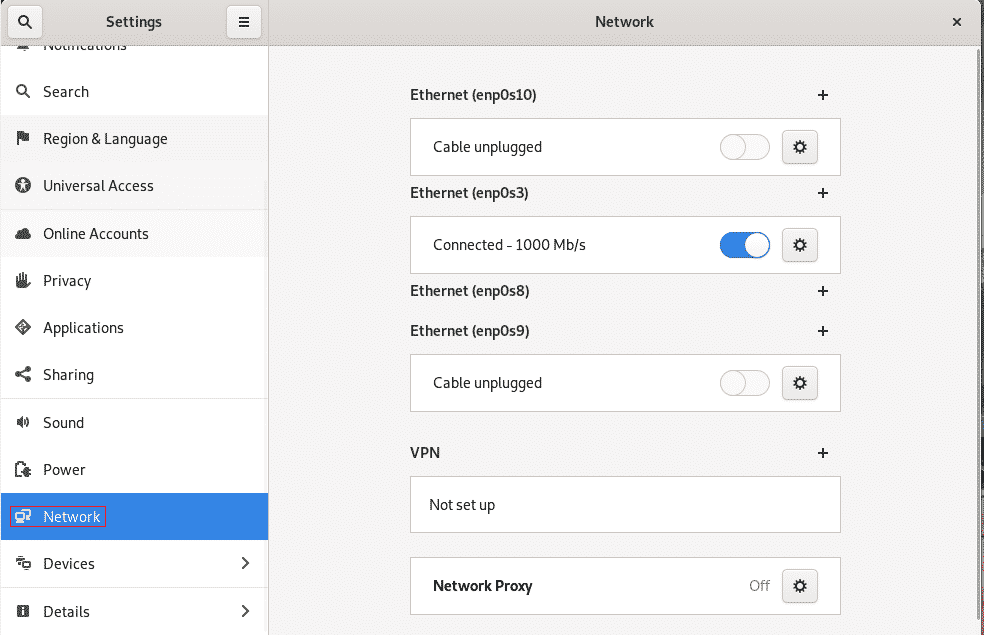
You can directly manage the available network from there. If you’re in need of more extensive option, go to Settings >> Network (Ethernet connections).
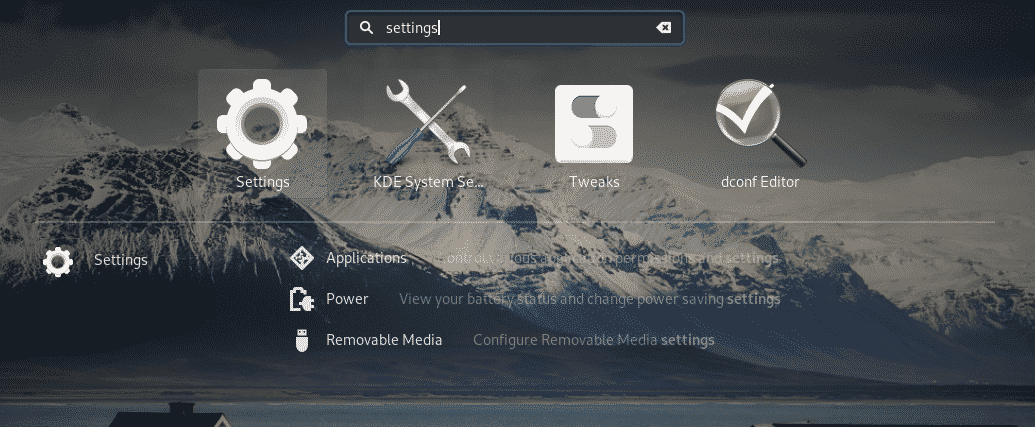
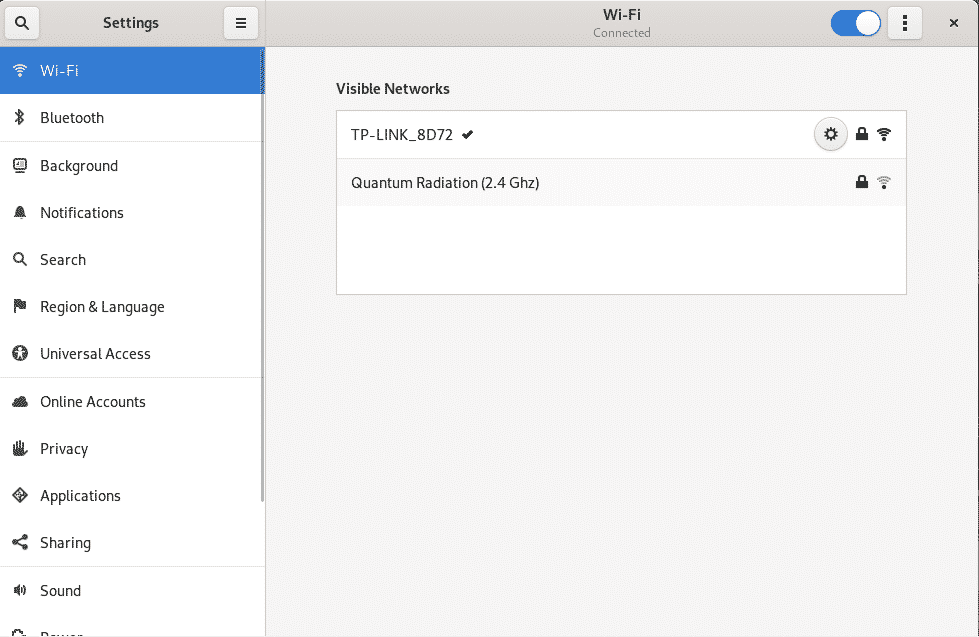
For wireless networks, go to Settings >> Wi-Fi.
KDE Plasma
For KDE Plasma, you have to install the plasma-nm package first. It will be used to integrate NetworkManager with the Plasma desktop.
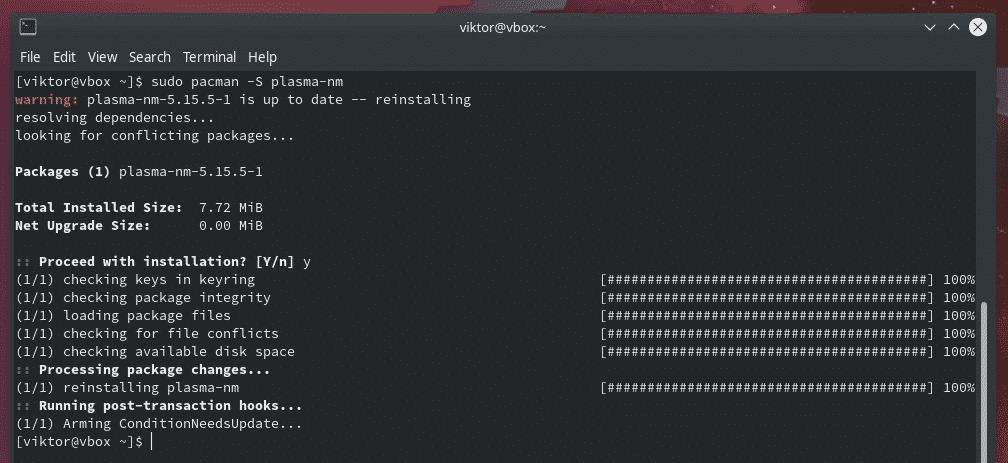
Using this plugin, you can get the GNOME-like taskbar option for managing your networks. Add the network manager to your taskbar through Panel options >> Add widgets >> Networks.

Search for “network”.

Drag and drop it at the corner of the taskbar.
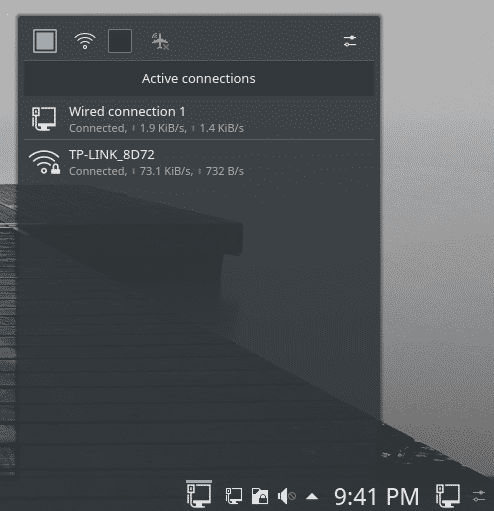
Voila! Network management is directly available from your taskbar.
Final thoughts
Network management on Arch Linux is pretty interesting. It offers a lot of flexibility and control over the networks. With NetworkManager, you can directly take control of the data flow.
Enjoy!


