Installing VMware Workstation Pro 14
First update the pacman package repository cache with the following command:

The pacman package repository cache should be updated.

Now install Git version control system with the following command:

Press y and then press <Enter> to continue.

Git should be installed.
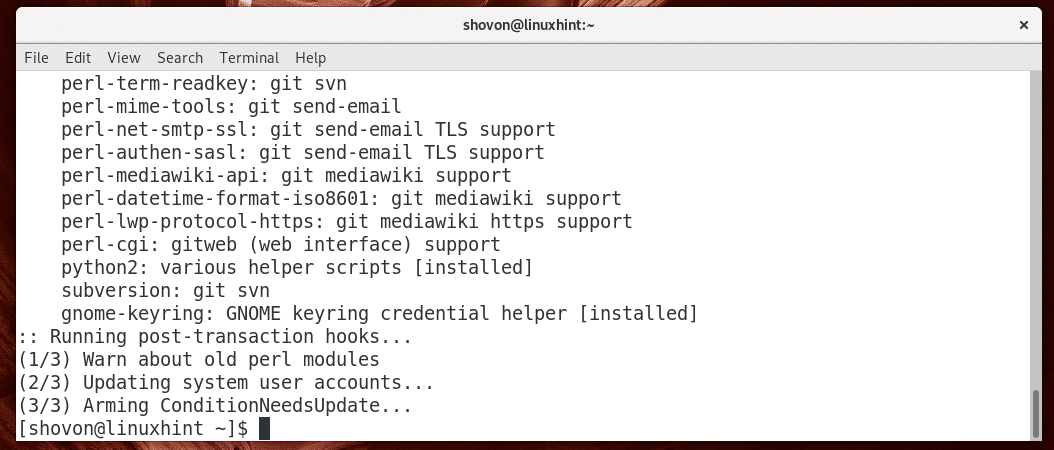
Now navigate to the ~/Downloads directory with the following command:

Now clone the AUR Git repository of vmware-workstation with the following command:

The vmware-workstation AUR Git repository should be cloned.

VMware Workstation text based installer depends on ncurses5-compat-libs. So you will have to install that from AUR as well as it is not available in the official package repository of Arch Linux.
Clone the ncurses5-compat-libs AUR Git repository with the following command:

The ncurses5-compat-libs AUR Git repository should be cloned.

Now if you list the contents of the ~/Downloads directory, there should be 2 directories as you can see in the screenshot below.

First you have to install ncurses5-compat-libs package as vmware-workstation depends on it.
Navigate to the ncurses5-compat-libs/ directory with the following command:

NOTE: I tried the makepkg -s command for ncurses5-compat-libs but it throws the following errors.

I tried to add the GPG keys, but for some reason it did not work for me as you can see in the screenshot below. I skipped GPG check in the end. It may work for you, so feel free to try.
$ gpg –lsign 702353E0F7E48EDB

Now run the following command to make a pacman package of ncurses5-compat-libs:

The pacman package build process for ncurses5-compat-libs.
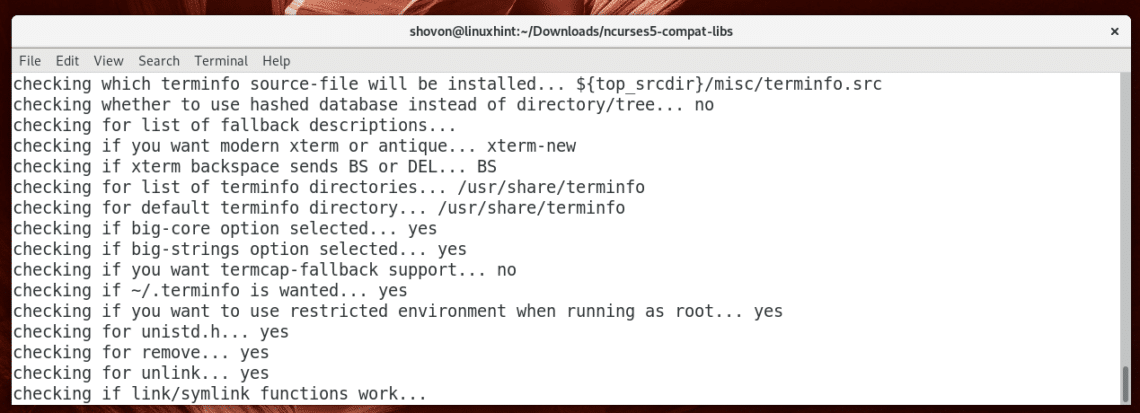
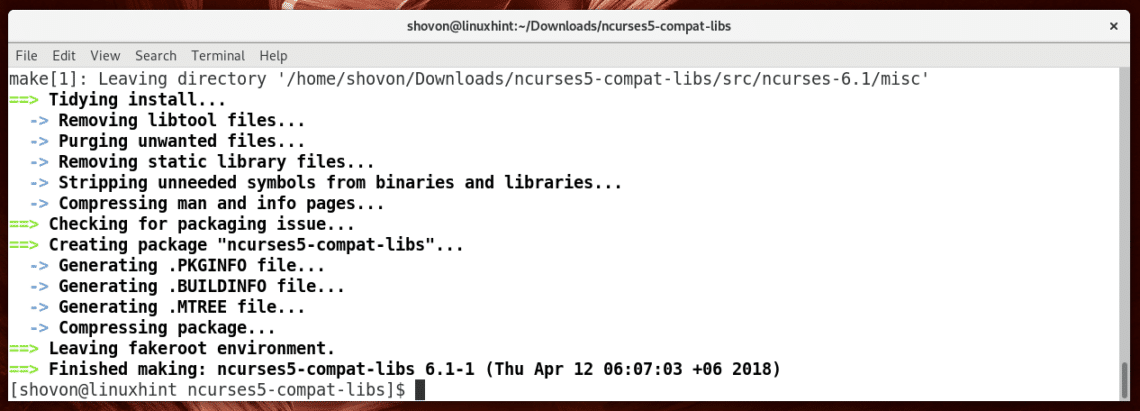
ncurses5-compat-libs pacman package should be created at this point.
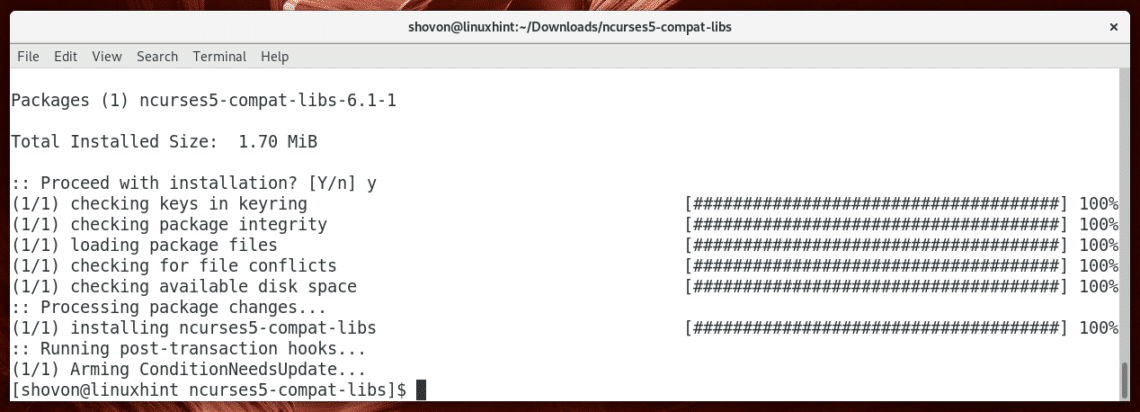
Now install ncurses5-compat-libs with the following command:

Now press y and then press <Enter>.

ncurses5-compat-libs should be installed.
Now navigate to the vmware-workstation/ directory with the following command:

Now run the following command to make a pacman package of vmware-workstation:

Press y and then press <Enter> to continue.

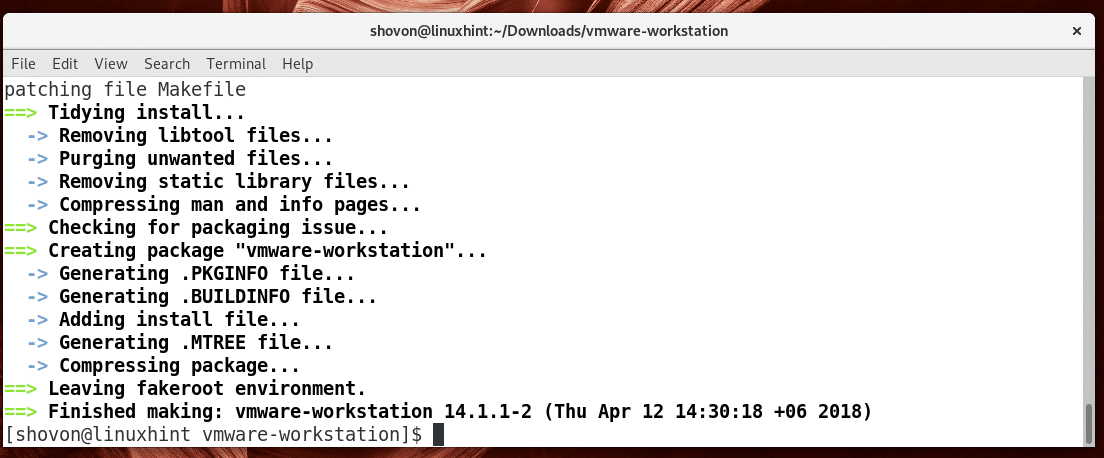
The pacman package is being created.

It is created at this point.
Now install vmware-workstation package with the following command:

Now press y and then press <Enter> to continue.

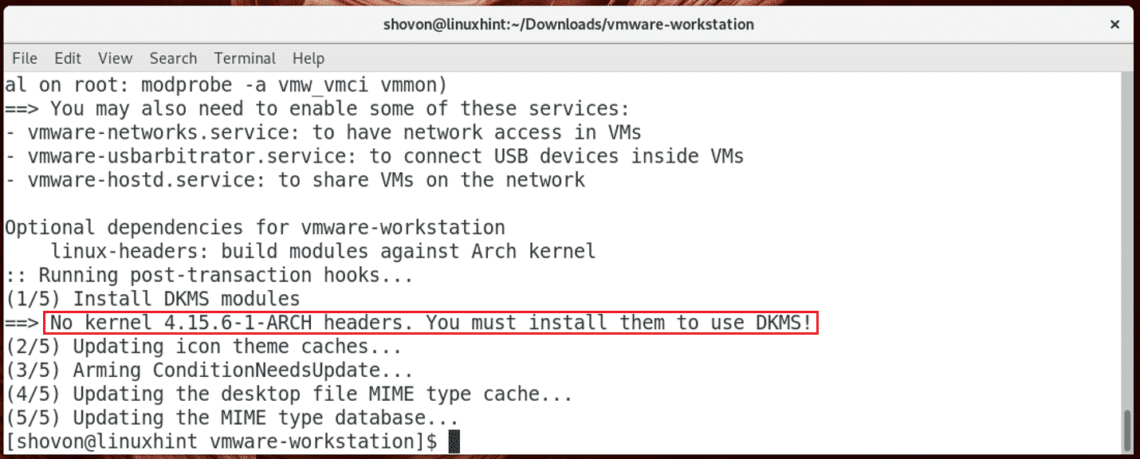
vmware-workstation should be installed. You may see an error as marked in the screenshot below. Don’t fear, it is easy to solve. It means you have to perform a kernel update and install the kernel headers.
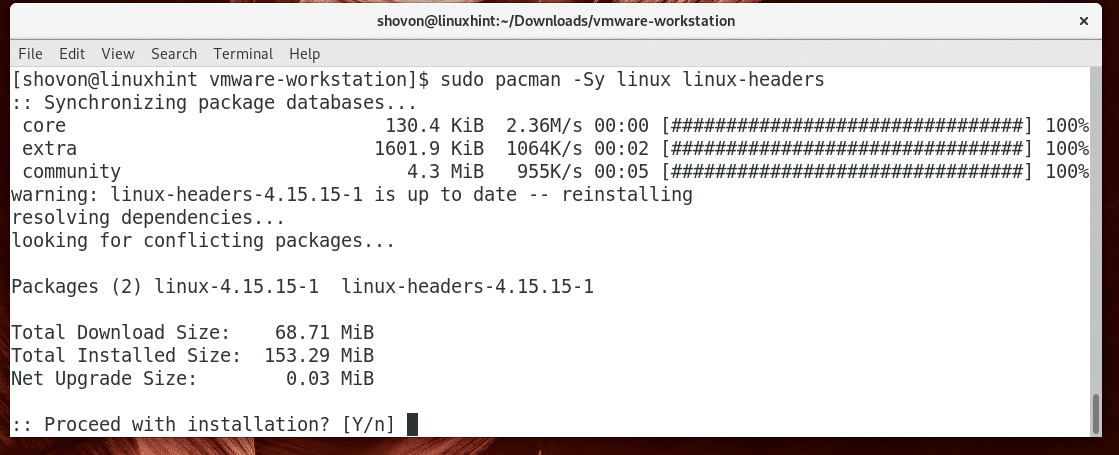
Run the following command to update the kernel and install the kernel headers:

Now press y and then press <Enter> to continue.
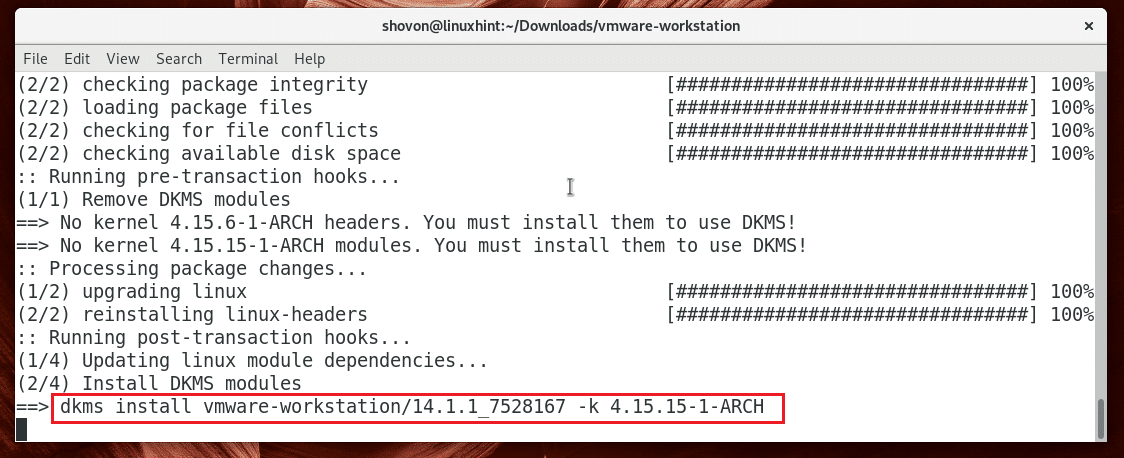
As you can see in the marked section of the screenshot below, the DKMS kernel modules of VMware Workstation is being installed.
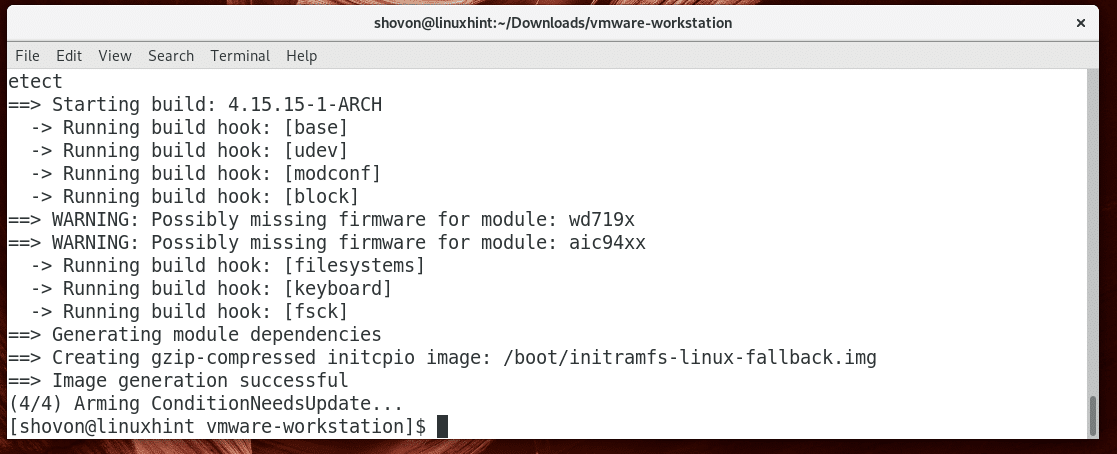
The kernel should be updated and the kernel headers along with VMware DKMS modules should be installed.
Now restart your computer with the following command:

Once your computer starts, you can check whether you kernel was updated with the following command:

Now load the VMware kernel modules with the following command:

Now start vmware-networks service with the following command:

Now add vmware-networks service to the system startup with the following command:

vmware-networks should be added to the system startup.

Now start the vmware-usbarbitrator service with the following command:

Now add vmware-usbarbitrator service to the system startup with the following command:

vmware-usbarbitrator should be added to the system startup.

Now start the vmware-hostd service with the following command:

Now add vmware-hostd service to the system startup with the following command:

vmware-hostd should be added to the system startup.

Starting VMware Workstation Pro 14
Now go to the Application Menu and search for VMware Workstation. Once you find it, click on the VMware Workstation icon as shown in the screenshot below.

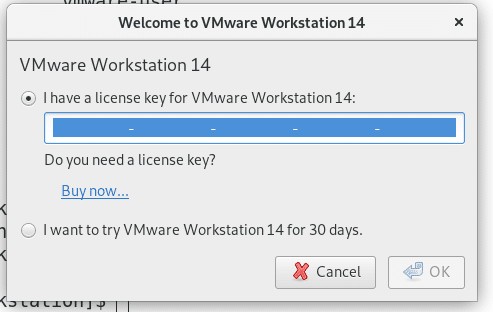
You should see the following window. Enter you license key for VMware Workstation 14 and click on OK. If you want to try it out, click on I want to try VMware Workstation 14 for 30 days. and click on OK.
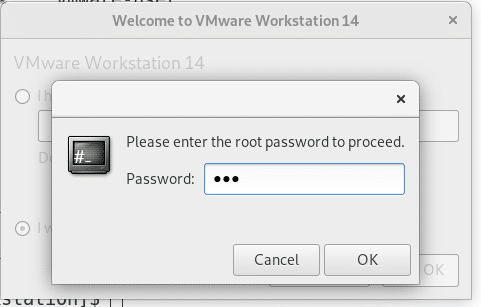
Now enter your root password and click on OK.
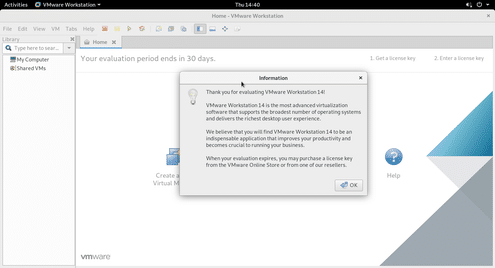
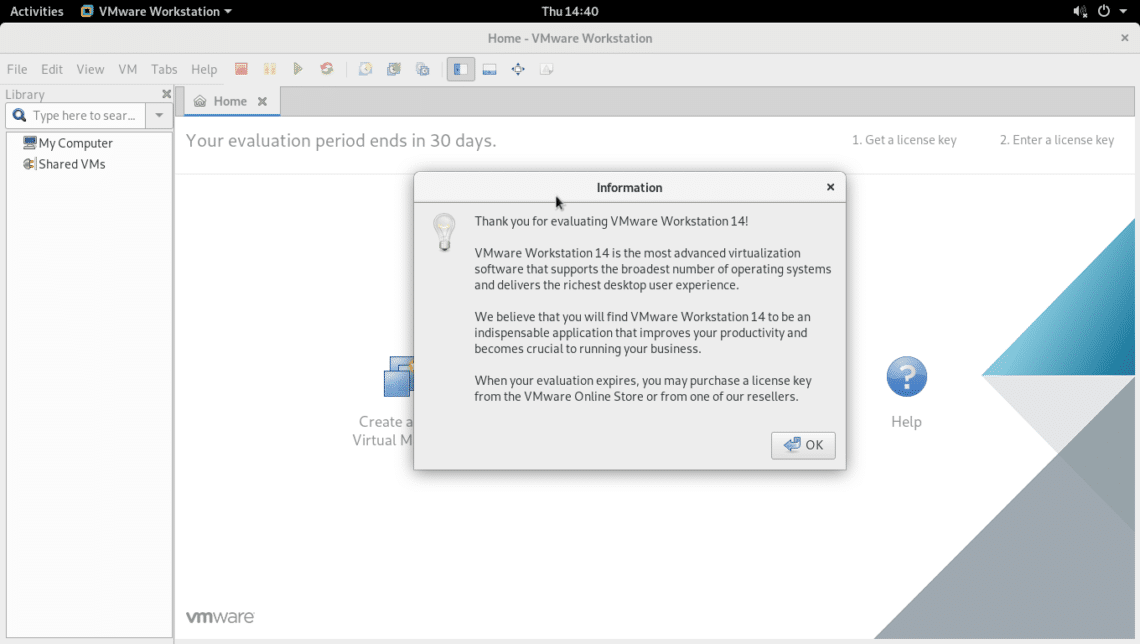
You should see the following window. Click on OK.
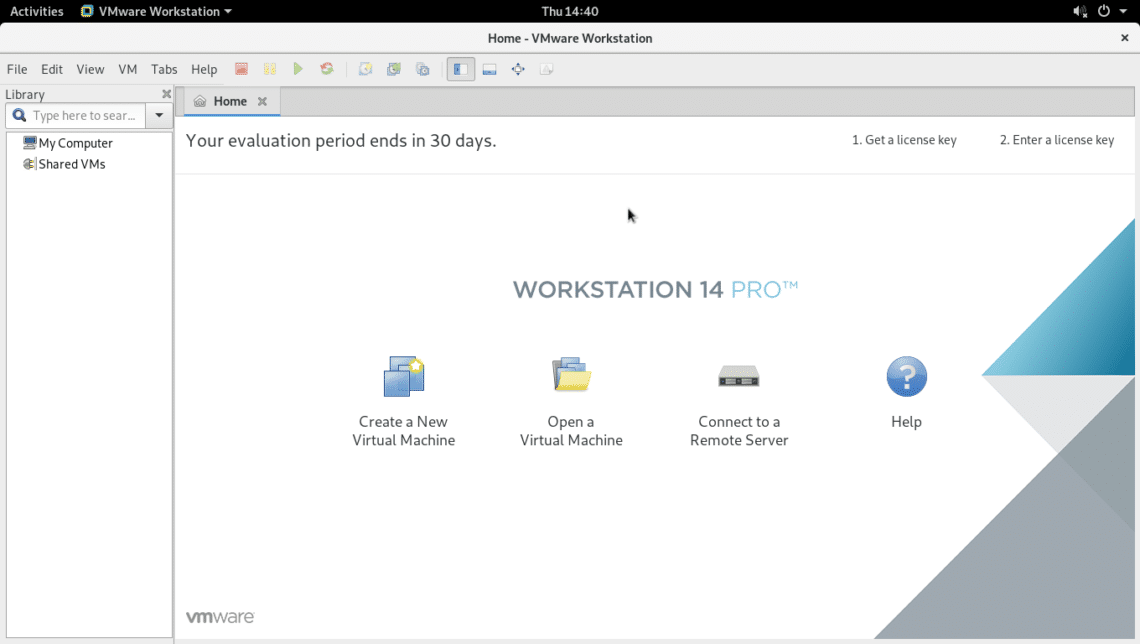
This is the main window of VMware Workstation Pro 14.
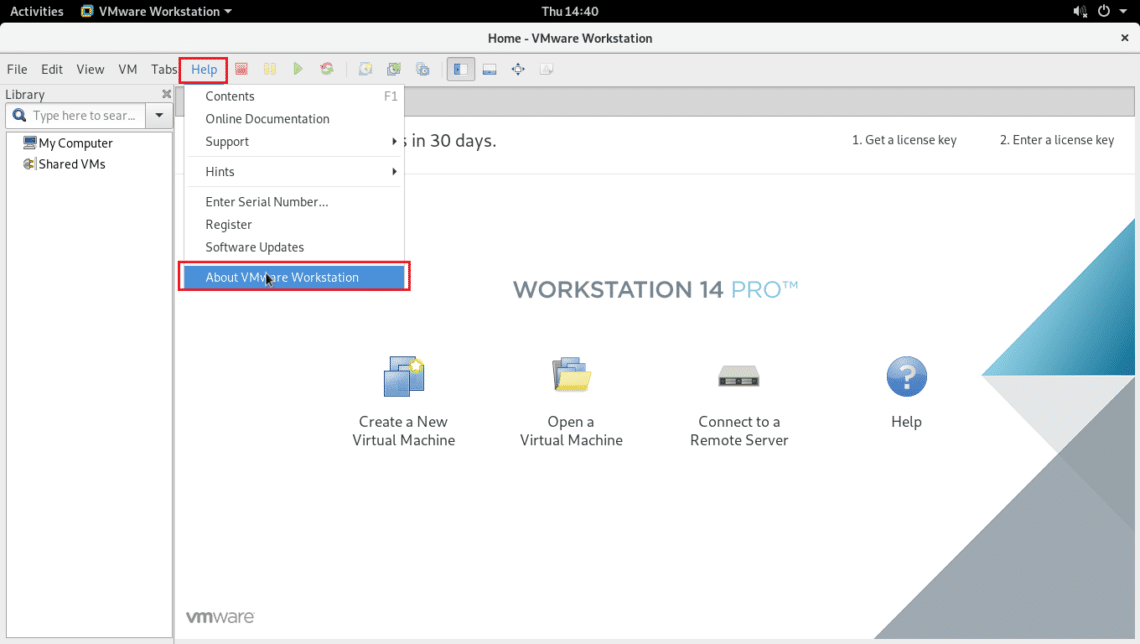
If you want to see more information, then go to Help and then click on About VMware Workstation.
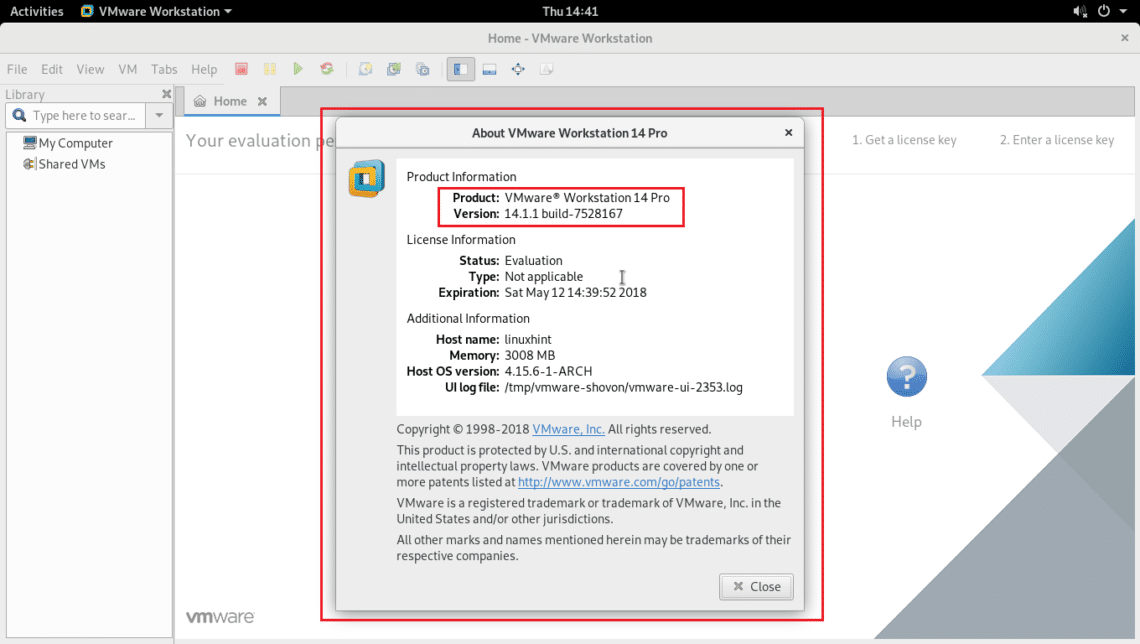
You should see some more information about it.
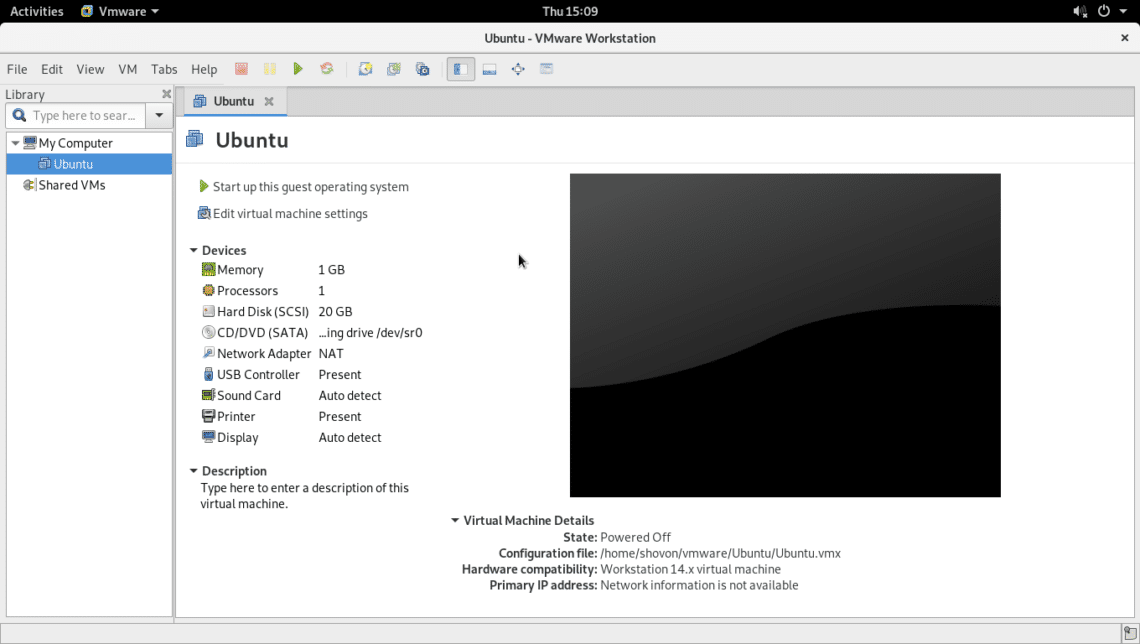
As you can see, I can create Virtual Machines now.
That’s how you install VMware Workstation Pro 14 on Arch Linux. Thanks for reading this article.
