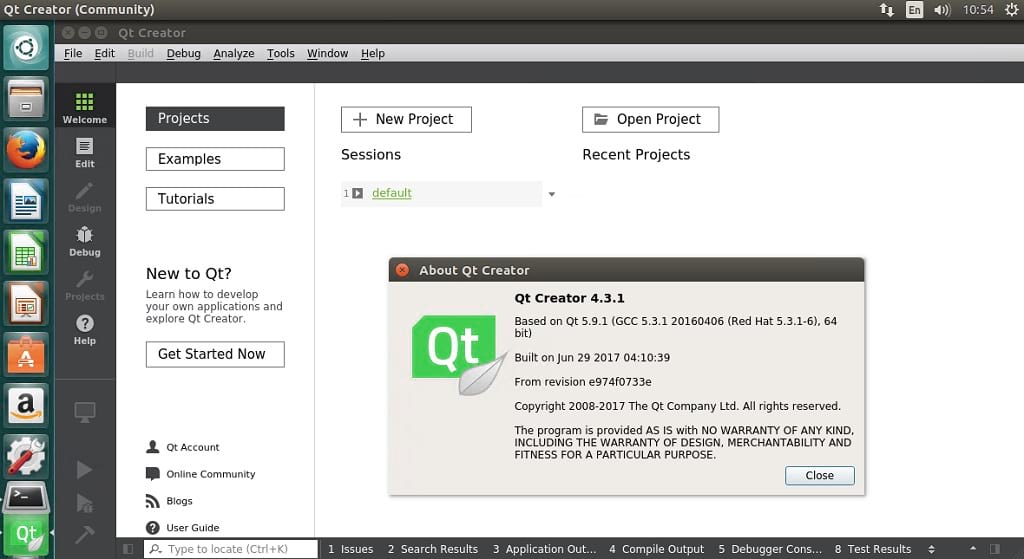
Qt 5.9.1 the most recent release, is a cross-platform application framework that is widely used for developing apps with GUIs. Furthermore, its used for developing non-GUI programs such as command-line tools and consoles for servers. Qt5.9.1 comes with a multitude of improvements for the CMake integration, fixes running applications on iOS 10.3 devices, as well as mends some regressions related to the project tree. Before we proceed on how to install Qt 5.9.1 on Ubuntu, lets take a quick look at this release.
Qt 5.9.1 Changes
- It includes Qt Creator 4.3.1 offline installer packages
- Build breakage when qreal is defined as float fixed
- The crash in OpenSL ES input device caused by over-committing the device with data fixed
- SSL certificate verification on iOS with Secure Transport back-end fixed
- Fixed a hang on certain systems when retrieving information from unresponsive filesystems
- Render states now honor the enabled property
- Fixed overflow in the QML MediaPlayer/Audio items loop counter
- Also the support for animating a QColor was fixed
- Furthermore, there is support for linear interpolation in clip json
- Fix animation inifinite looping
- A memory leak in code completion, which lead to out-of-memory crashes after a while, especially for users on 32-bit Windows fixed
- Fix nested NodeInstantiator use case
See the Change files of Qt 5.9.1 for more details
How to install Qt 5.9.1 on Ubuntu 17.04 (Zesty), Ubuntu 16.04 (Yakkety Yak), 16.04 (Xenial Xerus), Ubuntu 15.10 (Wily Werewolf), Ubuntu 15.04(Vivid Vervet), Ubuntu 14.04 (Trusty Tahr)
wget http://download.qt.io/official_releases/qt/5.9/5.9.1/qt-opensource-linux-x64-5.9.1.run chmod +x qt-opensource-linux-x64-5.9.1.run ./qt-opensource-linux-x64-5.9.1.run
- Click next on prompt
- Enter login details or Create new one or simply skip
- Click next
- Leave default install path or change as desired and continue
- Leave selections and click next
- Accept licence agreement and continue
- Begin install
- After install, click next and finish

