Couple NetBeans with the open-source nature of Ubuntu with its snappiness can make for quite a remarkable programming experience, so let’s start.
Installing Java:
For NetBeans to work, you need to have Java installed, which has to be installed separately as JDK (Java Development Kit).
1. Update Ubuntu:
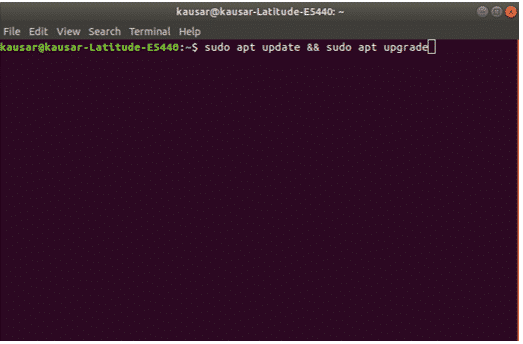
The first step before installing any important software is to update Ubuntu so that the chance of bugs and errors occurring and the chance of incompatibility issues between software popping up is minimized. If you think you have the latest version of Ubuntu, you should still run an update just to be sure. To update Ubuntu, just open terminal from the side panel (click the black box icon):

And enter the following line:

If this is your first time setting up Ubuntu, you might want to install additional software packages for installation with this line:
2. Install JDK:
Now that everything related to Ubuntu has been updated, now is the time to install JDK. This step can be done in many ways for different options as JDK comes in two versions, one is version 11 which is the latest up to date version of JDK while the other one is version 8 which is an older version which still gets support. To install JDK using a repository first enter the following line to add a repository for JDK 11 and then enter the second line to update it, press “Enter” whenever prompted:
apt-get update
Now to install JDK 11 enter the line:
For JDK 8, enter the following lines to add the repository and update it:
apt-get update
To install JDK 8 enter the line:
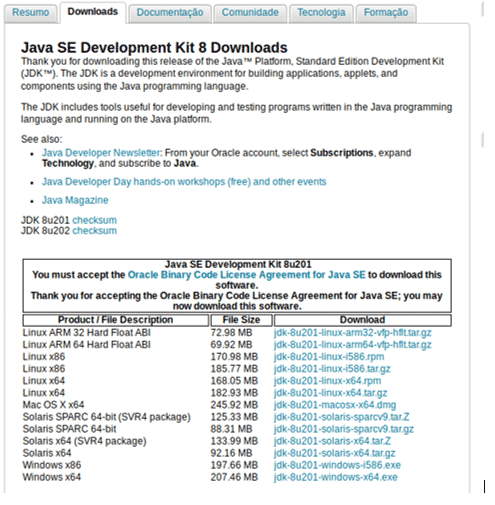
You can also install JDK manually by downloading it from Oracle’s official website. There you can select the version of JDK and also choose the version for the version of your Ubuntu which can be 32-bit or 64-bit. Extract the downloaded file in a folder and install.

https://www.oracle.com/technetwork/pt/java/javase/downloads/jdk8-downloads-2133151.html
3. Configure JDK:
Now that JDK has been installed its time to configure its path so that other applications know where to find it in our case NetBeans. From terminal open the file “environment” in a text editor which can be done with the command:
In the text editor add the line:
JAVA_HOME=”/user/lib/jvm/java–11–oracle”
And the path should be configured for other applications to find. To check whether the configuration was successful enter the line:
If the output to this line is the path to the installation folder, everything was done right and JDK has been installed correctly. Otherwise, something wasn’t done correctly.
Installing NetBeans:
Now that Java through JDK has been installed, it is time to install NetBeans. As at the time of writing this article the latest version of NetBeans IDE is 10.0, so we will be installing NetBeans 10.0.
1. Download NetBeans:
There are two ways of downloading NetBeans, one is through the terminal while the other one is through the official NetBeans website. To download through the website, go to:
To download from the terminal, enter the line:
incubating-10.0/incubating-netbeans-10.0-bin.zip
Once downloaded, extract the downloaded package into the directory where you want it installed.
2. Configure NetBeans:
Now that the package has been extracted, open the “environment” file in the text editor again using the line:
Once the file has been opened, add the following line right after the “JAVA_HOME” line:
PATH=$PATH:"/home/user/netbeans/bin/"
After saving the file, to apply the changes enter the line:
And NetBeans 10.0 is ready to go.
3. Installing NetBeans using Ubuntu Software Center:
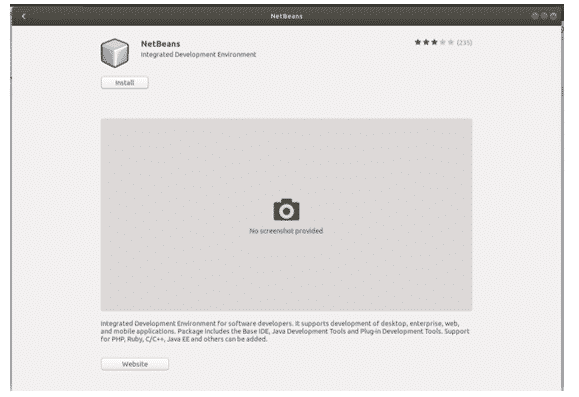
NetBeans can also be installed through Ubuntu Software Center. To do this, open Ubuntu Software Center, search for NetBeans, click on the required application, install and it’s ready to go.


This method is both easier and less stressful than the method mentioned above but it’s a snap package. Snap packages are containerized software packages which are easy to install but keep in mind snap packages are larger in size than existing packages and can be slow to install. So it is recommended to use the method mentioned above to install NetBeans rather than through the Ubuntu Software Center.
4. Getting started with NetBeans:
Now that NetBeans has been installed with Java JDK, everything is ready to go. To open NetBeans either click on its icon or enter the following line on the terminal:
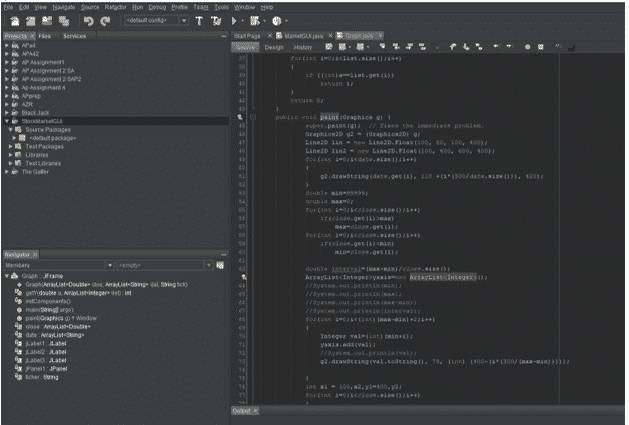
This will open NetBeans and show a page from where you can learn more about NetBeans. To get started with NetBeans and make your first project on it, click on the “File” button on the top left. From the “File” drop-down menu select “New Project”, a new window will open which will prompt you to select the type of project. Select “Java Application” and click next. On this page give the project a name and click finish. Now the code editor will be open for you to start programming.

This guide shows you how to install JDK and NetBeans on Ubuntu. With further experimentation and experience, you can learn how to take advantage of the different features available in NetBeans.


