JDK has 2 versions. OpenJDK and Oracle JDK. OpenJDK is an open source implementation of Oracle JDK. Oracle JDK contains some proprietary codes that OpenJDK does not have. OpenJDK is open source where Oracle JDK is not.
In this article, I am going to show you how to install Oracle JDK 12 and OpenJDK 12 on CentOS 7. So, let’s get started.
Installing Oracle JDK 12:
Oracle JDK 12 is not available in the official package repository of CentOS 7. But, you can easily download Oracle JDK 12 from the official website of Oracle and install it on CentOS 7.
First, visit https://www.oracle.com/technetwork/java/javase/downloads/index.html from your favorite browser. Once the page loads, click on the DOWNLOAD Java Platform (JDK) 12 button as marked in the screenshot below.

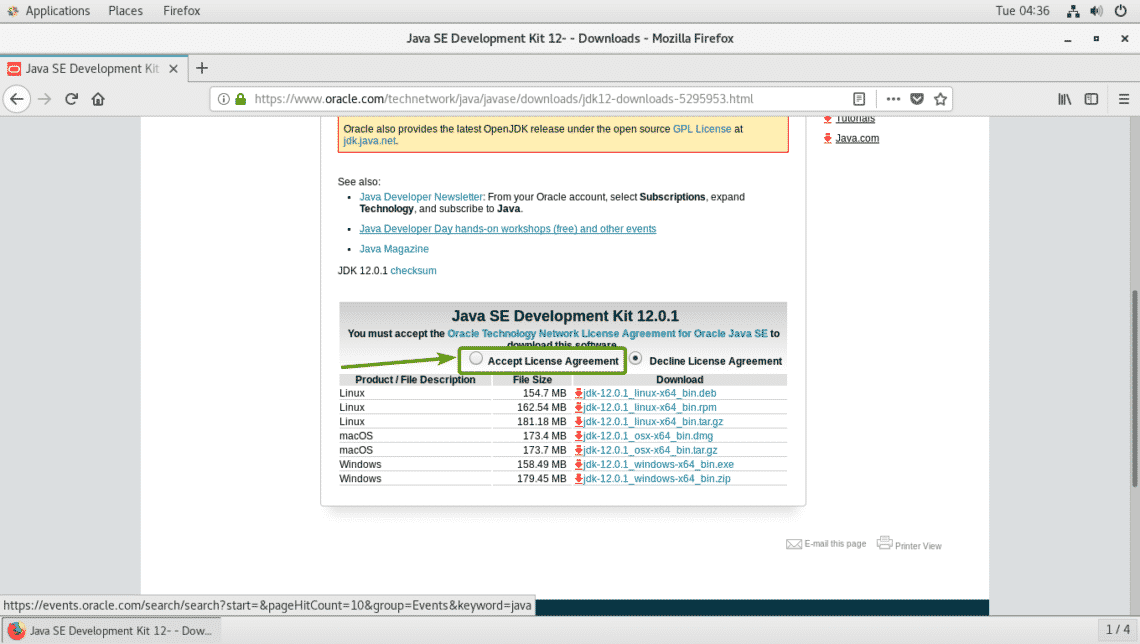
Now, click on Accept License Agreement to accept the Oracle Technology Network License Agreement for Oracle Java SE.

Your browser should prompt you to save the file. Select Save File and click on OK.
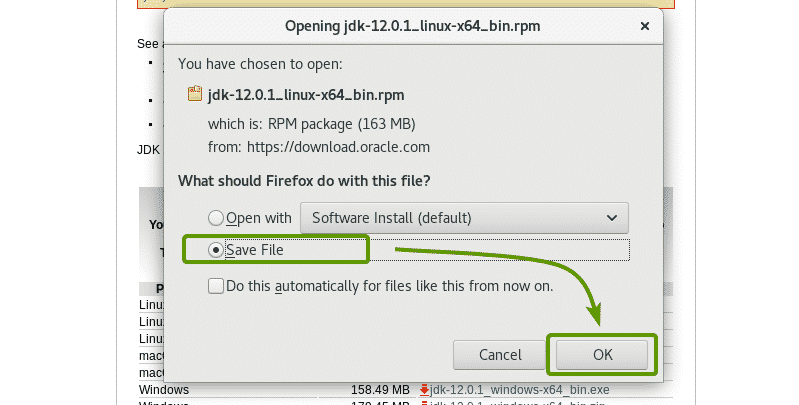
jdk 12.0.1 RPM package is being downloaded.

Once the download is complete, navigate to the ~/Downloads directory as follows:

As you can see, the RPM package file I just downloaded is here.
Now, install the RPM package file with the following command:

Oracle JDK 12 is being installed.

Oracle JDK 12 should be installed at this point.

Now, to check that the installation was successful and Oracle JDK 12 is working, run the following command:
As you can see, Oracle JDK 12 is working.

Installing OpenJDK 12:
OpenJDK 12 is not available in the official package repository of CentOS 7. But, you can easily download it from the official website of OpenJDK and install it on CentOS 7.
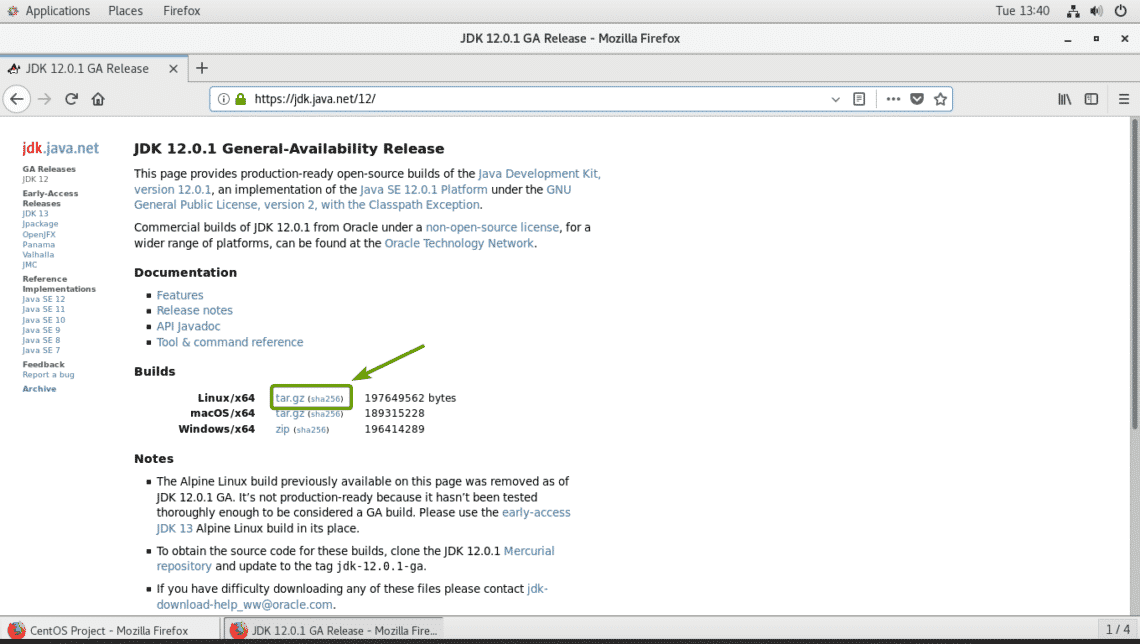
To download OpenJDK 12, visit https://jdk.java.net/12/ from your favorite web browser and click on the .tar.gz link as marked in the screenshot below.
Your browser should prompt you to save the OpenJDK 12 .tar.gz archive. Select Save File and click on OK.
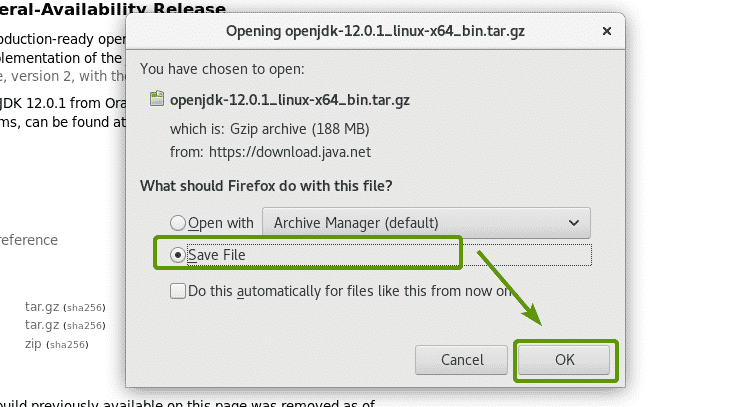
Your browser should start downloading OpenJDK 12 archive. It may take a while to complete.

Once the download is complete, navigate to the ~/Downloads directory with the following command:

As you can see, the OpenJDK 12 archive you’ve just downloaded is here.

Now, extract the OpenJDK 12 archive in the /opt directory with the following command:

The OpenJDK 12 archive should be downloaded.
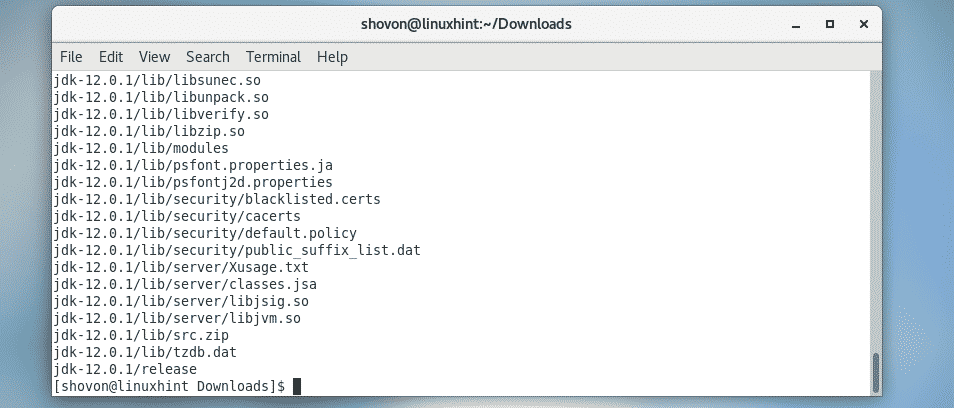
As you can see, a new directory is created in the /opt directory. Note the directory name.

Now, you have to add the JAVA_HOME environment variable and add the OpenJDK 12 binary directory to the PATH environment variable. To do that, run the following command:
sudo tee /etc/profile.d/openjdk12.sh

A new file /etc/profile.d/openjdk12.sh should be created.

Now, reboot your computer with the following command:

Once your computer boots, run the following command to check whether the environment variables JAVA_HOME and PATH is set correctly.
As you can see, the environment variables are correctly set.

Now, check whether OpenJDK 12 is working correctly with the following command:
OpenJDK version 1.8.0_212! This is not the version we installed.

The problem is another version of OpenJDK is installed on your CentOS 7 machine. To solve this problem, just remove the old OpenJDK packages from your CentOS 7 machine as follows:

Now, press y and then press <Enter> to continue.
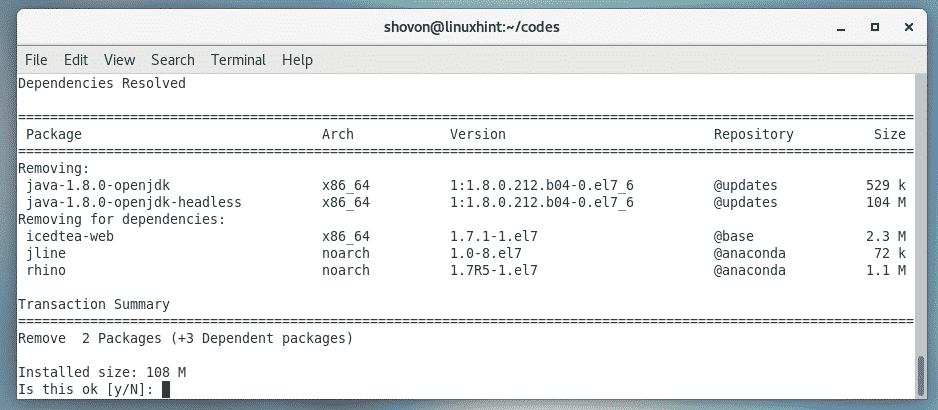
The older version of OpenJDK should be removed.
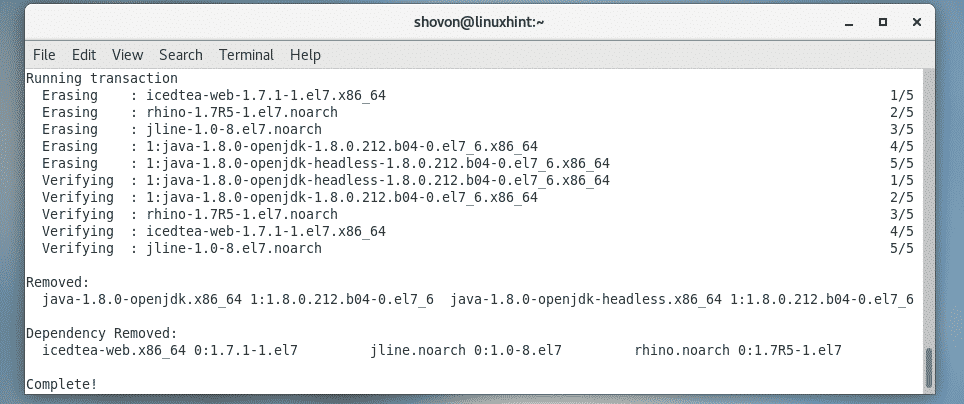
As you can see, now the version is correctly displayed. So, the OpenJDK we’ve installed earlier is being used.

Compiling and Running a Simple Java Program with JDK 12:
In this section, I am going to compile and run a simple Java program with JDK 12.
I wrote a simple Java program in a file Welcome.java and put it in the ~/codes directory on my login users HOME directory.
The contents of the Welcome.java Java source file are:
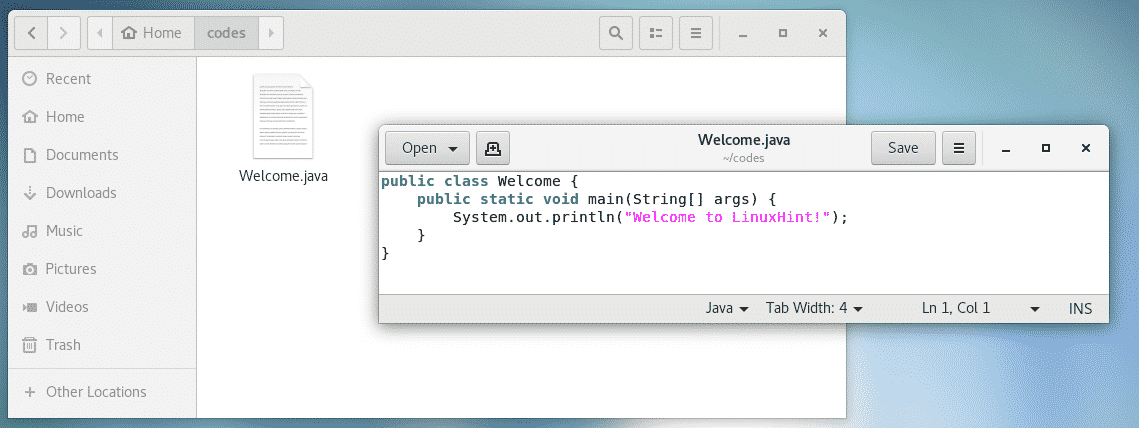
First, navigate to the directory where the Welcome.java source file is.

Then, to compile the Welcome.java Java source file, run the following command:

Once the Welcome.java source file is compiled, a Welcome.class file should be generated. This is a Java class file. It contains Java bytecodes that the Java Virtual Machine (JVM) can understand.


As you can see, the correct output is displayed.

So, that’s how you install Oracle JDK 12 and OpenJDK 12 on CentOS 7. Thanks for reading this article.
