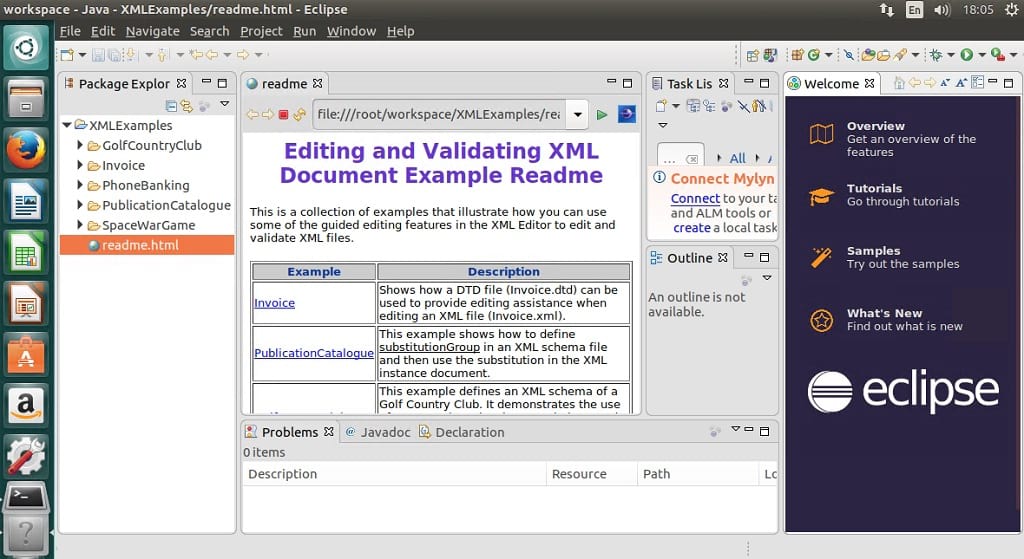
This is a work-through on how to install Eclipse in Ubuntu desktop. Eclipse Neon is the most recent release from the Eclipse top-level project. While it contains what you need to build applications based on Eclipse technology, it also includes integrated development environments IDE, and rich client applications using the Eclipse Rich Client Platform RCP. Lets take a quick look at its features before we proceed on how to install eclipse on Ubuntu.
Eclipse Neon Features
- New tools for JavaScript developers, including a JSON editor, support for Grunt/Gulp as well as new Chromium V8 Debugger.
- Key Eclipse Platform improvements include HiDPI support and autosave. JDT’s Content Assist now highlights matched characters and provides substring completion.
- New Eclipse PDT 4.0 release for PHP developers with complete support for PHP 7 as well as improved performance.
- The Eclipse Automated Error Reporting client can now be integrated into any third-party Eclipse plug-in or standalone RCP application.
- Eclipse users can now save settings, like Marketplace Favorites, with their Eclipse account.
- New Projects: Eclipse Plug-ins for Gradle (first prime release), EGerrit, Paho, Andmore – Eclipse Android Tooling, EMF Parsley and Eclipse Tools for Cloud Foundry.
- Improved support for Docker tooling.
How to install Eclipse in Ubuntu 16.10, Ubuntu 16.04 using Ubuntu Make
- First we need to install Java 8 and above. Run the following commands to complete this task
sudo apt-get install openjdk-8-jre
or
$ sudo apt-get install openjdk-8-jdk
- Next we run the following commands to install Eclipse Neon. Download Eclipse Installer here for either 32bit or 64bit. For this tutorial I will be installing the 64bit version
wget http://artfiles.org/eclipse.org//oomph/epp/neon/R2a/eclipse-inst-linux64.tar.gz tar xf eclipse-inst-linux64.tar.gz cd eclipse-installer # Install eclipse with sudo if you want to install it in /opt directory sudo ./eclipse-inst
- After the installer loads > click on “Eclipse IDE for Java Developer” or any of the other options you desire
- Check and confirm the install path is correct > Click Install
- Accept License and certificate when prompted
- After install is done > Click Launch
Create a Desktop File
- Since this does not come with a desktop launcher, lets create one. Create the following file “eclipse.desktop” > edit as well as copy and paste entry below (ensure the path to where you installed eclipse is correct) > save
nano ~/.local/share/applications/eclipse.desktop
# copy below entry [Desktop Entry] Encoding=UTF-8 Version=1.0 Type=Application Name=Eclipse IDE Comment=Eclipse Integrated Development Environment Icon=/opt/eclipse/java-neon/eclipse/icon.xpm Exec=/opt/eclipse/java-neon/eclipse/eclipse StartupNotify=true StartupWMClass=java-neon
- To use the launcher outside dash, then add execution permission to the file using the following command
chmod +x ~/.local/share/applications/eclipse.desktop
- Finally open the file location for eclipse.desktop, drag and drop it on the launcher. Note you have to enable “Show hidden files”


