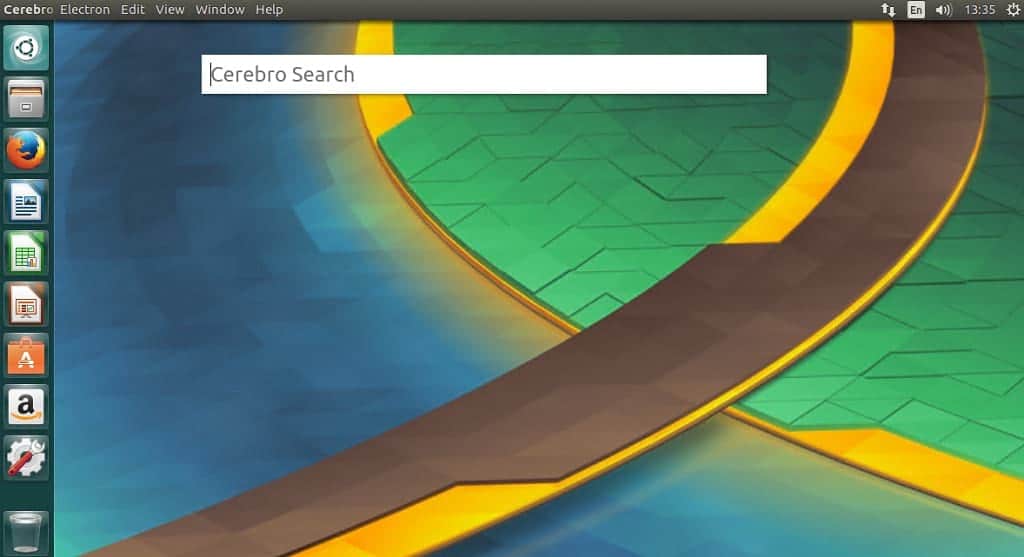
I recently came across a simple but yet powerful search app called – Cerebro Search. Cerebro is an open-source search platform or better described as a local search engine for Linux distros. It’s a system-wide desktop search app similar to iOS spotlight search app. Before we proceed on how to install Cerebro on Ubuntu, lets take a quick look at its features.
Cerebro Key Features
- The integrated plugin manager allows you to always find and use what you want with ease
- You can interact with everything searched for like open a file in its default program or reveal in finder, copy contact details to clipboard, as well as see google suggestions
- It is free and open-source
Cerebro 0.3.0 Changelog
This recent release comes with a lot of small changes and improvements. It’s mostly about simplifying core logic, reducing count of dependencies as well as application size
Main
- All core plugins extracted to own packages, so any plugin could be installed and uninstalled separately
- Added “open at login” option to settings
- Added version for Windows 32 bit
- Set focus back to the previous application: before if you set focus in some input in application and show/hide Cerebro – focus won’t be restored in this input
Development
- Improved plugins development flow: check out create-cerebro-plugin to start building plugins without any configuration
- Main UI components extracted to cerebro-ui package
- Migrated to webpack 2. It reduces size of final JS bundles
- Added js bundles minification. It reduces size of final JS bundles even more
How to install Cerebro Search on Ubuntu 17.04
sudo apt install gdebi wget https://github.com/KELiON/cerebro/releases/download/v0.3.0/cerebro_0.3.0_amd64.deb sudo gdebi cerebro_0.3.0_amd64.deb
How to uninstall Cerebro
sudo apt remove cerebro
How to use Cerebro
- After installation, press “ctrl + spacebar” to launch Cerebro or search for cerebro in dash
- next type what you are looking for like example “linux hint”. As seen, this looks like the Google search feature
- you can also search the local directory by entering the path you want to search

