Downloading Hyper Terminal:
Hyper terminal is not available in the official package repository of Ubuntu 18.04 LTS. But you can easily download Hyper terminal from the official website of Hyper terminal and install it on Ubuntu 18.04 LTS.
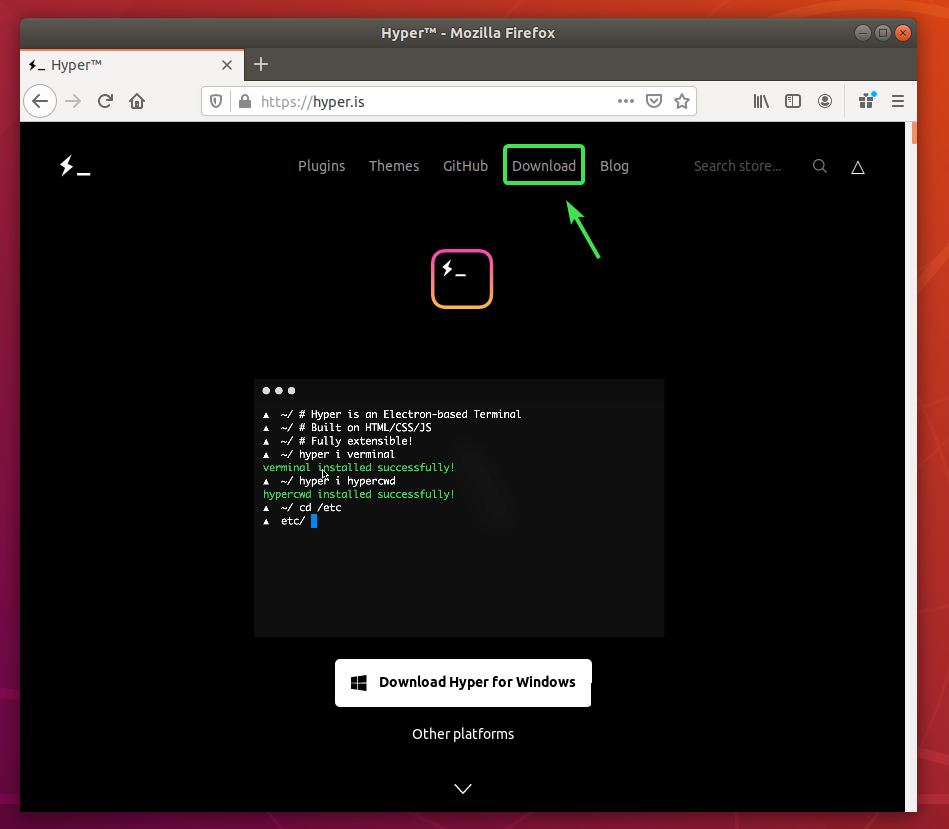
First, visit the official website of Hyper terminal and click on Download.
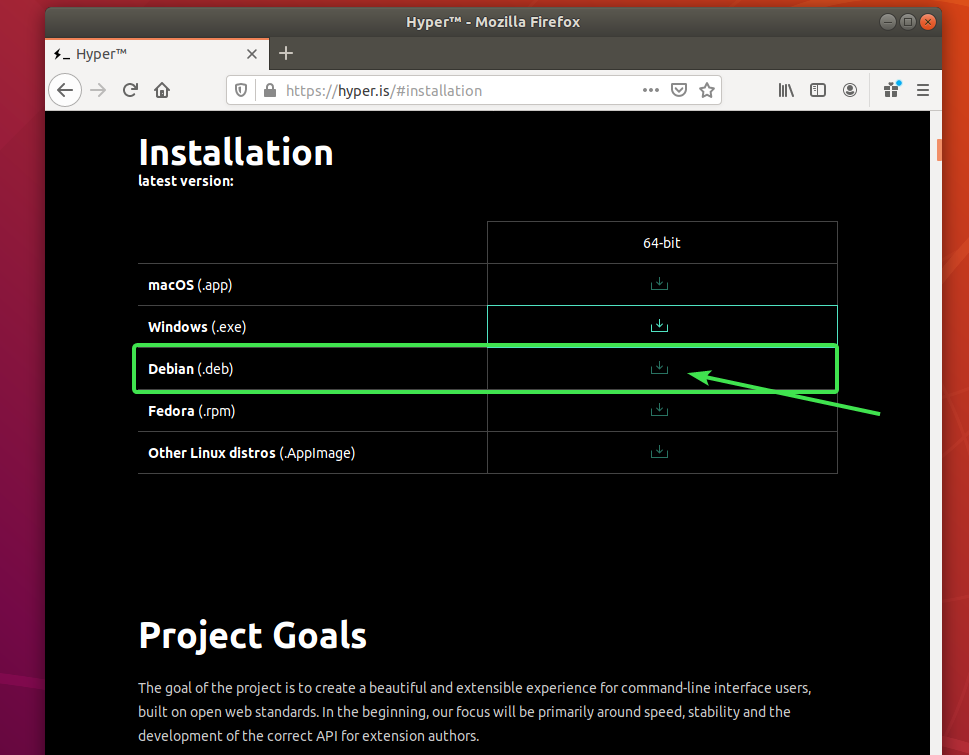
Now, click on the download button () of Debian (.deb) package.
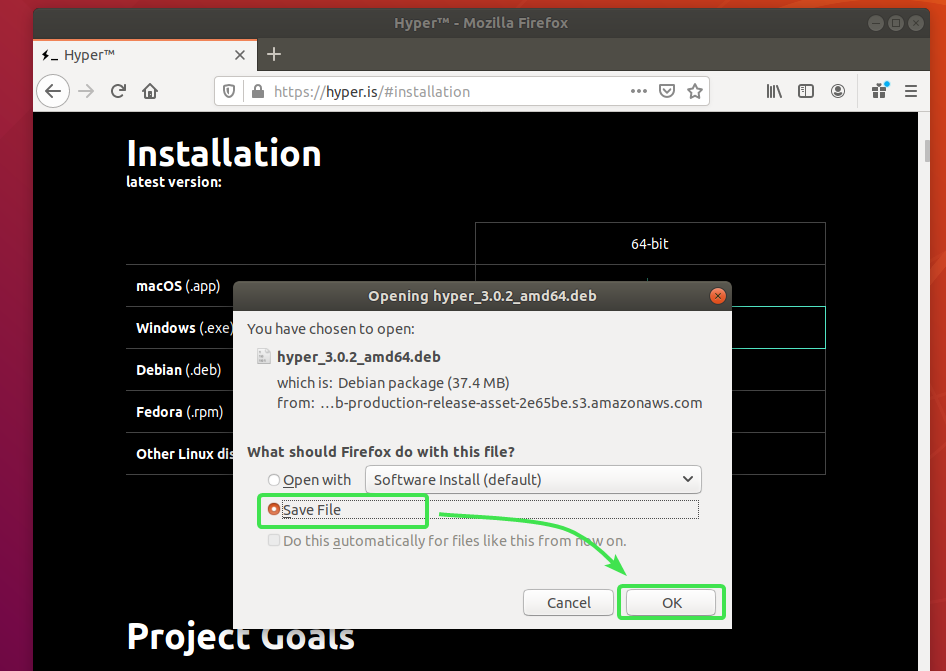
Your browser should prompt you to save the DEB package file. Select Save File and click on OK.
Your browser should start downloading Hyper DEB package. It may take a while to complete.
Installing Hyper Terminal:
Once Hyper DEB package is downloaded, open a Terminal and update the APT package repository cache with the following command:
The APT package repository cache should be updated.
Now, navigate to the ~/Downloads directory as follows:
Hyper DEB package hyper_3.0.2_amd64.deb that you’ve downloaded should be here.
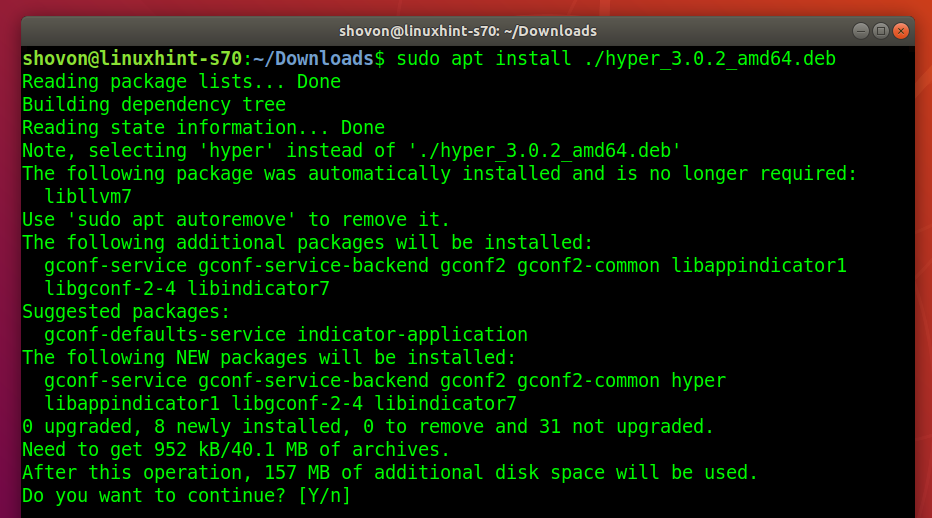
Now, install Hyper DEB package with the following command:
To confirm the installation, press Y and then press <Enter>.
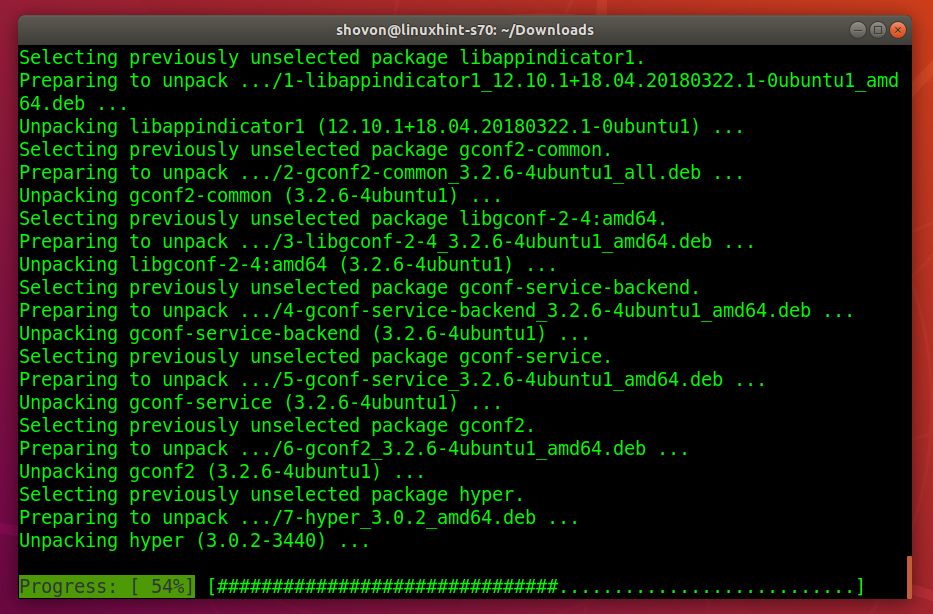
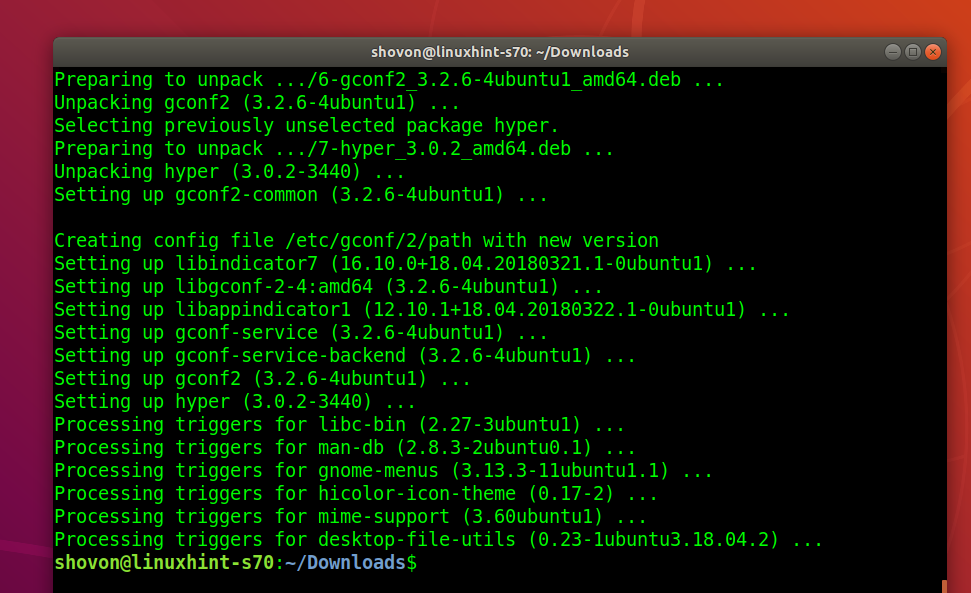
The APT package manager should automatically download and install all the required dependency packages.
At this point, Hyper terminal should be installed.
Running Hyper Terminal:
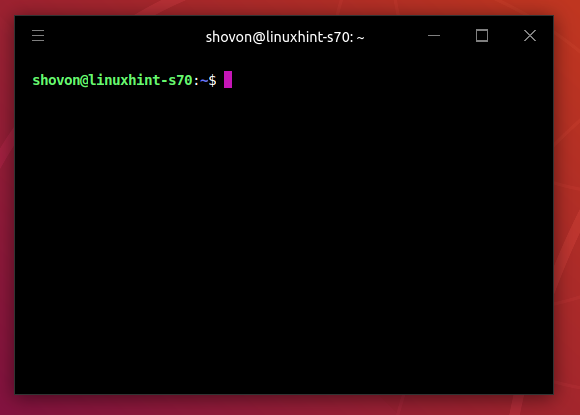
Once Hyper terminal is installed, you can find it in the Application Menu of Ubuntu. Click on the Hyper icon to start the Hyper terminal.
This is how Hyper terminal should look like by default.
You can run any command here the same way as you do in other terminal applications.
Hyper Terminal Configuration File:
Hyper terminal has a global configuration file ~/.hyper.js
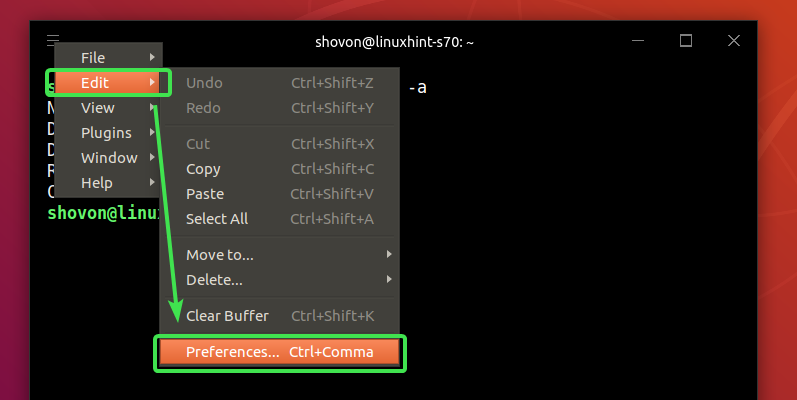
To configure Hyper terminal, click on the hamburger menu .
Then, go to Edit > Preferences…
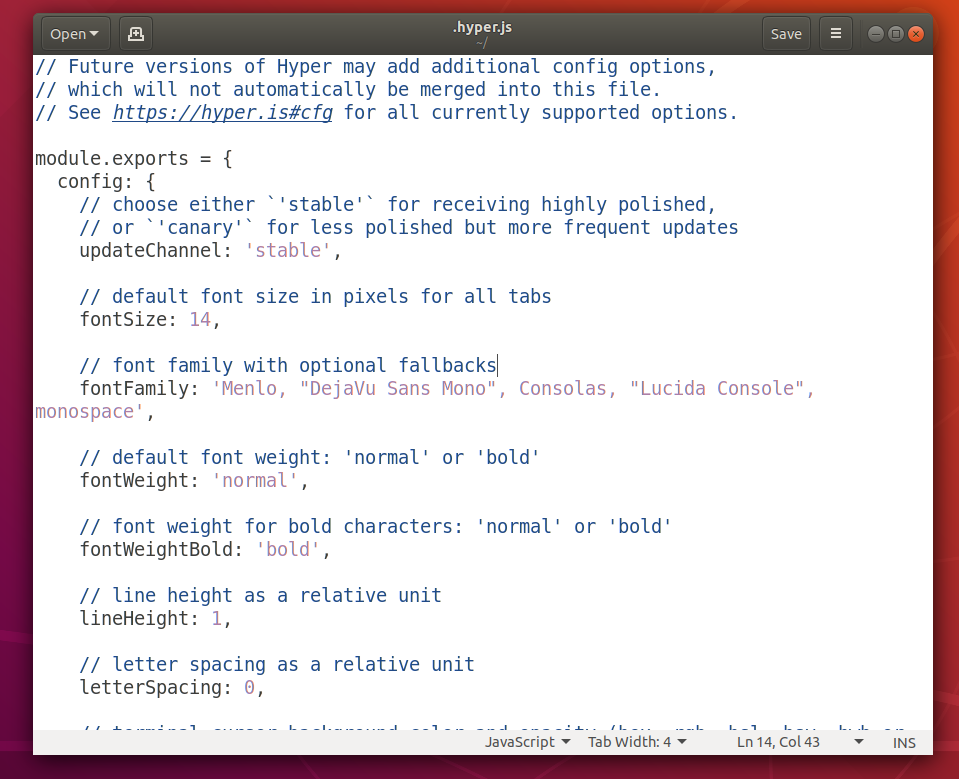
The Hyper terminal configuration file should be opened with your default Text editor. Hyper terminal configuration file is in JSON format.
Changing Font and Font Size:
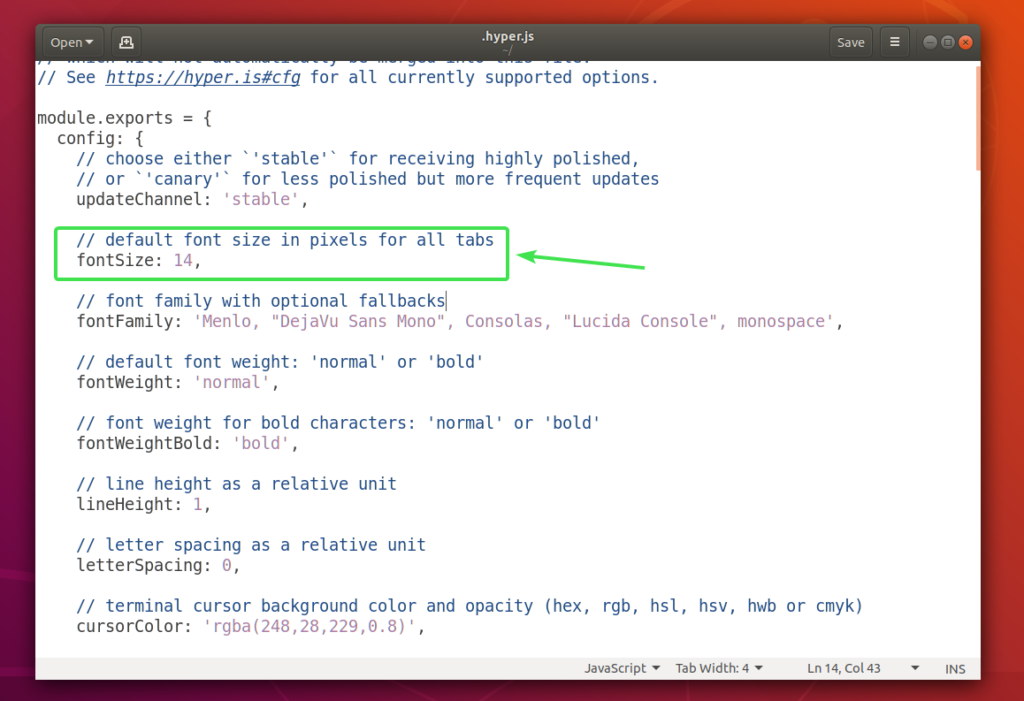
To change the font size of Hyper terminal, you have to set the fontSize property to your desired font size.
The format of the fontSize property:
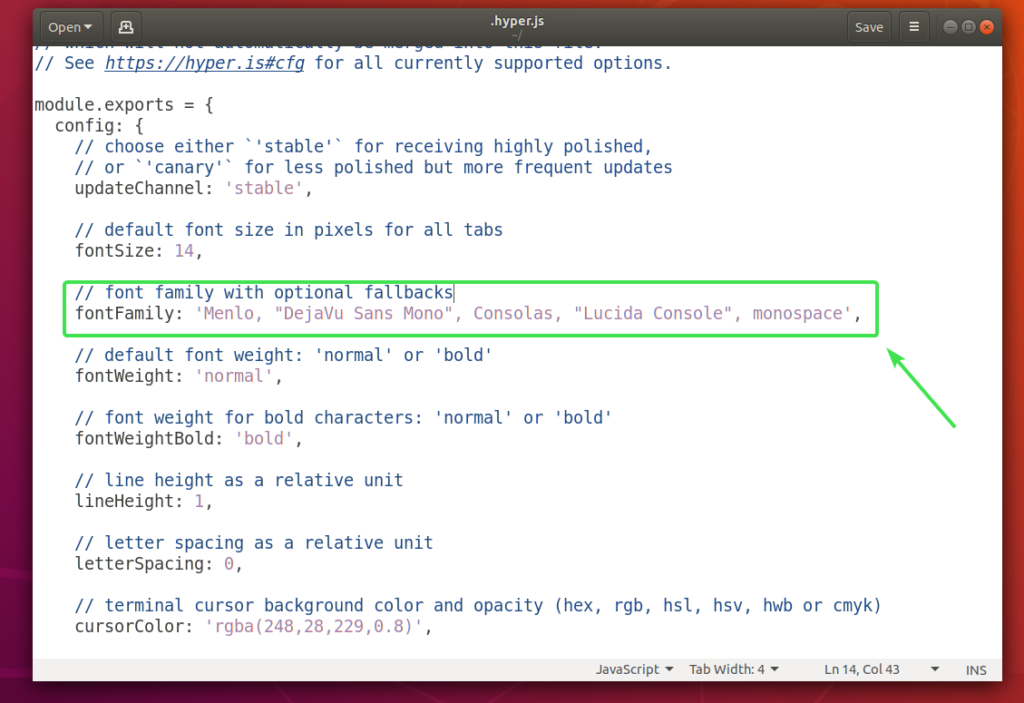
To change the default font, you have to add it to the fontFamily property.
The format of the fontFamily property:
NOTE: Fonts are separated by commas (,). If a font name contains space, it must be wrapped in double quotes (“).
The first font (Font1) will be used by default. If for some reason, the first font is not installed on your Ubuntu machine, then Hyper terminal will try to use the next font (Font 2) and so on.
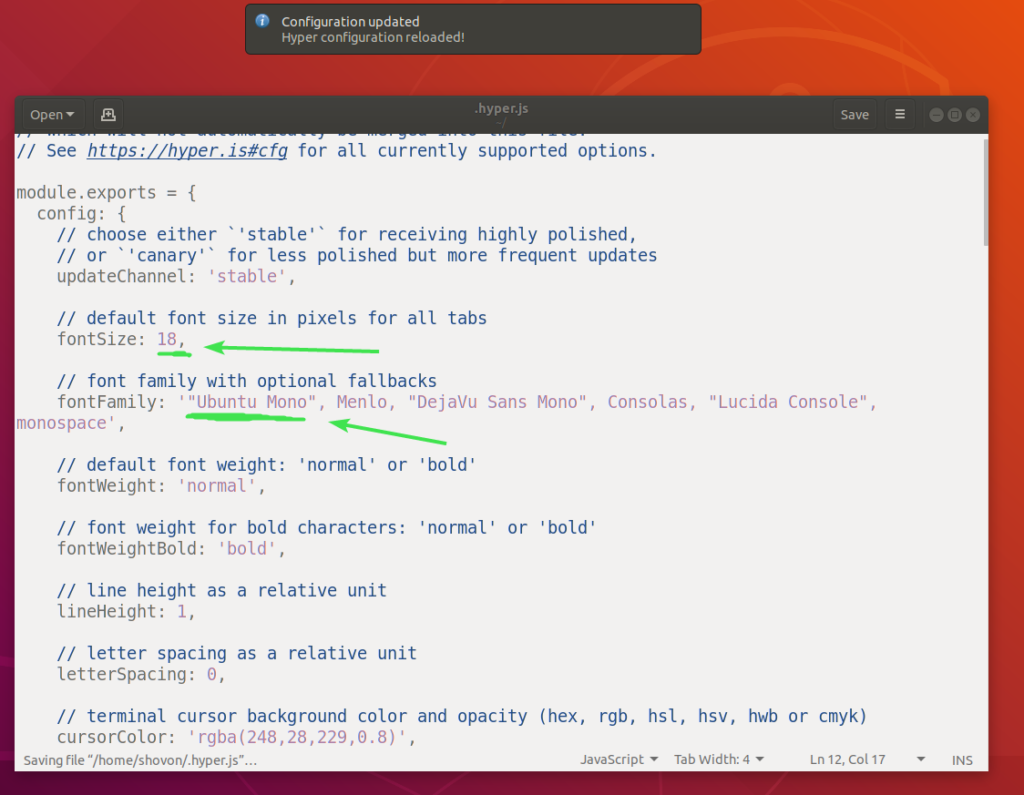
I set the fontSize to 18 and added Ubuntu Mono as the primary font.
As you can see, the font and font size has changed.
Changing Cursor Settings:
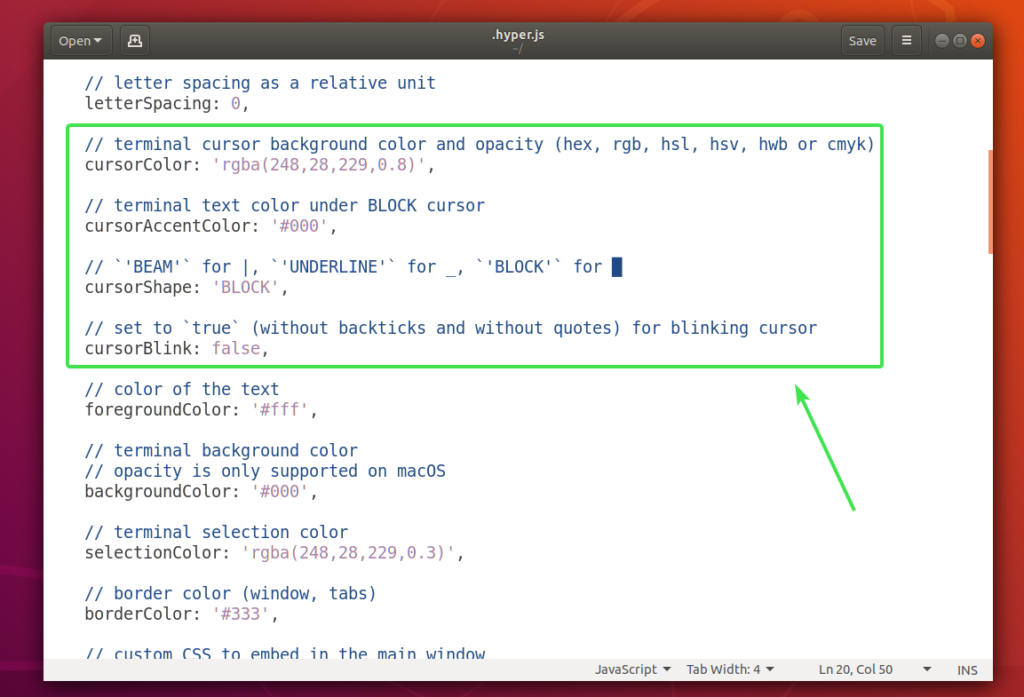
You can change the cursor settings of Hyper terminal using the cursorColor, cursorAccentColor, cursorShape and cursorBlink properties.
The cursorColor property sets the color of the cursor.
The format of the cursorColor property:
The cursorAccentColor property sets the color of the text behind the cursor.
The format of the cursorAccentColor property:
COLOR_VALUE can be one of the following formats:
rgb(redValue, greenValue, blueValue)
rgba(redValue, greenValue, blueValue, opacity)
The cursorShape property is used to set the cursor shape.
The format of cursorShape property:
CURSOR_SHAPE can be one of the following:
The cursorBlink property is used to enable or disable cursor blinking on Hyper terminal.
To turn on cursorBlink, set cursorBlink to true.
To turn off cursorBlink, set cursorBlink to false.
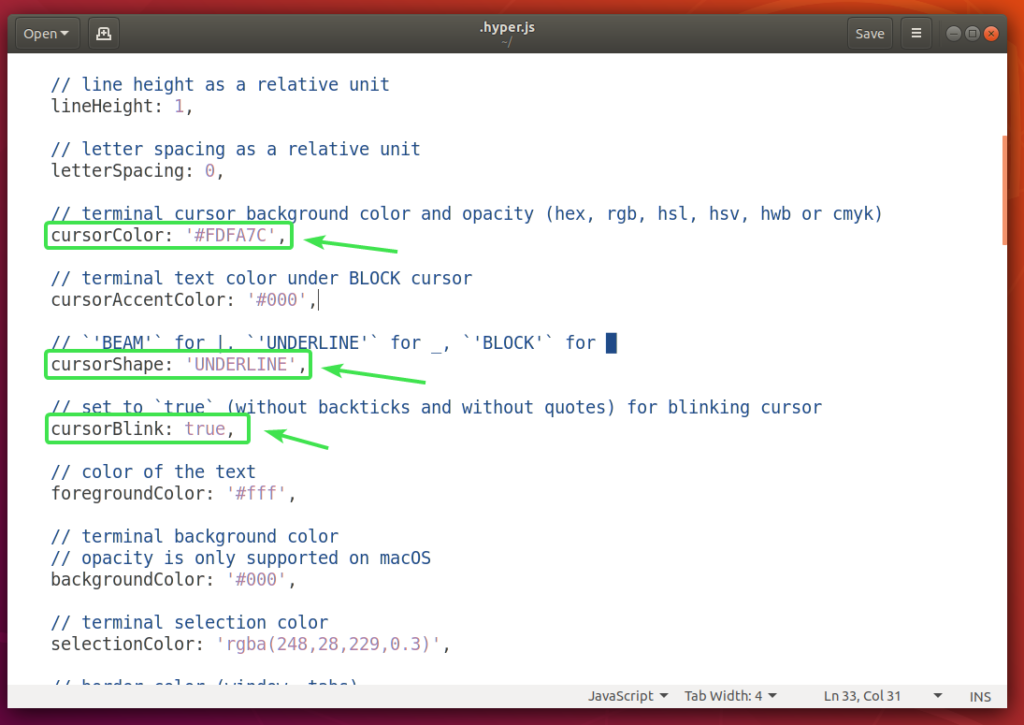
I set the cursorColor to , cursorShape to UNDERLINE and enabled cursorBlink.
As you can see, the cursor color and shape has changed. It also blinks.
Changing Background Color, Text Color and Selection Color:
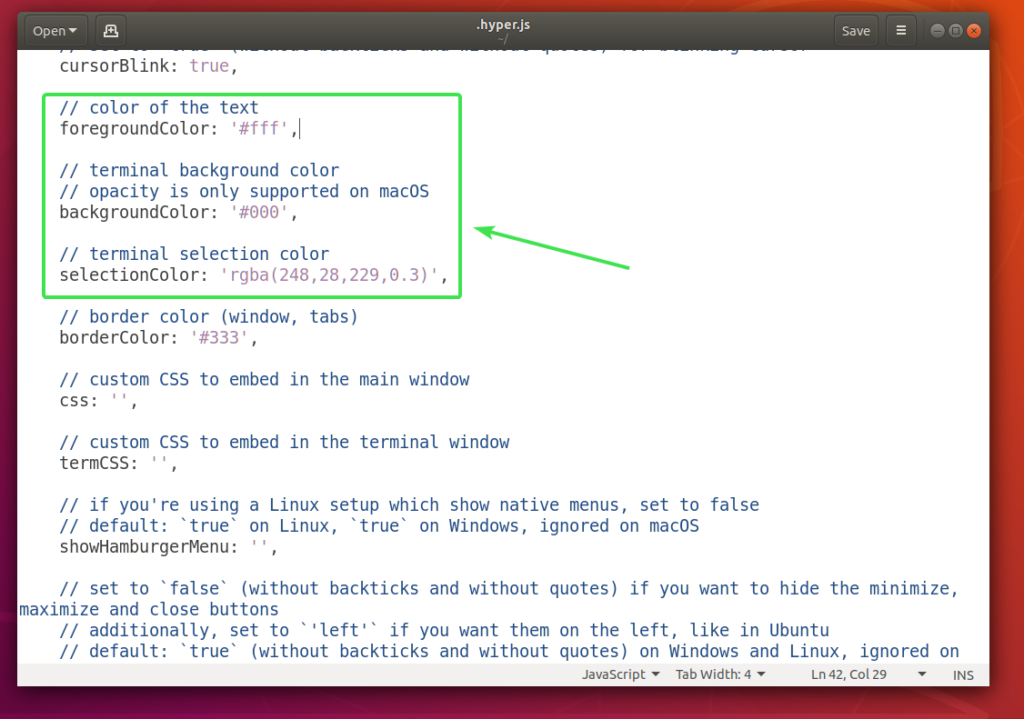
You can change the text color of your Hyper terminal using the foregroundColor property, the background color using the backgroundColor property and text selection color using the selectionColor property.
The format of the foregroundColor property is:
The format of the backgroundColor property is:
The format of the selectionColor property is:
Look COLOR_VALUE format in the Changing Cursor Settings section of this article above.
Configuring Shell:
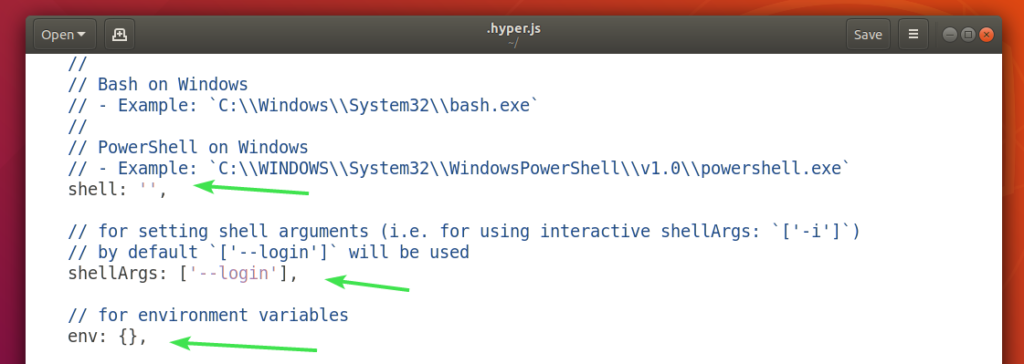
You can set the default shell of Hyper terminal using the shell property. By default, Hyper uses the default shell of the user.
The format of the shell property:
For example, the path of the Bash shell is /bin/bash
You can set the default shell arguments of Hyper terminal using the shellArgs property.
The format of the shellArgs property is:
You can set custom shell environment variables using the env property.
The format of the env property:
variable1: value1,
variable2: ‘value 2’,
variable3: "value 3"
}
Once you set the environment variables, you must close the Hyper terminal and open it again for the changes to take effect.
I set two environment variables FIRST_NAME and LAST_NAME and as you can see, I can access them from the Hyper terminal.
Disable Terminal Bell:
You can disable the terminal bell using the bell property.
To disable the terminal bell set bell property to false.
To enable the terminal bell again, set bell property to SOUND.
Copy Text on Selection:
If you want to copy the text you select on Hyper terminal, then set the copyOnSelect property to true. By default, copyOnSelect is set to false, which means text won’t be copied when you select them.
So, that’s how you install, use and configure Hyper terminal on Ubuntu 18.04 LTS. Thanks for reading this article.

