The present tutorial explains how to measure your internet connection speed using different tools available for Linux. Before going through these tools there are some concepts which should be clarified, the download speed, the upload speed and latency, this tutorial focuses on the download speed.
Download speed: the download speed is the receiving speed, the speed used by packets to reach your device, that’s the relevant speed when you download files, watch online videos or visit websites, it is the most relevant measure for home users.
Upload speed: the upload speed is the sending speed, the speed to send traffic from your device to another device over the internet, it is the speed you see when uploading images or videos to any website or through any communication app. Usually Internet Service Providers give an extremely low upload speed unless you pay an extra, it is especially relevant for servers.
Latency: is the time traffic takes to arrive destination and get back to your device, this isn’t necessarily related to the speed since high latency may be caused due many hops or intermediating routers between your device and the destination, each routing device will have it’s own latency, as explained on Traceroute with Nmap if you notice low speed between your device and a specific destination, a way to diagnose the problem is to traceroute a packet all its way over the internet trying to find a low intermediating device measuring the latency.
TCPTRACK
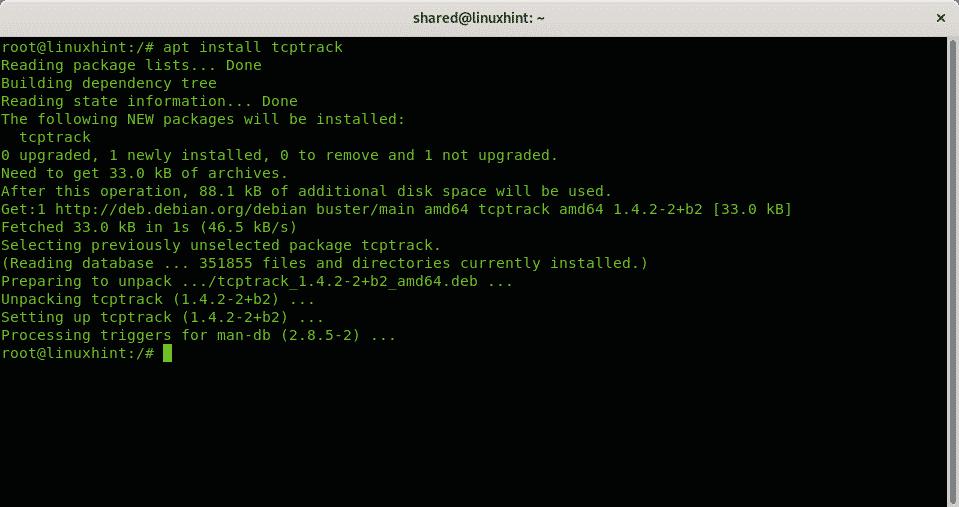
The first tool described in this tutorial is tcptrack, which can be installed in Debian and Ubuntu Linux distributions through apt, you can get tcptrack for other Linux distributions at https://pkgs.org/download/tcptrack.
Installing tcptrack on Debian and Ubuntu:
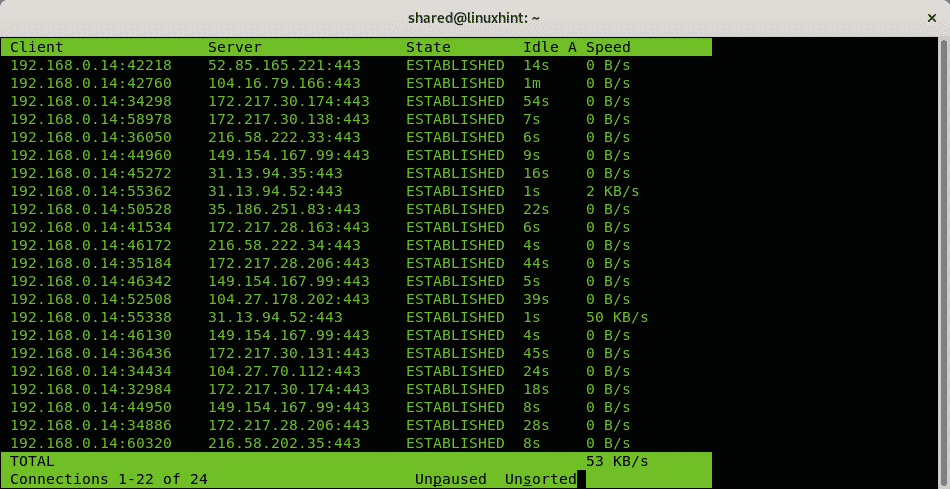
When using tcptrack you need to specify your network device with the option -i. In my case the network device is wlp3s0, therefore I run:
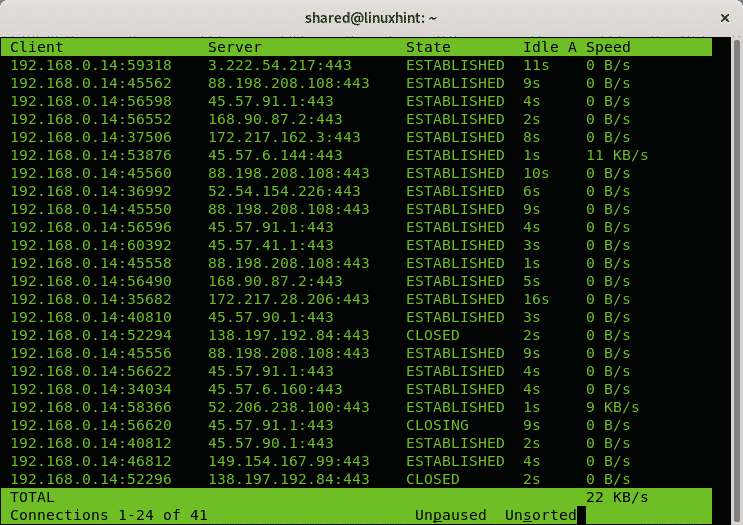
Live output:
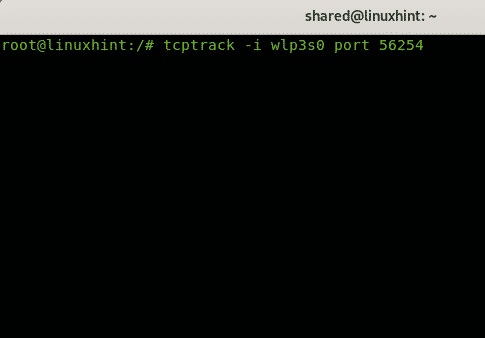
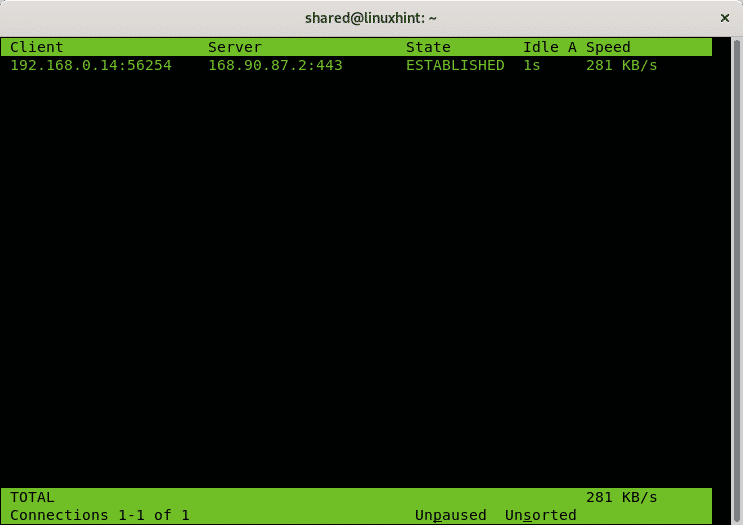
These are mostly websites, you can also specify a port, which is especially useful for servers, to specify a port simply add the option port, the following example shows tcptrack measuring the internet connection on the port 56254.
Live output:
With the option -d you can instruct tcptrack to measure only connections established after tcptrack was launched.
Live output:
NLOAD
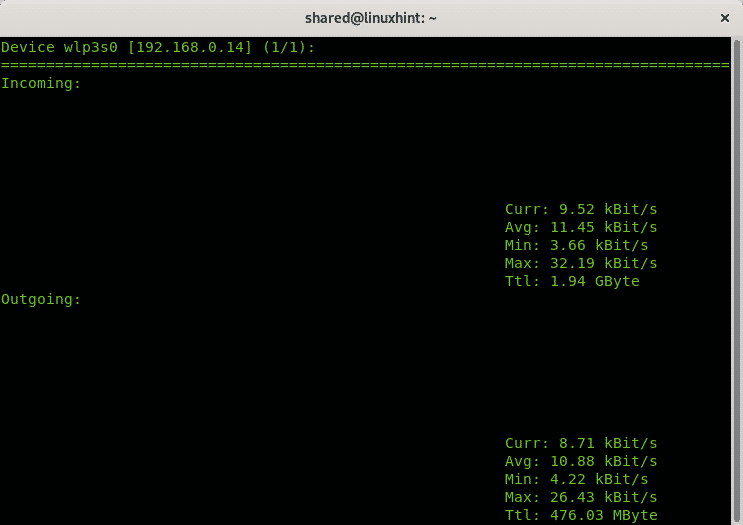
Nload is another tool to monitor network traffic and bandwidth speed like tcptrack, it also can be installed through apt on Debian and Ubuntu Linux distributions, it is also available as tar.gz for other distributions at https://sourceforge.net/projects/nload/. The advantage of nload is you can easily see the incoming and outgoing traffic divided.
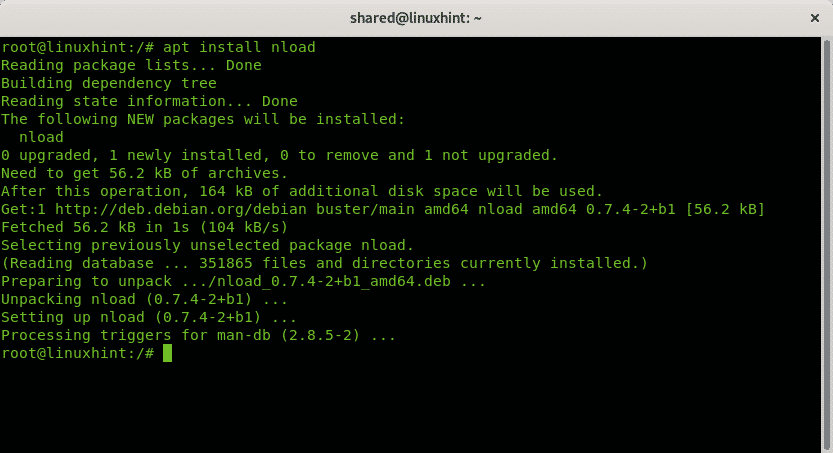
To install nload on Debian or Ubuntu run:
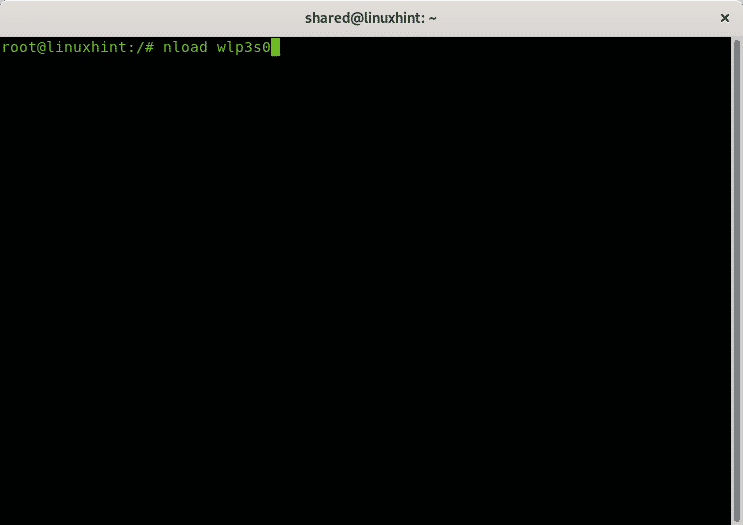
To launch nload you need to specify the network device, replace wlp3s0 with your network device and launch it as in the following example:
Live output:
IFTOP
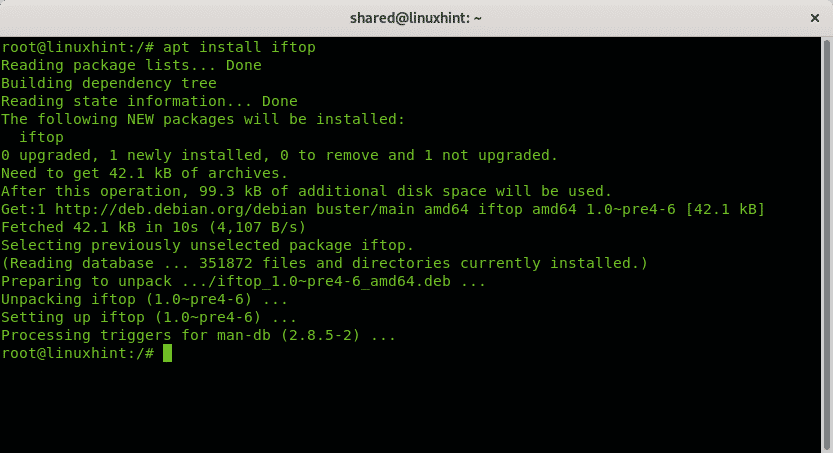
Iftop is another opensource tool available on Debian and Ubuntu respositories, you can download it for other Linux distributions as tar.gz at http://www.ex-parrot.com/pdw/iftop/.
To launch iftop run it adding the option -i to define your network card as in the following example:
Live output:
At the bottom you can see the transmitted traffic, (TX) and received (RX), cum (cumulative) shows the traffic since iftop was executed, peak rates and rates. The last line (TOTAL) shows the total value for each of the mentioned.
CBM
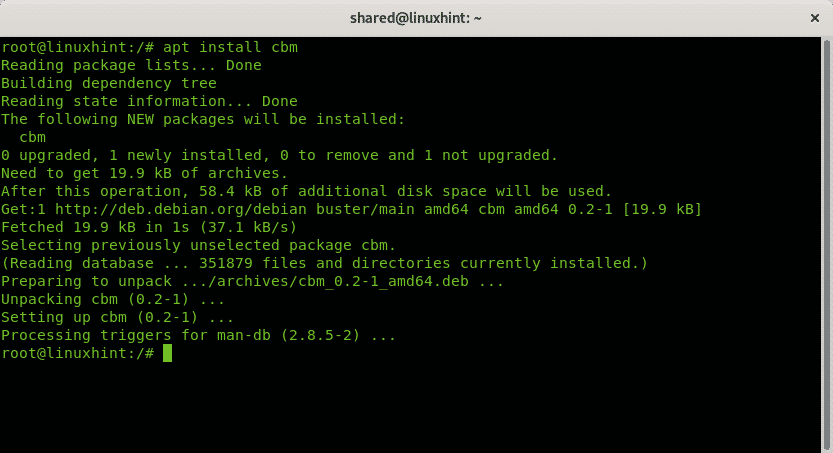
CBM is another tool available on Debian and Ubuntu Linux distributions repositories, you can also find it for other distributions at https://github.com/resurrecting-open-source-projects/cbm.
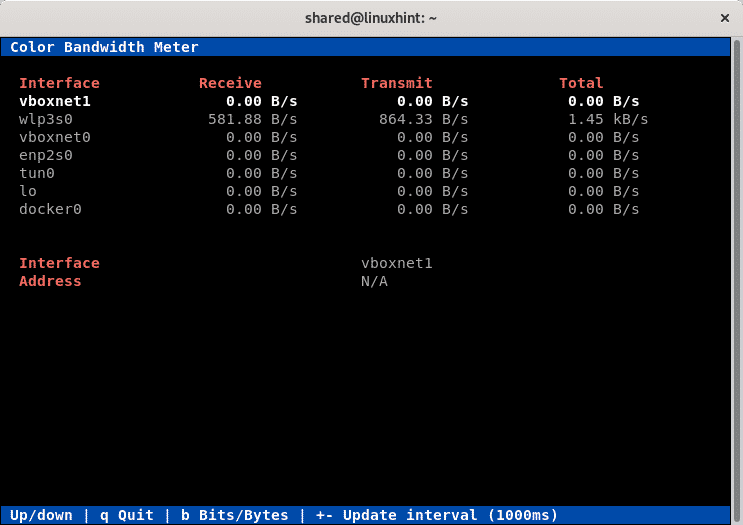
CBM is a colorful tool which can display all network interfaces traffic simultaneously without discriminating between connections giving a total result.
To install cbm on Debian or Ubuntu run:
Cbm does not need too much explanation, each column clearly details it function.
You can browse the different interfaces with the arrows to display each interface IP address.
IPERF
Iperf is a great tester to measure the bandwidth between two nodes, it supports TCP,UDP,SCTP, IPv4 and IPv6, it shows timing, loss and more. Iperf is included in Debian and Ubuntu repositories too, it is available for other distributions at https://iperf.fr/.
Iperf must be installed in both devices which communication speed will be measured.
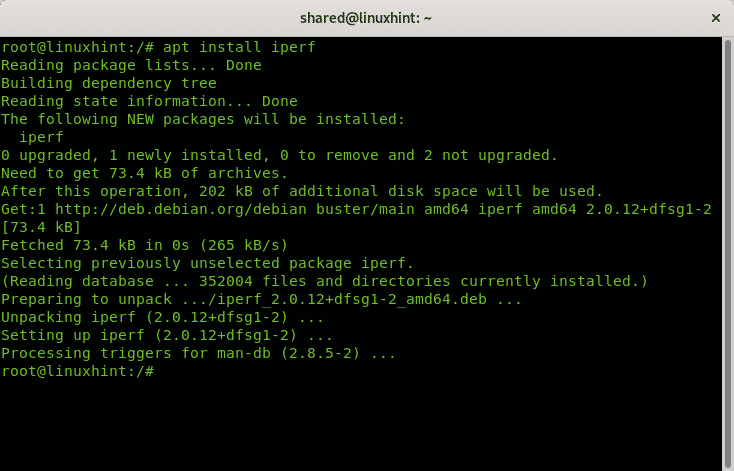
To install Iperf on Debian or Ubuntu on both computers run:
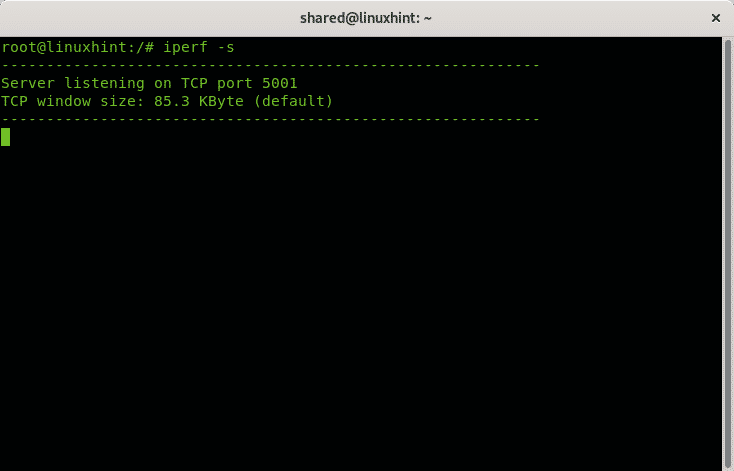
Then, from the server device run:
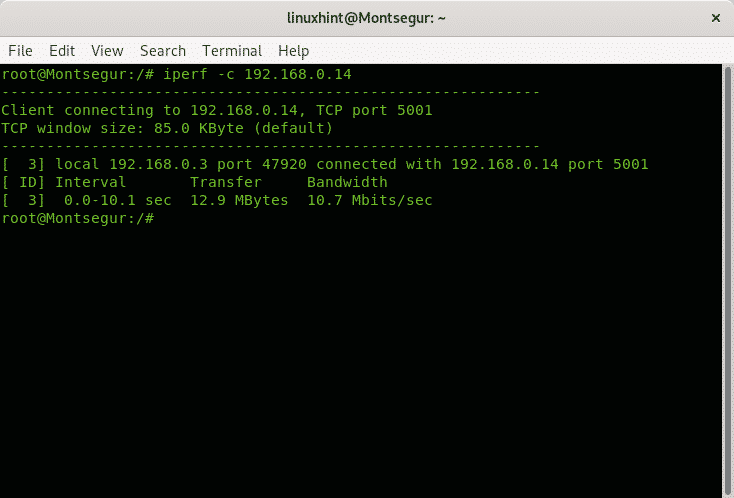
From the second device run:
In my case it would be:
Here you have a very detailed article on IPERF with deep analysis by Bamdeb Ghosh highly recommended. I hope you found this description on speed monitors useful, keep following LinuxHint for more tips and updates on Linux.
Related articles:
ethtool Commands and Examples
How to Monitor Network Traffic using nethogs

