It is not uncommon to see a custom version of Ubuntu deployed on multiple PCs in various for-profit and non-profit organizations. In order to make it easier to deploy a custom variant of Ubuntu, these organizations bake their changes in the Live CD or Live USB itself.
Usually it takes a lot of steps and tinkering to customize an Ubuntu Live CD if you go through command line route. However it is now much easier to create an Ubuntu Remix and distribute it as a Live CD to friends or colleagues, thanks to an excellent GUI app called Cubic.
Cubic is a graphical application featuring an integrated command line chroot environment terminal. It allows you to create a customized bootable Live ISO image from an existing Ubuntu ISO file and makes tweaking extremely easy by using a step by step navigation structure. You can navigate through your customization project using backward and forward buttons and quit any time you wish. Next time when you launch a Cubic project again, it will resume with all the previous customizations made by you in the ISO.
This article will walk you through all major customization options available in Cubic, tested with latest ISO image of Ubuntu 19.10. To install Cubic, run the commands below:
$ sudo apt update
$ sudo apt install cubic
Launch it from application launcher and you will be greeted with a welcome screen. Enter a path to your desired project folder where all your customizations and final customized ISO will be stored.
On the next screen under “Original ISO…” field, click on “Select” button to choose an ISO image. Cubic will automatically populate all details and metadata in visible input boxes. You can change details under “Custom ISO…” field as per your requirements. By default, Cubic will assign a version number and date to your Custom ISO build.
Click the next button to see Cubic working on the original ISO to create an environment for customization.
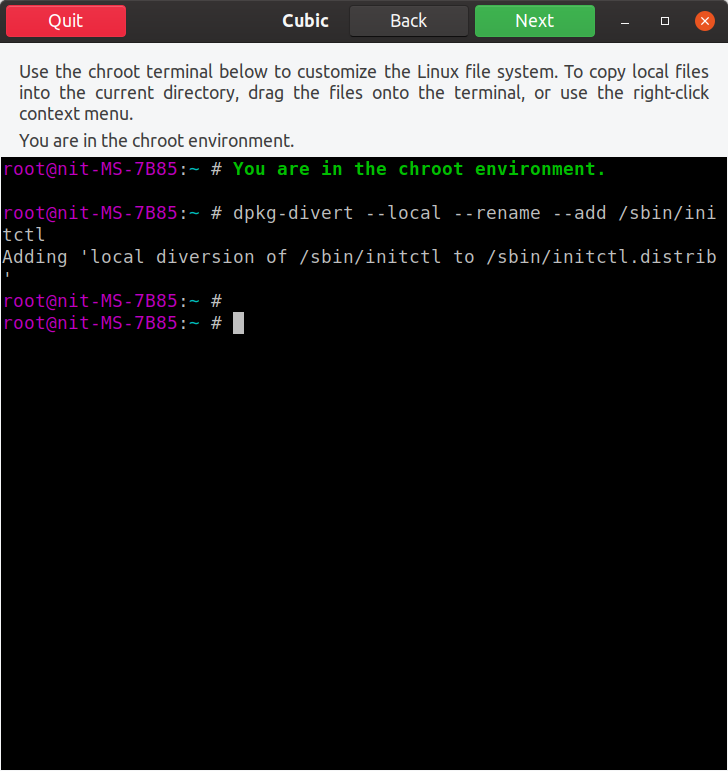
Once the process is finished, you will be taken to a chroot terminal. Chroot allows you to run commands inside a sandboxed file system completely unaware and disconnected from any other file systems present on the system. Any changes made inside chroot affect root directory of its running processes and children only. Cubic passes all the changes made in chroot to the Live ISO.
Inside the chroot environment, we will begin by adding universe repository to increase the number of apps available to install:
$ sudo apt update
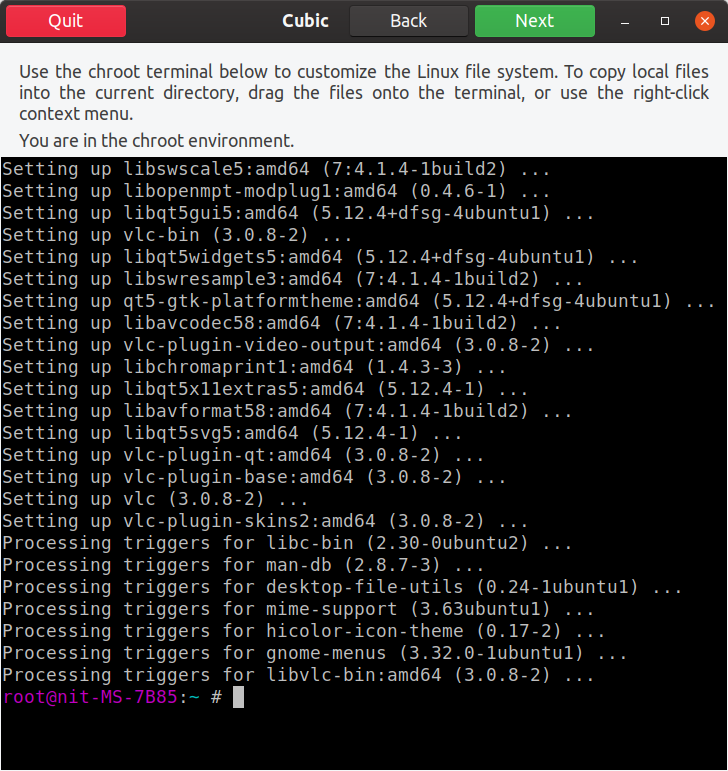
You can now start customizing the ISO. Since Cubic creates a chroot for full Ubuntu filesystem extracted from the ISO, you can run all terminal commands that you would typically do in a full blown Ubuntu desktop installation. These customizations can be endless depending on your requirements, this article will touch only some of them. Lets install VLC app:
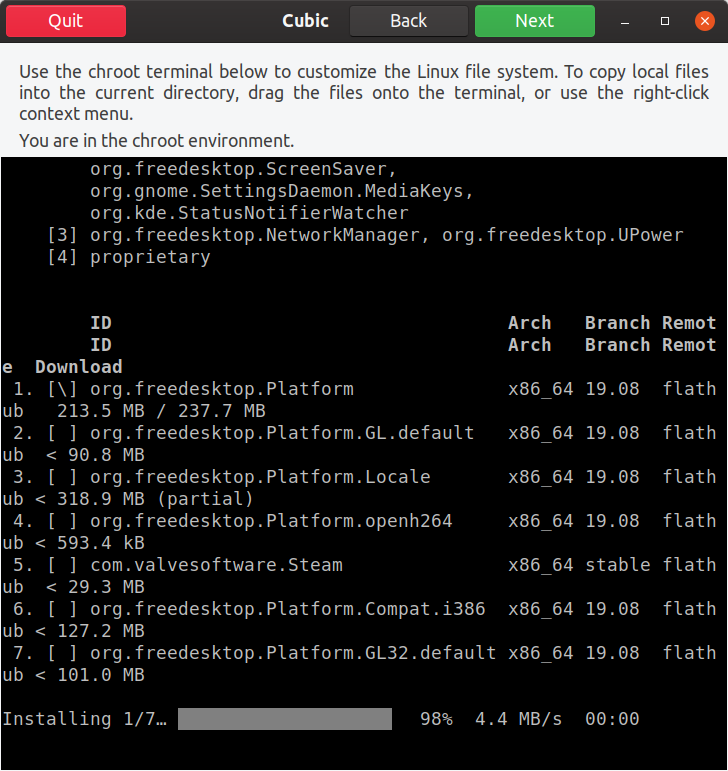
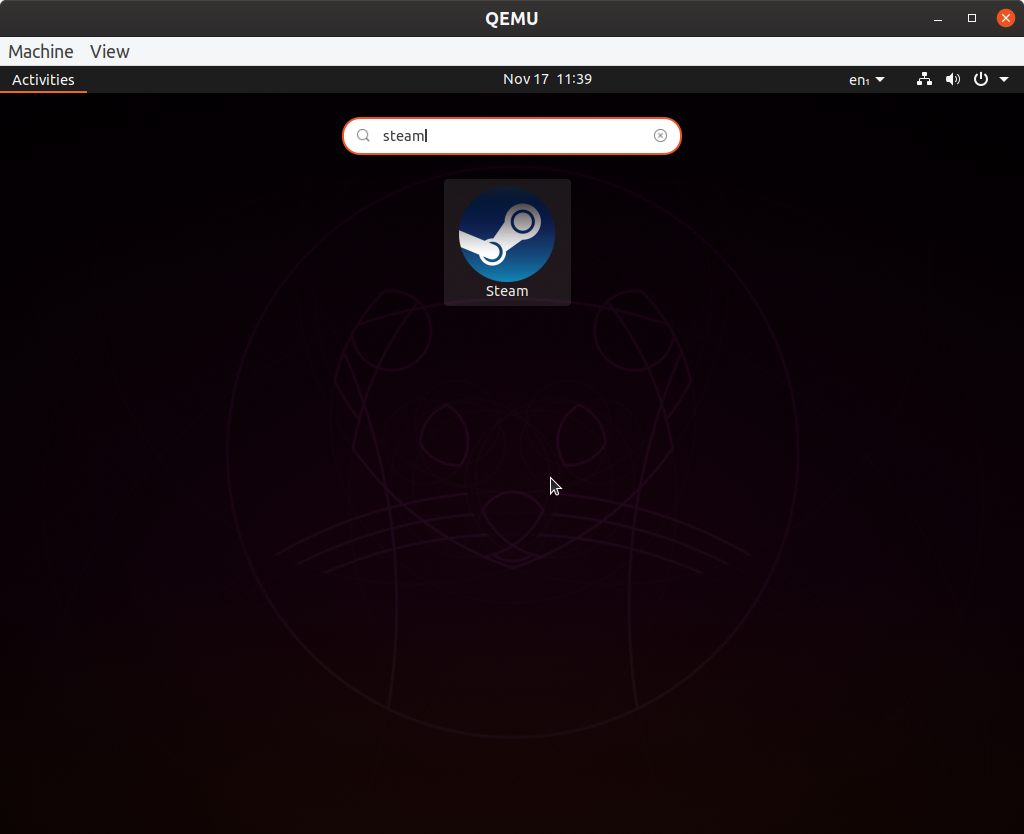
You can add a PPA repository and flatpak packages as well. Unfortunately, in my testing, Snap packages didn’t work at all. I was successful in installing them in chroot, but none of these packages ended up in the final ISO build. Let’s install Steam flatpak by running commands below in chroot:
$ flatpak remote-add –if-not-exists flathub https://flathub.org/repo/flathub.flatpakrepo
$ flatpak install flathub com.valvesoftware.Steam
Any files that you want to end up in custom ISO can be dragged on chroot window. One typical use case is to add additional wallpapers in “usr/share/backgrounds” directory. After you drag and drop a file on chroot window, a new window for uploading files appears. Click on “Copy” button to add files to the root of custom ISO filesystem.
Below is a small example where I have added a new wallpaper to /usr/share/backgrounds directory in the chroot filesystem.
Once you are done with chroot, click on the next button to reach advanced settings layout. The first tab allows you to select packages that you want to be removed after installation finishes from your customized live ISO.
The second tab allows you to select a specific kernel for the customized live ISO.
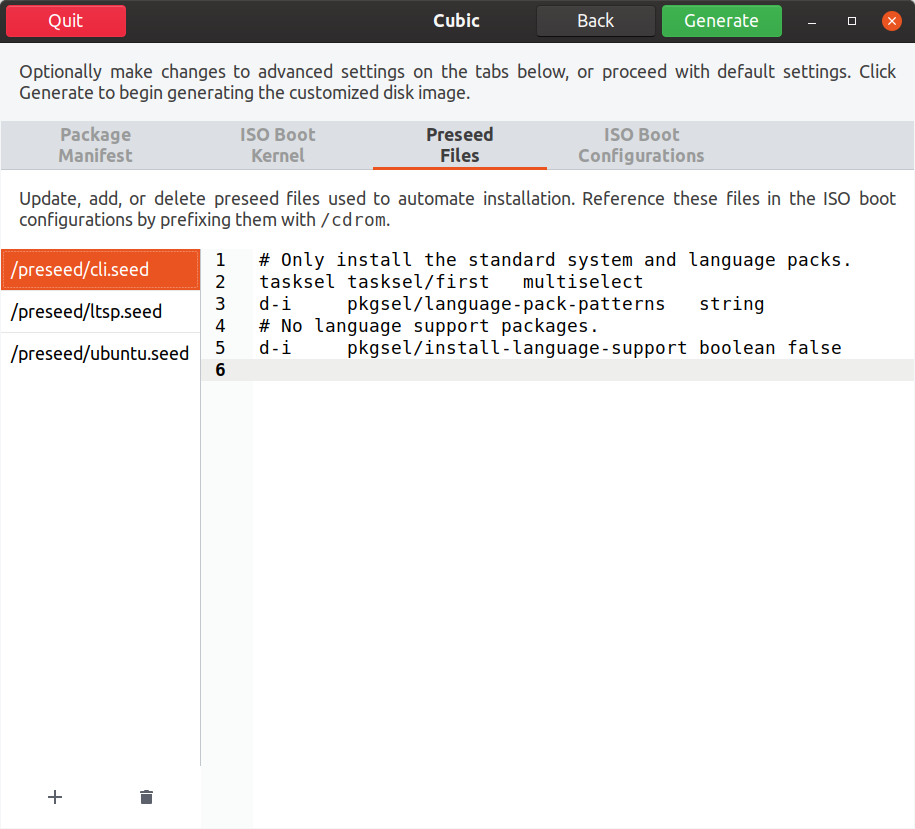
The third tab allows you to customize preseed files. These preseed files are used to automate installation. For example, if you are building this ISO for users in a specific time zone, you can modify preseed files to choose that time zone and it will be automatically selected during installation. It is possible to completely automate installation process by choosing predetermined values for every field in the default installer.
The last tab allows you to customise boot parameters and boot behaviour of the live ISO.
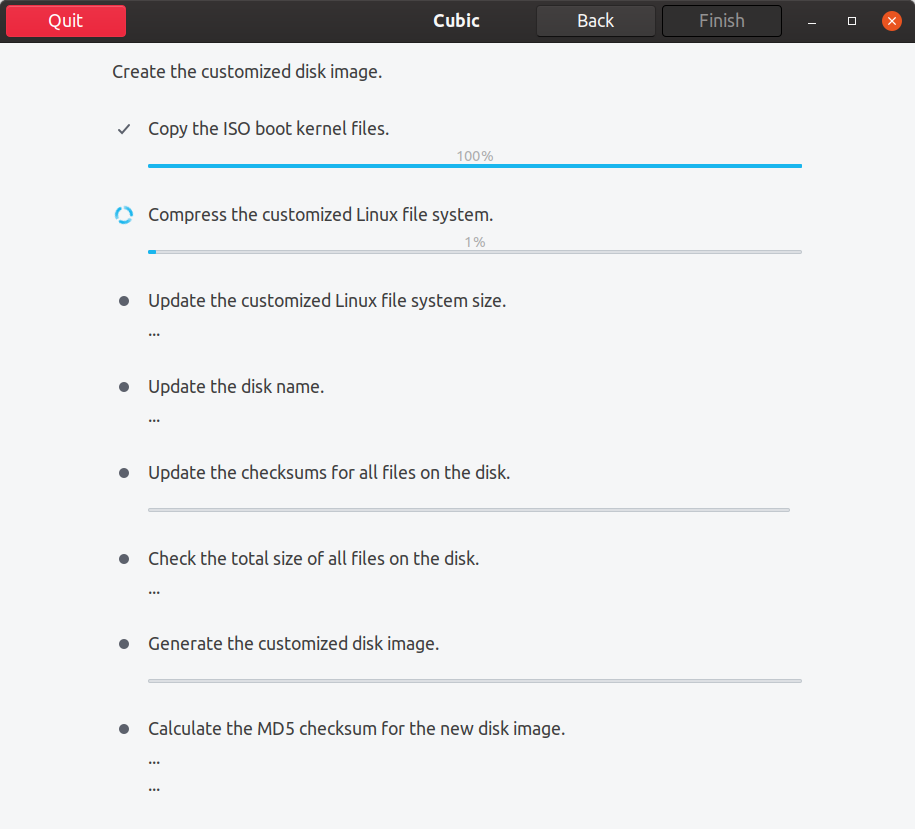
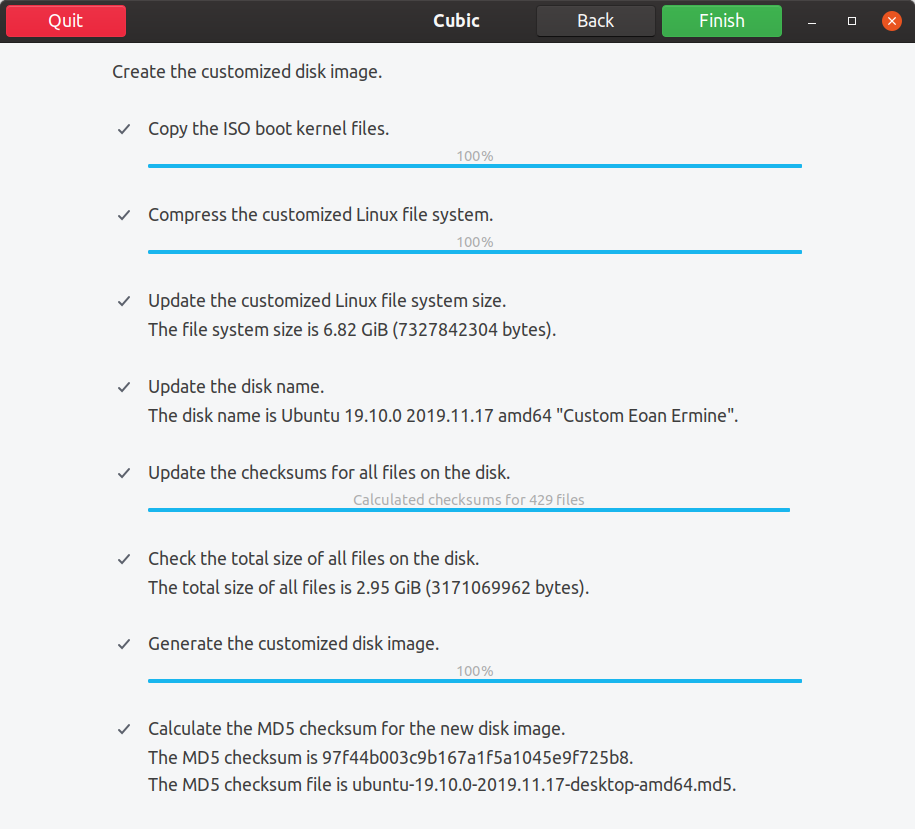
When you are finished with all the customizations, click on the “Generate” tab. You can always go to previous step during any stage of customization.
Finally, click on the finish button to end the customization of ISO image.
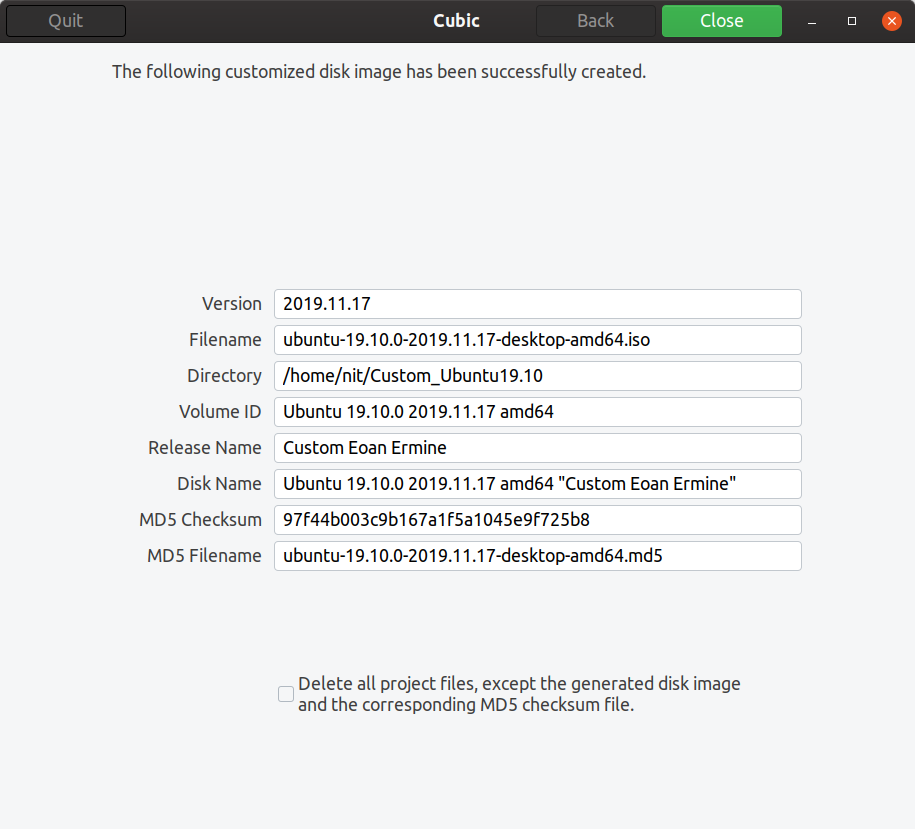
Cubic will then show all details and metadata about your custom ISO. Your customized build will be located in the project directory.
After booting into the custom ISO, we can see the customizations made in previous steps through Cubic.
To make any new customizations to an ISO already built by Cubic, just reopen the already existing project folder.
This marks the end of this article. Cubic is the only graphical ISO customization tool available today for Ubuntu. There have been other projects in the past, but development activities have ceased for them over time. The only other alternative to Cubic is to use numerous terminal commands to modify an Ubuntu ISO. But thanks to Cubic’s user friendly and intuitive interface, we don’t have to resort to lengthy and error prone command line mechanics to build an ISO.
