This article is about flushing DNS on Ubuntu. But to understand why it is necessary, first you have to understand how DNS works and a little bit about DNS caching.
How DNS Works:
Simply, DNS can be thought of a table of domain names and IP addresses as given below:
| Domain Name | IP Address |
| linuxhint.com | 1.2.3.4 |
| support.linuxhint.com | 3.4.5.7 |
| google.com | 8.9.5.4 |
| www.google.com | 8.9.5.4 |
Please know that, none of the data in this table is real. It’s just for the purpose of demonstration. So let’s get back to our original topic.
When you visit, let’s say, linuxhint.com, the browser asks the DNS server (set on your computer) a few questions.
Your Computer: Hey, do you know linuxhint.com?
DNS Server: No, I do not. But the DNS server 4.4.4.4 may know about it.
Your Computer: Contacts the DNS server 4.4.4.4 and asks, “hey, do you know linuxhint.com?”
DNS Server 2: Yes, I do. What can I do for you?
Your Computer: I need the IP address of linuxhint.com. Can I have it?
DNS Server 2: No fear, that’s why I am here. Here is the IP address of linuxhint.com 1.2.3.4.
Your Computer: You’re a life saver. Thanks.
Now your computer connects to 1.2.3.4 and your favorite website linuxhint.com shows up. That was really hard, wasn’t it?
The next time you visit linuxhint.com, the same thing happens again.
DNS Caching:
In the earlier section, you saw how a domain name is resolved to IP addresses. This journey through the DNS servers takes a while and till it’s complete and a domain name can be resolved to IP addresses, you won’t be able to connect to any website or server on the internet.
To solve this issue, DNS caching is used. Here, when you try to resolve a domain name to IP addresses for the first time, it takes a little bit longer. But once the domain name is resolved, the IP addresses are stored in your own computer. So, the next time you need to resolve the same domain name, it won’t take as long as it did on the first time.
Problems with DNS Caching:
DNS caching is good. How come DNS caching is problematic? Well, the world of internet is so dynamic that the DNS information is changing constantly. It may have changed a few times even while I am writing this article.
So, what happens when the DNS information changes and we are using the DNS information that is cached on our own computer? Well, that’s where it gets problematic. In that case, we will be using the old DNS information. We may have connectivity issues, false redirection issues and many other issues.
To solve this problem, we have to delete the cache (also called DNS flushing) and rebuild it. This is the topic of this article.
Checking If DNS Caching is Enabled:
You can check whether DNS caching is enabled very easily on Ubuntu. You need to have the nslookup or dig utility installed on your computer for this to work.
nslookup or dig command may not be available by default on your Ubuntu machine. But you can easily install it from the official package repository of Ubuntu.
First, update the APT package repository cache with the following command:

The APT package repository cache should be updated.
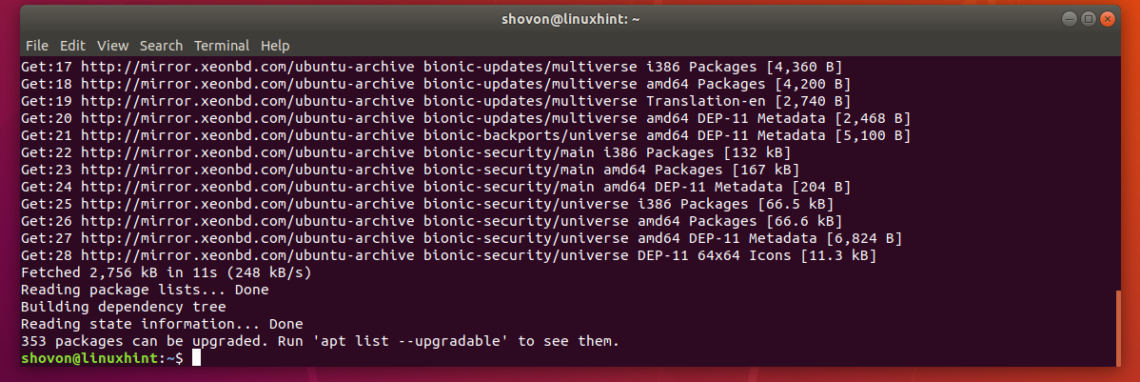
Now install the nslookup and dig with the following command:

Now press y and then press <Enter> to continue.

nslookup and dig commands should now be available.

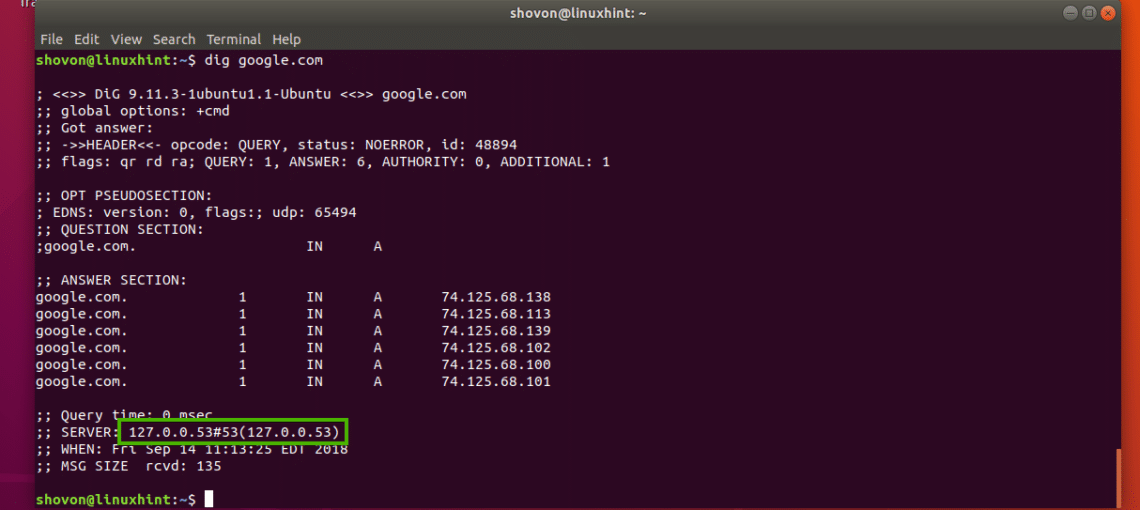
Now to test whether caching is enabled, run the following command:
As you can see, the DNS server used to resolve the domain name is 127.0.0.53, which is a loopback IP address. So DNS caching is enabled. If you have it disabled, then the DNS server should be anything other than 127.0.0.X.

You can check the same thing with the dig command as well as follows:
As you can see, the loopback IP addresses is used as the DNS server addresses here as well. So, DNS caching is enabled.
Flushing DNS on Ubuntu 18.04 LTS:
Ubuntu 18.04 LTS uses a local DNS server and caches DNS queries by default. Ubuntu 18.04 LTS uses systemd for this purpose.
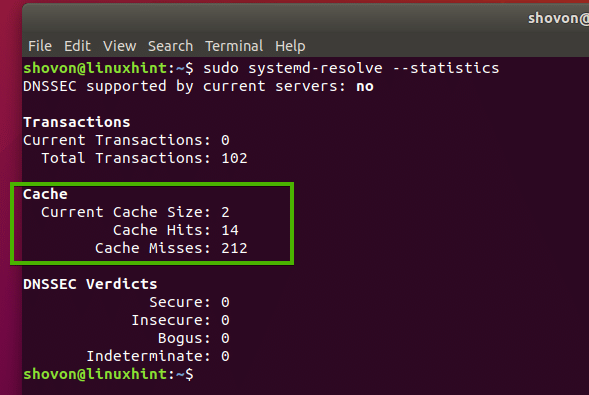
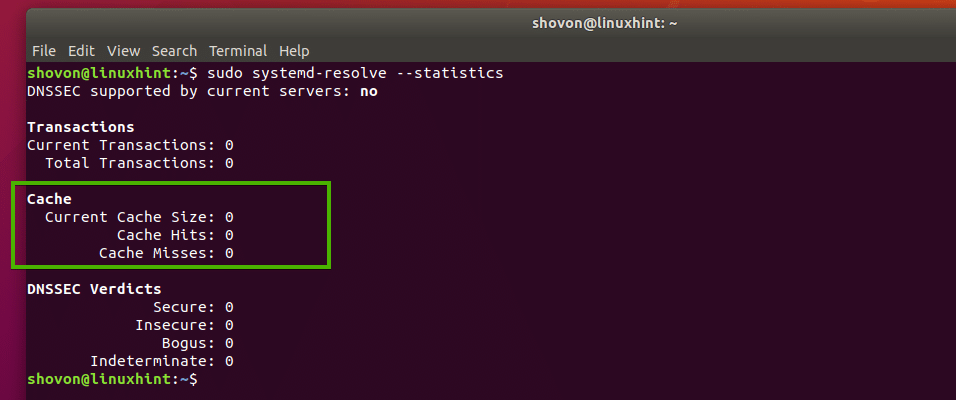
You can run the following command to check how many DNS entries are cached and many other information on Ubuntu 18.04 LTS:

As you can see, information about DNS cache is listed in the marked section of the screenshot below.
To flush the DNS cache on Ubuntu 18.04 LTS, run the following command:

You can also restart the systemd-resolved service to flush the DNS caches on Ubuntu 18.04 LTS.
To restart the systemd-resolved service, run the following command:

As you can see, the caches are cleared.
Flushing DNS Cache on Ubuntu 16.04:
On Ubuntu 16.04 LTS, DNS cache is not enabled by default. But some applications like bind, dnsmasq, nscd etc. may cache it.
If you’re using nscd for caching DNS queries, then you can flush the DNS cache by simply restarting the nscd service.
You can restart the nscd service on Ubuntu 16.04 LTS to flush DNS caches with the following command:
If you’re using dnsmasq for caching DNS, then restarting dnsmasq service with the following command should flush the DNS cache.
So, that’s how you flush DNS cache on Ubuntu 18.04 LTS and 16.04 LTS. Thanks for reading this article.


