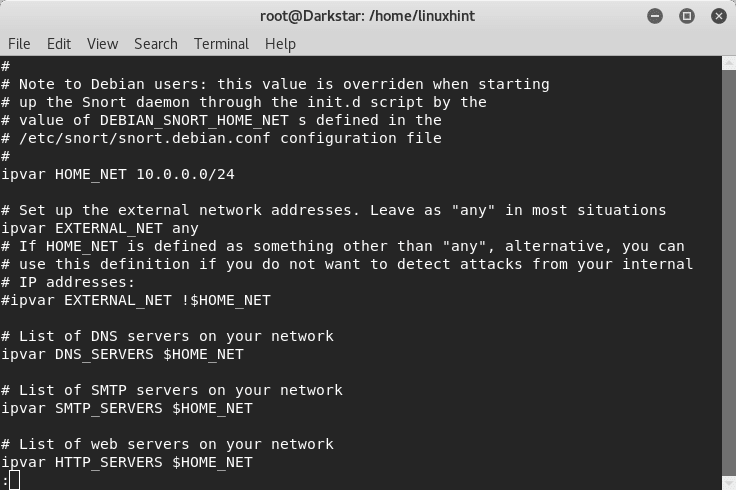
For this tutorial the network we will use is: 10.0.0.0/24. Edit your /etc/snort/snort.conf file and and replace the “any” next to $HOME_NET with your network information as shown in the example screen shot below:
Alternatively you can also define specific IP addresses to monitor separated with comma between [ ] as shown in this screen shot:
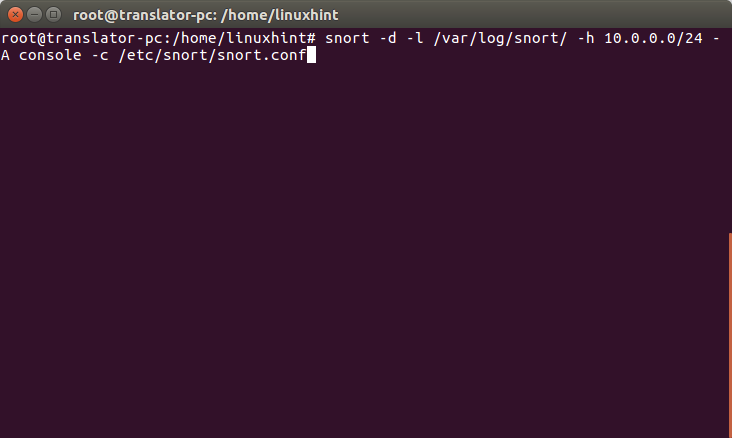
Now let’s get started and run this command on the command line:
Where:
d= tells snort to show data
l= determines the logs directory
h= specifies the network to monitor
A= instructs snort to print alerts in the console
c= specifies Snort the configuration file
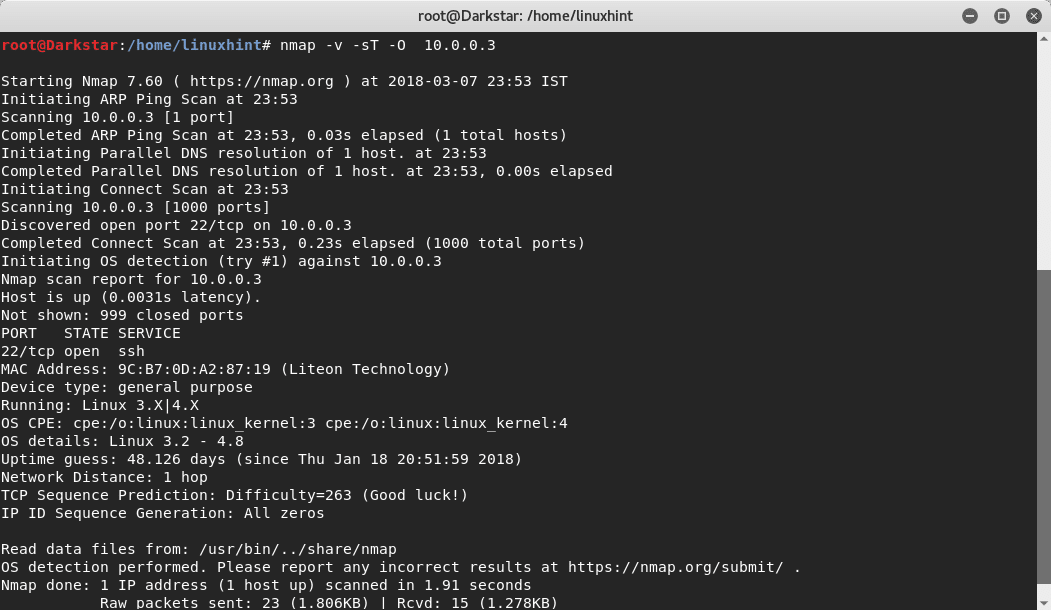
Lets launch a fast scan from a different device using nmap:
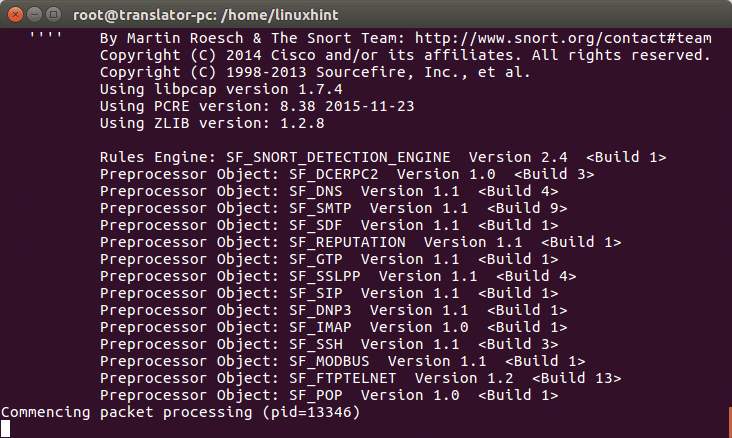
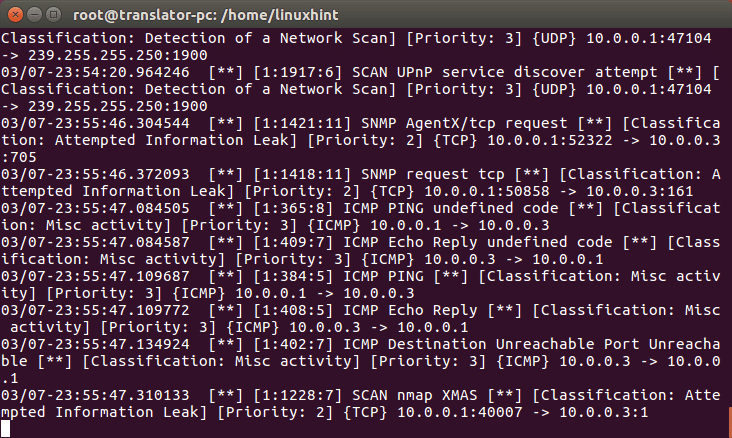
And lets see what happens in the snort console:
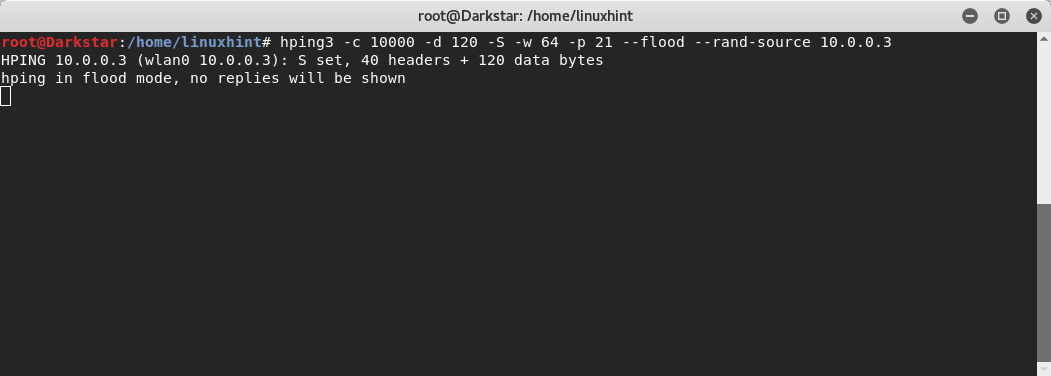
Snort detected the scan, now, also from a different device lets attack with DoS using hping3
The device displaying Snort is detecting bad traffic as shown here:
Since we instructed Snort to save logs, we can read them by running:
Introduction to Snort Rules
Snort’s NIDS mode works based on rules specified in the /etc/snort/snort.conf file.
Within the snort.conf file we can find commented and uncommented rules as you can see below:
The rules path normally is /etc/snort/rules , there we can find the rules files:
Lets see the rules against backdoors:

There are several rules to prevent backdoor attacks, surprisingly there is a rule against NetBus, a trojan horse which became popular a couple of decades ago, lets look at it and I will explain its parts and how it works:
established"; flow:from_server,established;
flowbits:isset,backdoor.netbus_2.connect; content:"BN|10 00 02 00|"; depth:6; content:"|
05 00|"; depth:2; offset:8; classtype:misc-activity; sid:115; rev:9;)
This rule instructs snort to alert about TCP connections on port 20034 transmitting to any source in a external network.
-> = specifies the traffic direction, in this case from our protected network to an external one
msg = instructs the alert to include a specific message when displaying
content = search for specific content within the packet. It can include text if between “ “ or binary data if between | |
depth = Analysis intensity, in the rule above we see two different parameters for two different contents
offset = tells Snort the starting byte of each packet to start searching for the content
classtype = tells what kind of attack Snort is alerting about
sid:115 = rule identifier
Creating our own rule
Now we’ll create a new rule to notify about incoming SSH connections. Open /etc/snort/rules/yourrule.rules, and inside paste the following text:
flow:stateless; flags:S+; sid:100006927; rev:1;)
We are telling Snort to alert about any tcp connection from any external source to our ssh port (in this case the default port) including the text message “SSH INCOMING”, where stateless instructs Snort to ignore the connection’s state.
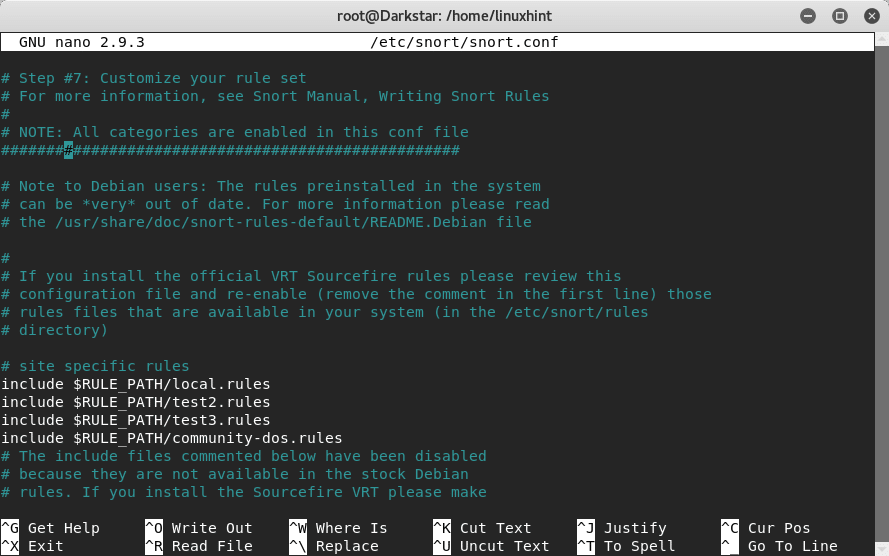
Now, we need to add the rule we created to our /etc/snort/snort.conf file. Open the config file in an editor and search for #7, which is the section with rules. Add an uncommented rule like in the image above by adding:
Instead of “yourrule.rules”, set your file name, in my case it was test3.rules.
Once it is done run Snort again and see what happens.
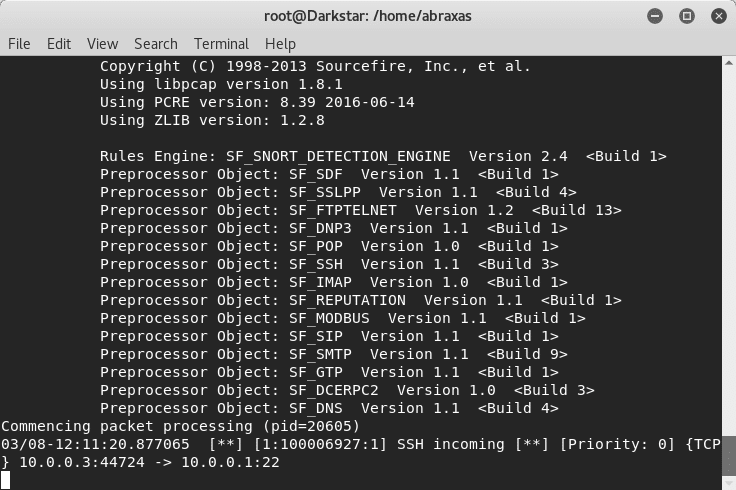
ssh to your device from another device and see what happens:
You can see that SSH incoming was detected.
With this lesson I hope you know how to make basic rules and use them for detecting activity on a system. See also a tutorial on How Setup Snort and Start Using It and the same tutorial available in Spanish at Linux.lat.

