Of course, Java programs require a special environment to work on. When you compile a Java program, it generates a “jar” package that contains a universal binary form of the app. When you wish to run it, it’s the task of the JRE to read the universal binary and run it smoothly on the current system.
Linux is my favorite platform for programming, especially Java. You can work with both the Oracle Java and the OpenJDK. For Linux, I prefer the OpenJDK one as it’s more convenient on the Linux platform and almost all the major Linux distros integrate with OpenJDK easier than the Oracle counterpart.
CentOS is the open-source and community edition of the well-known and respected RHEL (Red Hat Enterprise Linux). I just got my CentOS machine ready, now I need to set OpenJDK.
Let’s go and enjoy OpenJDK!
Getting OpenJDK
There’re 2 separate ways of setting OpenJDK on CentOS – from the default CentOS repository (OpenJDK 8) and manually downloading and setting the OpenJDK (OpenJDK 11). Don’t forget to check out the latest features of Java 11!
Installing from CentOS repo
Fire up a terminal and make sure that everything is up-to-date –
yum update

Now, run the following command –

Installing OpenJDK manually
Note that this is not the recommended way of enjoying OpenJDK. Use the previous method unless you REALLY need the latest OpenJDK.
Using this method, you can also
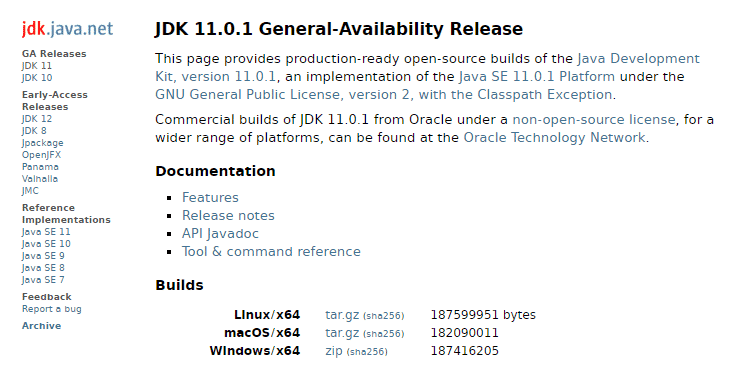
Extract the downloaded OpenJDK –
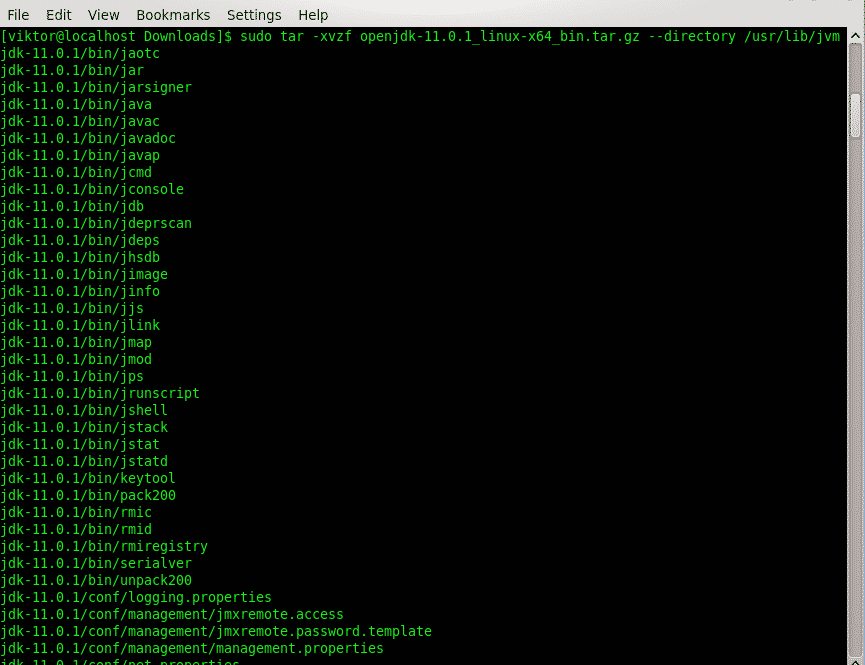

Don’t forget to verify the extraction –

It’s time to make the switch to the newer JDK.
–install /usr/bin/$(basename $bin) $(basename $bin) $bin 100; done’
sudo sh -c ‘for bin in /usr/lib/jvm/jdk-11.0.1/bin/*; do update-alternatives
–set $(basename $bin) $bin; done’

Now, we will grab “update-alternatives” and tell the system to change to the newly set OpenJDK –

Then, select the OpenJDK number that represents the OpenJDK 11 –

Voila! OpenJDK is now present in the system!
Don’t forget to check out the result of the change –
For Java programming, what’s better than a well-packed IDE? Check out Eclipse – one of the finest IDEs for Java programmers!
