Doesn’t matter if you’re are normal or a pro user, every time you install new operating system there is a same question comes to everyone’s mind, what to do next and how to setup operating system for long term use?
So today in this article, I’m going to show you 40 things you can do after installing Ubuntu on your system. This is not limited to Ubuntu 19.10; you can follow these on any version of Ubuntu to set it up according to your requirements.
Everyone’s requirements can vary according to their profession or daily tasks they carry out, so I’m going to cover the things which can be useful for every set of user.
1. Download and Install Latest Updates
Well this is the first thing I always do whenever I install new operating system on any device. Running the latest version of the software keeps you away from unnecessary bugs and glitches that might hamper performance and updates also bring in new additional security features for your system.
Thanks to great community support, Ubuntu gets regular updates with bug fixes and additional security features. Usually Ubuntu automatically pushes the desktop notifications whenever new updates are available for download or you can always manually check for available updates by launching Software Updater from the App tray or from the Terminal by using following command.
2. Additional Repositories
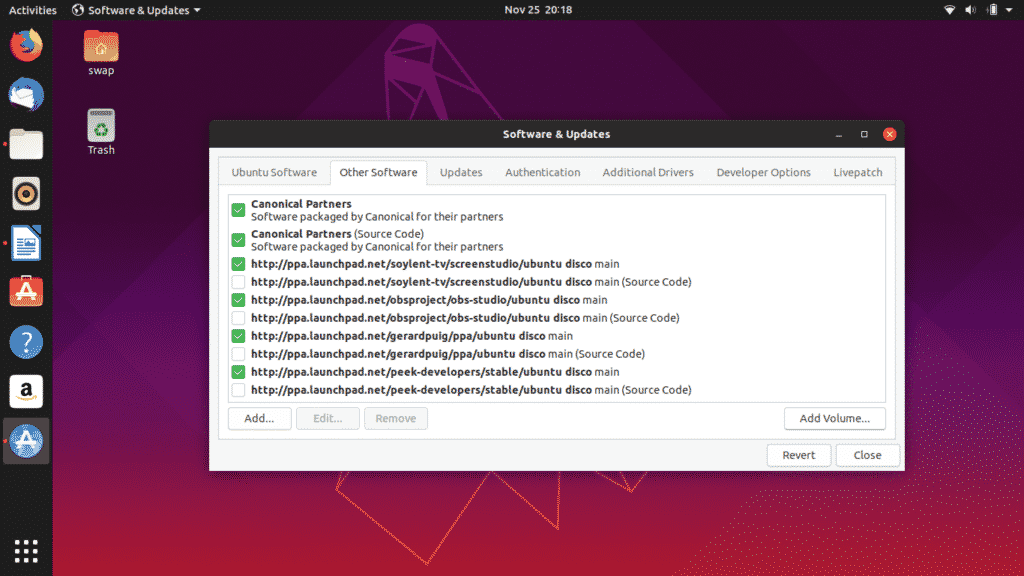
Every Ubuntu release ships-in with built-in repositories but you might need to add additional partner repositories for installing more drivers and software. You might find some of the repositories disabled in some Ubuntu versions but you can enable them by going to Software & Updates then Other Software’s and select the check boxes next to the repositories you wish to enable.
3. Install Missing Drivers
Even though Ubuntu automatically detects and installs missing drivers on your system, still there might be some drivers like graphics drivers which you might need to download and install manually. If you have dedicated graphics cards from NVIDIA or Radeon you might need to download specific version of graphics drivers manually to play video games or carry out high end tasks.
Follow this path to download and install additional missing drivers.
Software & Updates -> Select Additional Drivers tab -> here you will find the list of additional drivers which can be installed on the system. Just follow the instructions to install them.
4. Install GNOME Tweak Tool
GNOME Tweak Tool is great application to have which lets you tweak Ubuntu and customize it in several ways to get refreshing look and set it up according to your requirements.
You can change overall look and feel of the Ubuntu desktop environment, change default fonts, and customize desktop icons, manage extensions and whole lot of things.
5. Enable Firewall
UFW is the built-in Firewall for Ubuntu and it is highly reliable one. By default it is not enabled and you have to enable it manually. Simply follow these steps to enable it on your Ubuntu.
To Enable
To Manage it in GUI
To Disable
6. Install Your Favorite Web Browser
Ubuntu ships-in with Mozilla Firefox pre-installed on it, which is also a default web browser on Ubuntu. But many of you may like to use other web browser like I personally prefer surfing around internet on Google Chrome web browser which offers so many features in addition to web browsing. And other decent option is Opera web browser.
You can download .deb file from Google Chrome and Opera which will be launched in Ubuntu Software Center from where you can install respective web browser in Ubuntu.
You can download .deb file from Google Chrome and Opera which will be launched in Ubuntu Software Center from where you can install respective web browser in Ubuntu.
7. Install Synaptic Package Manager
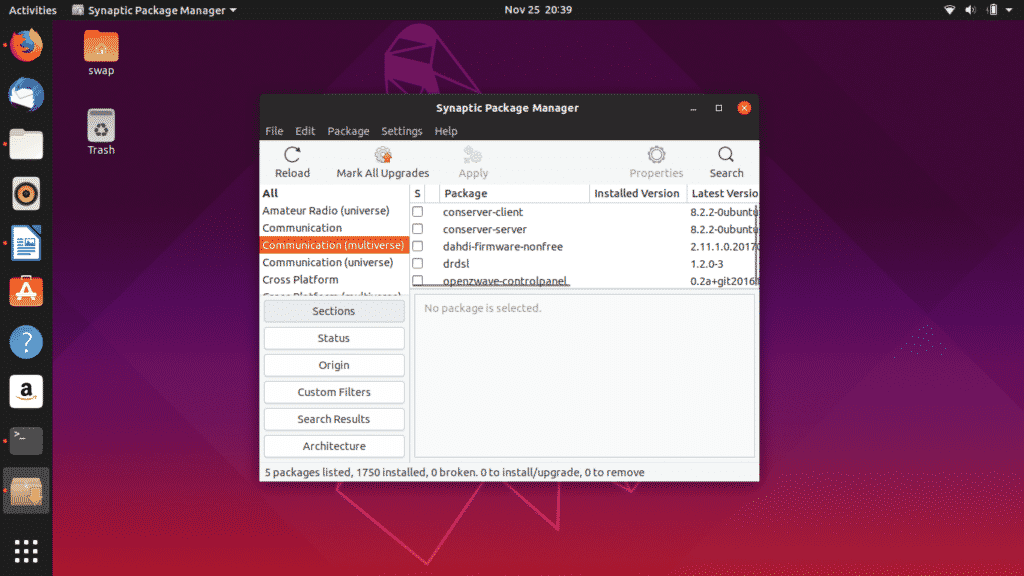
Synaptic Package Manager is graphical user interface for APT package manager used by Ubuntu and other Linux distributions. It is very easy to use tool and great alternative to command line process to install and manage various software packages.
Ubuntu’s software center has some limitations and Synaptic Package Manager very neatly overcomes them to give you full control over your system.
You can download and install Synaptic Package Manager directly from Ubuntu Software Center or run following command in Terminal.
8. Remove Apport
Many of you might have notice some rectangular pop-up window shows up every now and then telling there is a crash report and asks you to send the report. Well I find this very annoying as this shows up even when there is no crash.
Well we can simply remove it by running following command in Terminal.
9. Install Multimedia Codecs
Some multimedia codes are not pre-installed on Ubuntu and having them is necessary to play multimedia files such as MP3, MPEG4, AVI and other most widely used multimedia files.
You can simply install the multimedia codecs by installing Ubuntu Restricted Extras package either from Synaptic Package Manager or from Terminal by executing following command.
10. Install GNOME Extensions
You can take your user experience to next level by tweaking interface by adding animations and personalizing desktop like app icons, fonts and many more by simply installing GNOME shell extensions.
Shell extensions like Open Weather, Dash to Panel and User Themes are some of the must have extensions.
Just go to https://extensions.gnome.org/ to download and install your preferred extensions.
11. Install Java
JAVA is necessary for using many programs and websites effectively hence having it on Ubuntu is must. Install Java using following command in Terminal.
12. Install Snap Store
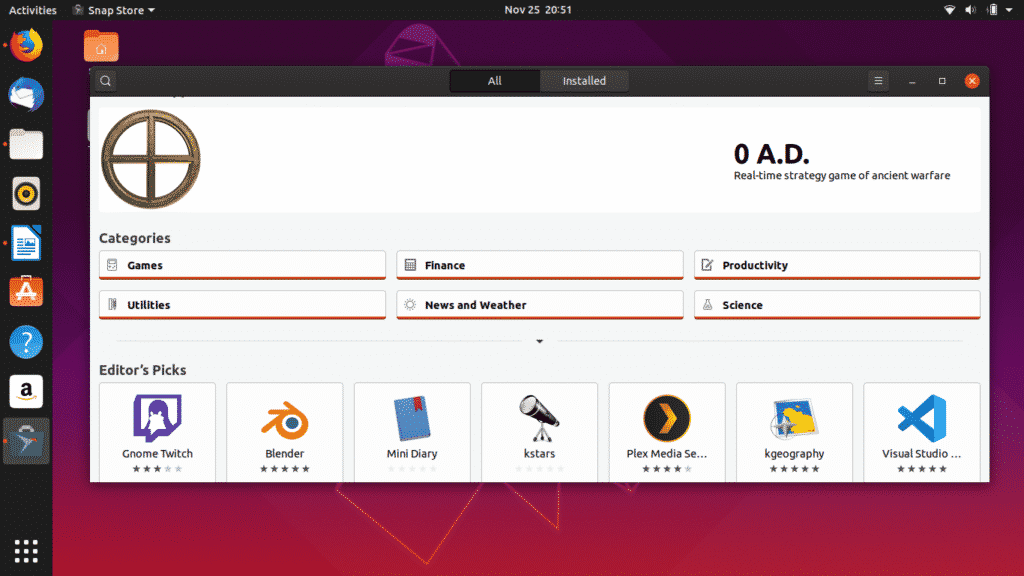
Snap has eased the task of developers for distributing there apps to various users using various distro’s. Apps like VLC, Skype, Spotify and Mailspring can only be installed on Ubuntu and other distro’s using Snap packages or Snap Store.
You can download Snap Store directly from Ubuntu Software Center.
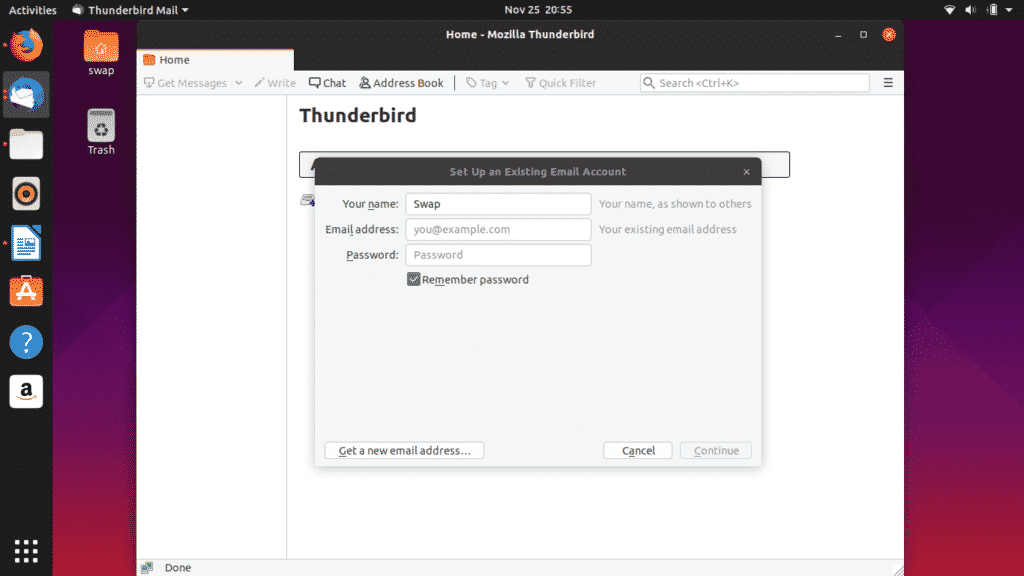
13. Setup Your Mail Account with Thunderbird
Many working professionals have to be connected to their mail account all day so having a dedicated mail client to stay connected to mail is go option. Thunderbird is a default mail client in Ubuntu and comes bundled within the installation package.
You just need to provide your name, email address and password of the mail account once and thunderbird will always keep you connected to your mail account.
14. Setup Keyboard Shortcuts
One of the things I like about Ubuntu is that you can configure keyboard shortcuts per your need. You can setup keyboard shortcuts for like playing next song, opening up an application, switching between multiple application windows and for many tasks.
Configuring keyboard shortcuts is simple and easy, just follow the path Settings -> Devices -> Keyboard where you can set your personal preferences from the list of keyboard shortcuts.
15. Improve Battery Performance
Some of you might have noticed more battery consumption on Ubuntu as compared to Windows. Well it is totally hardware specific and we can tweak it to get some extra hours.
Just install TLP which is a power management tool which works in background to reduce battery usage.
$ sudo systemct1 enable tlp
16. Install WINE
WINE (Wine Is Not an Emulator) is not the perfect but easy and reliable tool to use Windows applications on Ubuntu. This tool can be very useful for many especially for those who need to work on multiple platforms like application and web developers.
You can install WINE through Terminal using following command.
17. Install Microsoft Fonts
Yes you can install Microsoft fonts in Ubuntu and other Linux distributions. You can install them in simple steps using either Ubuntu Software Center or Synaptic Package Manager.
Open either one and search for Microsoft, then results will show Ttf-mscorefonts-installer. That is your Microsoft font package, just click on Install button and wait for it to complete installation.
18. Must Know Commands for System Cleanup
For the smooth functioning of the system, keeping it clean from junk files and unwanted cache is necessary. You can do it using following commands.
To clean partial packages
To remove unused dependencies
To auto cleanup apt-cache
19. Install Flatpak
Flatpak is software utility from Fedora which lets you get access to more applications and software packages in Linux and its various distros. Many applications you might not find in Software Center but with the help of Flatpak you can bypass this.
First of all install Flatpak on Ubuntu using following command.
Once the installation is complete, to integrate flatpak plugin with Software Center execute following command in Terminal.
Now to get full access to all the applications on https://flathub.org/home, install Flathub repository using following command.
https://flathub-org/repo/flathub.flatpakrepo
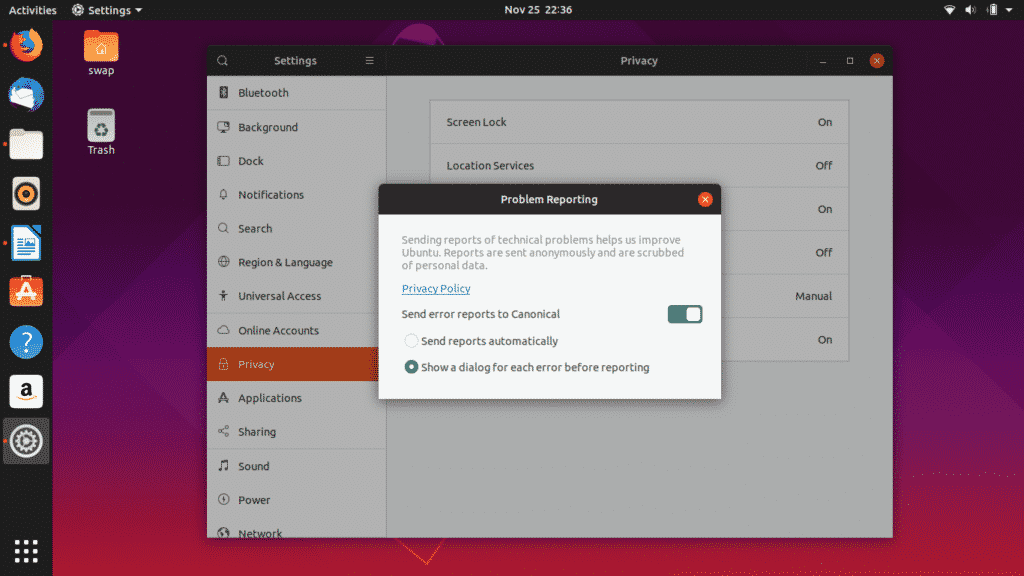
20. Choose Whether to Opt-in or Opt-out from Data Collection
Ubuntu and other Linux distributions collect system hardware data to analyze hardware on which current OS is being used and uses the information to make improvements and provide stability updates time-to-time.
If you don’t want to share your system data then you can always opt-out of it by following these simple steps.
Settings -> Privacy -> Problem Reporting, in this window disable the switch next to Send error reports to Canonical.
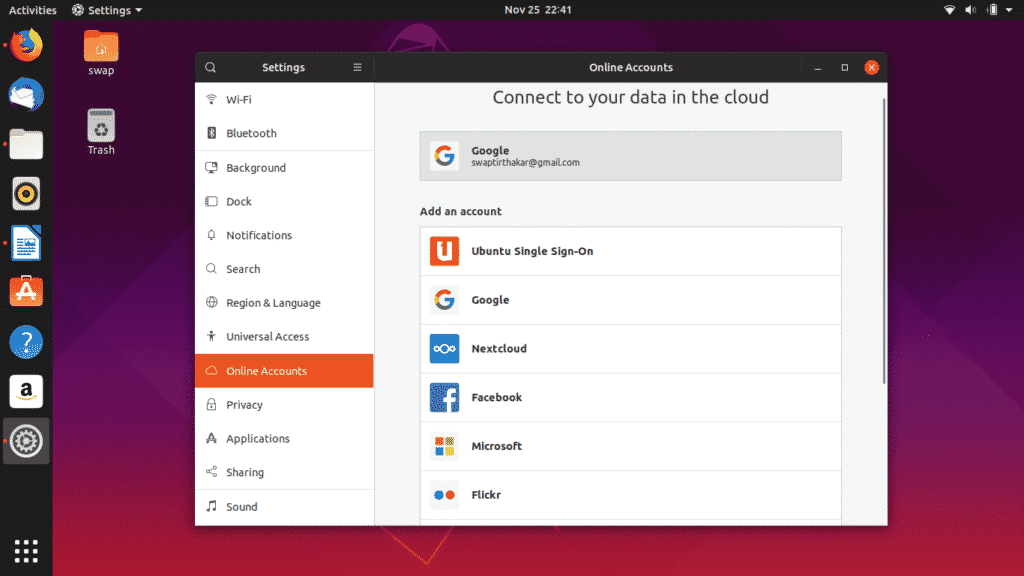
21. Setup Online Accounts
Staying connected to various social media accounts and email services is necessary and you would be happy to know that, you can integrate all the popular accounts with Ubuntu.
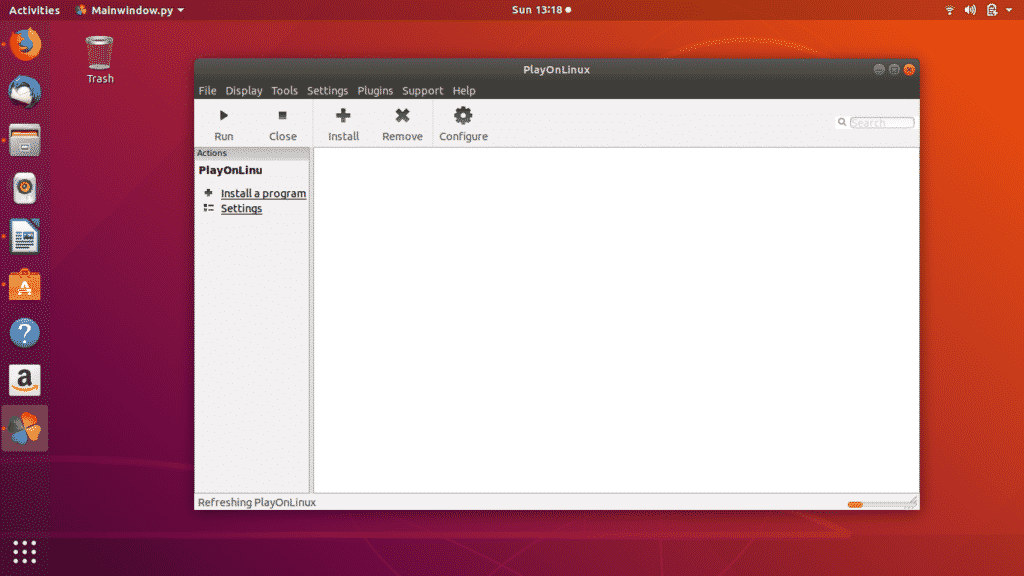
22. Install PlayOnLinux
PlayOnLinux is a graphical frontend to WINE which lets you play Windows based video games and Windows software such as Microsoft Office, Media Player, etc. on Linux.
Even though it is based on WINE you will find it very easy to use as its graphical user interface makes it simple and easy. You can install it easily either from Ubuntu Software Center or by running following command in Terminal.
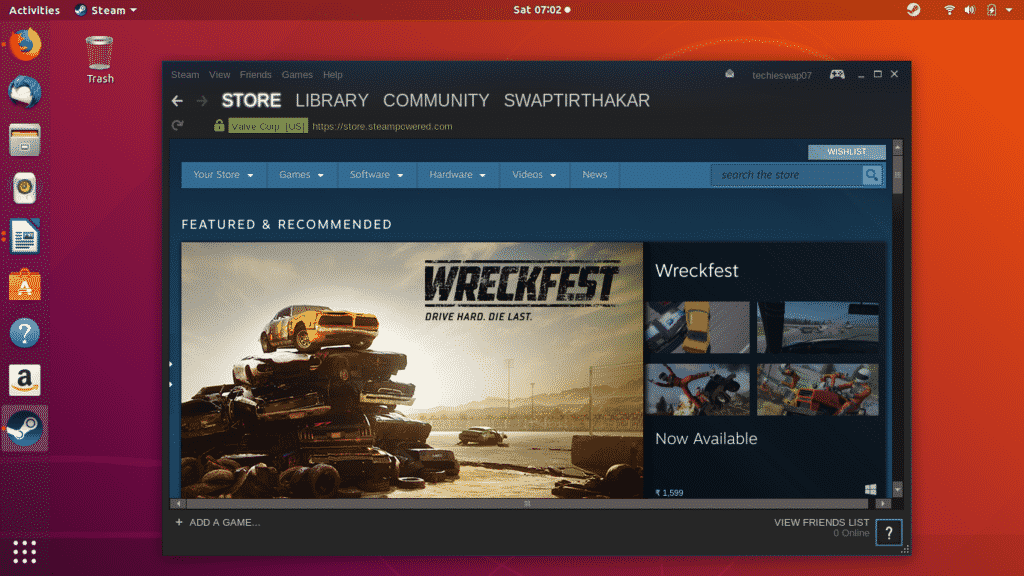
24. Install Steam
If you’re big fan of video games like Counter Strike: Global Offensive and Dota 2 then you must install steam on Ubuntu. Ever since Valve introduced Steam for Linux, gaming on Linux become real deal.
Here’s my guide to install Steam on Ubuntu.
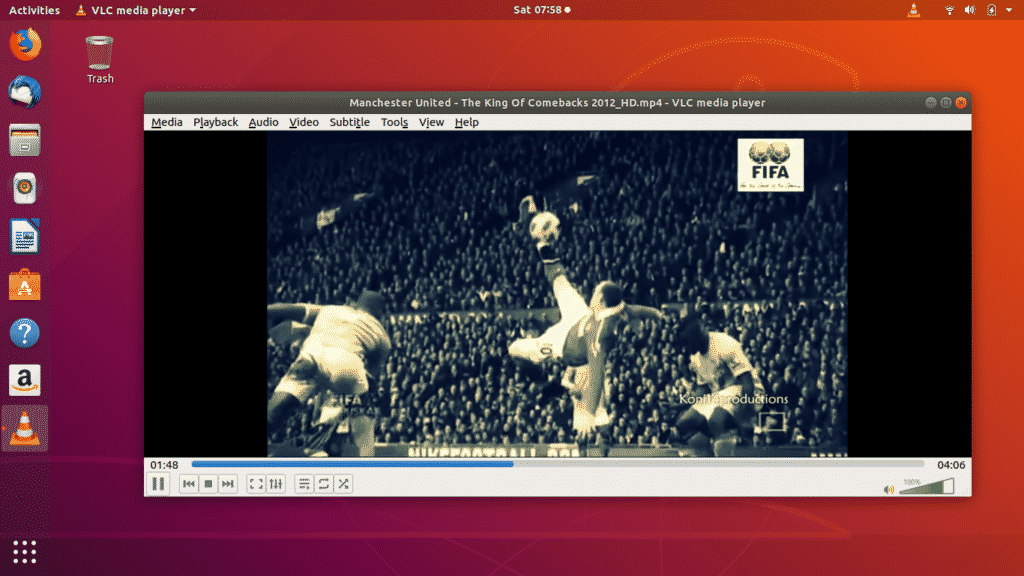
15. Install VLC
VLC is all-rounder media player and most reliable one which can play any traditional or modern media files. It is one of the first things I install whenever I install new OS because I love listening to my favorite music while working.
It supports various media file formats like MP3, AAC, DV Audio, MP4, FLV, AVI and many other popular media file formats.
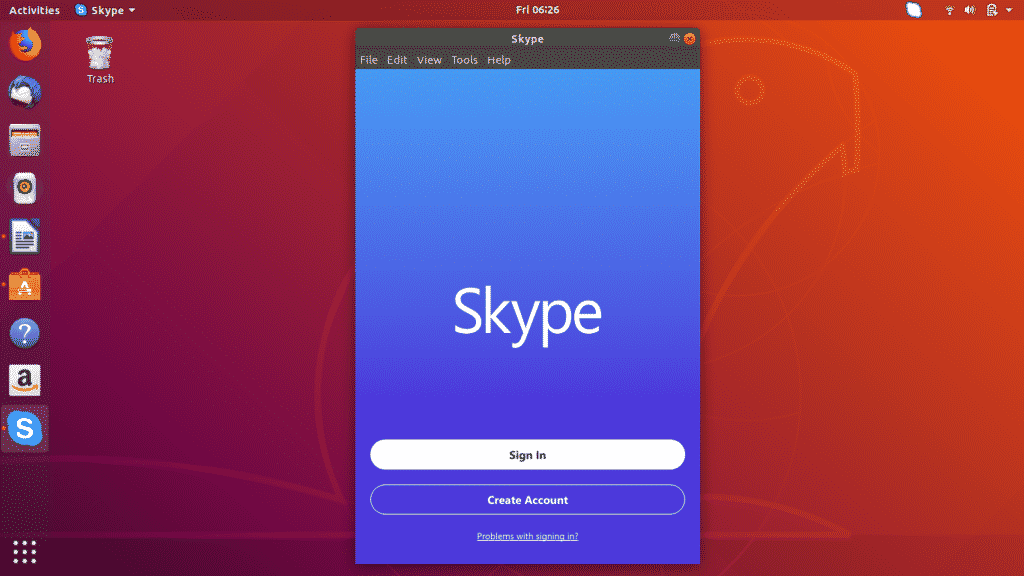
25. Install Skype
Skype is a must have video calling application for those who have to do lot of video conference for the work. Skype is available for Linux and its distributions like Ubuntu as a Snap application. Apart from video and voice calling, desktop screen sharing is another notable feature of Skype.
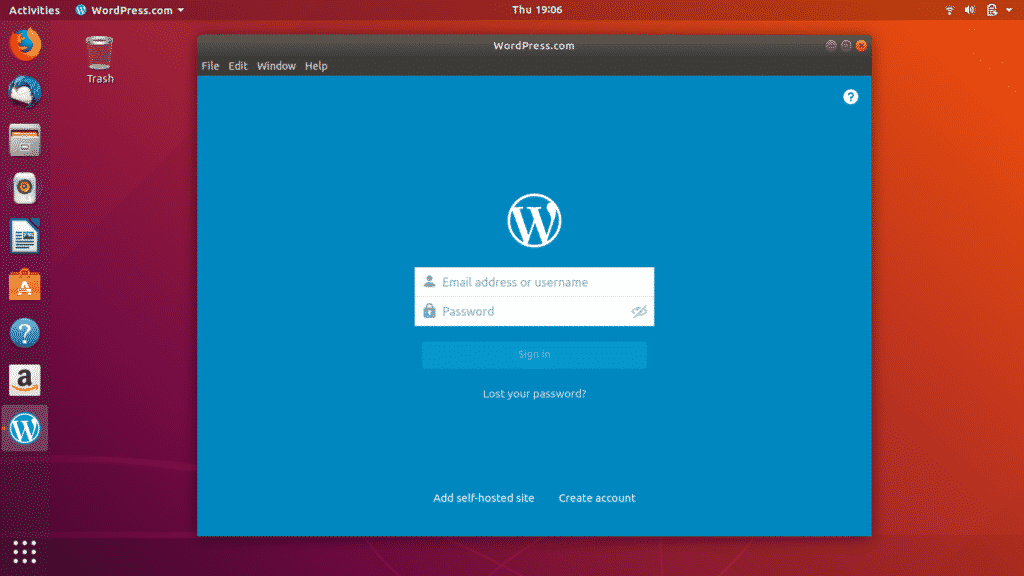
26. Install WordPress Desktop Client
If you have to work around WordPress website or have your own WordPress website then you can manage it directly from WordPress Desktop Client which is available for Ubuntu.
You can directly download and install it directly from Ubuntu Software Center.
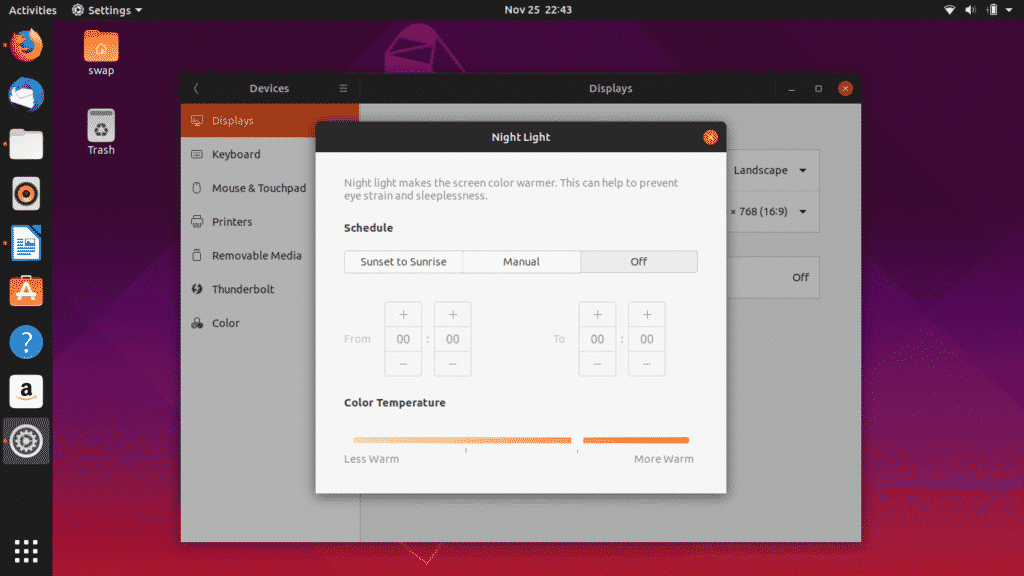
27. Enable Night Mode in Ubuntu
If you have to work till late in the light on computer then Ubuntu has dedicated night light mode to protect your eyes. Standard blue light is harmful for eyes, so go through following steps to set for period of hours or for sunset to sunrise automatically.
Settings -> Devices -> Night Light, then turn the switch On.
28. Set Default Applications
We generally have number of software for same purpose in our computers like Google Chrome, Mozilla Firefox for web browsing, multimedia apps for playing songs and videos, etc. Ubuntu lets you set default application for web, mail, calendar, music, video, etc.
Settings -> Details -> Default Applications; here you can set your preferred application as default for various categories.
29. Install Timeshift
Having system backup and restore points is necessary as it can save one from losing important data if any glitch happens in the system. Timeshift is one the tools available for Ubuntu that you can use to backup your system.
Install the Timeshift by running following commands in Terminal one-by-one.
$ sudo apt-get update
$ sudo apt-get install timeshift
30. Play with Different Desktop Environment
GNOME is the default desktop environment in Ubuntu and it is not only limited to that. You can always try different desktop environment on Ubuntu such as MATE, KDE, Cinnamon and many others.
To try MATE, run following command in Terminal.
To try Cinnamon, run following command in Terminal.
To try KDE, run following command in Terminal.
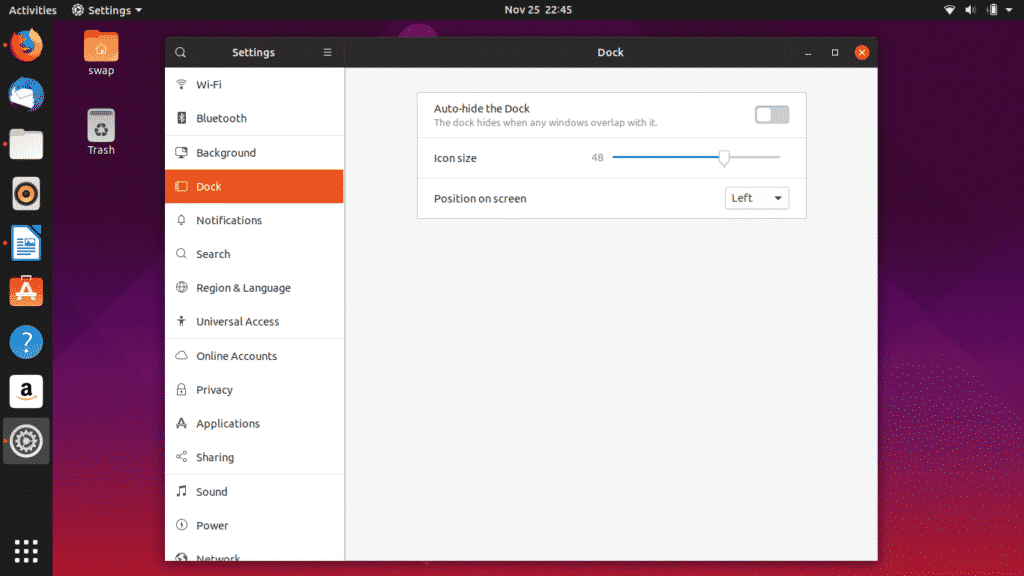
31. Customize The Dock
The Dock present on the left side of Ubuntu desktop which shows pinned applications as well as currently running apps can be configured for icon size, dock position on desktop, etc.
Go to Settings -> Dock to start tweaking.
32. Install GS connect: For Android Phone Users
Many of us use Android phones and GS Connect is an application for Ubuntu which will help you integrate your phone with Ubuntu. You can send SMS from Ubuntu desktop, share and transfer files, sync notifications and do much more with this useful app.
GS Connect is directly available in Ubuntu Software Center for download and install.
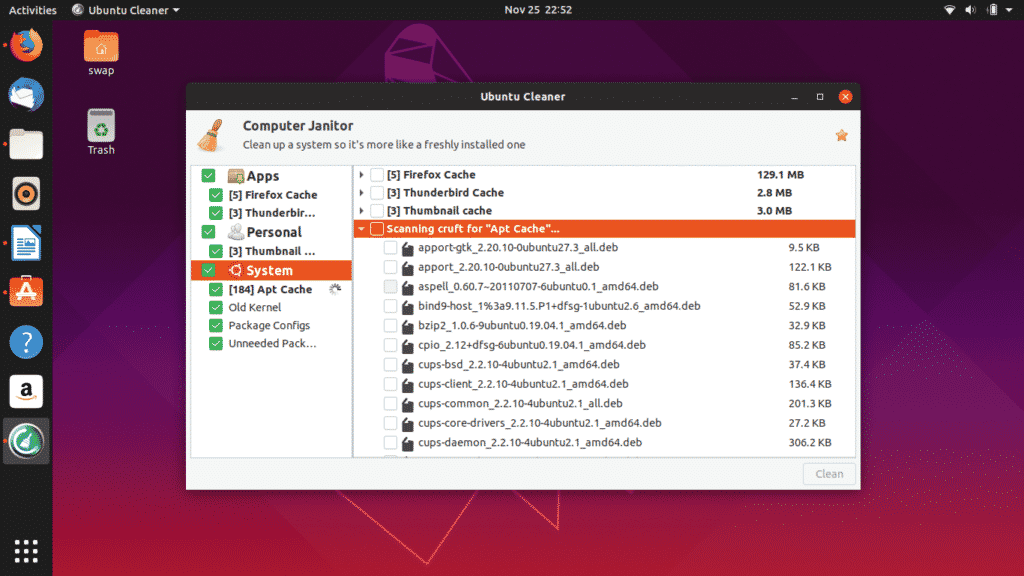
33. Install Ubuntu Cleaner
CCleaner is one of the best and most used applications on Windows to free up some space. Unfortunately, CCleaner is not available for Ubuntu but there is a reliable alternative is available for Ubuntu i.e. Ubuntu Cleaner.
Ubuntu Cleaner is a free and open-source application which helps you free up some space on disk while clearing browser cache.
$ sudo apt-get update
$ sudo apt-get install Ubuntu-cleaner
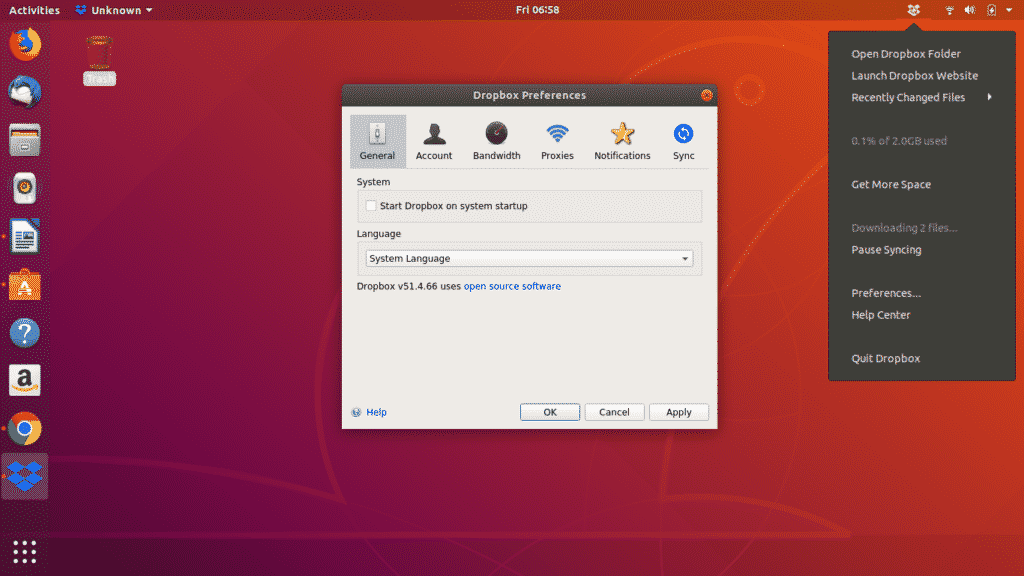
34. Setup Cloud Accounts
Having a Cloud Account is necessary to keep all the personal and important documents on cloud services so that you can access them from anywhere. Google Drive and Dropbox are one of the most used Cloud accounts.
You can setup Google Drive account by simply going to online accounts through settings and signing into Google account.
35. Turn On ‘Minimize on Click’ for the Ubuntu Dock
Ubuntu Dock is present on the left side of the window which we can use to launch and manage various apps. But you can enable a function which will let you launch, restore, switch and minimize it with simple click on app icon.
Run the following command in Terminal and you are good to go.
gsettings set org.gnome.shell.extensions.dash-to-dock click-action ‘minimize’
36. Install Atom Text Editor
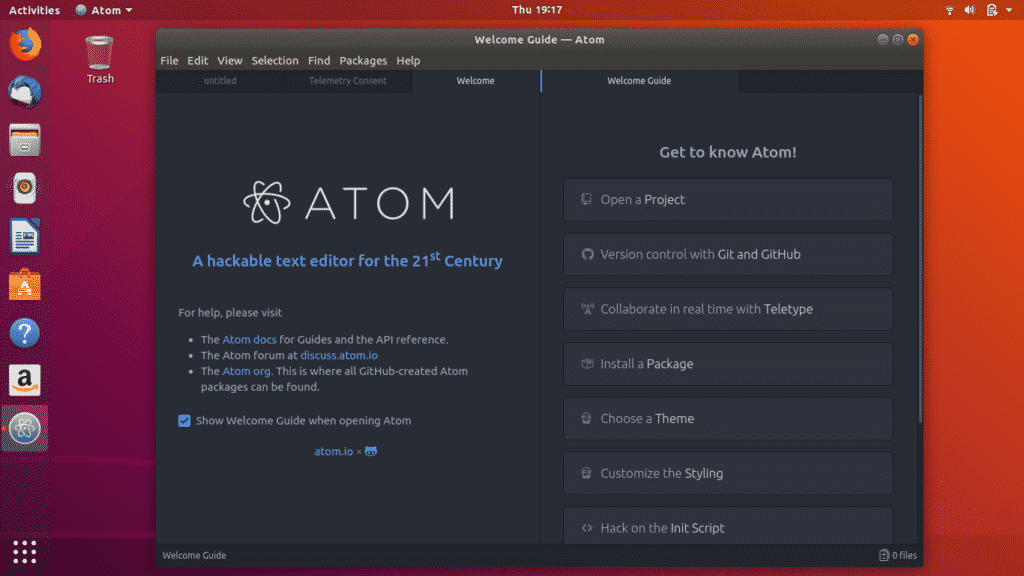
Developed by GitHub, Atom is a free and open-source text editor and one of the best for daily work as well as for coding programs and applications. It supports various programming languages such as C, C++, C#, HTML, JavaScript, PHP and various other popular programming languages among programmers and developers.
37. Install SimpleScreenRecorder
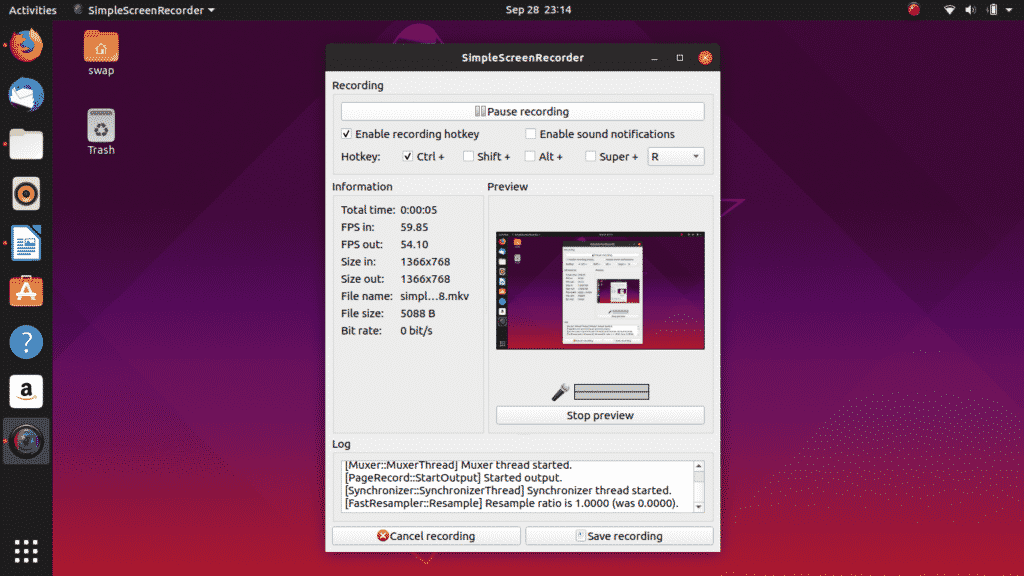
SimpleScreenRecorder is simple yet very powerful desktop screen recorder you will find for Ubuntu. It is lightweight and very easy to use, developed based on QT.
Live preview, recording particular area of the screen, and support for multiple video and audio formats are one of the key features of this screen recorder.
$ sudo apt-get install simplescreenrecorder
38. Install GIMP
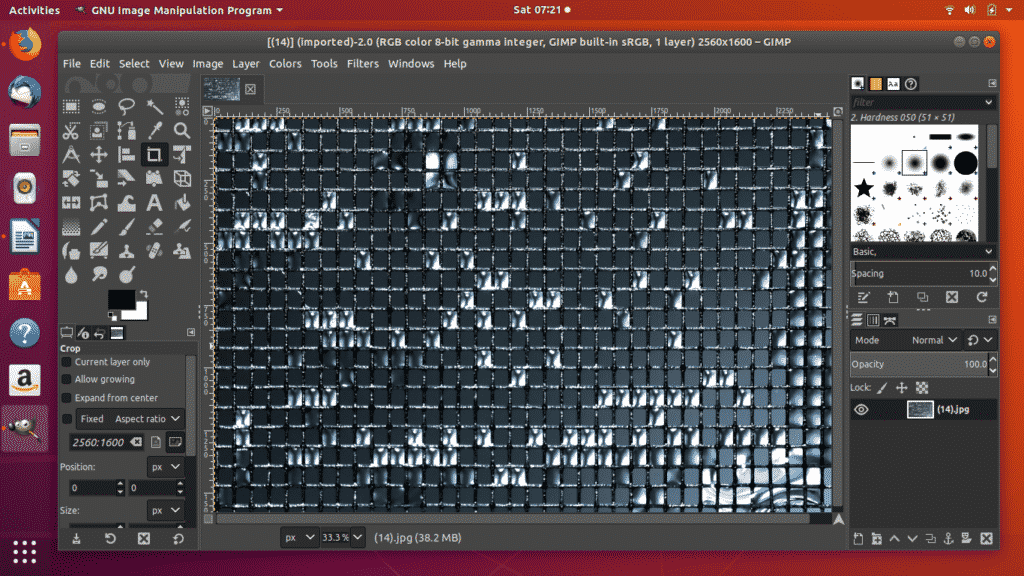
GIMP (GNU Image Manipulation Software) is free and open-source image editing tool for Linux and its distributions. GIMP is a great and reliable alternative to Adobe Photoshop which you have to purchase.
$ sudo apt-get update
$ sudo apt-get install gimp
39. Install Cool Retro Term
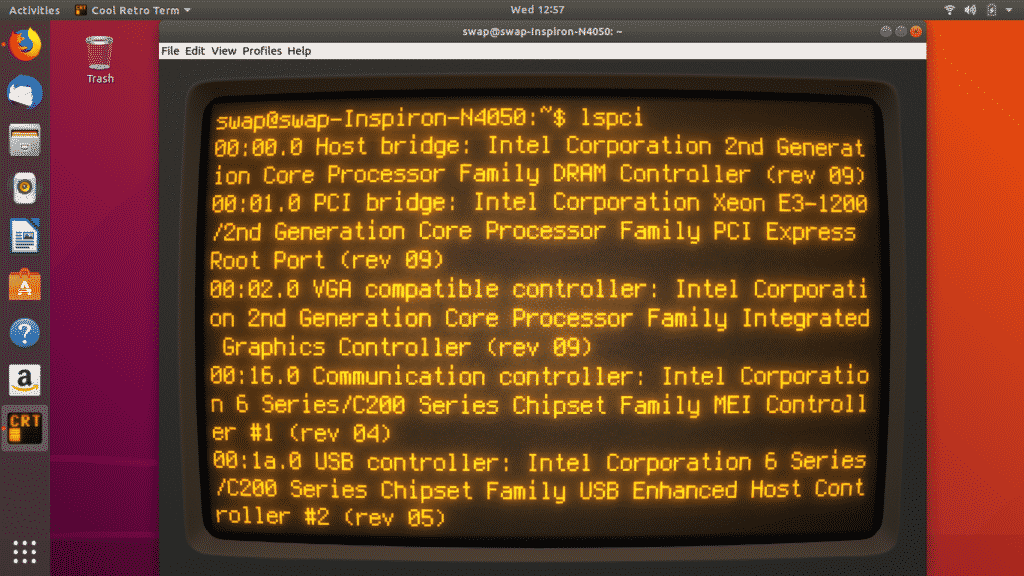
If you want to get feel of old CRT monitors on your desktop then there is great alternative to traditional Terminal on Ubuntu i.e. Cool Retro Term. This will remind you of old days of command line work and you will feel nostalgic.
$ sudo apt-get update
$ sudo apt-get install cool-retro-term
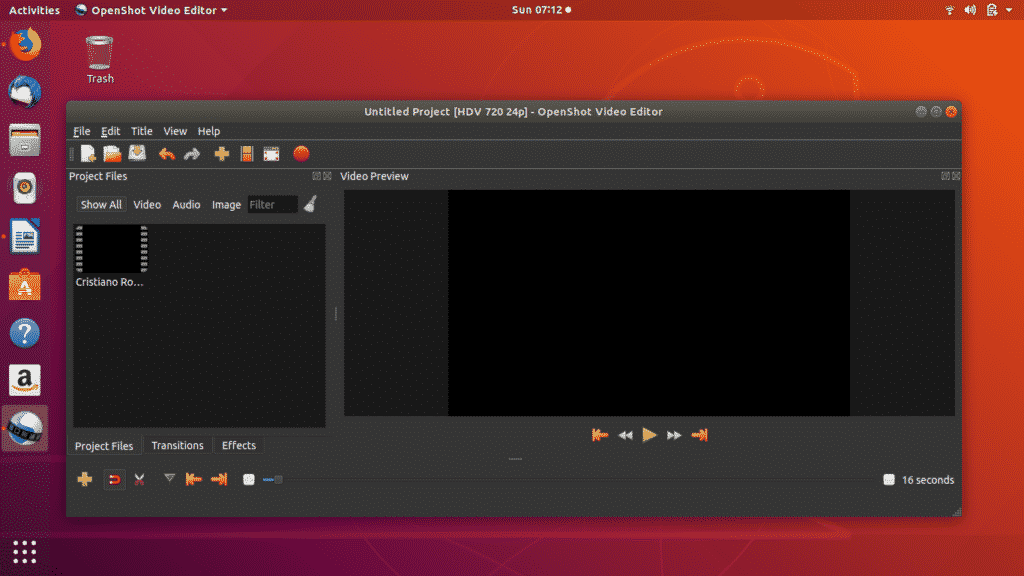
40. Install OpenShot
OpenShot is great free and open-source video editing tool for Linux and its distributions. It comes with great features that every video editor or creator craves for.
$ sudo apt-get update
$ sudo apt-get install openshot-qt
So these are the 40 things you should do after installing fresh copy of Ubuntu on your system. If you have any queries about Linux and Ubuntu then feel free to ask us at @LinuxHint and @SwapTirthakar.
