Prerequisites:
You must have OwnCloud server installed or have access to an OwnCloud account in order to be able to access it from Linux.
I have an OwnCloud server running on a virtual machine on my computer. Here are the details of the OwnCloud account that I will be using in this article for all the demonstration.
OwnCloud Account Username = shovon
OwnCloud Account Password = <very secret password> 😛
Make sure to replace this information with your own from now on.
Installing OwnCloud Client on Ubuntu/Debian/Linux Mint:
OwnCloud is open source. So, the OwnCloud client software is available in the official package repository of Ubuntu, Debian and Linux Mint. So, you can install OwnCloud client on Ubuntu/Debian/Linux Mint very easily.
First, update the APT package repository cache with the following command:
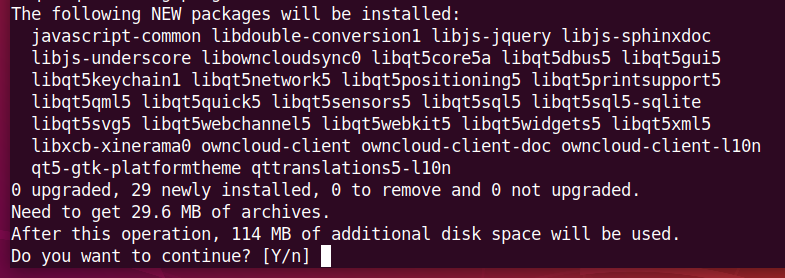
Now, install OwnCloud client with the following command:
To confirm the installation, press Y and then press <Enter>.
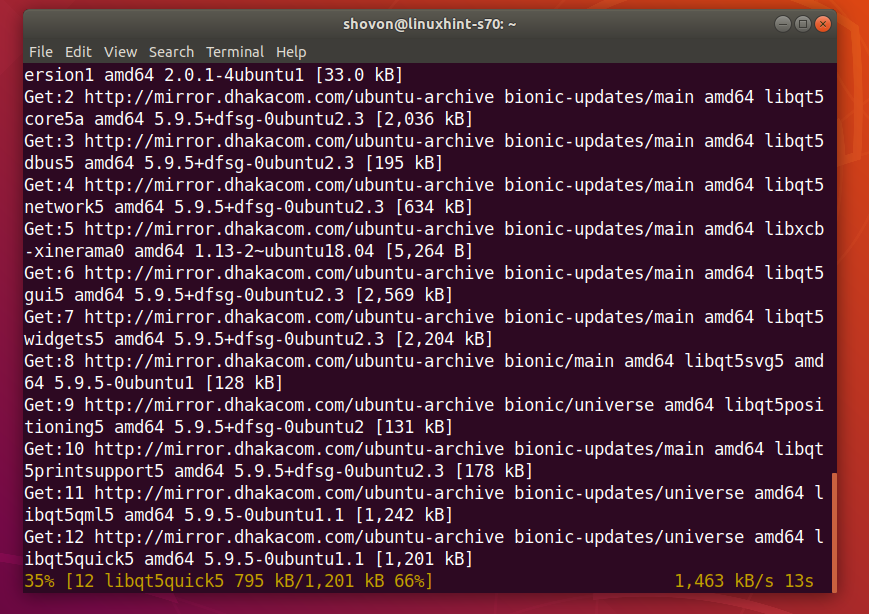
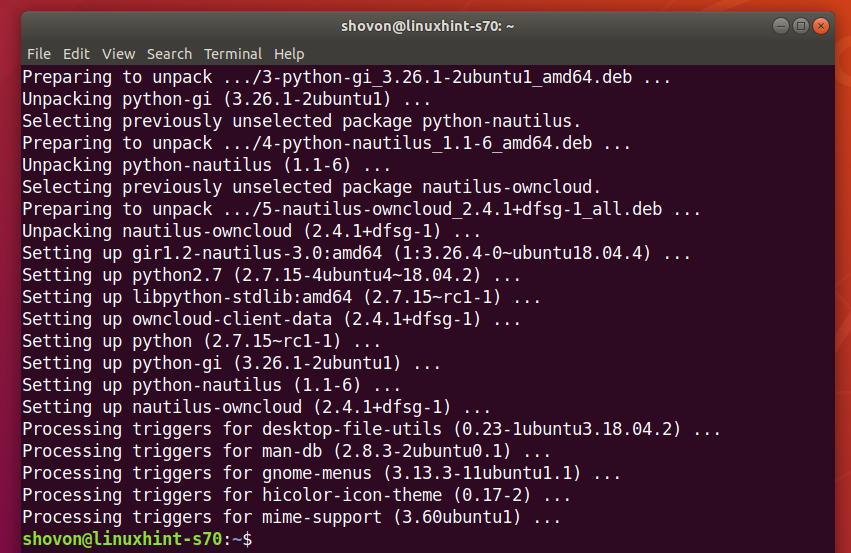
The APT package manager should download and install the required packages. It may take a while to complete.
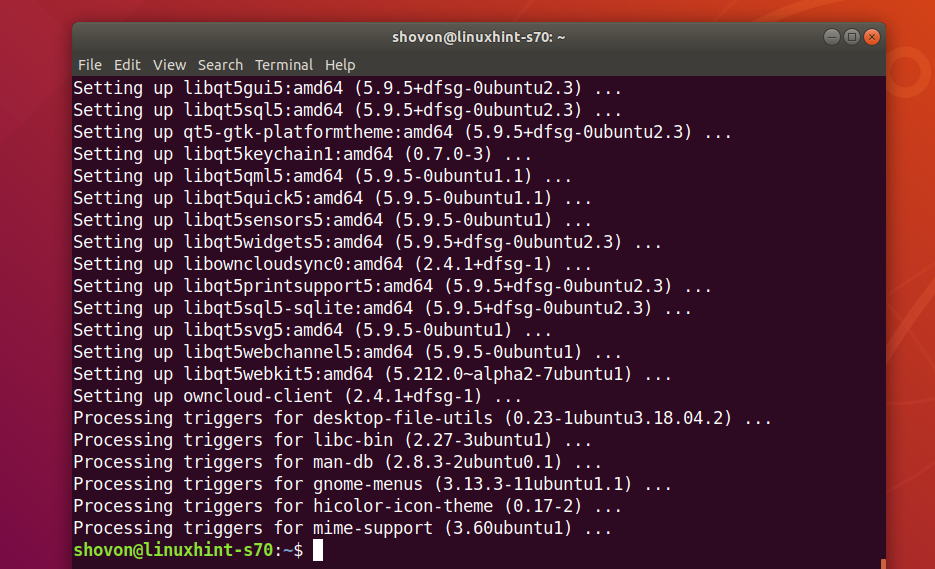
OwnCloud client should be installed.
Connecting to your OwnCloud Account:
Once OwnCloud client is installed, you can find the OwnCloud client in the Application Menu of your Linux distribution. Click on the OwnCloud icon to start OwnCloud GUI client.
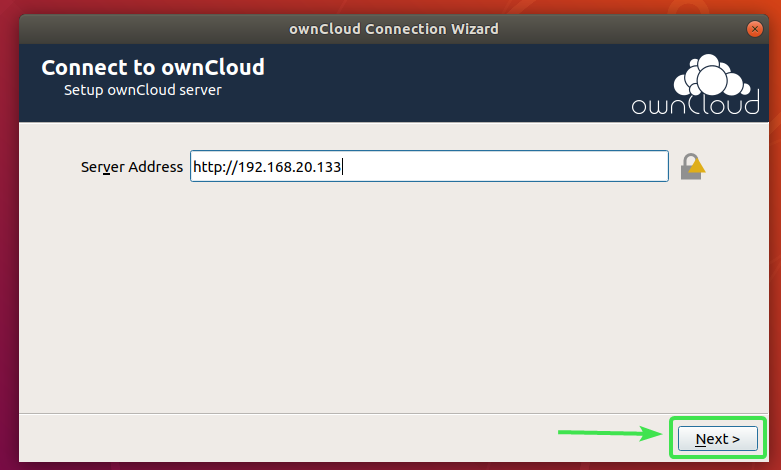
Now, type in your OwnCloud server address and click on Next.
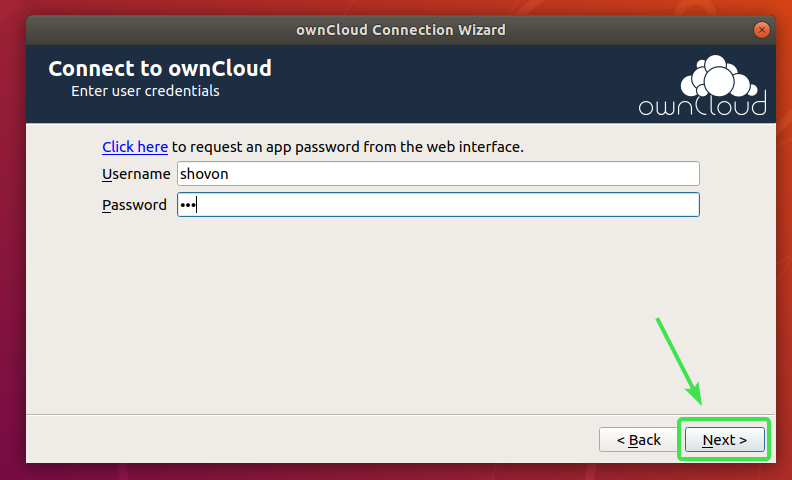
Now, type in your OwnCloud username and password and click on Next.
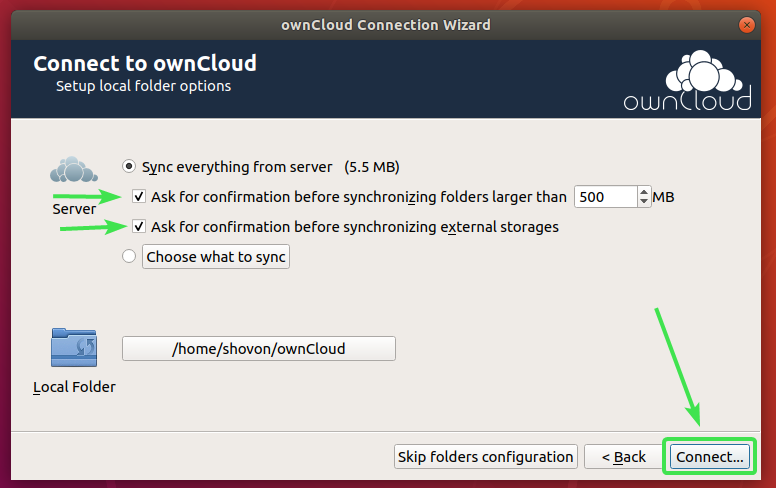
Here, you can select sync everything from server to sync everything with your computer. If your OwnCloud account has a lot of files, then this will consume a lot of local disk space.
If you select this option, then you can check Ask for confirmation before synchronizing folders larger than checkbox and set a size in MB (megabytes). This will ask you for confirmation before syncing if any folder is larger than your specified size (in MB).
You may also check Ask for confirmation before synchronizing external storages checkbox if you want to be prompted before any external storages are synced with your OwnCloud account.
If your OwnCloud account has large number of files consuming gigabytes or even terabytes of disk spaces, then you may select Choose what to sync and select the folders that you want to sync with your computer. That will save a lot of network bandwidth as well as local disk spaces.
Once you’re done deciding how you want OwnCloud to sync, click on Connect.
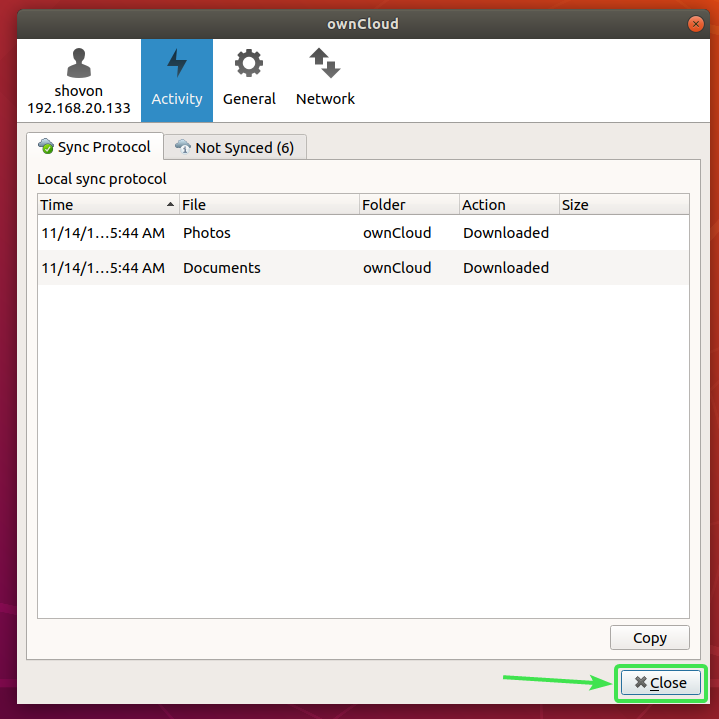
Your OwnCloud account should be connected. Now, click on Close.
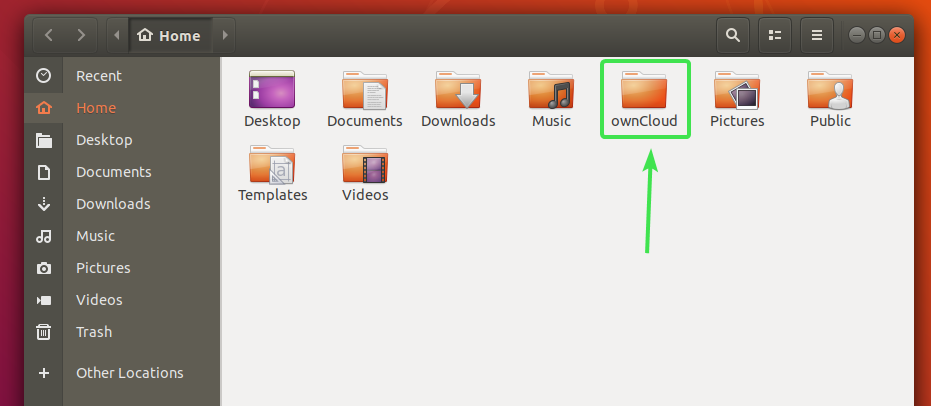
A new directory ~/ownCloud should appear in your HOME directory.
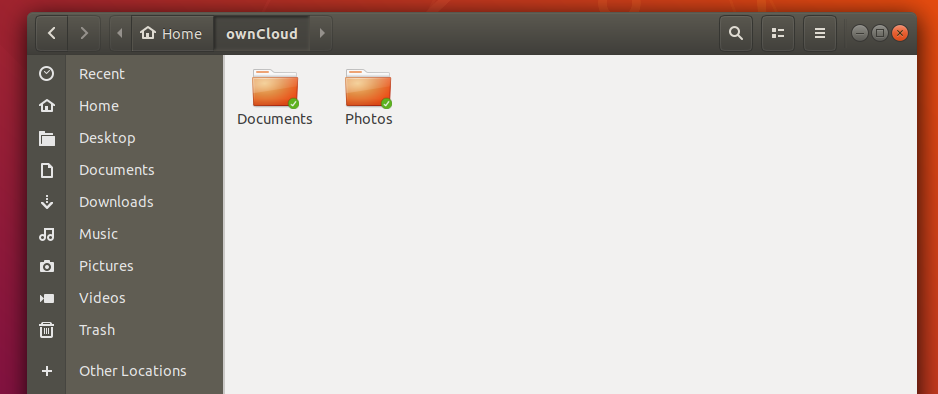
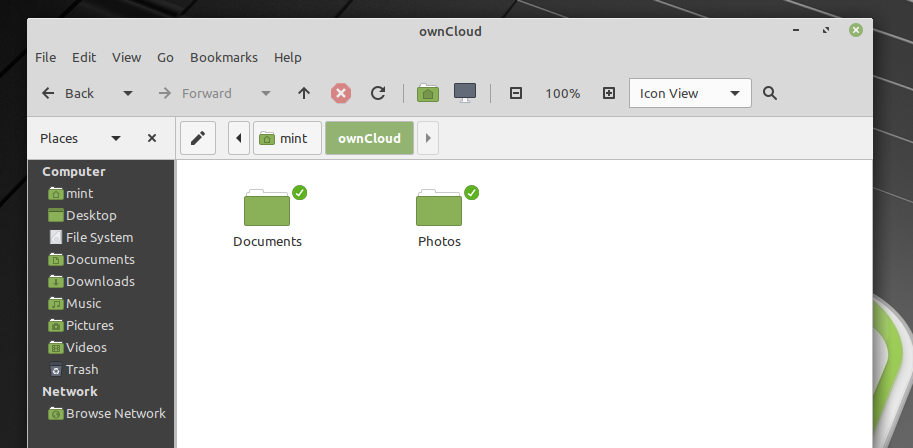
All your OwnCloud files should be in that newly created directory ~/ownCloud as you can see in the screenshot below.
Nautilus OwnCloud Integration:
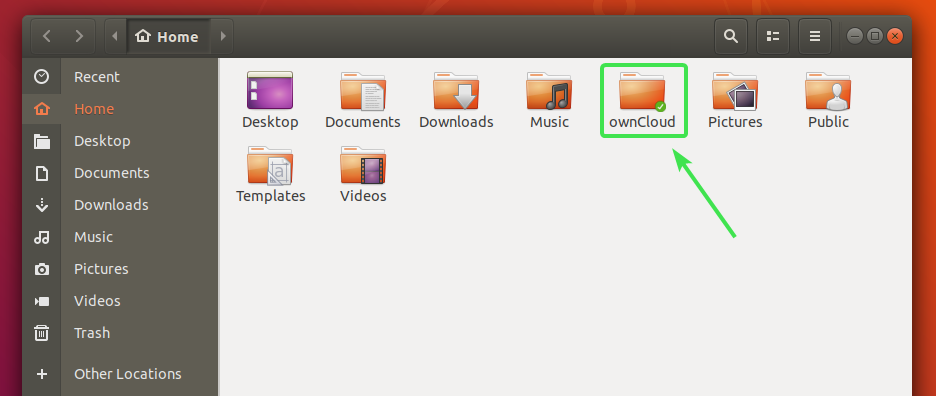
The default file manager on GNOME 3 desktop environment Nautilus has great OwnCloud integration. It will display the file sync status on every OwnCloud files and directories. So, it’s easy to spot sync problems if you have one.
To enable Nautilus integration, all you have to do is to install nautilus-owncloud package with the following command:
To confirm the installation, press Y and then press <Enter>.
nautilus-owncloud should be installed.
Now, open Nautilus file manager and you should see a small status icon on your ownCloud directory as you can see in the screenshot below.
Every OwnCloud files and directories will have a small status icon. It will change if there is any sync error or something else.
Dolphin OwnCloud Integration:
The default file manager of KDE Plasma 5 desktop environment Dolphin also has great OwnCloud integration.
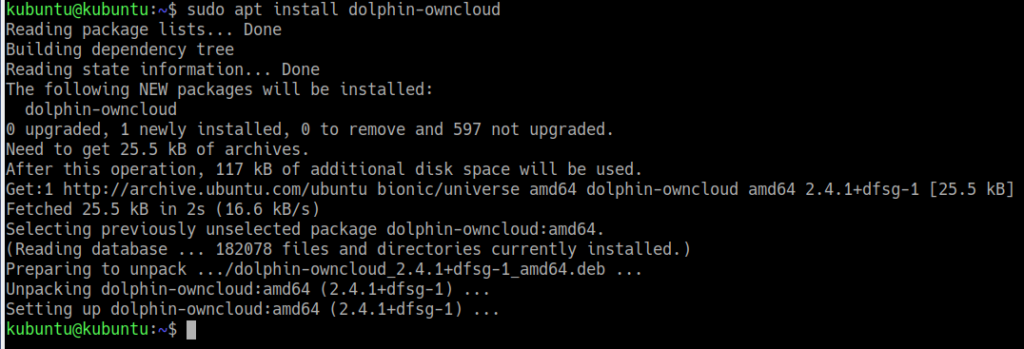
To enable Dolphin integration, all you have to do is to install dolphin-owncloud package with the following command:
dolphin-owncloud should be installed.
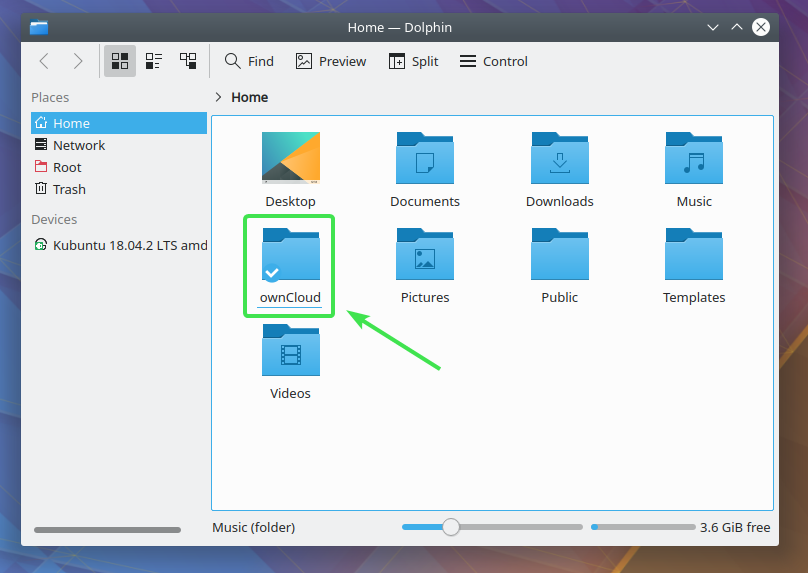
Now, open Dolphin file manager and you should see a small status icon on your ownCloud directory as you can see in the screenshot below.
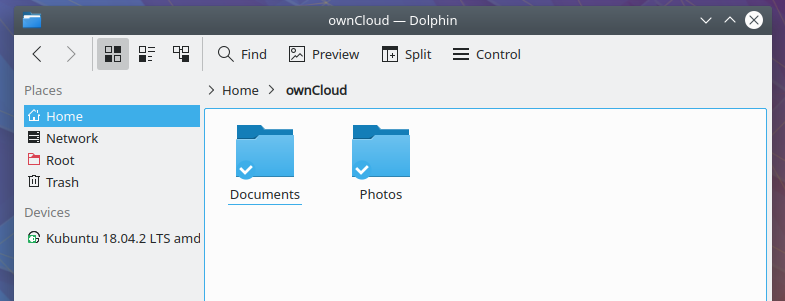
Every OwnCloud files and directories will have a small status icon. It will change depending on the sync status.
Nemo OwnCloud Integration:
The default file manager of Cinnamon desktop environment Nemo also has great OwnCloud integration.
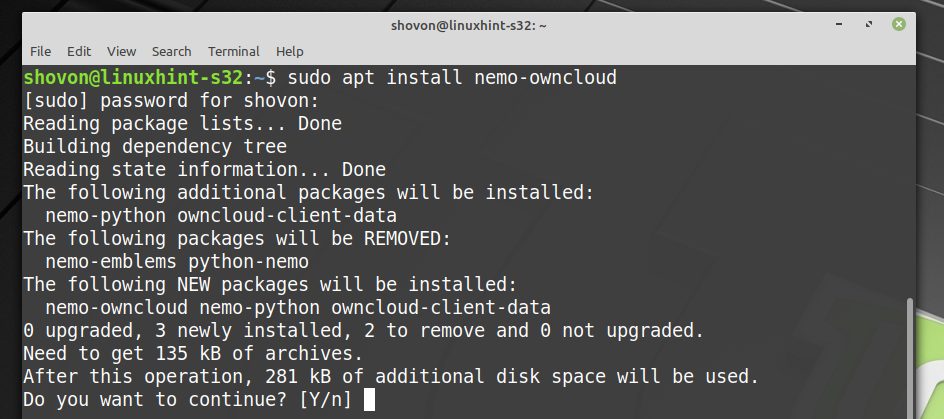
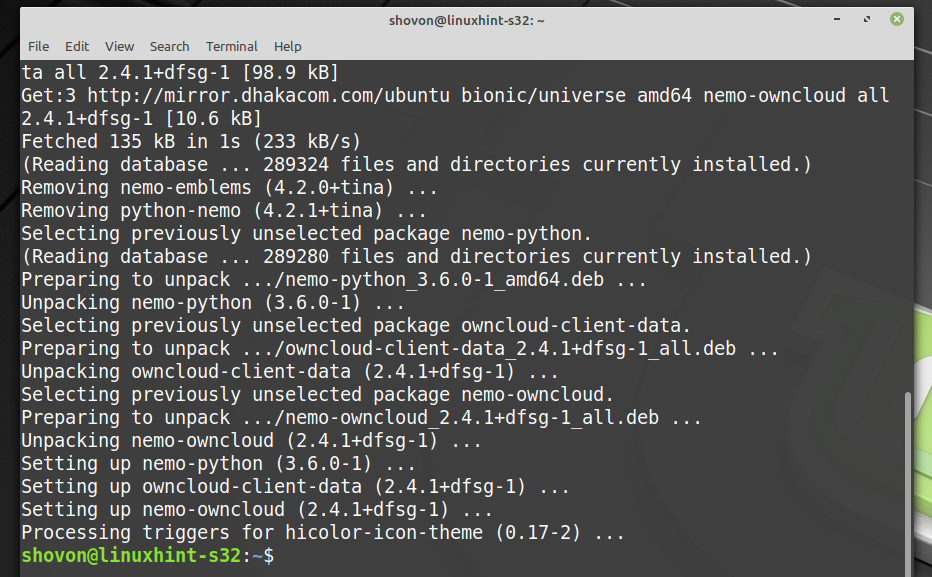
To enable Nemo integration, all you have to do is to install nemo-owncloud package with the following command:
To confirm the installation, press Y and then press <Enter>.
nemo-owncloud should be installed.
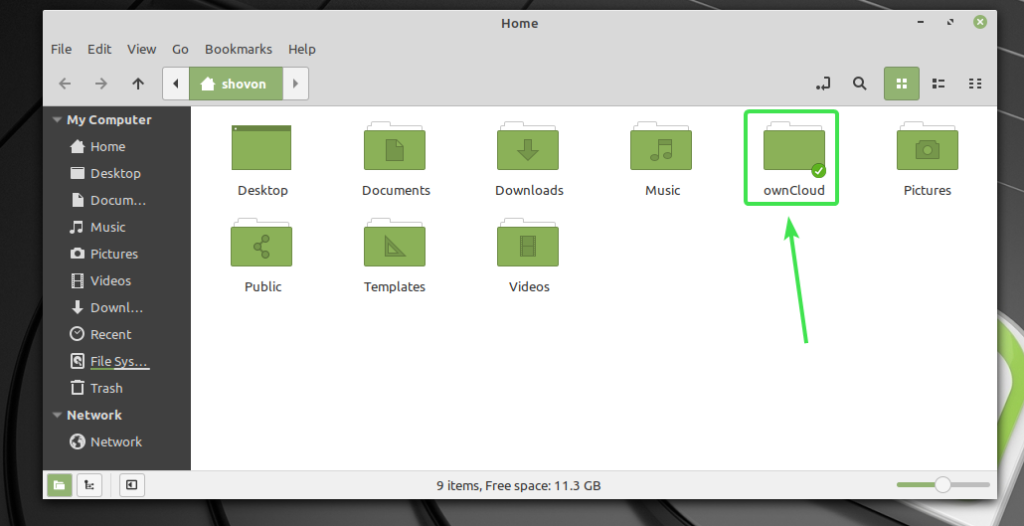
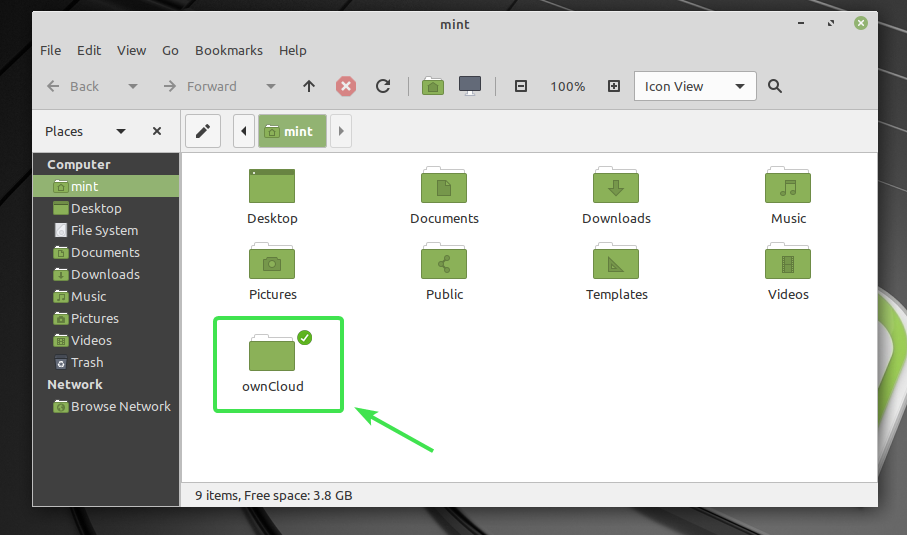
Now, Nemo file manager should show small status icon on your ownCloud directory as you can see in the screenshot below.
Every OwnCloud files and directories will have a small status icon. It will change depending on the sync status.
Caja OwnCloud Integration:
The default file manager of MATE desktop environment Caja also has great OwnCloud integration.
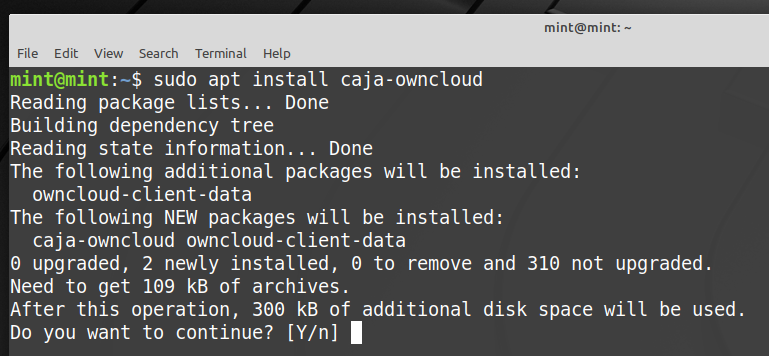
To enable Caja integration, all you have to do is to install caja-owncloud package with the following command:
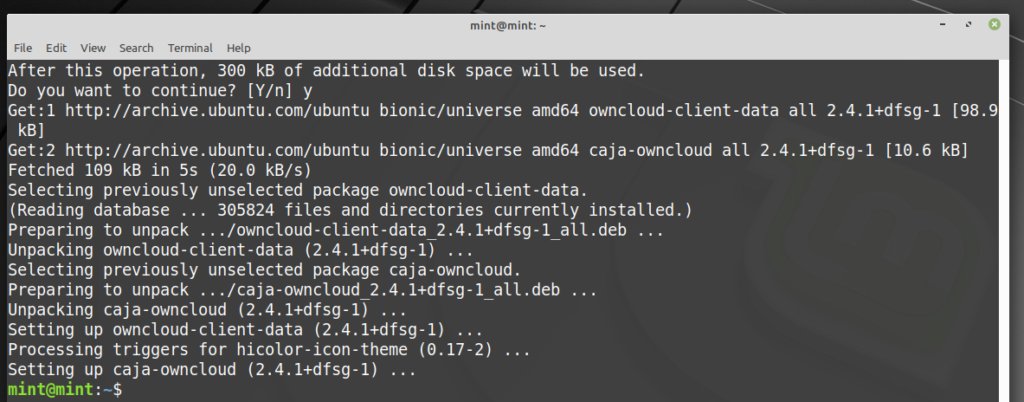
To confirm the installation, press Y and then press <Enter>.
caja-owncloud should be installed.
Now, Caja file manager should show small status icon on your ownCloud directory as you can see in the screenshot below.
Every OwnCloud files and directories will have a small status icon. It will change depending on the sync status.
So, that’s how OwnCloud integration on Linux works. Thanks for reading this article.
