Installing VLC Media Player:
VLC Media Player is available in the official package repository of most of the popular Linux distributions.
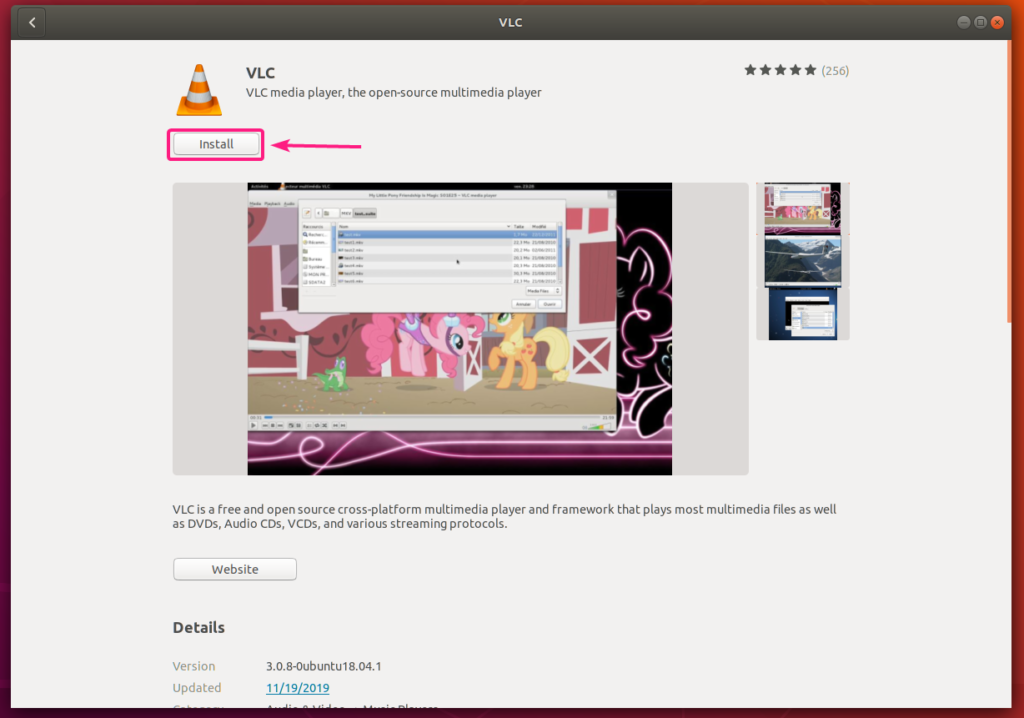
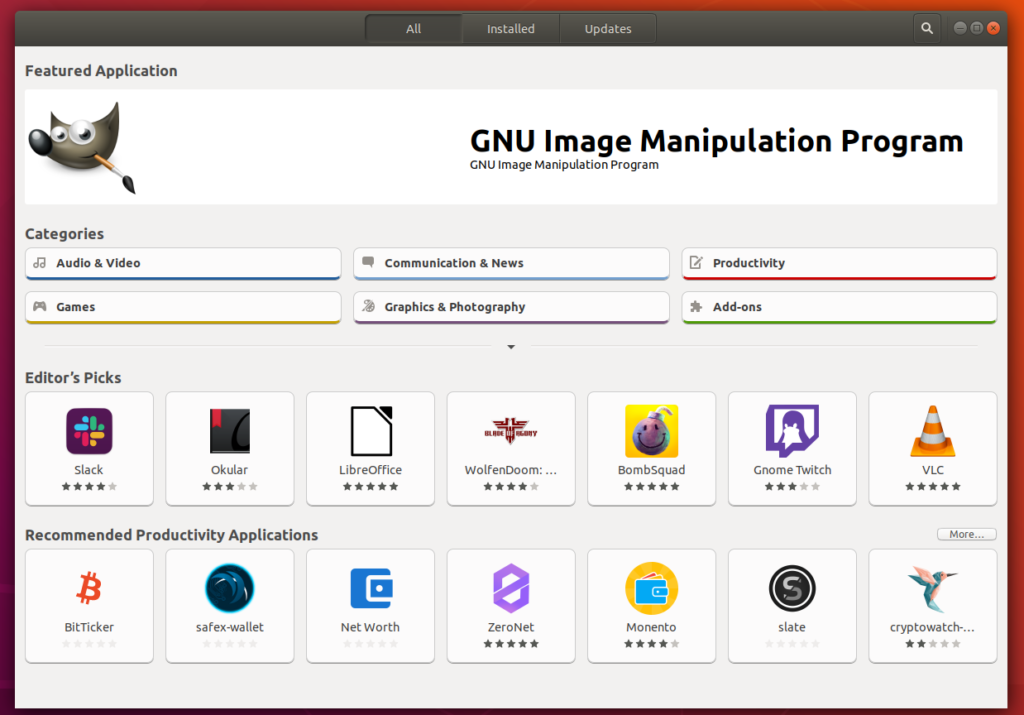
To install VLC media player, open your distribution provided Software Center application.
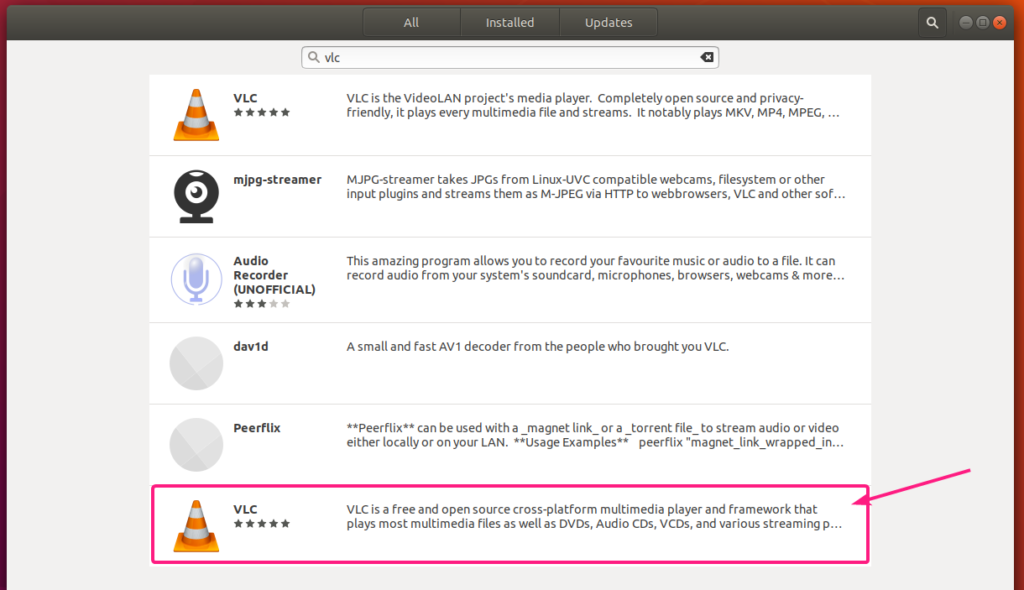
Then, click on the search icon and type in vlc.
Click on the VLC icon from the search result.
Now, click on Install.
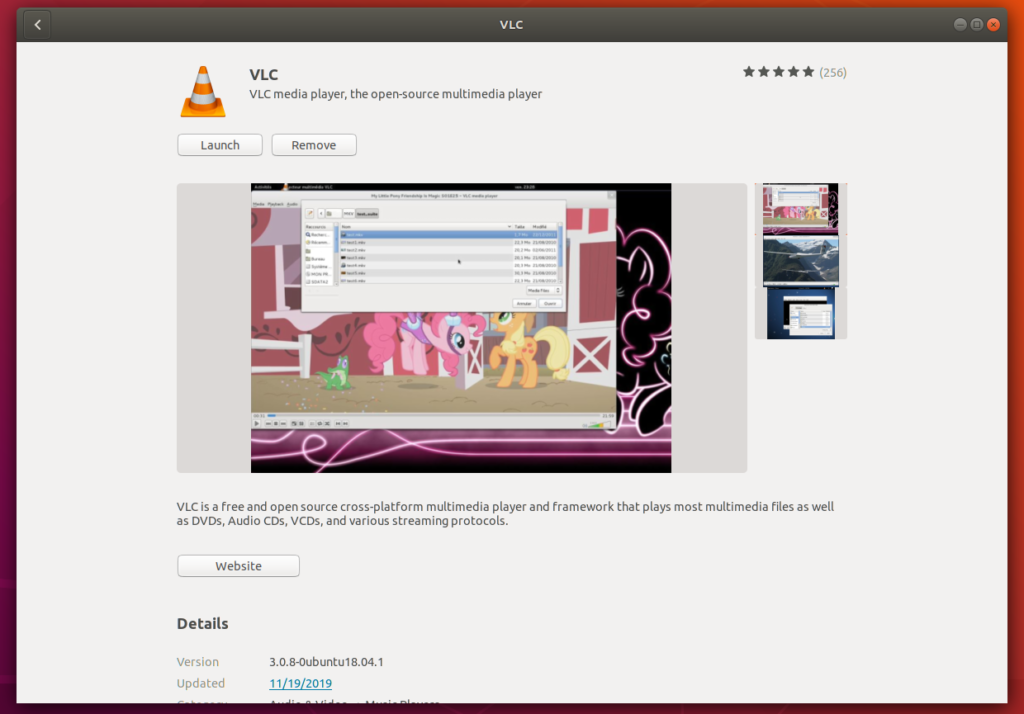
VLC media player should be installed. Now, close the Software Center application.
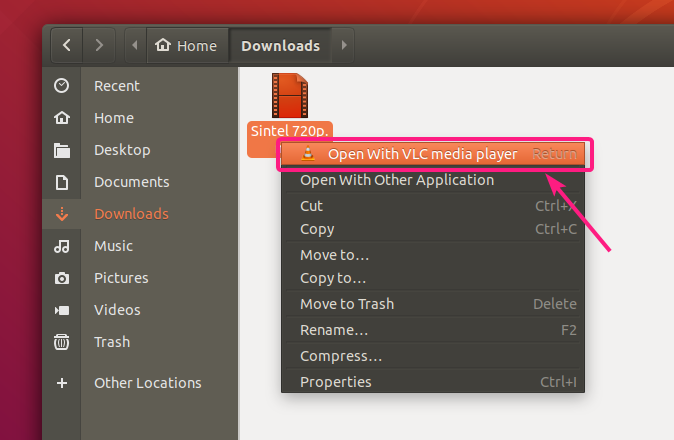
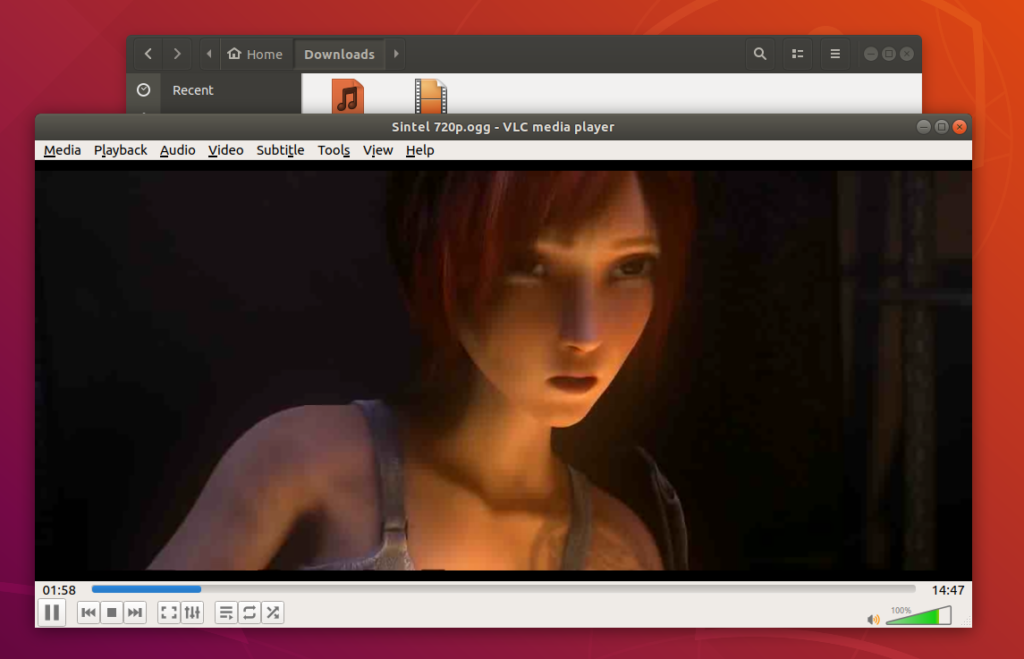
Now, you can right click on any media file and select Open With VLC media player to open the video with VLC.
The media file should be playing with VLC media player. So, VLC player is working.
Converting Videos with VLC Media Player:
You can convert a video from one format to another very easily with VLC media player.
First, open VLC media player from the Application Menu.
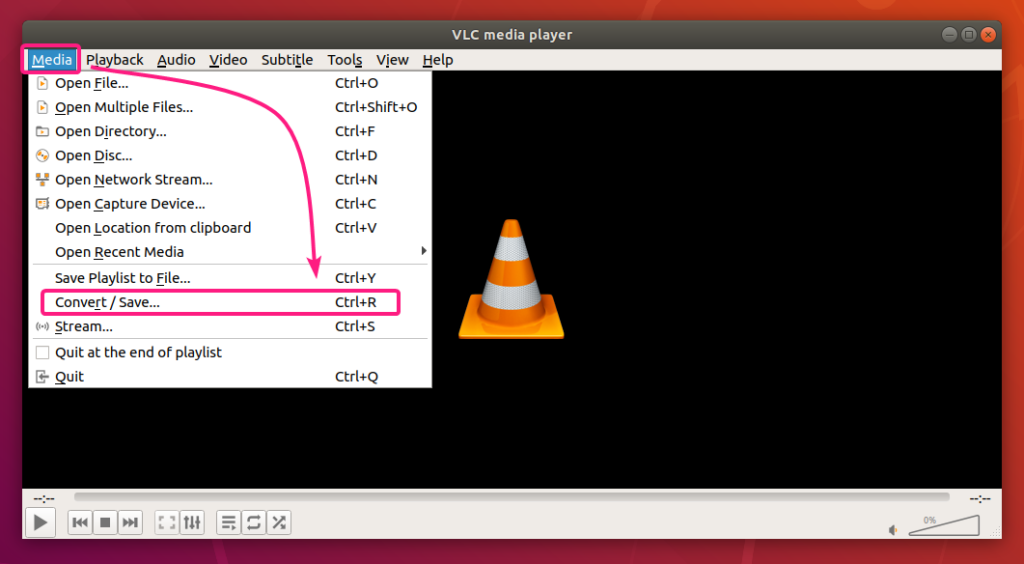
Now, go to Media > Convert/Save or press <Ctrl> + R.
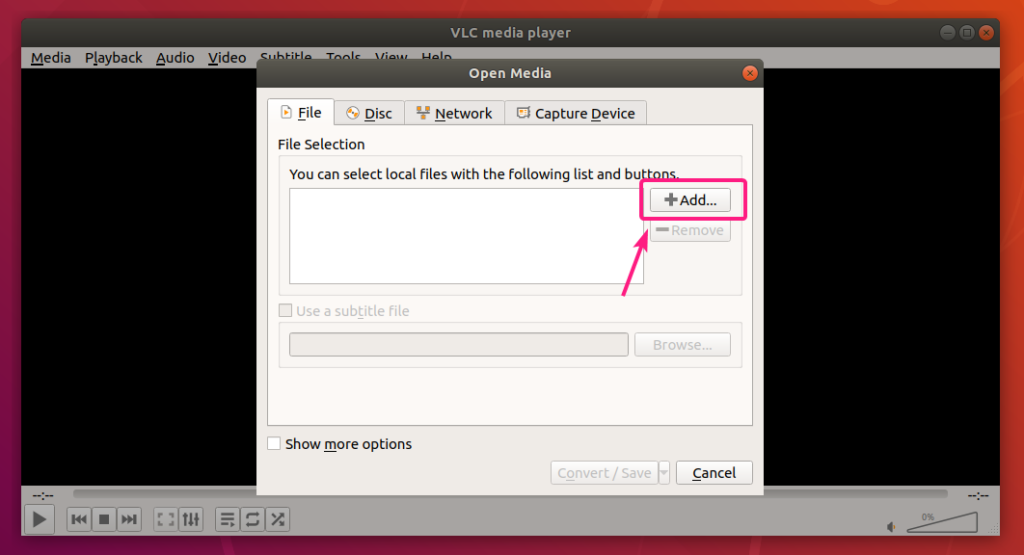
Now, click on Add.
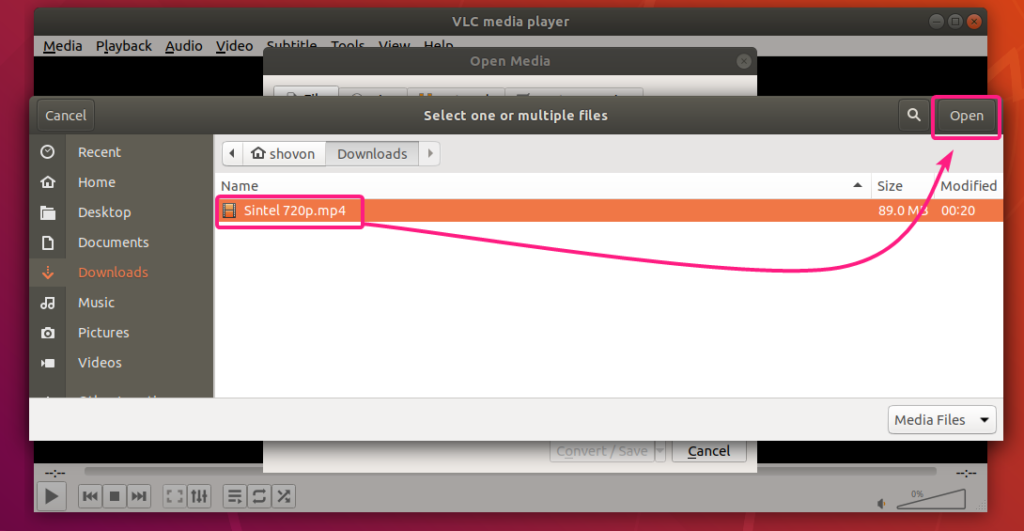
Now, select your video file and click on Open.
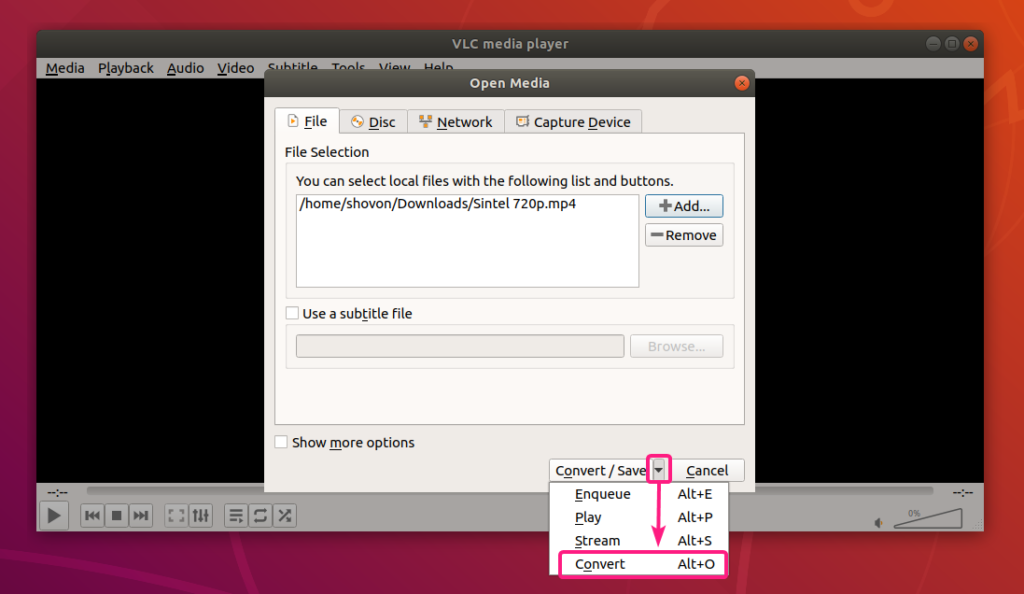
Now, click on the dropdown icon as marked in the screenshot below and click on Convert.
You can also press <Alt> + O to do the same thing.
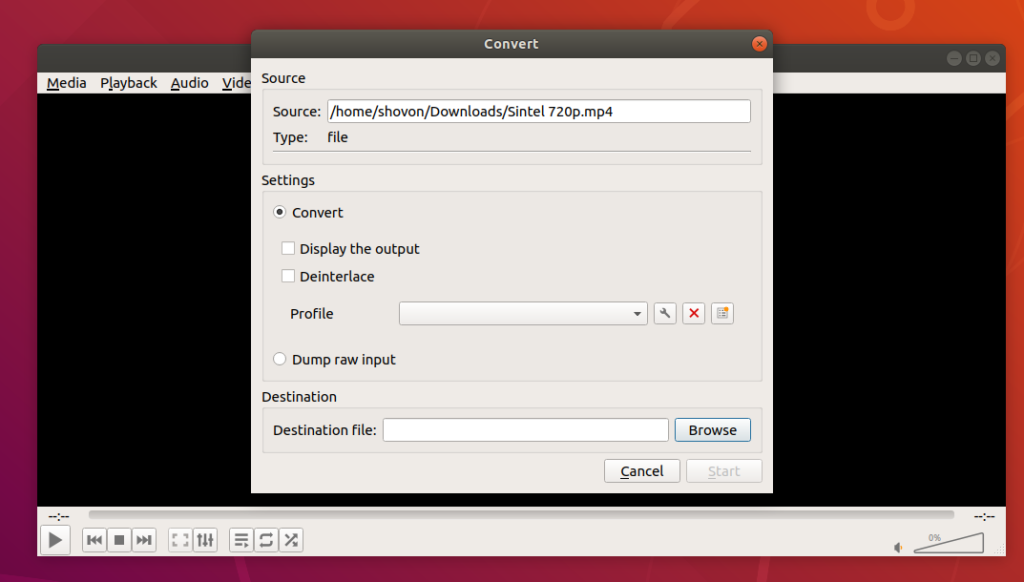
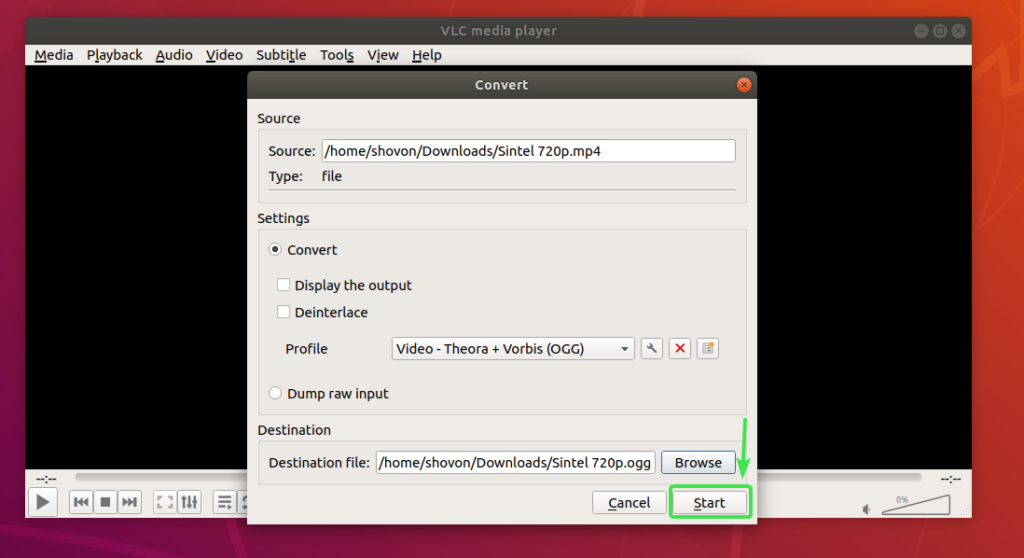
The Convert window should show up.
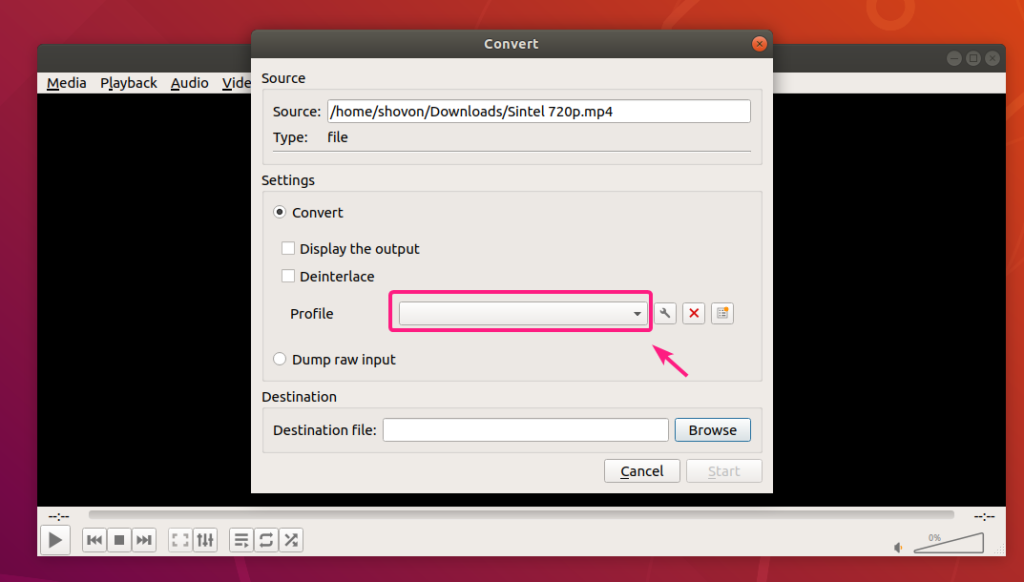
Now, click on the Profile dropdown menu.
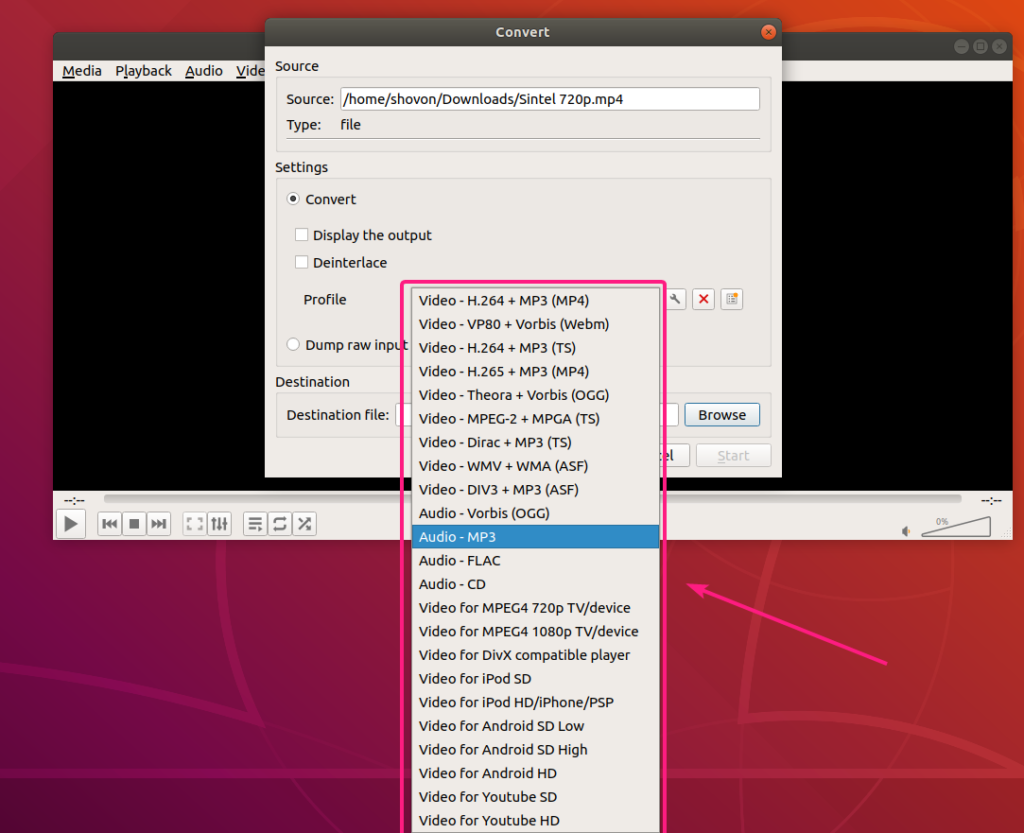
You should see a lot of predefined profiles which you can use to convert your video. You can select a profile from the list and convert your video accordingly.
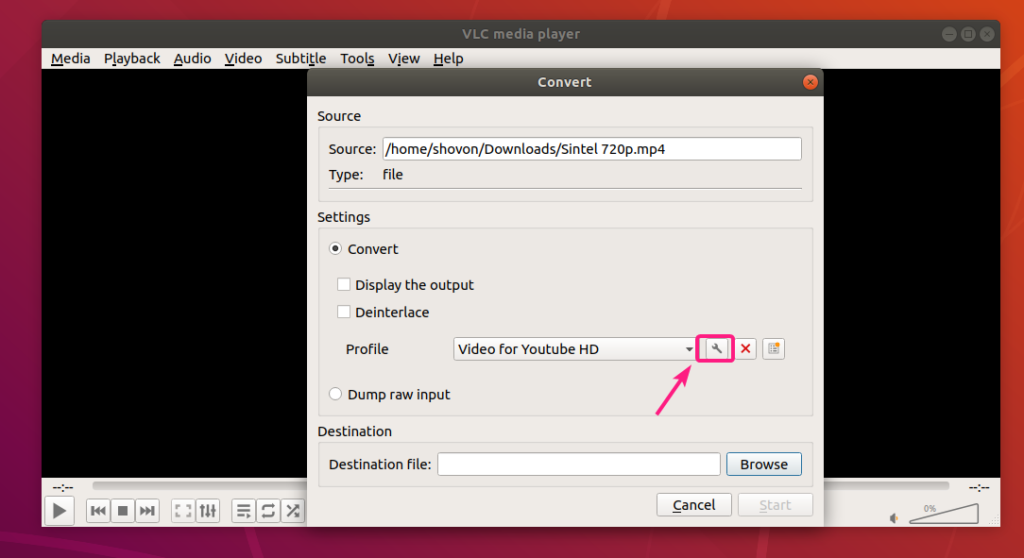
If you need to change or tweak any specific profile, select the profile and click on the settings icon as marked in the screenshot below.
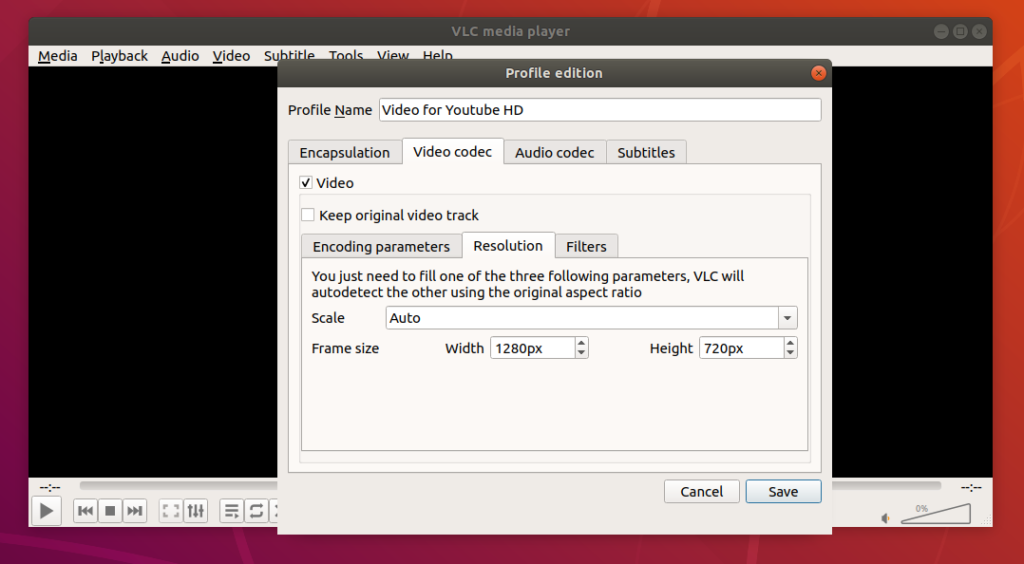
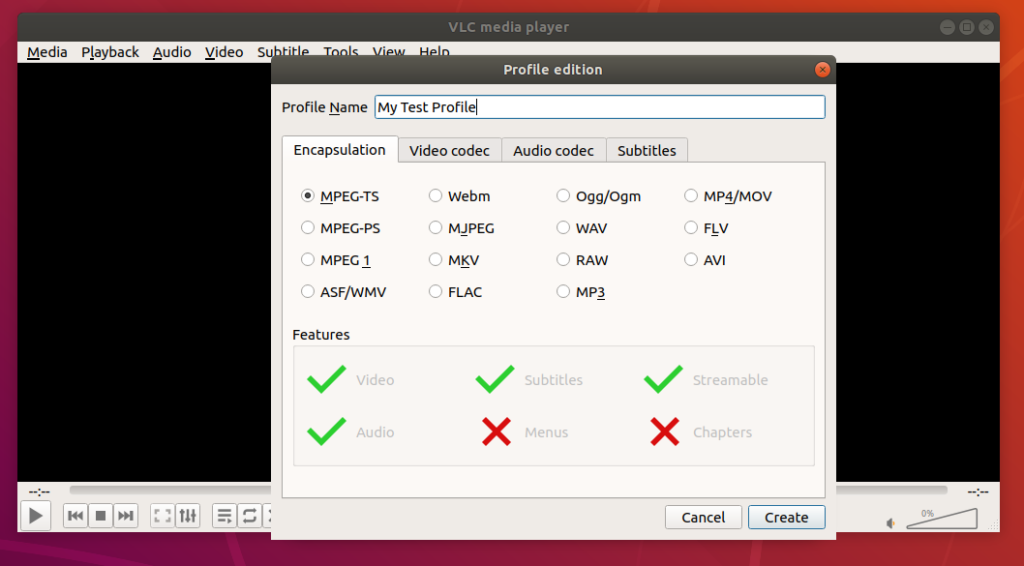
The profile editor window should show up.
From the Encapsulation tab, you can set what container you want to use.
From the Video codec tab, you can set different Encoding parameters such as destination video Codec, Bitrate, video Quality, Frame Rate etc.
You can also set video frame Width and Height from Frame size section.
If you don’t want to set custom Width and Height, rather keep the aspect ratio and scale the video frames, then change Auto to your desired scaling value from the Scale section.
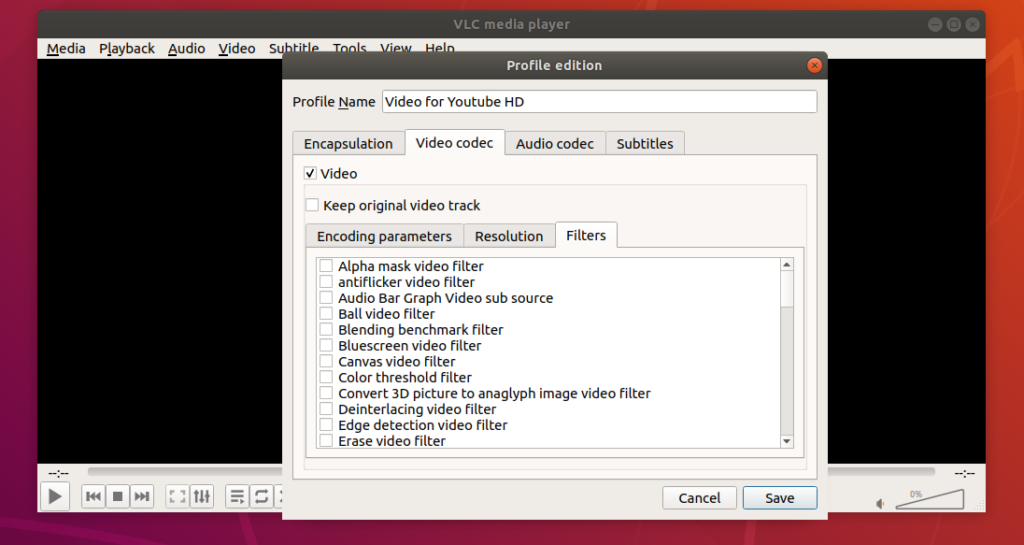
You can also use a lot of video filters from the Filters tab as you can see in the screenshot below.
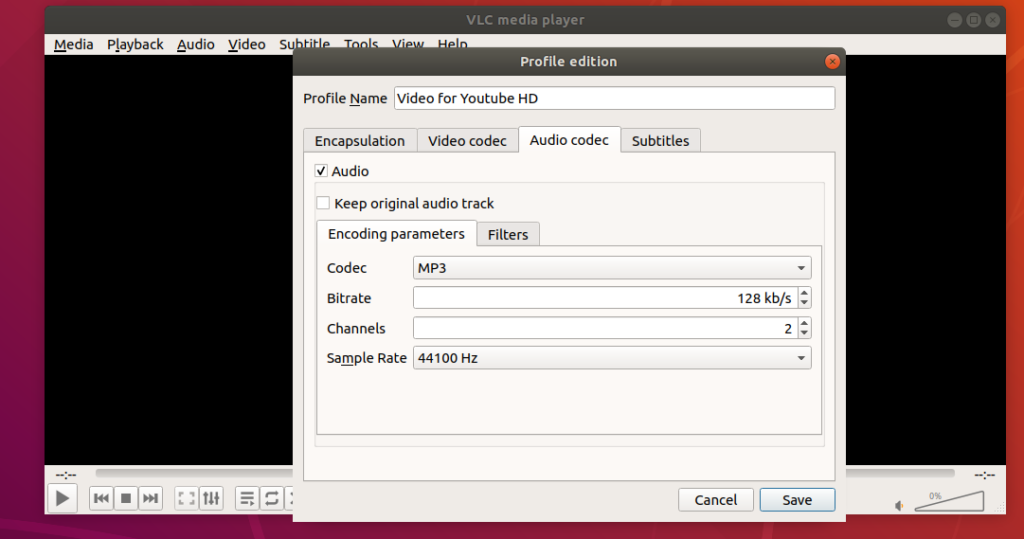
From the Audio Codec tab, you can set audio Encoding parameters such as desired audio Codec, Bitrate, number of audio Channels, audio Sample Rate.
You can also use many audio filters from the Filters tab.
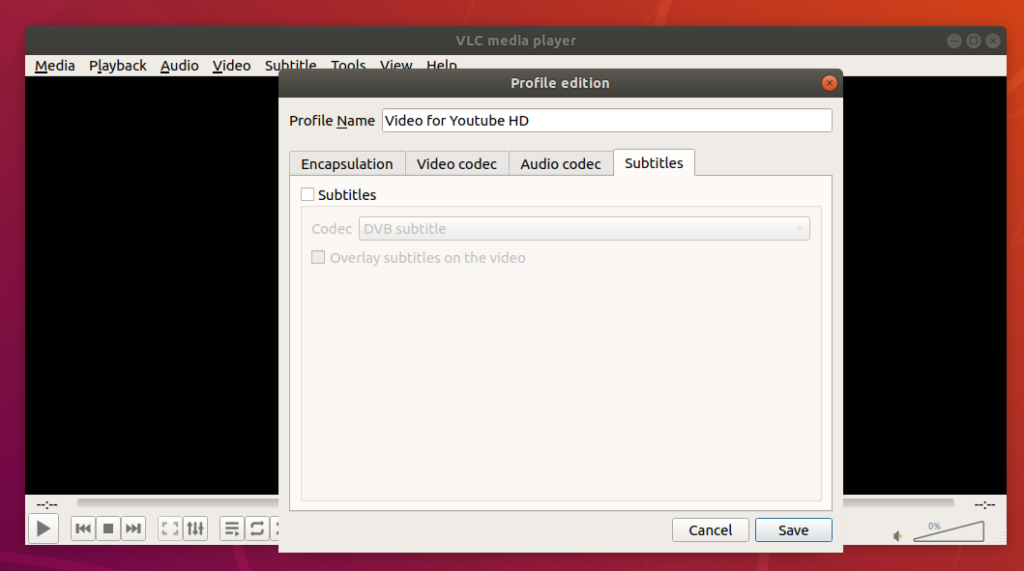
From the Subtitles tab, you can work with subtitles.
Once you’re done setting up a profile, click on Save.
If you want, you can also create a new conversion profile. Just click on as marked in the screenshot below.
Type in a good Profile Name and set your custom profile the way you want. Once you’re done, click on Create.
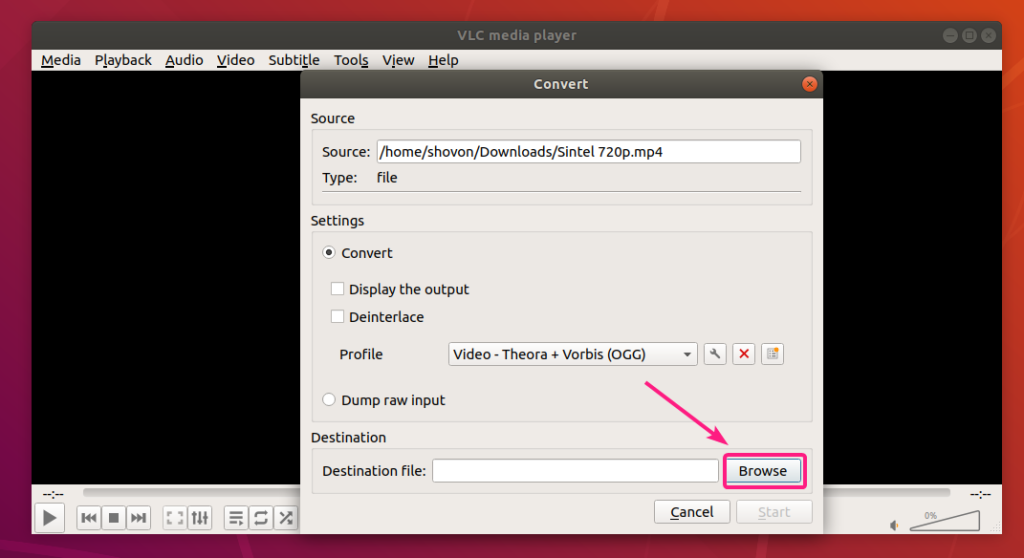
Once you’ve selected your desired profile, click on Browse.
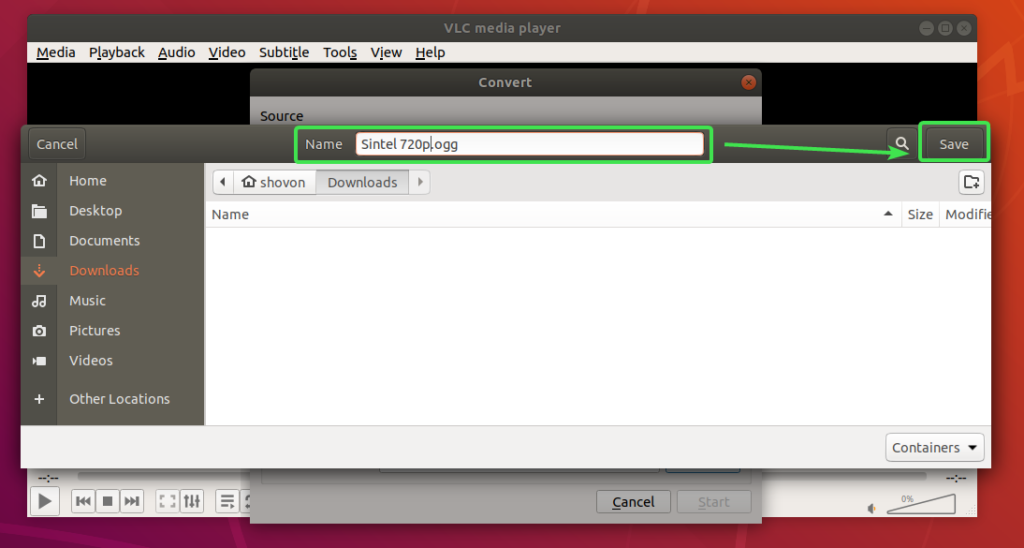
Now, select the location where you want to save the converted file, type in a filename and click on Save.
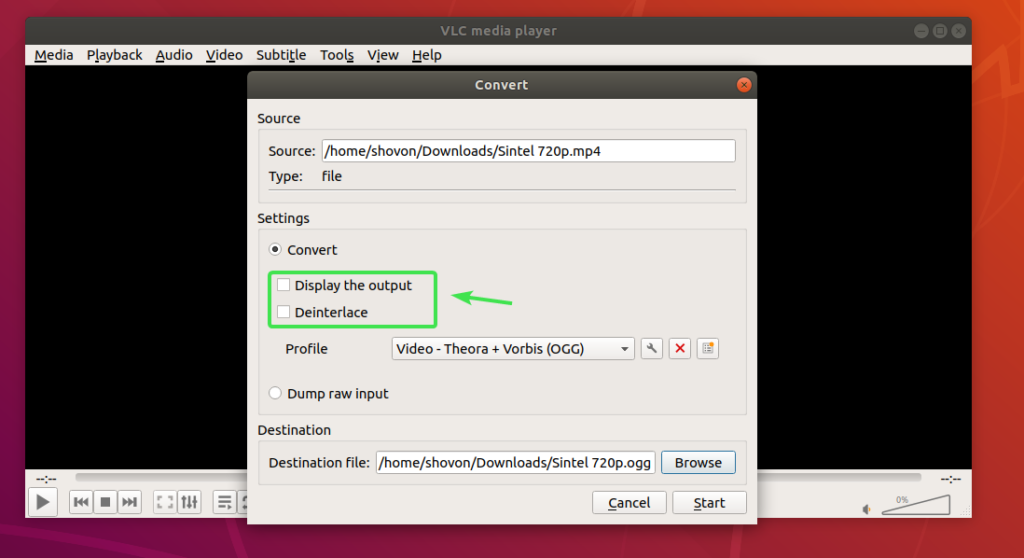
If you want VLC player to play the video while it’s converting the video, check Display the output checkbox.
If your video is very old and has interlacing (lots of lines), you can check Deinterlace checkbox to fix that in the converted video.
Once you’re ready, click on Start.
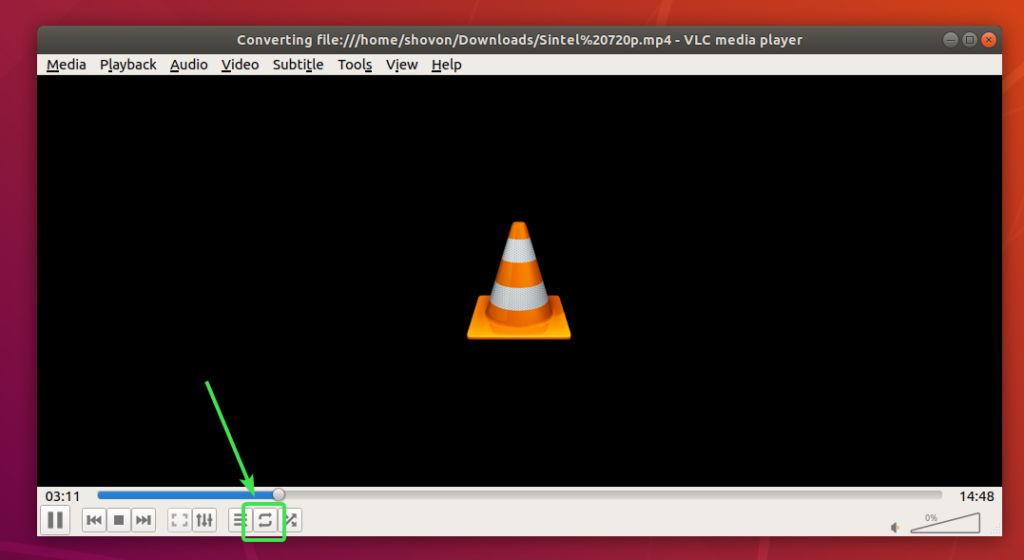
VLC media player should start converting your video. The video timeline slider should act as the progress bar.
Make sure video repeat mode is set to No repeat while you’re converting the video.
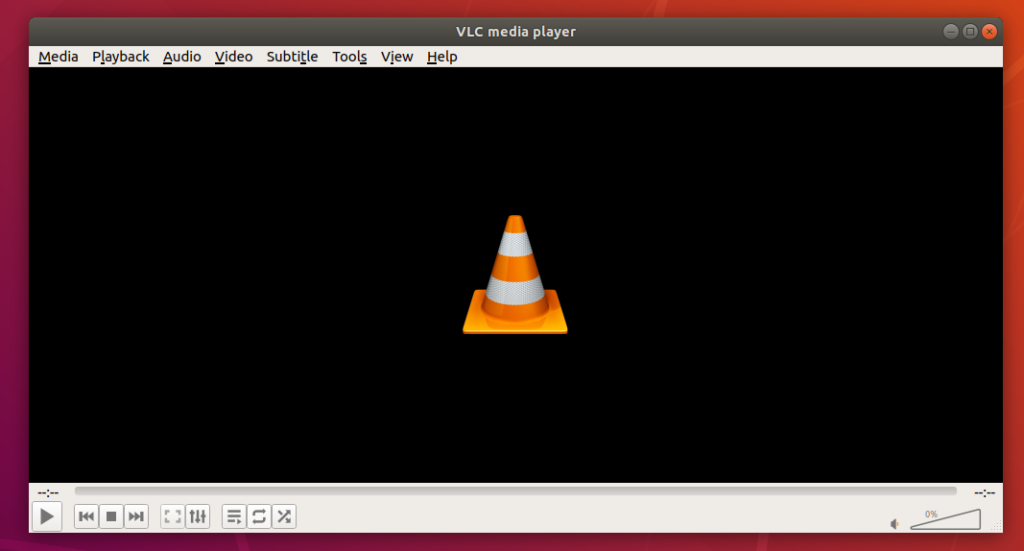
Once the video conversion is complete, the video timeline slider should be blank.
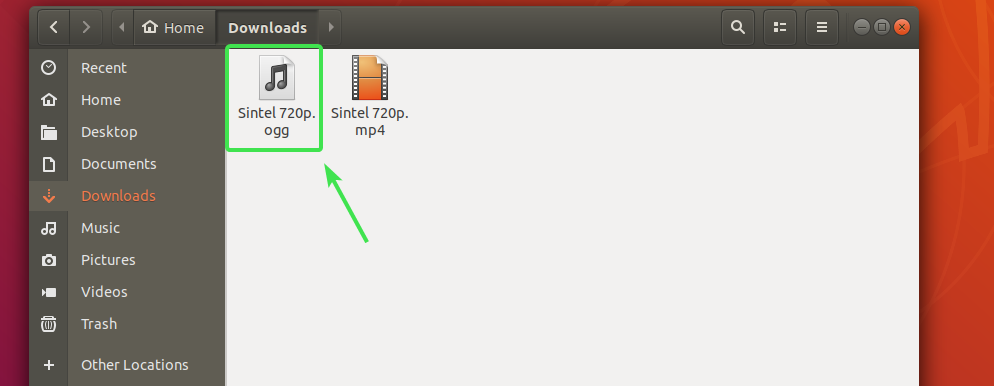
A new video file should be generated in your destination directory.
I played the converted video. It worked nicely.
Trimming Videos with VLC Media Player:
You can also cut a specific portion of your video using VLC media player.
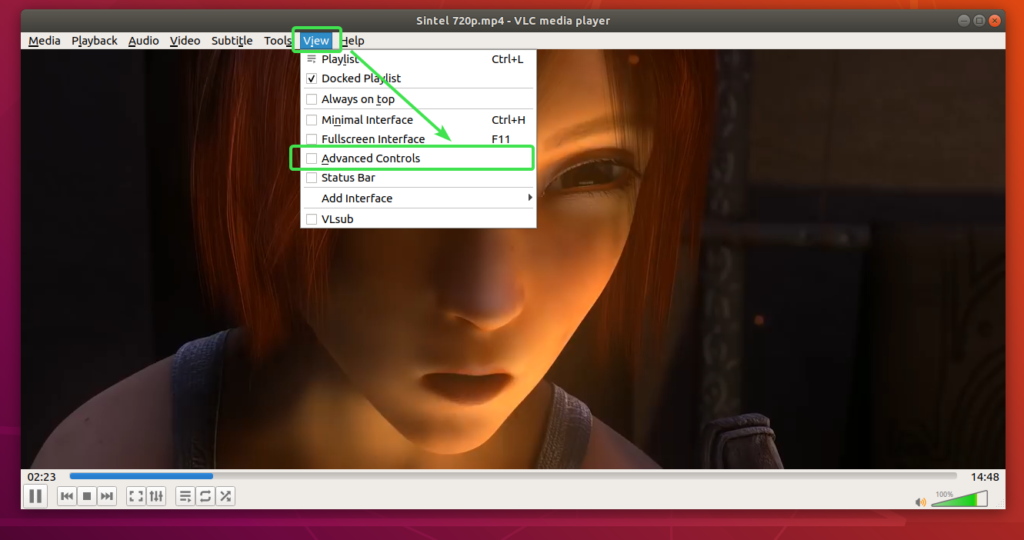
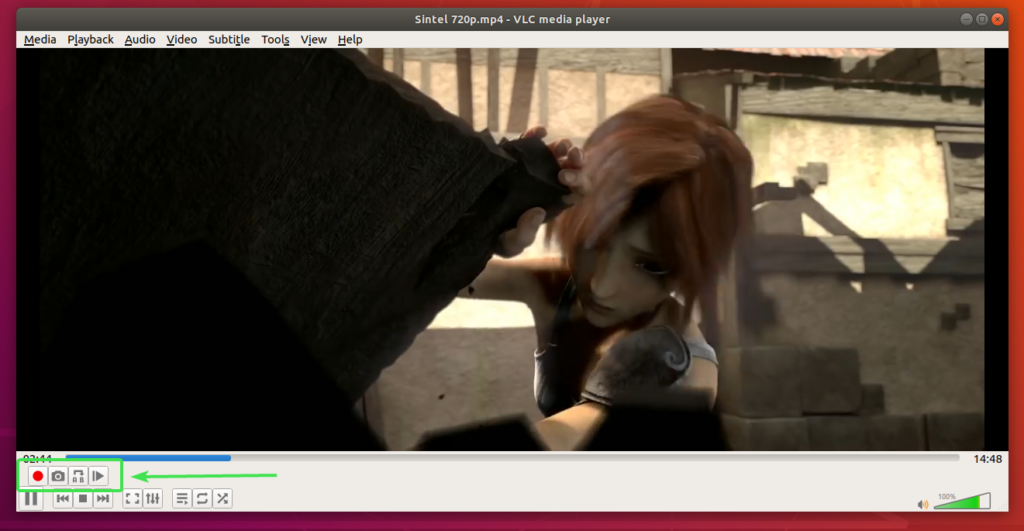
To do that, play the video you want to trim/cut with VLC media player. Then, click on View > Advanced Controls.
Some new tools should appear as you can see in the screenshot below.
Now, go to the position where you want to start the cut and pause the video.
You can use the <Spacebar> key on your keyboard to Pause and Play the video. <Spacebar> will be a great help to you when you trim/cut videos with VLC media player.
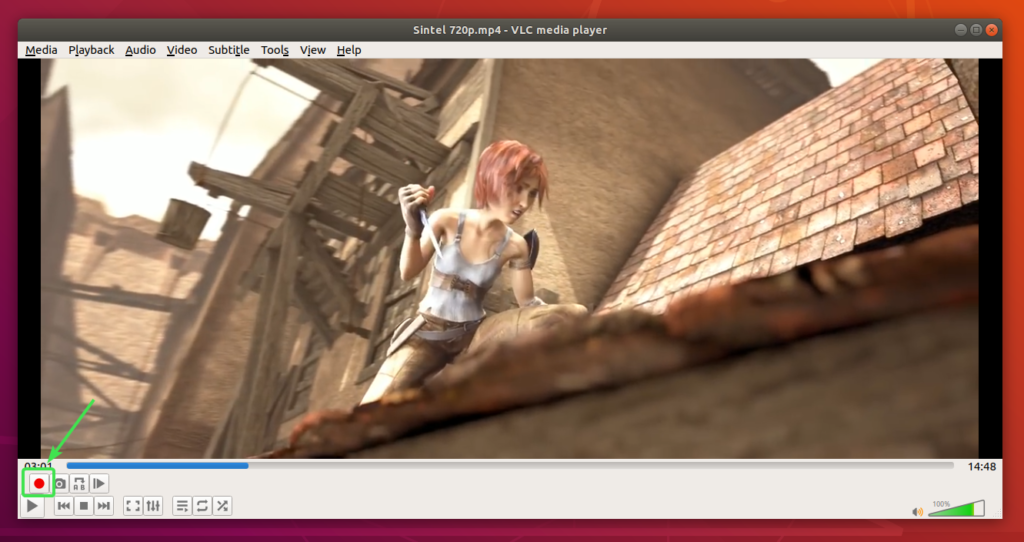
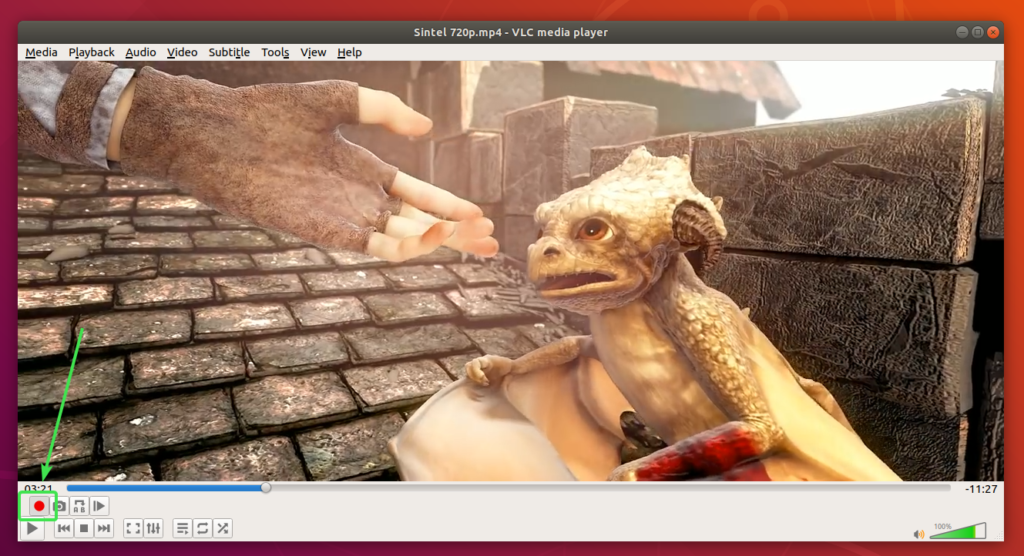
Once you’ve set the start position, click on the record button .
Now, you can either play the video and go to the end position or move frame by frame using the Frame by Frame button .
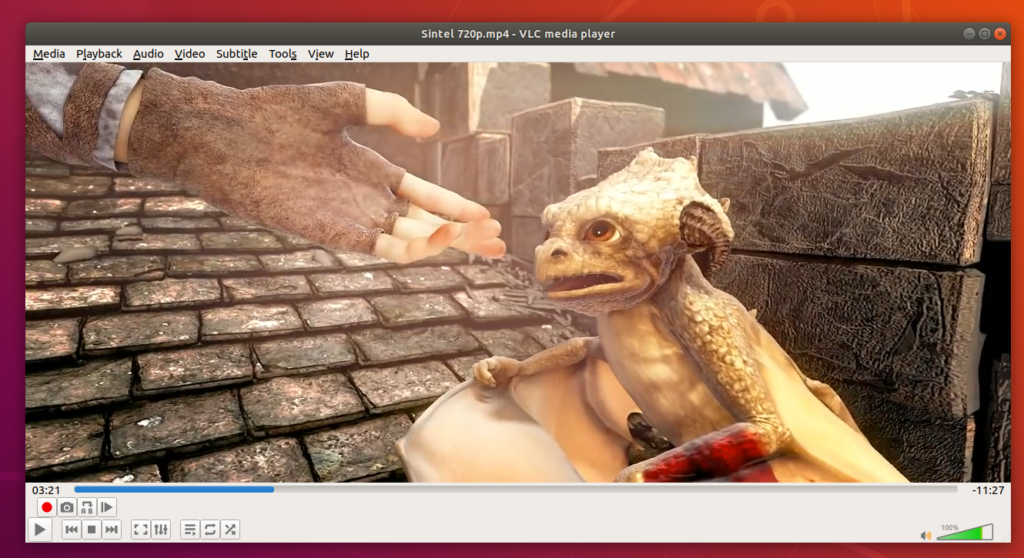
The video is being recorded from the starting position…
Once you’ve played the video to about your desired end position, pause the video and move frame by frame just to be accurate.
Once you’re at your desired end position, click on the record button again to stop the recording.
Your desired portion of the video should be trimmed and saved.
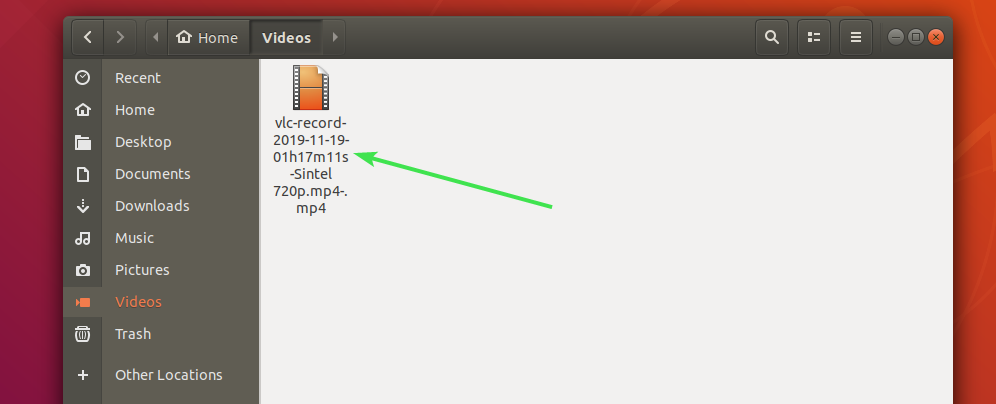
By default, trimmed videos should be saved in the ~/Videos directory as you can see in the screenshot below.
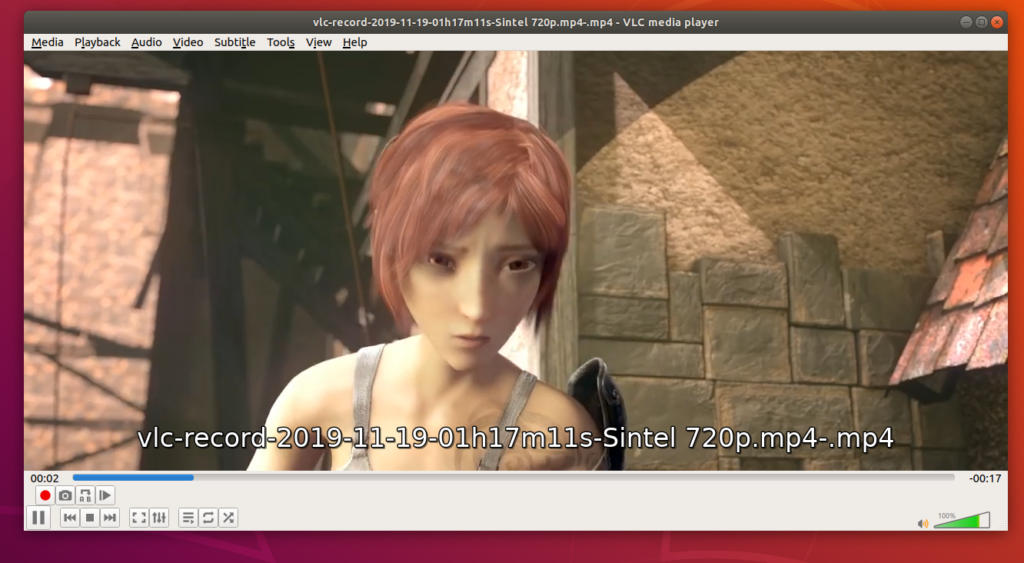
I played the video, and as you can see only the desired portion of the video is in the new media file.
So, that’s how you convert videos and trim videos in VLC media player. Thanks for reading this article.
