The ifconfig command
The iwconfig command
The dhclient command
The route command
The host command
The netstat command
This tutorial briefly describes some basic commands any Linux user should know to check the network configuration, state and configure it. This tutorial will show basic applications of commands, a new tutorial is being written to explain more advanced scenarios. For advanced tips on the following and additional tutorials check Advanced Linux Network Commands. Here you’ll learn how to change IP addresses on Linux, how to disable and enable network cards under Linux using different commands, how to set your wireless card in monitor and managed modes with iwconfig, how to get an IP address from your DHCP server using the dhclient command, how to set a gateway under Linux, get the IP address of a domain name and monitor the traffic between your device and the network with netstat, in some cases the same functions with different commands.
The ip command
The ip command allows to print information on the network interfaces and configuration, as well to apply changes, it replaces the old ifconfig command which will be explained later in this tutorial.
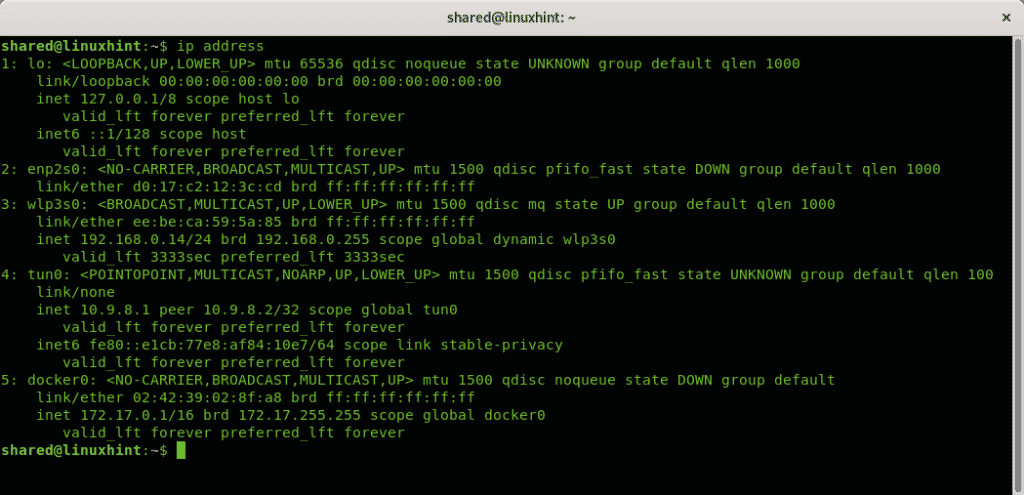
To get a general view on your network devices configuration you can run:
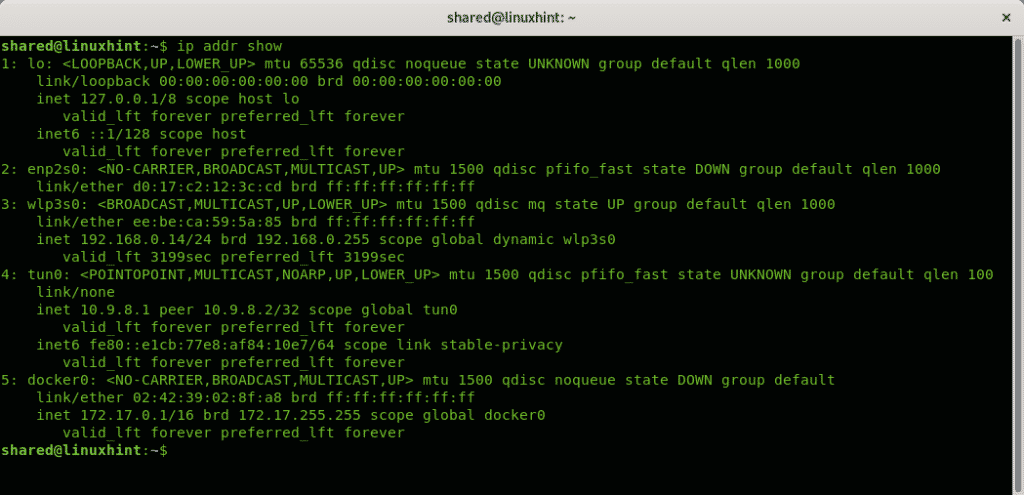
An equivalent to ip address is ip addr show, it will throw the same result:
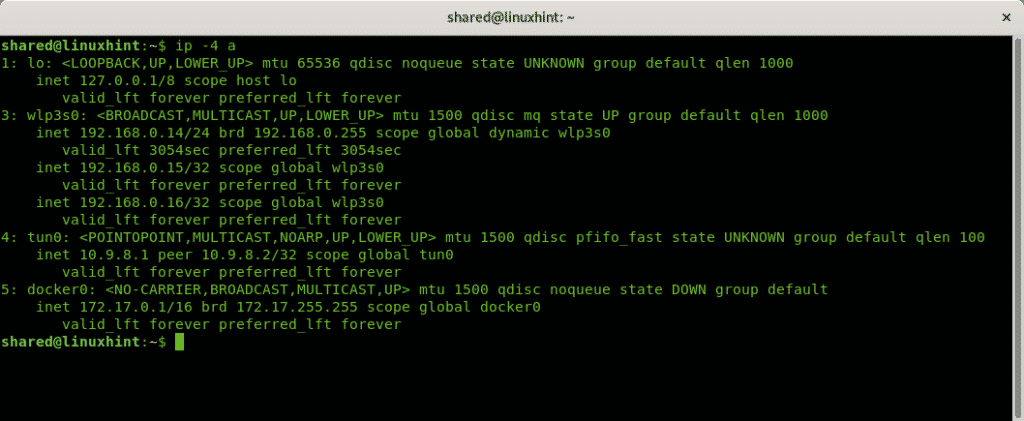
If you want to limit the information to IPv4 information run:
Note: if you work with IPv6 run ip -6 a
To show the information on a single network device apply the option dev as in the next example:
In my case I executed:
If you want to show the IPv4 information of a single device you can run:
To remove an existing IP address for a device you can run:
In my case I ran:
Then, to assign a new IP address run:
In my case I executed:
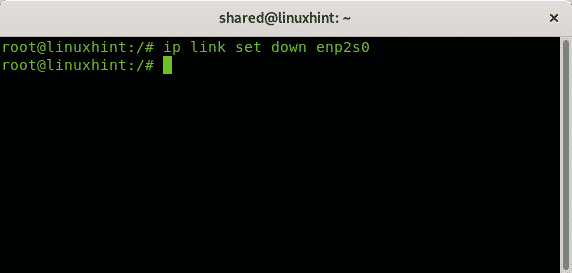
To disable a network card the command is:
In my case I run:
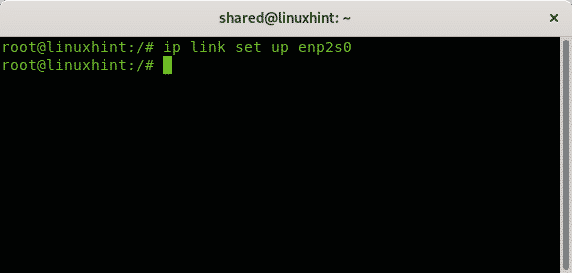
To enable the network card called enp2s0 back I run:
The ifconfig command
The ifconfig command is predecessor to the command ip. Not all modern Linux distributions include it, to get it working some distributions need the user to install the package net-tools.
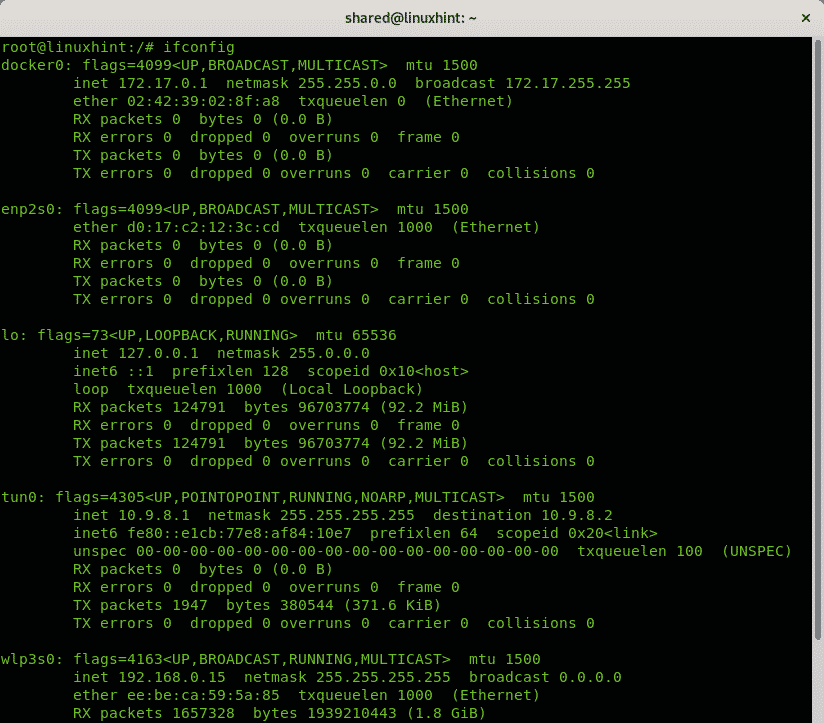
To get a general view on your devices configuration run as root:
You can also print information on a specific device by adding it after invoking ifconfig, in the following example I print information for the wlp3s0 device:
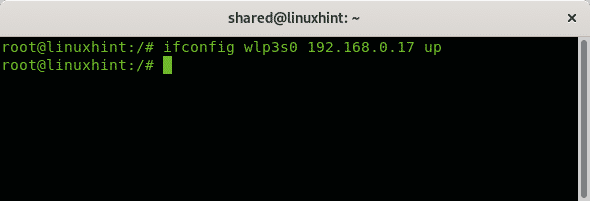
With ifconfig you can change the address by specifying it after the network device
In my case it would be like:
Note: the examples above show how to enable the network card using the command ifconfig, but you can also use the command ip link set down <device> as explained in the ip command section.
It is recommended to include the proper netmask as in the next example by adding the netmask option.
For more information on the ifconfig command, check the tutorial How to use ifconfig.
The iwconfig command
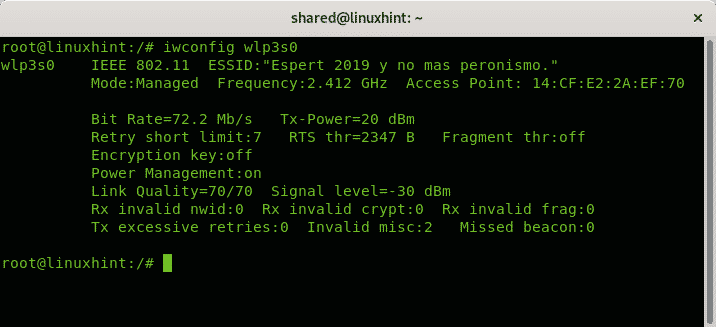
Very similar to ifconfig, Linux includes the iwconfig command too which is useful to set configurations exclusive for wireless network cards. In the following examples the iwconfig command will be used to change the wireless network card modes between managed mode and monitor mode. The monitor mode is useful to sniff packets without being associated with other stations or routers, it is mandatory when cracking wireless routers with programs like reaver or aircrack-ng.
As you can see by default our network cards are set in Managed mode, which allows the wifi card to act as a network station. Run:
Note: where “wlp3s0” replace it with your network device name.
To change the Managed mode shown in the image above, first we need to disable the wifi card using the command ifconfig.
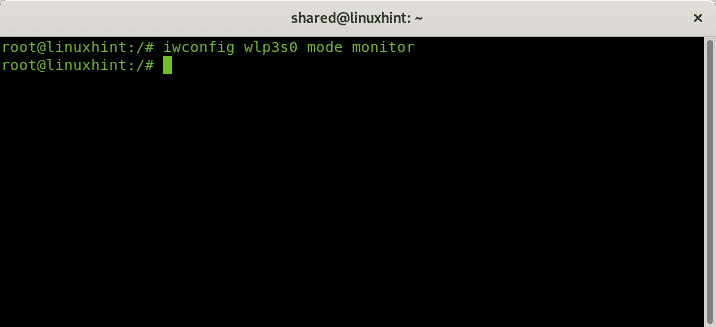
Then set the monitor mode by running:
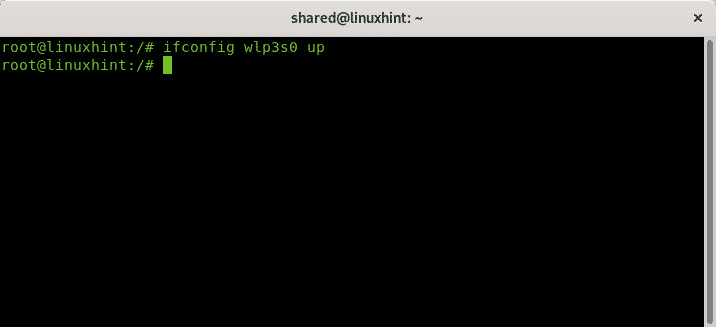
And now enable the wireless network card back
Check the new mode by running iwconfig wlp3s0:
To restore the managed mode repeat the process replacing the step iwconfig wlp3s0 mode monitor for iwconfig wlp3s0 mode managed
The dhclient command
When joining a network you obviously need a free IP address to attach your device to it. While you can ping or nmap the network to set up a new device, many routers assign it through DHCP. if you want your new device to automatically get an IP address and it didn’t by default you can use the dhclient command. In many cases when trying to join a wireless network using WICD, I found the “Obtaining IP” process to get stuck or taking a long time and managed to help it by running this command.
The syntax is:
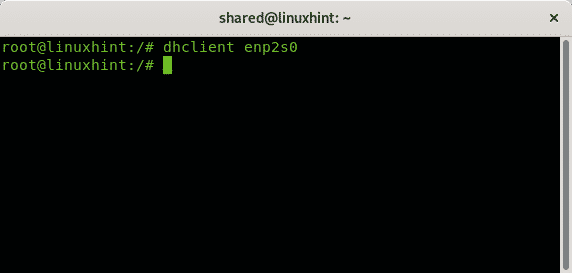
In my case
The route command
When joining a network which wasn’t properly configured to allow new devices to connect you will need to set a proper IP address, usually it will be manually through the command ip or ifconfig, to set the proper gateway using the command route and enable proper DNS, like 8.8.8.8 to access internet. The following example shows how to add and remove gateways.
To remove a defined gateway run:
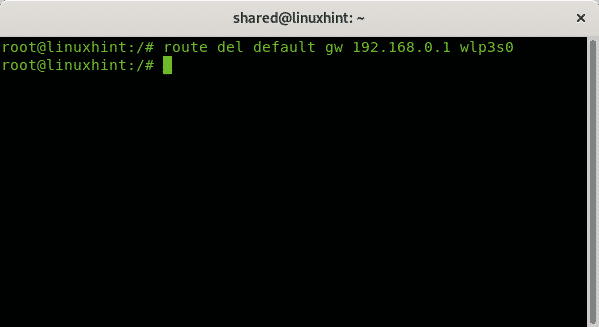
In my case I ran:
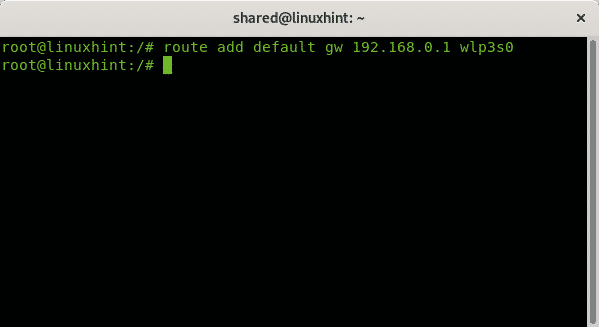
To add a new gateway run:
To check your defined gateways run:
The host command
The command host is useful for domain name lookup, to learn the IP address of a specific domain name. For example, to learn linuxhint.com IP address just run
The netstat command
To end this tutorial lets see how to monitor our network traffic with the command netstat.
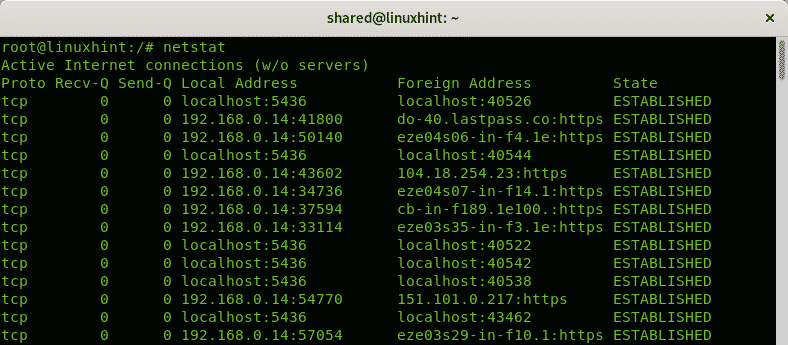
Run the command netstat without options:
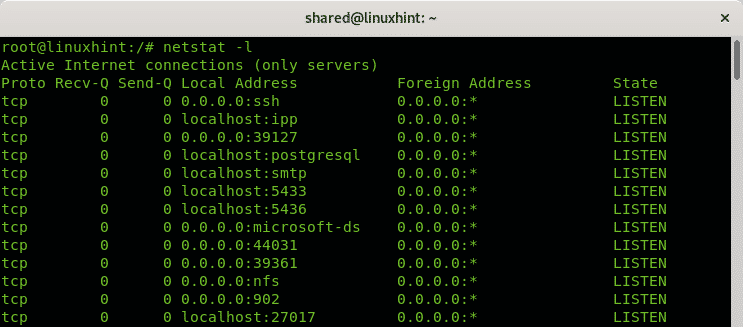
By default the netstat command will show ESTABLISHED connections, If you want to list the listening ports only run the command with the -l option:
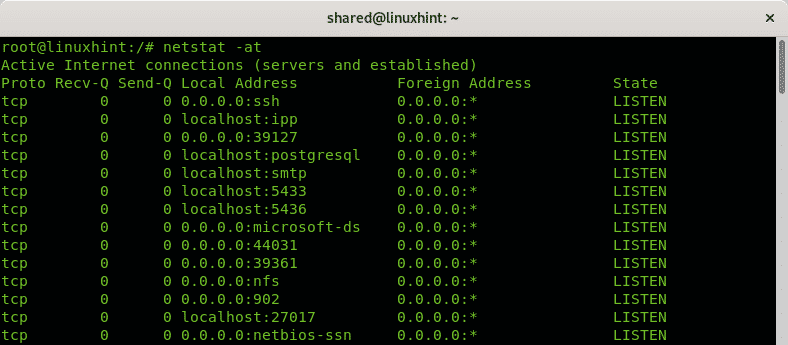
By default, netstat will also list all TCP and UDP connections, if you want to show TCP connections, or listening ports only run:
Note: the option -a prevents lookup to speed up results.
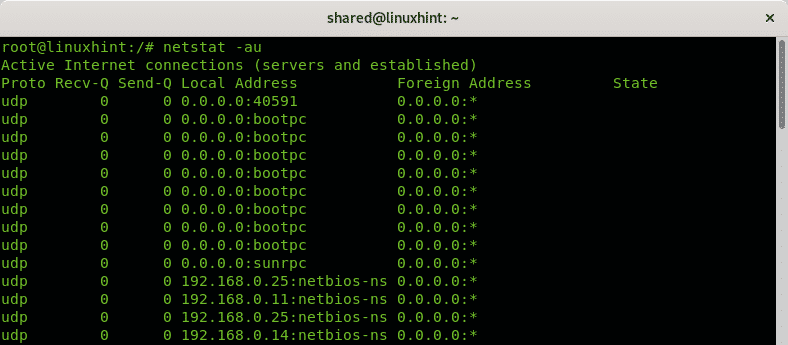
If you want to show UDP connections only then run:
I hope you found this article useful to learn basic network commands, learning them is a must for every Linux user to afford any network inconvenient. Keep following LinuxHint for more tips and updates on Linux and networking.
