It’s not only system admins that use tar. A large number of system components are also dependent on tar. For example, in the case of Arch Linux or any Arch-based distro, pacman is the default package manager. The functionality of pacman is extremely dependent on tar. Learn more about pacman.
For archiving, tar offers good and consistent compression ratio. However, the result is largely dependent on the file(s) and compression algorithm used.
With all these features packed, tar is something that’s worth spending your weekend to master. Just kidding… it’s actually so simple that after following this guide, you’ll almost feel like a master. Without further ado, let’s get started!
Tar usage
For using tar, we need some demo files, right? I’ve created an original demo file containing random data with the help of dd. All the others are simply clones of it.

Tar location
Before using tar, let’s check out where it’s located. Run the following command.

As the output says, whenever running “tar” command, it’ll load the tool from “/usr/bin/tar”.
Archive file
For packing file(s) into archive, tar uses the following structure.
For example, let’s pack the file “0.demo” into an archive.

Here, the options “c” tells tar to create an archive using 0.demo file. The “v” option is for enabling verbose mode. “f” is to indicate files.
This similar operation can also be performed with more than one file.

Compressing file
There are several compression algorithms available to use with tar. Supported algorithms include bzip2, gzip or gunzip and xz. The following commands will also work for compressing directories into tar archives.
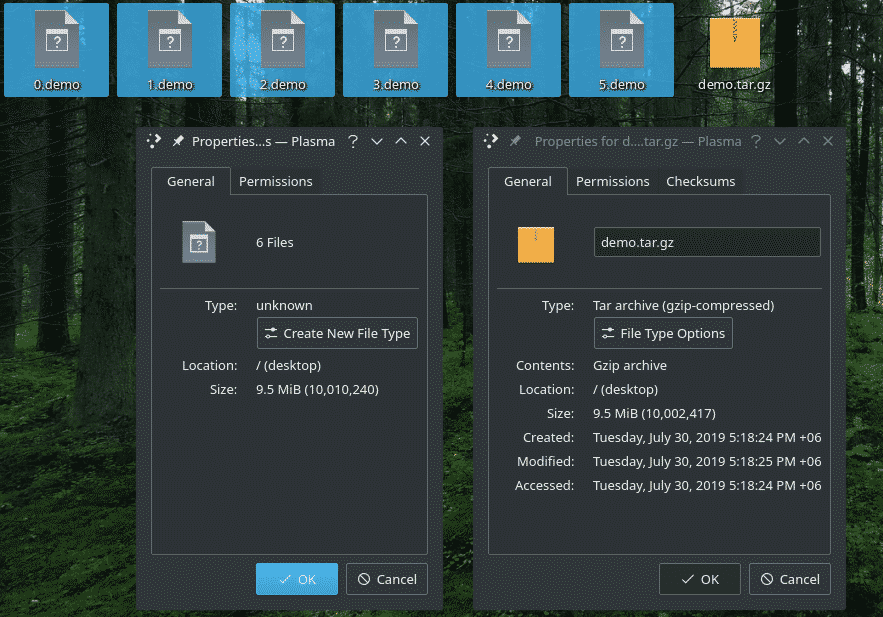
For creating a compressed archive using gzip, use the following command. Gzip applies slight compression to the file(s).

Similarly, for using xz, use the following one.

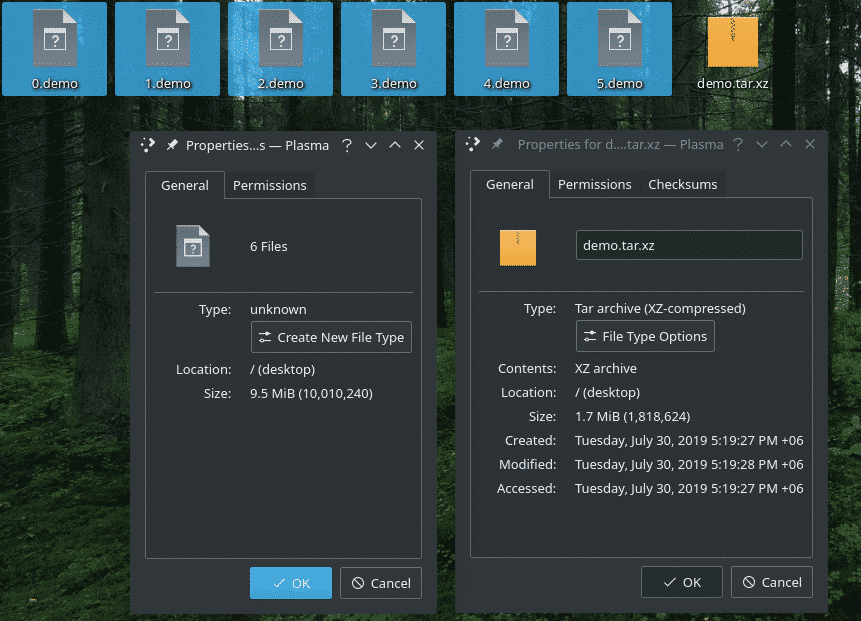
Note: Noice that “J” is in capital. Moreover, xz applies heavy compression, so compressing and decompressing will take time. However, the output is noticeably different in size.
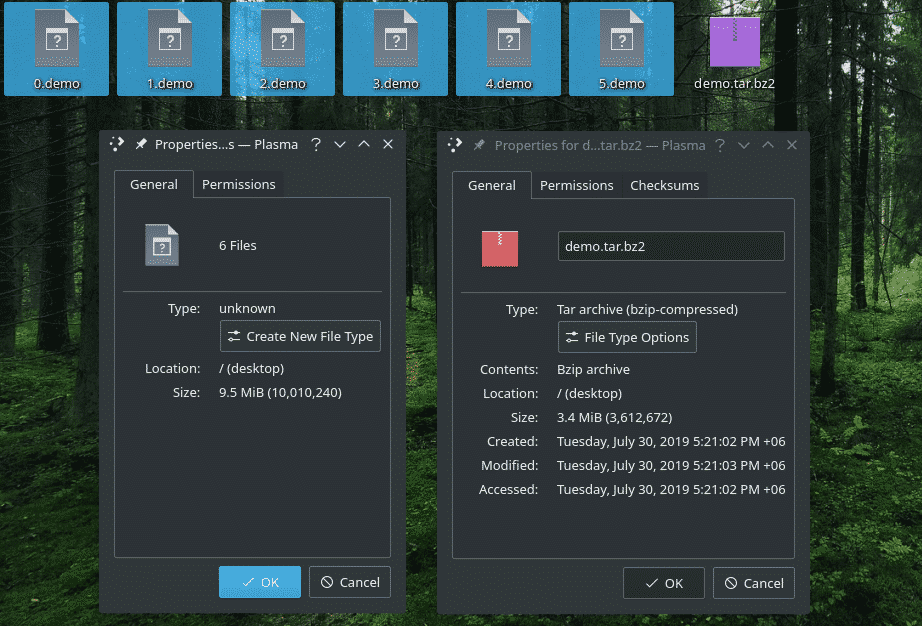
Next up, the bzip2 compression algorithm. It compresses hard but not as much as xz. Compression and decompression is faster than xz, slower than bzip2 or simple archiving.

When you’re archiving, it’s pretty normal to end up with some files and/or directories that are not welcome. In that case, “–exclude” flag is the perfect choice.

Here, notice the position of the “–exclude” flag. If not positioned properly, this flag won’t have any effect on the process.
Password protection
By default, tar doesn’t offer any password support. If you’re looking for password-protecting your tar archive, then you have to rely on additional tools. There are a lot of ways to encrypt any file. Here, I’ll be using 2 of the most popular tools to do so: zip and GPG.
The good old zip offers a solid encryption method. It will create a zip archive of any file; in this case, an encrypted zip archive of the tar file. Use the following structure to perform the action.

When someone is about to extract, zip will ask for password.

GPG is another well-known tool for securely encrypting your data. Using GPG, we can create a strong protection for our data; in this case, our beloved tar archive.
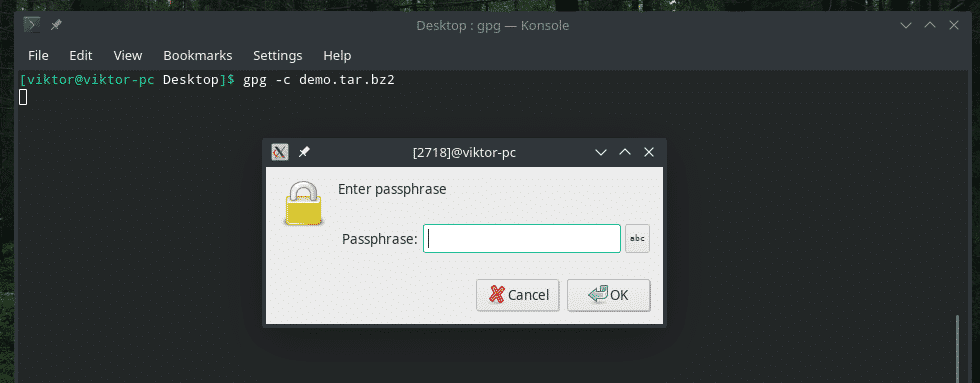


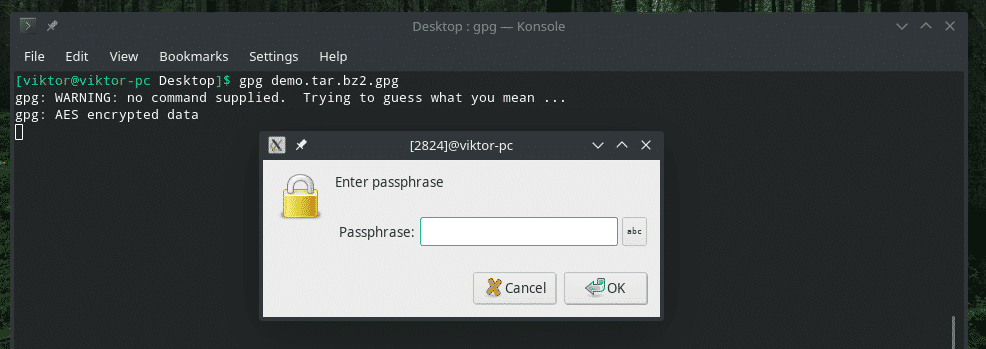
When extracting, you’ll be prompted for the password.

Extracting tar archives
Now, it’s finally time to extract the archives you’ve made. The following command is capable of extracting any supported tar archive. Tar will automatically check for the algorithm and others.

How about extracting just a single file out of the archive? The same structure is applicable for multiple files as well.

How about extracting files using wildcard?

Listing all contents
Using tar, you can check out the file(s) names within the archive.

Adding files to an existing archive
Once the archive is made, adding something inside is pretty much blocked, right? Wrong! Tar allows adding more files and directories inside an existing archive. Basically, you can push the size of an archive to as far as you want unless you face some serious barriers (software or hardware).
To add more files and directories, use this command.
Let’s add a directory to the existing “demo.tar.bz2”.

Oops! I completely forgot that tar won’t allow adding more files into an archive that’s compressed! This operation is only available for uncompressed tar archives.
I’ve grabbed an uncompressed tar archive and re-run the command.

Yes! It succeeded. To verify the result, let’s check out the file list of the archive.

Verify archive
It’s actually not a standalone feature. It’s embedded within the archive creation procedure. When you’re creating archive, using this command will ensure that all the files are stored 100% accurately.

Archive size
While there are various ways of checking the size of any file (including tar archives) on UNIX/Linux, similar result can also be generated using tar.

In this case, the output prints the size of the archive in KB (kilobyte).
For better output format, use ls.

This will output the size of the file in megabits. If you want result in megabytes, use MB.

Final thoughts
There are tons of flags and features that tar offer to everyone. While these tricks should satisfy almost all the needs, there are still a vast number of things that didn’t get covered in this article. Those are thoroughly described in the man and info pages of tar.


