Why this ancient piece of software is still relevant? Because it’s a lightweight, keyboard shortcut for almost any function, built-in expression searches, and a robust, stable and healthy plugin ecosystem. Not to mention other modern-day text editor features like beautiful syntax highlighting. You’ll find Vim mostly popular among programmers because Vim requires heavy keyboard focus. That’s a good practice for programmers.
As the title of the article suggests, the goal of this guide is to offer you a better understanding of the search and replace functionalities of Vim. Vim is nothing to be afraid of. In fact, it’s one of the superpowers you will always have at your side.
Demo file creation
At first, we need a demo text. For learning Vim, the safest way is to create a disposable text file and do whatever you want with it. This way, even if something goes wrong, nothing important is lost.
I’m using Manjaro Linux as my Linux system. Learn how to install Manjaro Linux. It’s an Arch-based distro using pacman as the default package manager. I’ve generated a text file containing all the installed packages on my system.

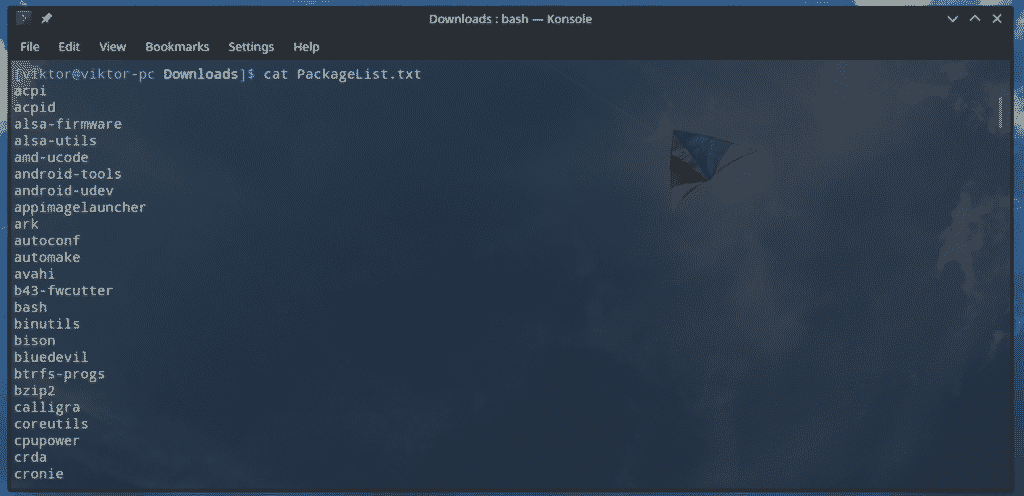
Now, launch the text file in Vim!
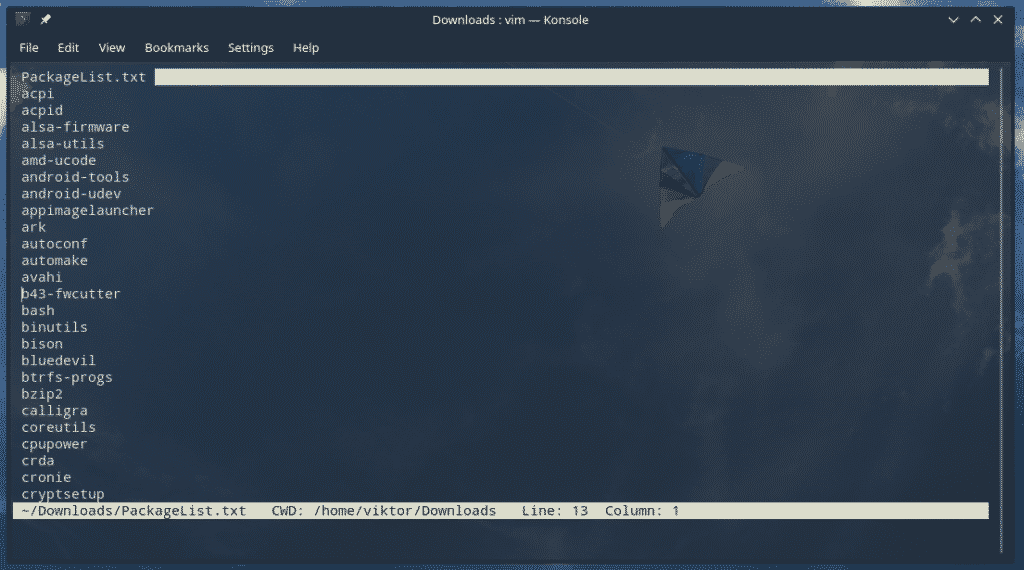
Vim search
For searching, Vim uses the following structure.
For example, let’s search for “python”.
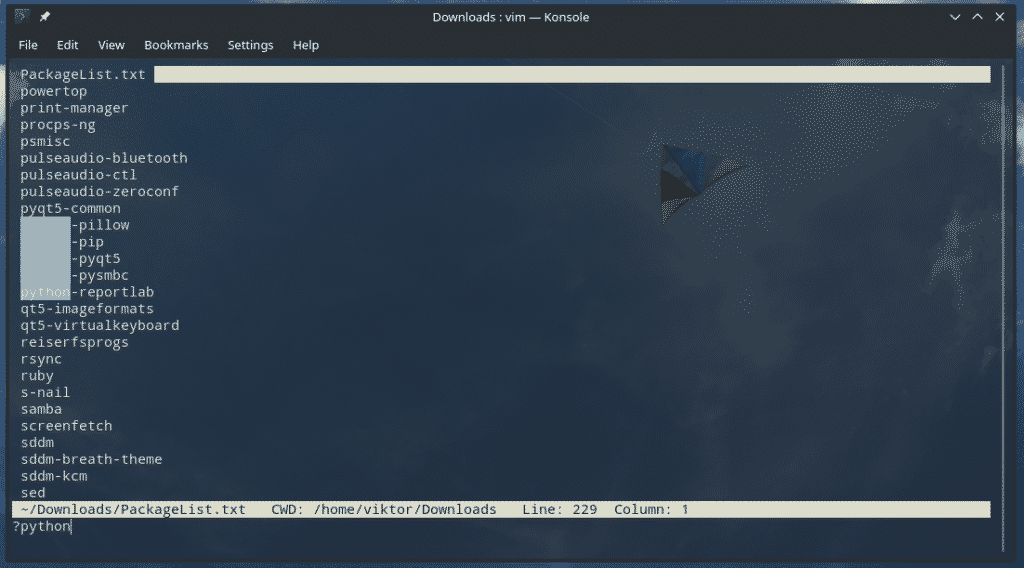
By default, the search will seat at one fixed result. To go to the next/previous search result, use the following keys.
Note: Don’t forget to hit Enter before using the following keys. Otherwise, the search term will change!
n – Find the next match
N – Find the previous match
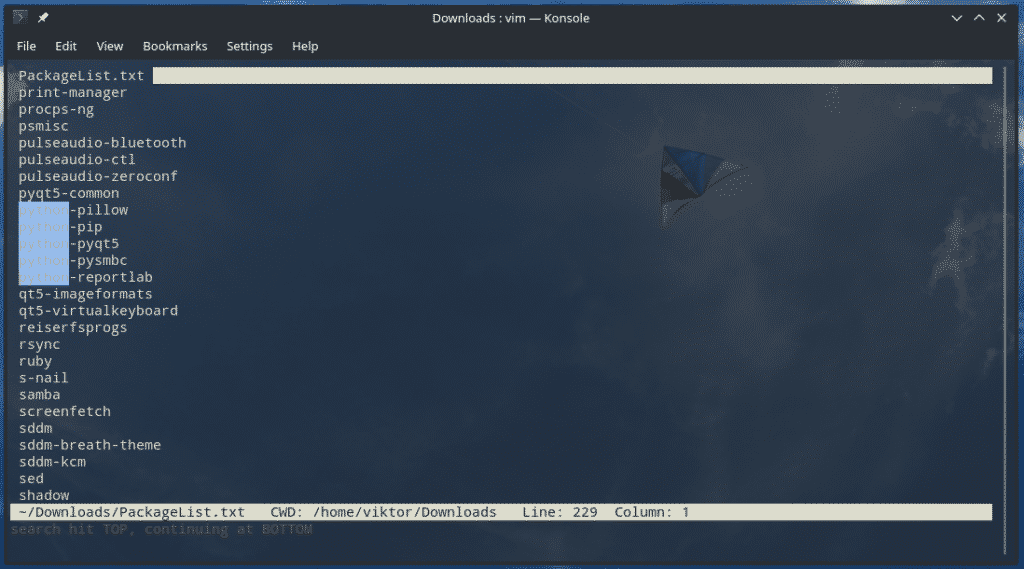
This is just the basic way of searching. Let’s try out a bit more powerful method.

Here, < is responsible for indicating the beginning of the search string and /> is for ending of the string.
Just like the previous example, use n or N (case-dependent) to navigate the search results.
Searching also supports using wild cards. For example, there are plenty of packages with “python-“ extension.

To search for all of them, we can use “python*”. Here, the asterisk is telling that anything after the “python“ prefix. For any search, the asterisk can be anywhere on the search term. Wherever it is, it tells Vim to fill in the gap with all the possible data from the entire text file.
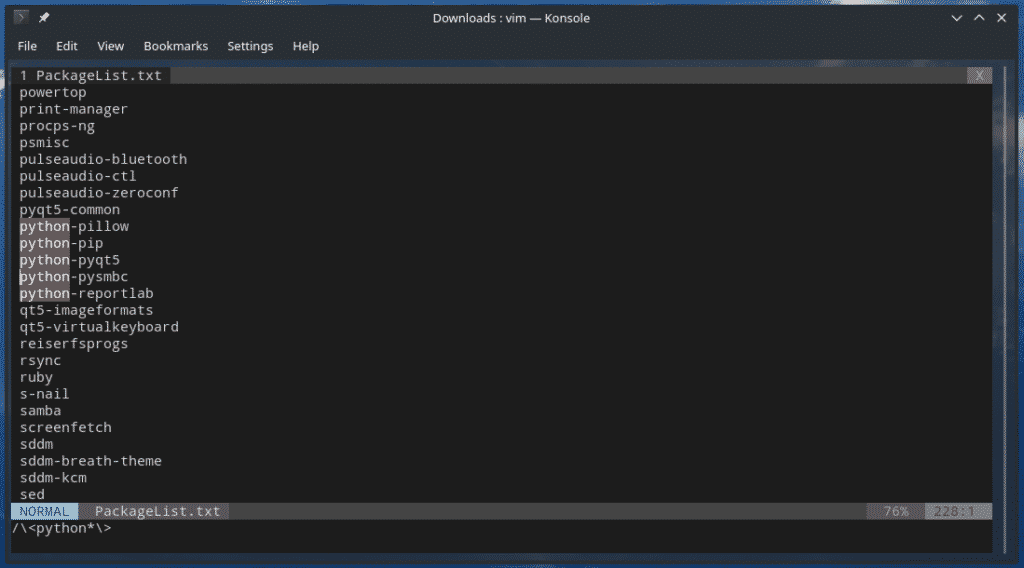
When you’re searching, Vim will always put the cursor at the starting character of the matches. This is the default action. Don’t worry; Vim allows changing the default position of the cursor landing.

Here, the last “e” tells to reach the cursor at the end of the matching phrase. Using the following example, you can also tell to land the cursor below or above the search result.

It’s also possible to offset the cursor from the beginning/end of the search matches. For example, the following command will land the cursor at 3 character next to the beginning.


Here, the “s” indicates the beginning, “+3” indicates 3 characters from the beginning. “b” stands for “begin”. It also functions similar to “s”. From the screenshot, Vim will automatically translate “b” to “s”.
If you’re interested to offset from the end of the search matches, use “e”.

Here’s another awesome way of performing a search on a text file.

A detailed explanation of the command is on the next section of the article.
Vim replace
Find and replace is another common and must-have function for any quality text editor. Vim, being a legend, offers a robust way of finding and replacing your desired text in a simple manner. The command for the function is simple but allows doing really complex works.
Let’s break down each part.
- range – Define the range of performing the “find and replace” function. There are 2 different values.
- % – Perform on the entire file
- <start _line>,<end_line> – Perform the action on a certain set of lines.
- search_string – The string you need to replace.
- replace_string – The new string that’ll replace the old one.
- modifier – Determine the replace behavior. There are a couple of different values.
- g – “Global” option. Perform the replace on every occurrence of a line.
- gc – Ask for confirmation before making each replacement.
- gn – Ignore the replace function and highlight the finds.
For example, let’s replace all the “python” with “Python3”.
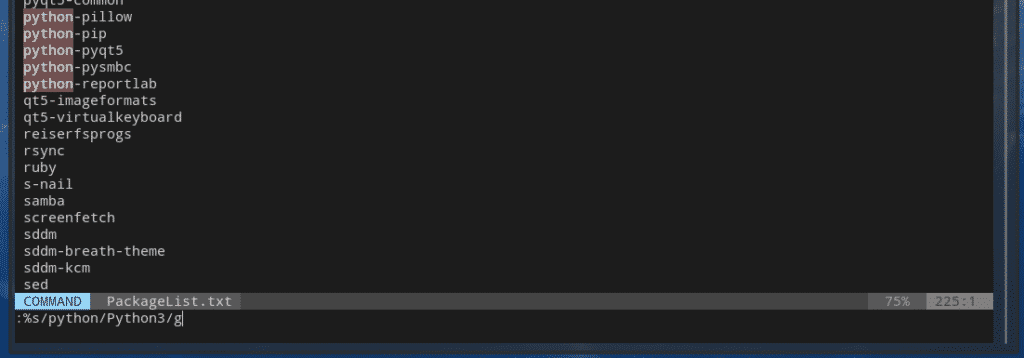
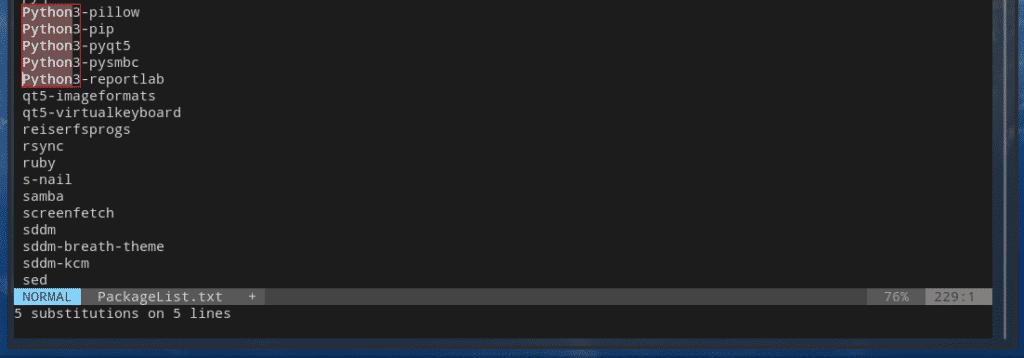
Simple, right? Now, let’s check out the following one.
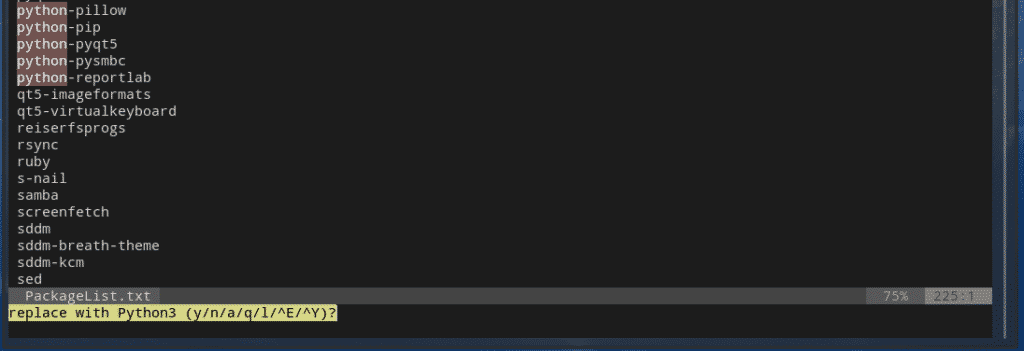
There are a handful of actions you can choose. While some of them are familiar, others are not. Let’s see what those means.
- y – Allow performing the change.
- n – Disallow performing the change.
- a – Substitute all.
- q – Quit the task.
- l – Just substitute this occurrence. Then, quit.
- ^E (Ctrl + E) – Scroll up a screen
- ^Y (Ctrl + Y) – Scroll down a screen
Now, let’s try out the range part. In the previous example, we already used the “%” range. Now, it’s time to confine our searches within a number of lines.

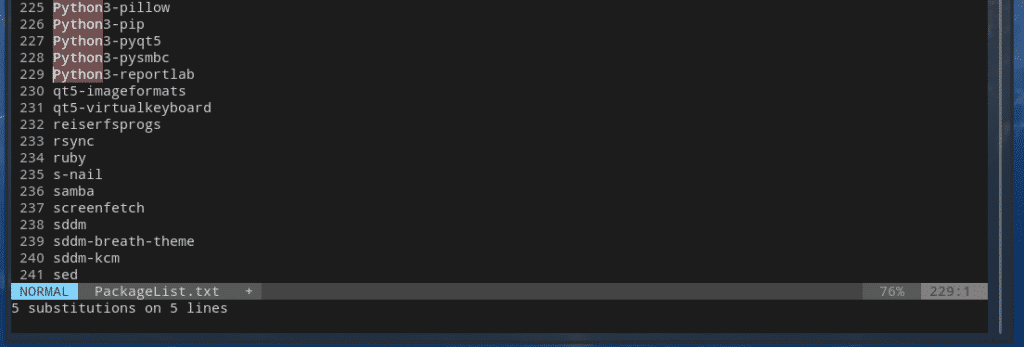
The search will start at line 200 and end at line 250. In-between the limits, all the “python” entry will be changed to “Python3”.
This function is not only limited to one search term. You can include multiple search terms!
/<replace_string>/g
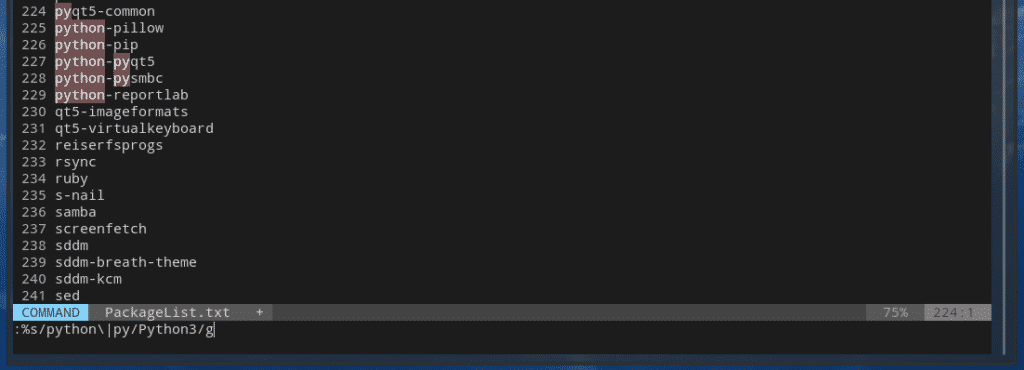
Let’s try changing all the “python” and “py” entries into “Python3”.

Case sensitivity
All the tricks described earlier in the guide are highly case sensitive. You have to really make sure that whenever you’re working, you’re typing the characters in the correct case. For example, “Python”, “python”, “PYTHON” etc. all are different entries.
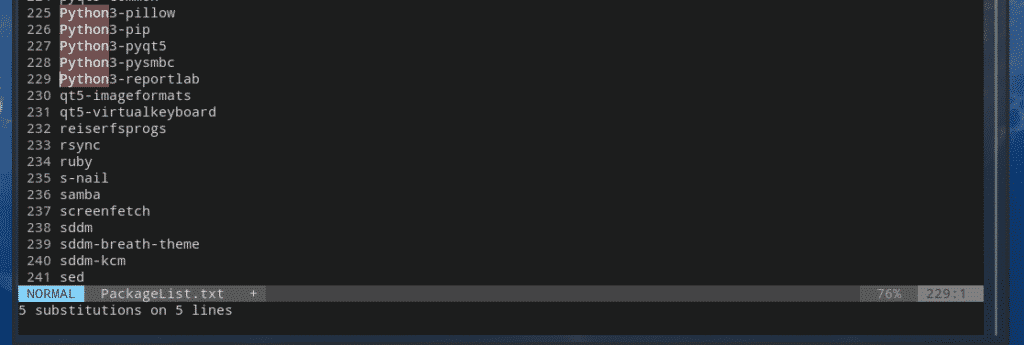
If you don’t remember the case, just tell Vim to become case-insensitive!
:%s/<search_term>c/<replace_term>/g

This insensitivity can also be directly enabled from the vimrc file.

Here’s another interesting option.

The “ignorecase” will force Vim to ignore the case sensitivity. However, if there’s any capital letter in your search, the “smartcase” will enable Vim to become case-sensitive again.
Note: For “smartcase” to work, you need “ignorecase” first.
Final thoughts
There are plenty of things you can perform with Vim. It’s like the ultimate text editor you’ll ever need. All you need is just patience and some practice.
Enjoy!

