Things You Need:
To successfully install Zabbix on Raspberry Pi 3 using this article, you need,
- A Raspberry Pi 3 single board computer.
- A microSD card of at least 8 GB or more.
- Network connectivity on Raspberry Pi.
Installing Raspbian on Raspberry Pi:
You must have Raspbian OS installed on your Raspberry Pi 3 in order to install Zabbix on Raspberry Pi.
I’ve written a dedicated article on installing Raspbian OS on Raspberry Pi which you can read at https://linuxhint.com/install_raspbian_raspberry_pi/. I hope it will help. If you have any questions, feel free to ask at https://support.linuxhint.com/.
Connecting Raspberry Pi to the Internet:
You can connect one end of your LAN cable (CAT5E or CAT6) to your Router or Switch and the other end to your Raspberry Pi to get internet connectivity easily.
You can use Wifi on your Raspberry Pi as well. I’ve written a dedicated article on that which you can read at https://linuxhint.com/rasperberry_pi_wifi_wpa_supplicant/.
Connecting to Raspberry Pi Remotely:
Once you have Raspbian installed and configured, can connect to your Raspberry Pi using SSH.
To do that, run the following command from your laptop or desktop.
Note: Here, IP_ADDR is the IP address of your Raspberry Pi.
If you see this message, just type in yes and press <Enter>.

Now, type in the password of your Raspberry Pi and press <Enter>. The default password is raspberry.

You should be connected.

Adding Zabbix Package Repository:
Zabbix is not available in the official package repository of Raspbian. But you can easily add the official Zabbix package repository on Raspbian and install Zabbix.
First, download Zabbix package repository DEB installer file with the following command:
release_4.0-2+stretch_all.deb

The DEB installer file should be downloaded.

Now, install the DEB file with the following command:

Zabbix package repository should be added.

Updating APT Package Repository Cache of Raspbian:
Now, you should update the APT package repository cache of your Raspbian OS as follows:

The APT package repository cache should be updated.

Upgrading Raspbian Packages:
It’s always a good idea to keep the installed Raspbian packages up to date before installing anything new.
To upgrade the Raspbian packages, run the following command:

Now, press y and then press <Enter> to continue.

All the packages are up to date.
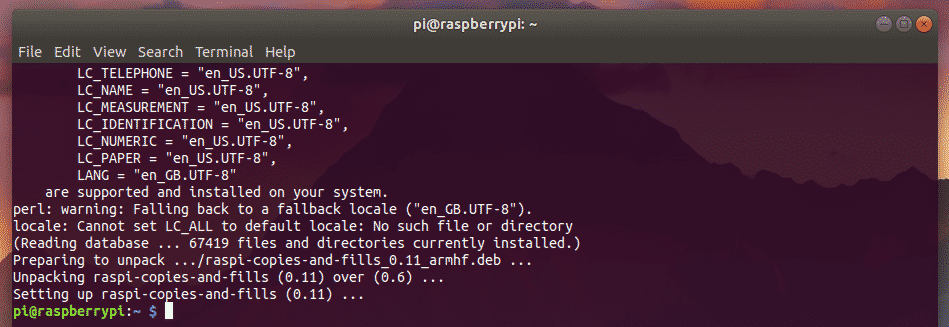
Now, reboot your Raspberry Pi with the following command:

Installing and Configuring Zabbix:
Once your Raspberry Pi boots, you can install Zabbix on it.
To install Zabbix from the official package repository of Zabbix, run the following command:

Now, press y and then press <Enter>.

Zabbix should be installed.

Now, you have to configure the MariaDB/MySQL database for Zabbix.
To do that, log in to your MariaDB/MySQL shell as the root user with the following command:

If you have any password set up for MariaDB/MySQL, type it in and press <Enter>. By default, no password is set. So, you may leave it empty and just press <Enter>.

You should be logged into the MariaDB/MySQL shell.

Now, create a database zabbix for Zabbix as follows:

Now, create a user zabbix with the password YOUR_PASS as follows. I am going to use the password zabbix to keep things simple.

Finally, exit out of the MariaDB/MySQL shell as follows:

Now, install the Zabbix default tables with the following command:

Now, type in the password for your zabbix MariaDB/MySQL user and press <Enter>.

Now, you have to edit the Zabbix configuration file /etc/zabbix/zabbix_server.conf.
Open the Zabbix configuration file /etc/zabbix/zabbix_server.conf with the following command:

Now, find the line # DBPassword= as marked in the screenshot below.

Uncomment the line (by removing the # symbol) and put the password for the zabbix MariaDB/MySQL user there. The final configuration file looks like this.

Once you’re done, save the file by pressing <Ctrl> + x, followed by y and <Enter>.
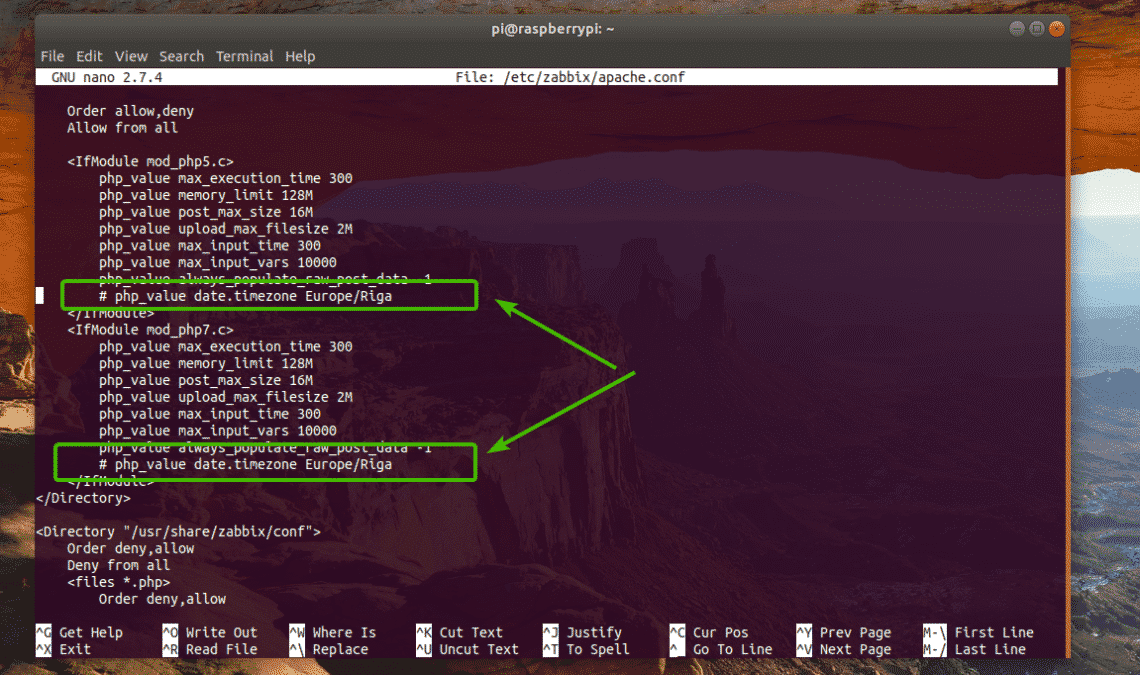
Now, open the Apache configuration file of Zabbix with the following command:

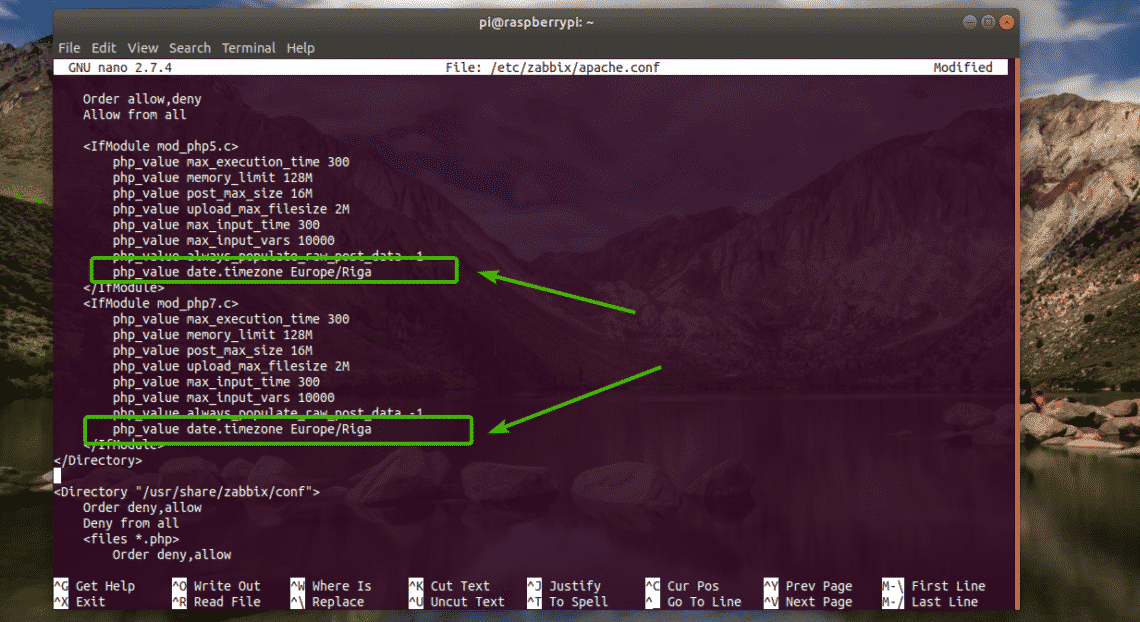
Find the lines as marked in the screenshot below and uncomment them (remove # symbol).
Finally, the configuration file looks as follows. Now, press <Ctrl> + x, followed by y and <Enter> to save the file.
Starting Zabbix Server:
Now, restart Zabbix services with the following command:

Add the Zabbix services to the system startup as well with the following commands.

Configuring Zabbix Frontend:
Now, you have to configure Zabbix from the web browser.
You should know the IP address of your Raspberry Pi already. But if you’ve forgotten, you can run the following command to find it out.
The IP address in my case is 192.168.2.6. It will be different for you, so make sure to replace it with yours from now on.

Now, open a web browser and visit http://192.168.2.6 and you should see the following page. Click on Next step.

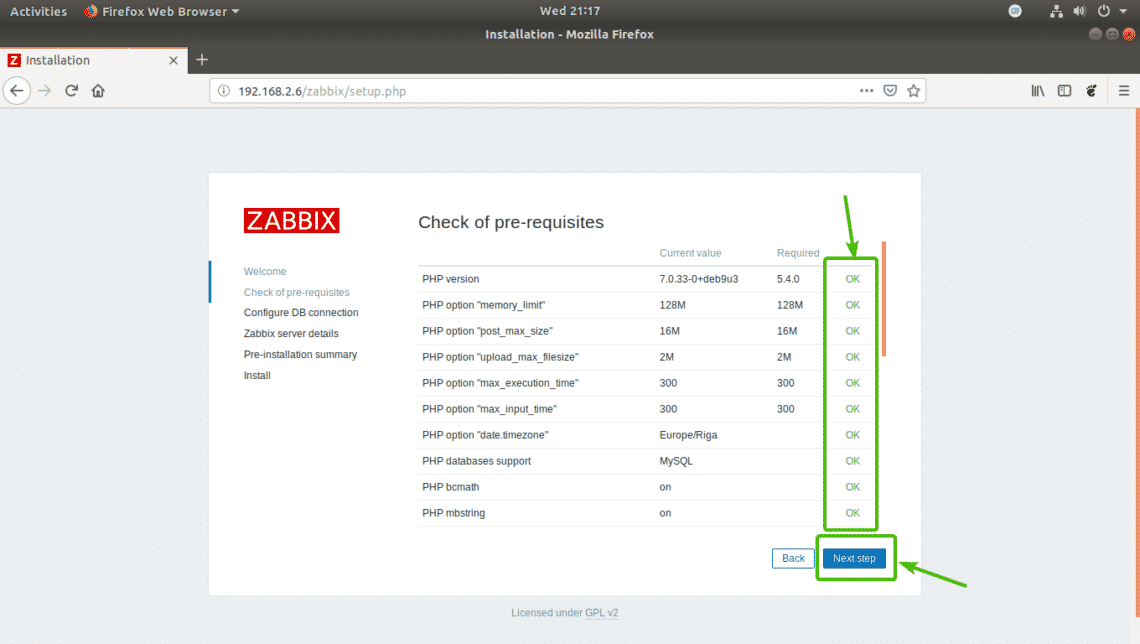
Now, make sure all of these lines are OK. Then, click on Next step.
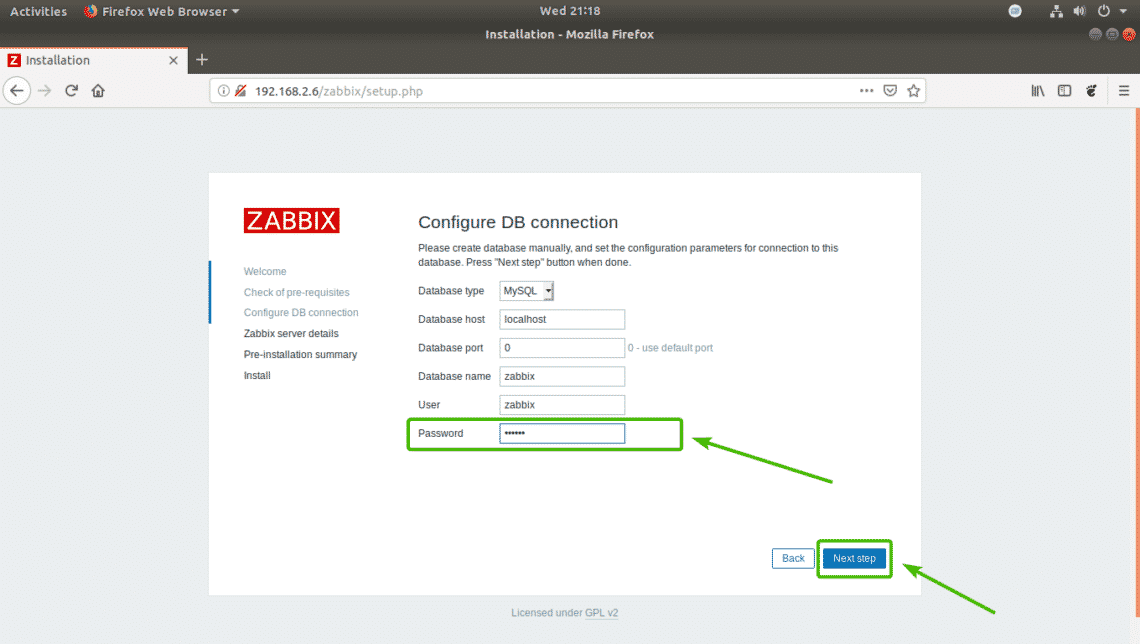
Now, type in the password for your zabbix MariaDB/MySQL database user and click on Next step.
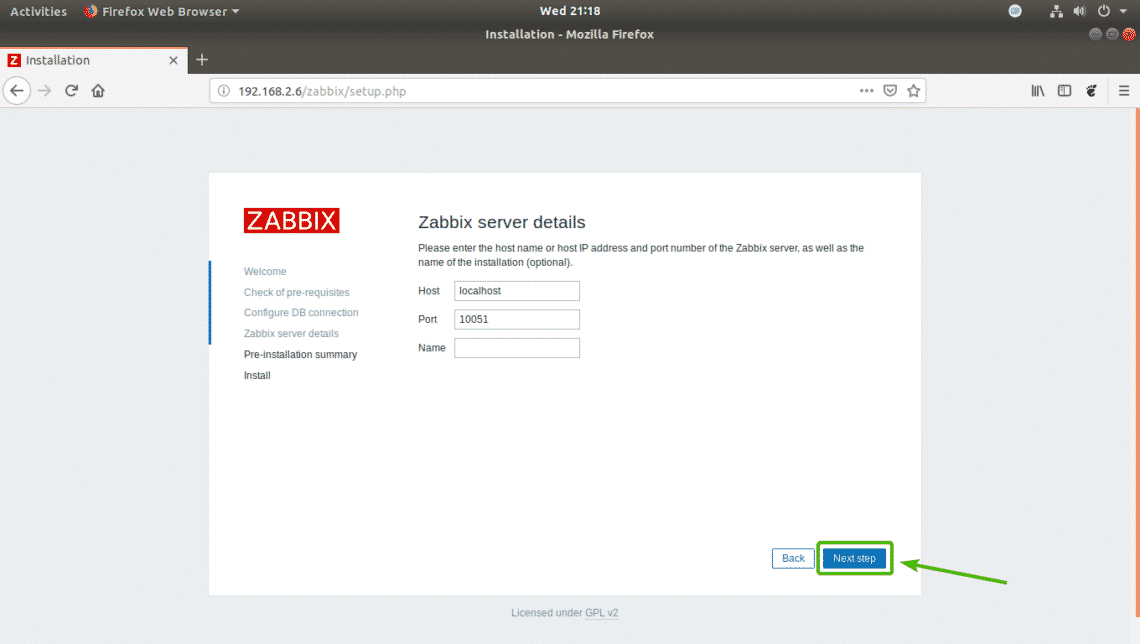
Click on Next step.
Make sure everything is correct. Then, click on Next step.

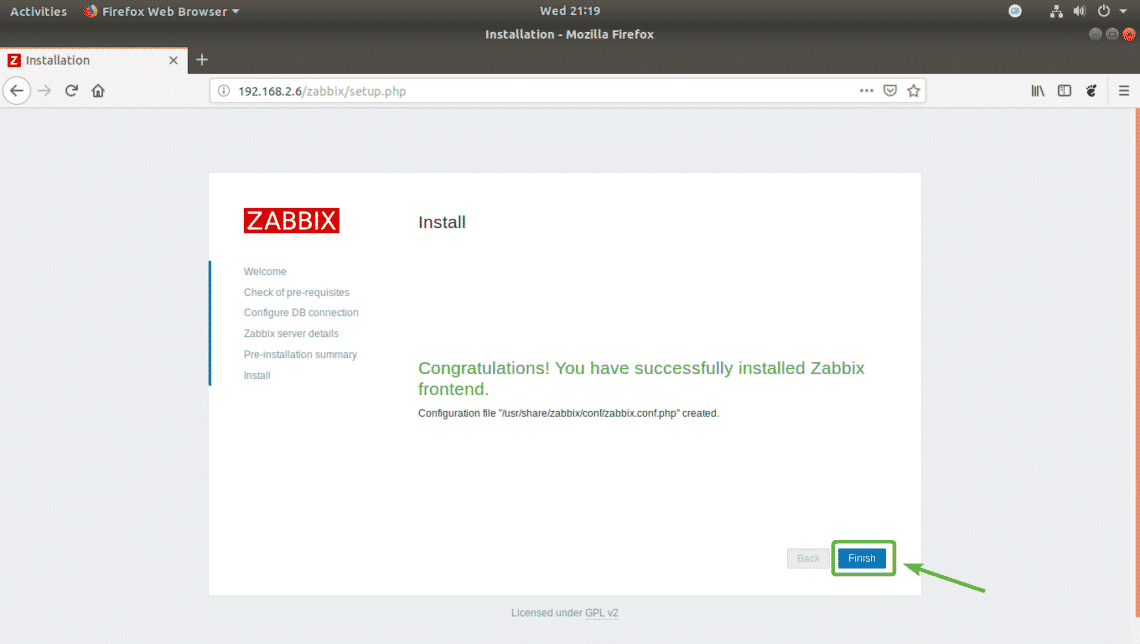
Finally, click on Finish.
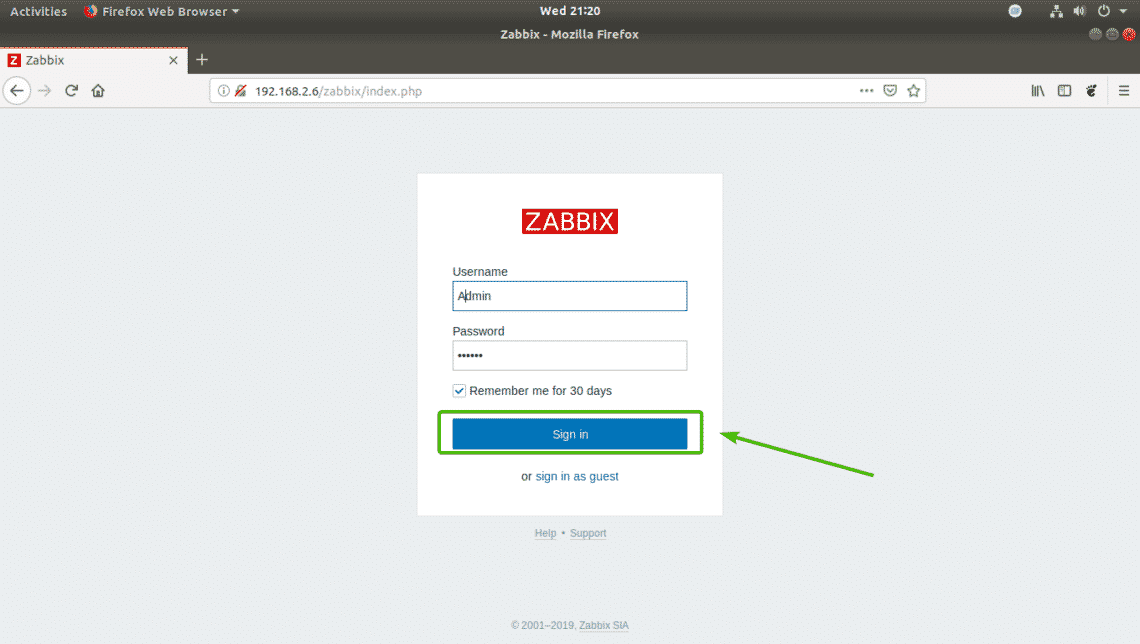
Now, you should be able to log in to the Zabbix frontend. The default user is Admin and password is zabbix.
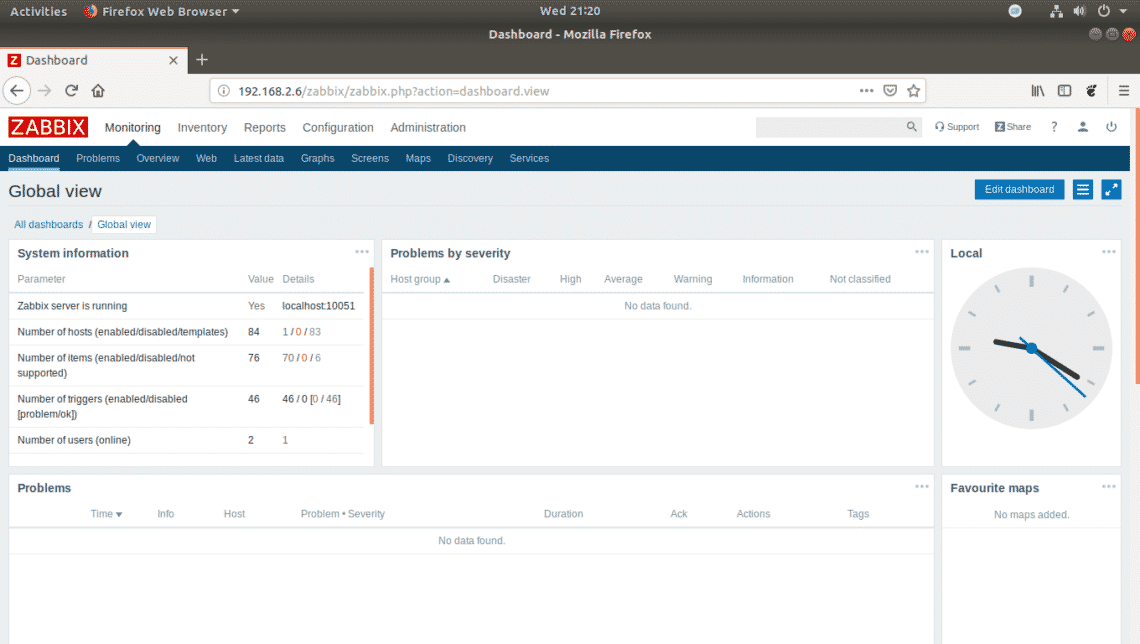
You should be logged in. You can configure Zabbix monitoring tasks from here.
So, that’s how you install Zabbix on Raspberry Pi 3. Thanks for reading this article.
