- mhwd – Suitable for modifying and/or changing the behavior of the installed hardware and drivers.
- mhwd-kernel – Suitable for kernel manipulation (identifying, installing and removing Linux kernels).
Let’s get started letting at these tools.
Manjaro Hardware Detection Tool usage
- “mhwd”
Before diving deep, let’s check out all the available commands and their usage structure.
# OR
mhwd –help

- Hardware information
For identifying all the hardware that are connected to your current system, run the following command –

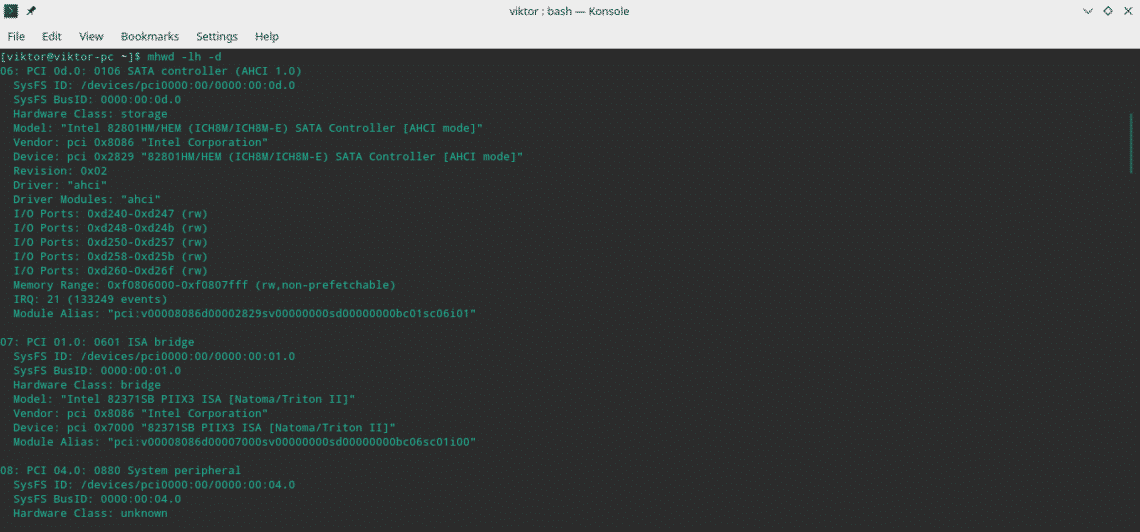
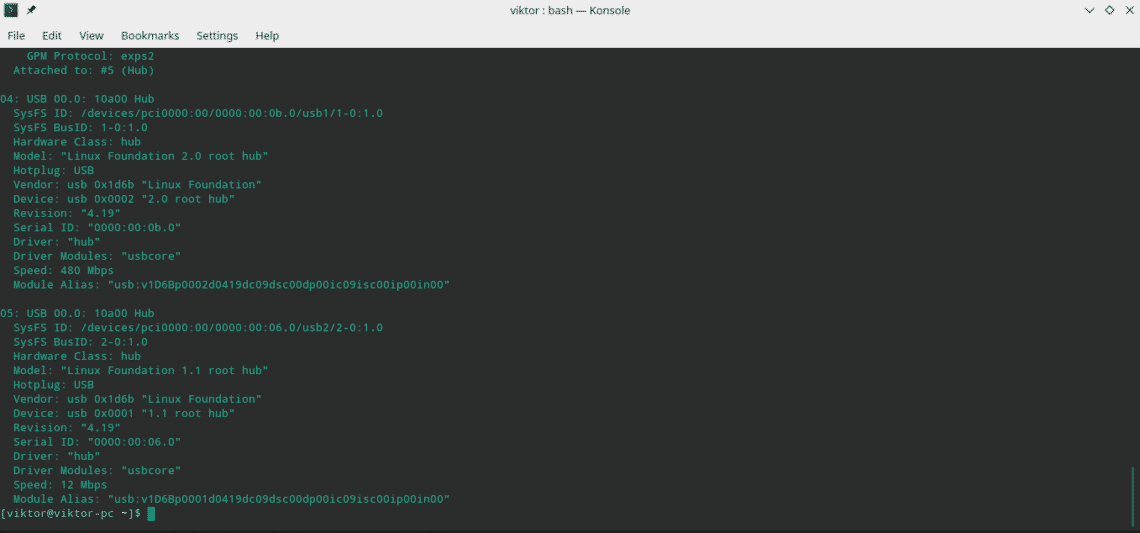
If you want a detailed view, use the additional “-d” flag.


Are you looking for only the hardware that are connected via the USB or PCI? You can easily filter them out with the following filter flags –

- Driver information
Now, it’s time to find out information about the installed drivers. Run the following command for all the currently installed driver info –

Just like before, for a detailed information, you can use “-d” flag.

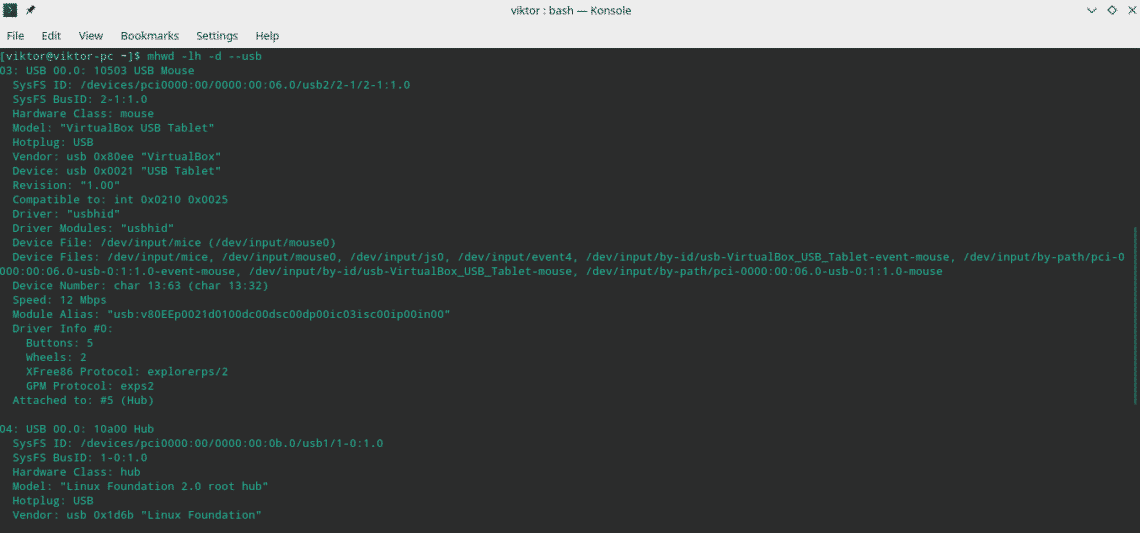
Sorting out the output by a specific driver type is also possible. Use “–usb” for USB drivers, “–pci” for PCI drivers etc.
mhwd -li -d –usb

The following command will list all the available drivers for your system.

Like before, you can also sort by either USB or PCI.
mhwd -la –pci

Not all the drivers are necessary for your system. Find out what drivers your system needs –

mhwd -l –usb

Configuring a graphics card
The Manjaro Hardware Detection Tool is not only capable of showing you various info but also properly configuring the hardware in your system.
For example, you’ve plugged a new graphics card in your system. Now, it’s time to “mhwd” to show its magic.
The following command will automatically detect and install the appropriate driver for the graphics card.
# OR
sudo mhwd -a pci nonfree 0300

Here, the “-a” flag tells the tool for automatically detecting the hardware and installing the proper driver. “pci” is the connection type of the graphics card and “0300” is the hardware ID for graphics card.
Note – Currently, Manjaro Hardware Detection Tool can only perform the action on graphics cards and PCI connections. In the future, the support will extend.
In lots of cases, reinstalling the graphics driver will help you solve some really pesky issues. Run the following command –
For example, if your system is running an NVIDIA graphics card, the command should look like this –
Do you want to remove an existing or old driver from your system? At first, identify the driver –
Then, remove the driver –
The name should be available on the list of the existing driver.
- mhwd-kernel
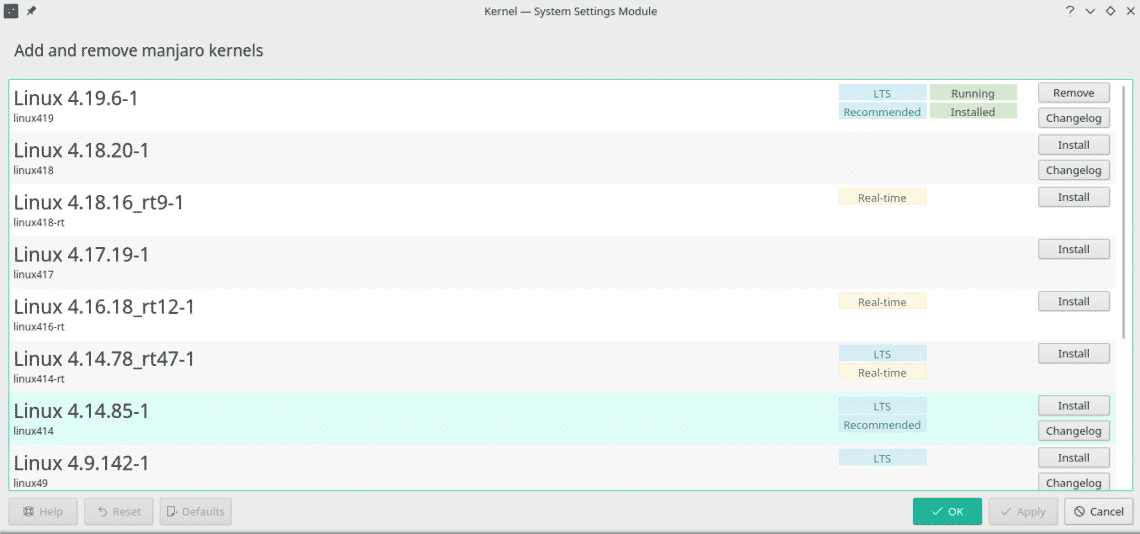
For managing kernels, Manjaro Linux offers a pretty cool and simple GUI kernel management.

Managing system kernels is also possible from the command line. At first, check out all the available options for “mhwd-kernel” –

Find out the info of the current kernel –

This will also show all the other kernels currently installed in your system.
- Installing a kernel
You can add other kernels to your system as well. For adding a kernel, the command structure will be –
Here, “rmc” indicates that upon the installation of the new kernel, the previous one will be removed. If you don’t need to remove the current kernel, then don’t use “rmc”.
For example, if you want to install the kernel 4.17.19-1, then the command should be –
Once the installation is complete, you have to restart your system for the changes to take effect.
- Removing a kernel
Caution – Don’t remove the current running kernel as it will render the system useless. Make sure to switch to a different kernel before removing one.
For removing a kernel, use “-r” flag –
Now, a kernel consists of 3 parts – the kernel itself, kernel headers and extra modules. Need to remove just a single one?
sudo mhwd-kernel -r linux419-extramodules
Enjoy!

