In this article, I will show you how to install Android (Lineage OS) on Raspberry Pi 3 Model B. Let’s get started.
Things You Need:
To follow this article, you need,
- A Raspberry Pi 3 Model B or Raspberry Pi 3 Model B+ single board computer.
- A microSD card of about 16GB or more for flashing Lineage OS image.
- Internet connectivity for downloading Lineage OS image.
- A micro USB power adapter (Standard Android charger) for powering up Raspberry Pi 3.
- A HDMI Cable and a Monitor.
- A computer for flashing the microSD card with Lineage OS image.
- A USB keyboard and a USB mouse.
Downloading Lineage OS:
To download Lineage OS for Raspberry Pi 3, go to the official website of Lineage OS at https://konstakang.com/devices/rpi3/ and click on one of the download links as marked in the screenshot below depending on the version of Android you want to install.
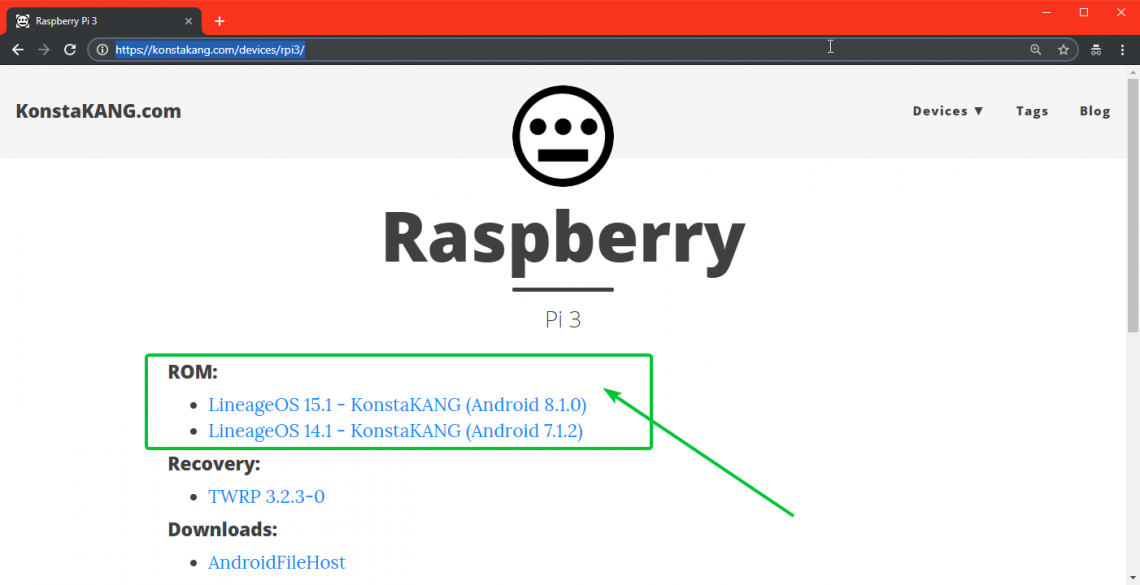
I am downloading Lineage OS 15.1 (Android 8.1.0). Once you click on one of the links, you should see the following page.
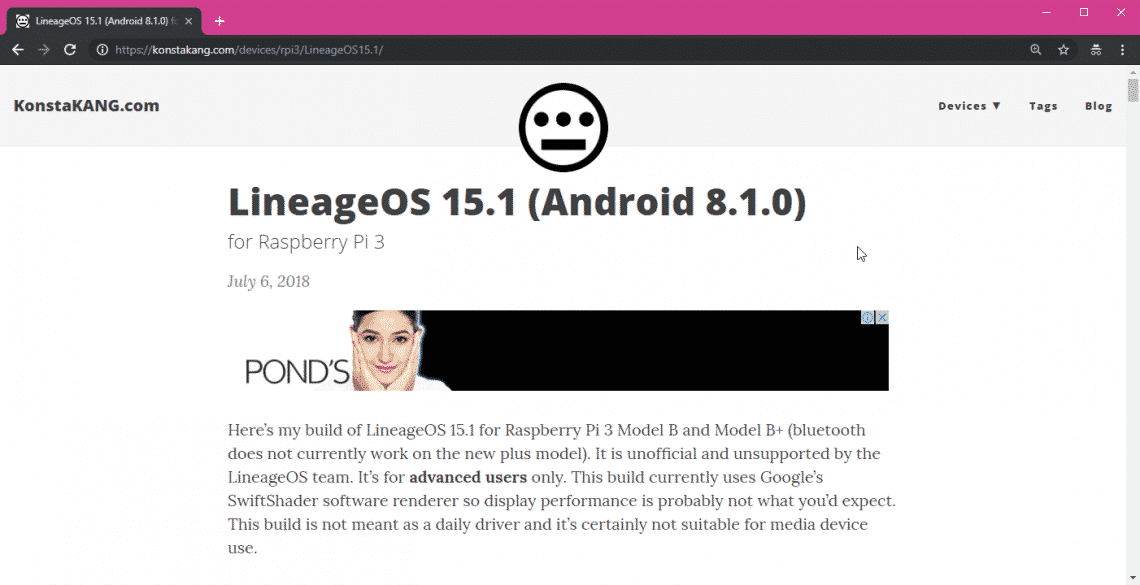
Now scroll down a little bit and click on the download link as marked in the screenshot below.
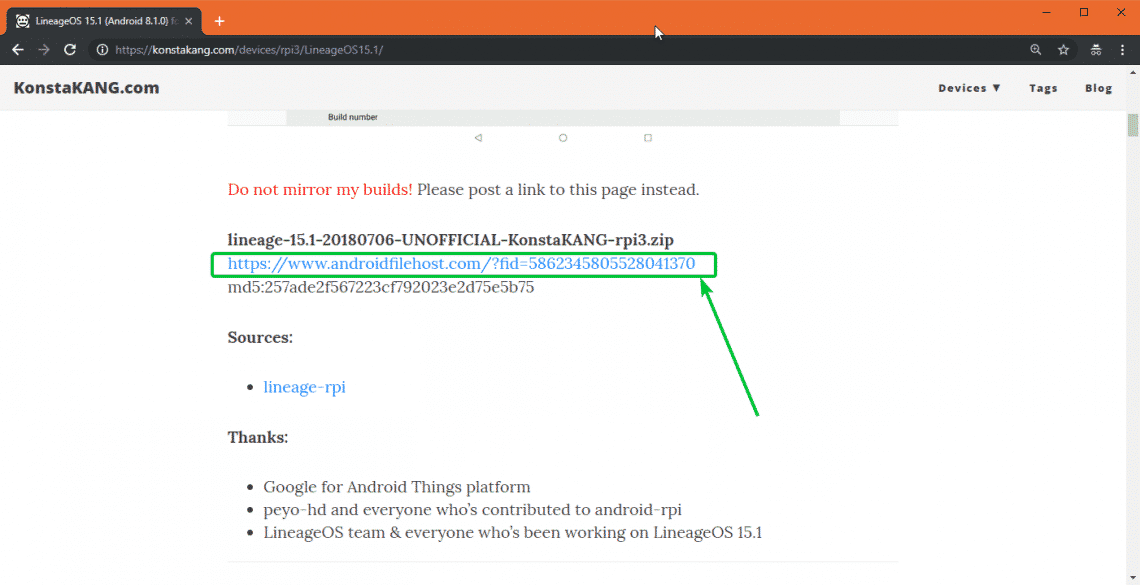
Now, you should be redirected to the following file hosting website. Click on the download link as marked in the screenshot below.
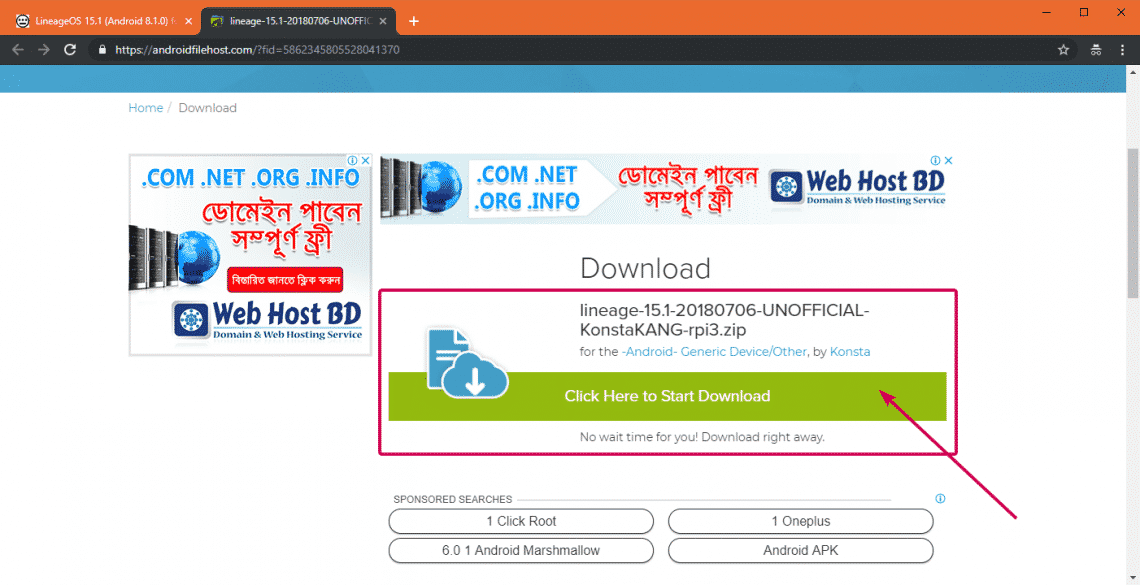
Now, click on one of the mirror as marked in the screenshot below.
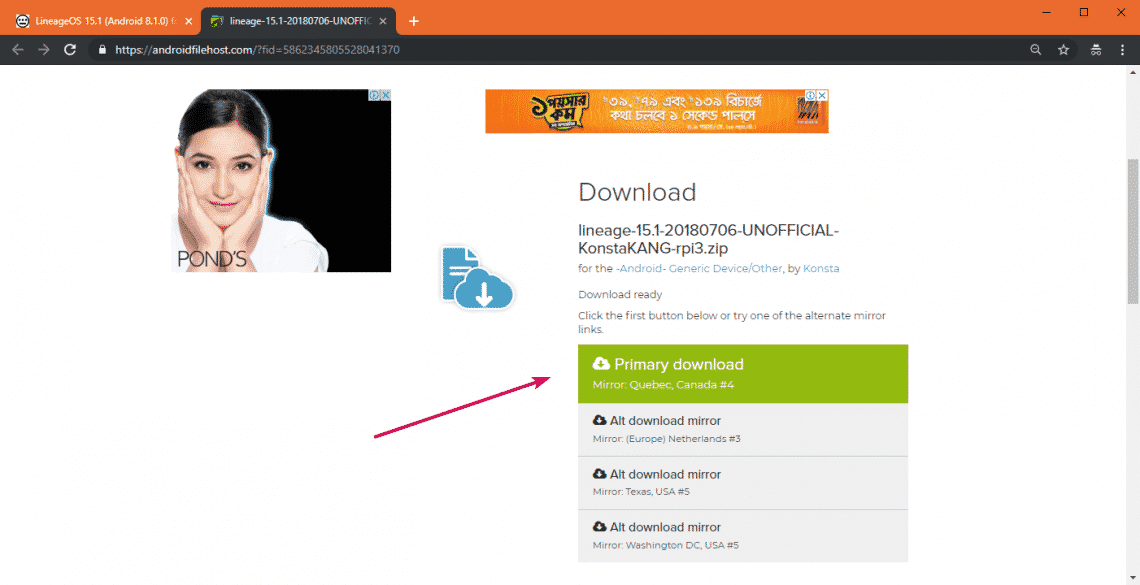
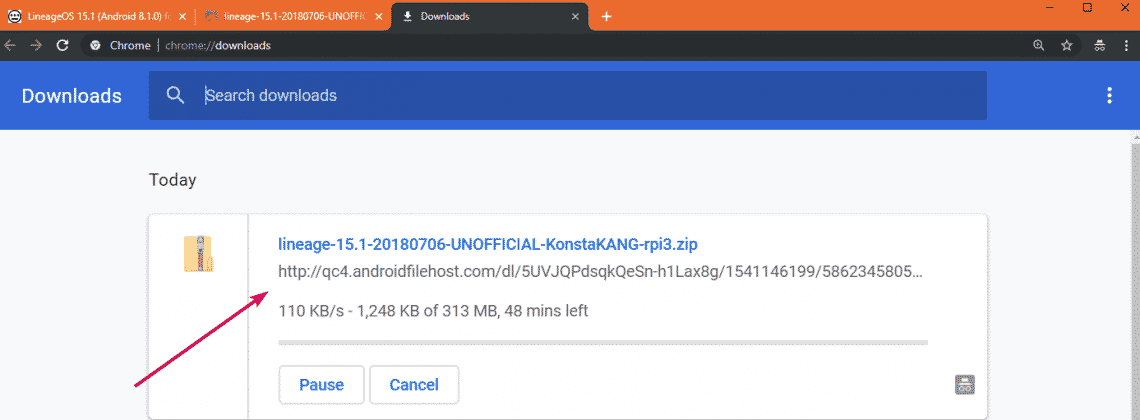
Your download should start. It may take a while to complete.
Flashing Lineage OS to microSD Card:
You can flash Lineage OS to your microSD card very easily with Etcher. You can download Etcher for free from the official website of Etcher at https://www.balena.io/etcher
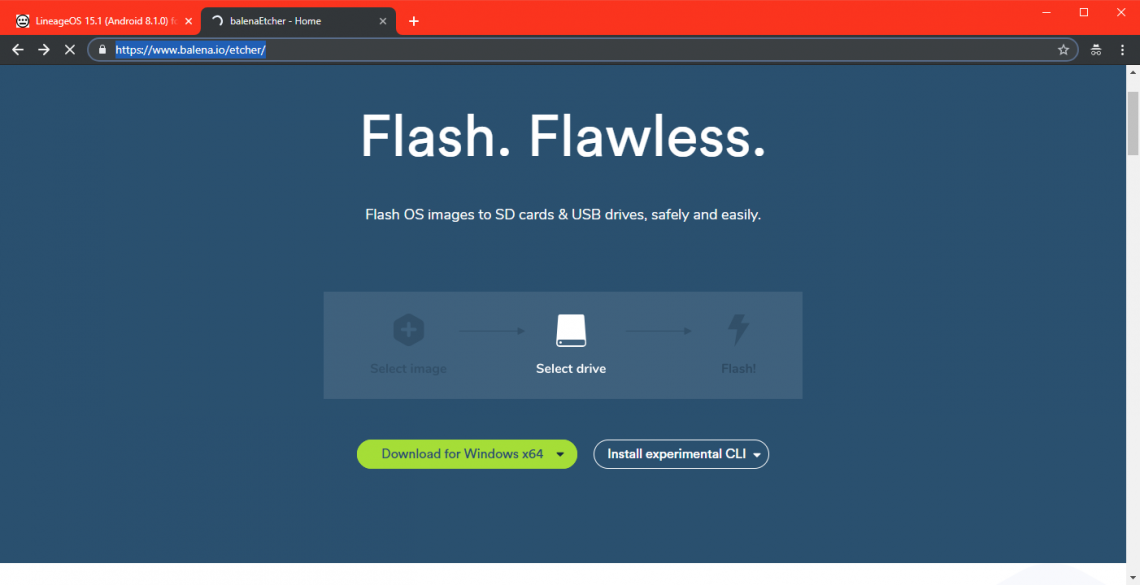
NOTE: It’s out of the scope of this article to show you how to install Etcher.
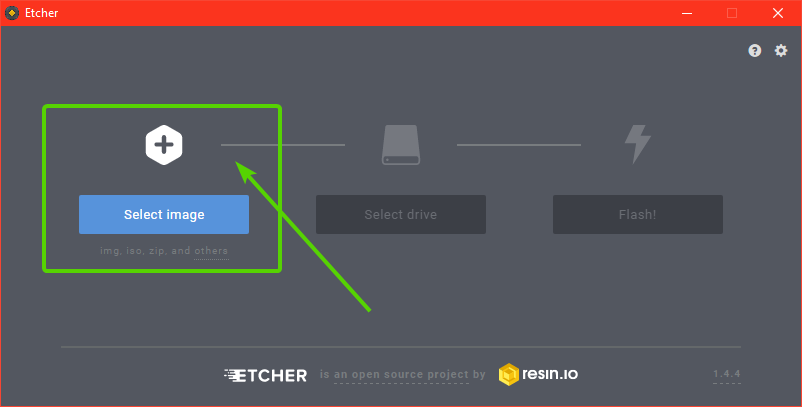
Once you download and install Etcher, insert your microSD card in your computer and open Etcher. Now, click on Select image as marked in the screenshot below.
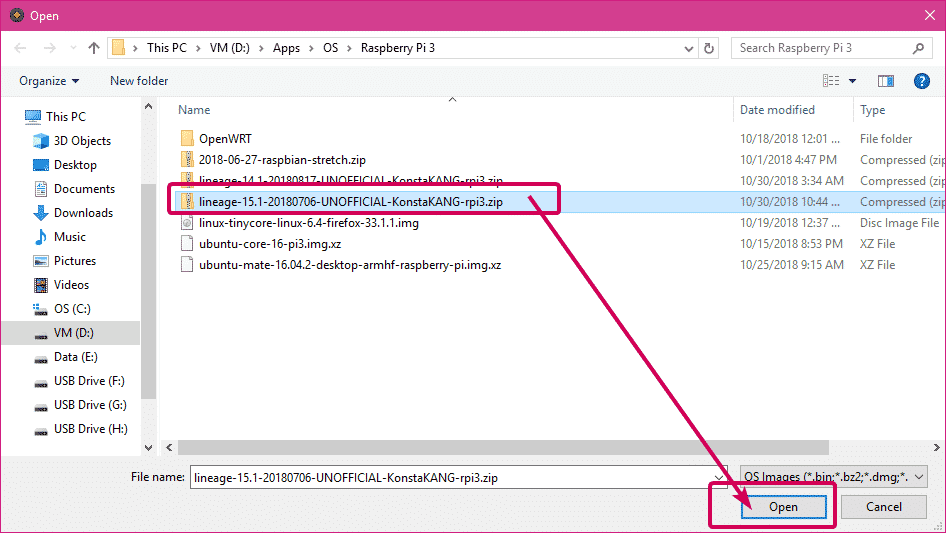
A file picker should be opened. Now, select the Lineage OS image that you just downloaded for your Raspberry Pi 3 and click on Open as marked in the screenshot below.
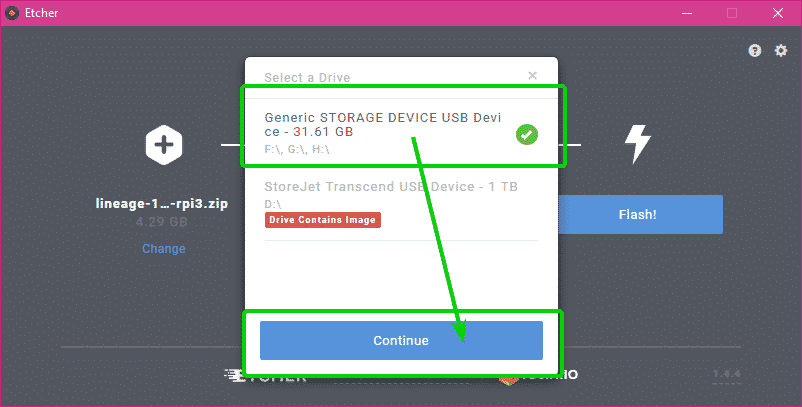
Now, click on Select drive as marked in the screenshot below.

Now, select your microSD card from the list and click on Continue.
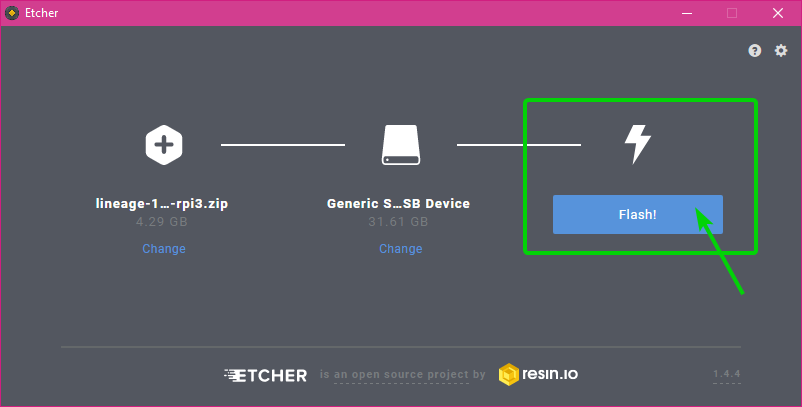
Finally, click on Flash!
As you can see, the microSD card is being flashed with Lineage OS image for Raspberry Pi 3.
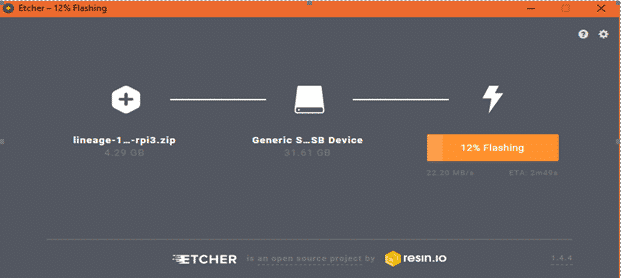
Once the Lineage OS image is flashed on your microSD card, close Etcher and eject the microSD card from your computer.

Setting Up Raspberry Pi 3 and Booting into Lineage OS:
Before you power on your Raspberry Pi 3, make sure you
- Insert Lineage OS flashed microSD card into your Raspberry Pi 3.
- Connect the HDMI cable of your monitor to your Raspberry Pi 3.
- Connect USB mouse and keyboard on your Raspberry Pi 3.
- Connect the microUSB adapter on your Raspbery Pi 3.
Finally, power on your Raspberry Pi 3. Lineage OS should boot and you should see the following loading window.

After a while you should see the following window. As you’re running Lineage OS for the first time, you have to configure it. Just click on NEXT.

Now, select your language and click on NEXT.

Now, select your time zone, date and time and click on NEXT.

Now, configure Wi-Fi network and click on NEXT.

Now, select how you want the Location service of Android to work and click on NEXT.

Now, select the Lineage OS related features that you want to enable and click on NEXT.

Now, you can set up a PIN to protect your phone from other people. To do that, click on SET UP as marked in the screenshot below. If you don’t want to set up a PIN now, just click on SKIP.

Finally, click on START.

The home screen of Lineage OS should start.

As you can see, I am running Android 8.1.0 Oreo on Lineage OS 15.1.

My Thoughts on Android on Raspberry Pi 3:
Currently, you can only install Lineage OS on Raspberry Pi 3 if you want to run Android on Raspberry Pi 3. On Raspberry Pi 3, you can install Lineage OS 14.1 (Android 7.1.2) and Lineage OS 15.1 (Android 8.1.0) at the time of this writing. I showed you how to install Lineage OS 15.1 in this article. The procedures for Lineage OS 14.1 is similar. But if you ask me which one to use, I would say Lineage OS 14.1 as it performs better on Raspberry Pi 3 than Lineage OS 15.1. Lineage OS 15.1 lags a lot. I would not recommend it. It’s pretty unusable.
If you’re looking for commercial Android support on Raspberry Pi 3, then you can try emteria.OS. The Evaluation version of emteria.OS for Raspberry Pi 3 is free to download. The evaluation version does have limitations, but at least you will be able to figure out how good it performs before you buy it. To learn more about emteria.OS, visit the official website of emteria.OS.
So, that’s how you install Android on Raspberry Pi 3. Thanks for reading this article.

