Git is a collaborative tool that helps many people work on the same project simultaneously. Git has a remote or central repository. This is where everyone pushes their changes. A developer clones a snapshot of the remote Git repository. It keeps a local copy of the remote repository in the developer’s computer. The developer makes changes to the source code and then he can push the changes back to a remote Git repository. The codes then can be checked and merged by the maintainer of that repository. This is how Git works.
In this article, I will show you how to install Git on CentOS 7.5 and the basics of Git. Let’s get started.
Installing Git
Git is available in the official package repository of CentOS 7.5.
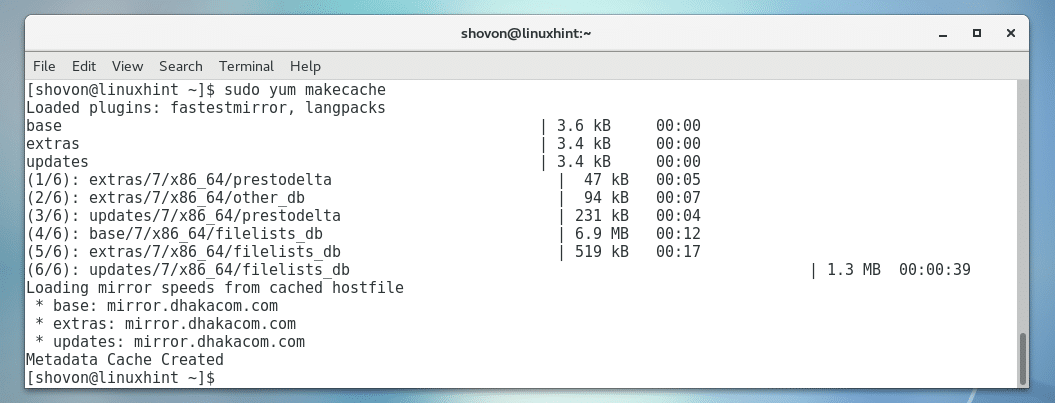
First update the yum package repository cache with the following command:

The yum package repository cache should be updated.

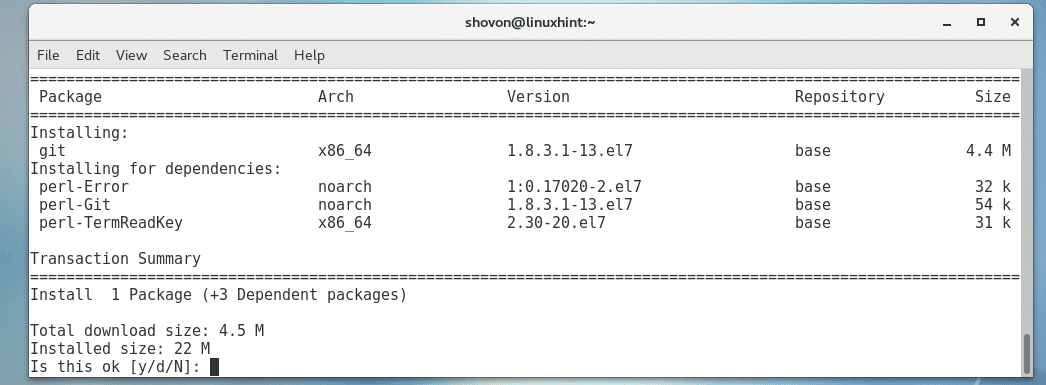
Now install Git with the following command:

Press y and then press <Enter> to continue.

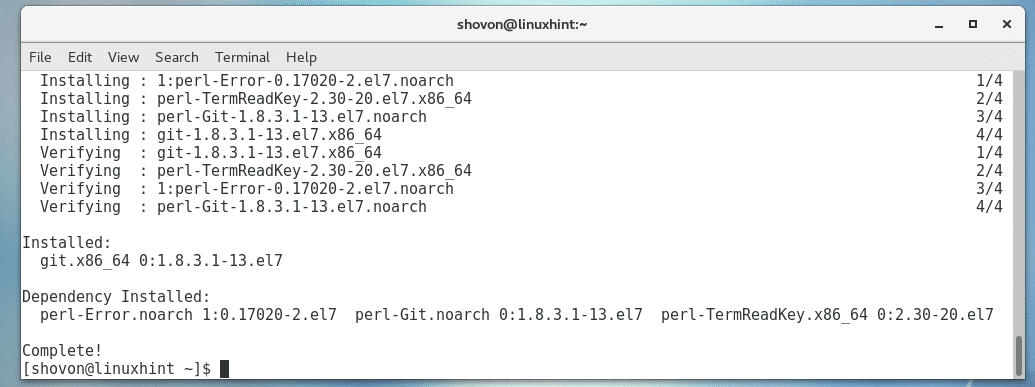
Git should be installed.

You can check whether Git is working with the following command:
As you can see, Git is installed and working correctly.

Now let’s see how to use Git.
Initial Configuration of Git
Before you can use Git, you have to set some global Git variables, such as your name, email etc. You do not need to repeat these commands every time. This is a litespeedime configuration.
First set your full name with the following command:


Enabling Colors in Git
By default, on CentOS 7.5, colors are disabled in Git. But colors make Git easier to use. Don’t worry, you can enable colors easily.
Run the following commands to enable colors in Git:
$ git config –global color.diff auto
$ git config –global color.status auto
$ git config –global color.ui auto
Colors should be enabled in Git.

Initializing a Git Repository
To get a project or directory for Git ready, first you have to initialize it.
First navigate into your project directory with the following command:

Now run the following command to initialize the directory for Git:

The directory should be initialized as you can see from the screenshot below.

Tracking Files in a Git Repository
In a Git repository, you first tell Git what files or directories to track for changes. This is also called adding files or directories to the Git repository.
You can check the status of your Git repository with the following command:
As you can see, I have one untracked file index.php

You can add index.php file to the Git repository as follows:

Now git status says index.php is ready to commit.

You can add all the files and directories in your newly created Git repository as follows:

Committing Changes to the Repository
Whenever you make any changes to a file in your Git repository, you must add it to your Git repository with git add command as I showed you earlier. Then you have to commit the changes to the repository as follows:


Checking All the Commits
You can check all the commits you’ve made with the following command:
Or
$ git log –oneline
As you can see, my previous commit is listed.

Cloning a Git Repository
You can also clone an existing Git repository from GitHub or BitBucket. Just grab the Git repository URL and run the following command:

The Git repository should be cloned.

A new directory should be created in the directory where you ran the command from as you can see:

If you navigate to the directory and check you should see all the commits of that Git repository:

That’s how you install and use Git on CentOS 7.5. Thanks for reading this article.


