WINE stands for Wine Is Not an Emulator.
Wine Features
Wine has a great set of features which makes it an excellent companion when it comes to compatible softwares to run other OS applications on POSIX-based systems. Some of these features are:
- Excellent User-interface, just like MacOS and Android
- OpenGL based games and applications are supported
- Desktop-in-a-box or mixable windows
- Enhanced Metafile (EMF) and Windows Metafile (WMF) driver
- Modems, serial devices supported
Read a lot more features supported by Wine here.
Installing Wine
Let’s get started by installing Wine on an Ubuntu-based machine.
Adding Wine to APT repository
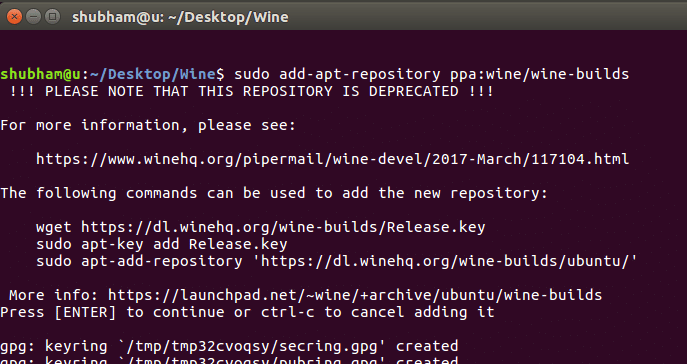
Before we can start installing wine using the apt tool, we need to add wine repository to the Ubuntu ppa:
We can see the following output once this command is used:

Updating repositories
We can now update the apt repository so that it contains the latest version of the libraries we need to install for wine:
Installing Wine
We can install the wine tool simply by a single command:
This can take a while as wine has many packages which are needed to be installed.
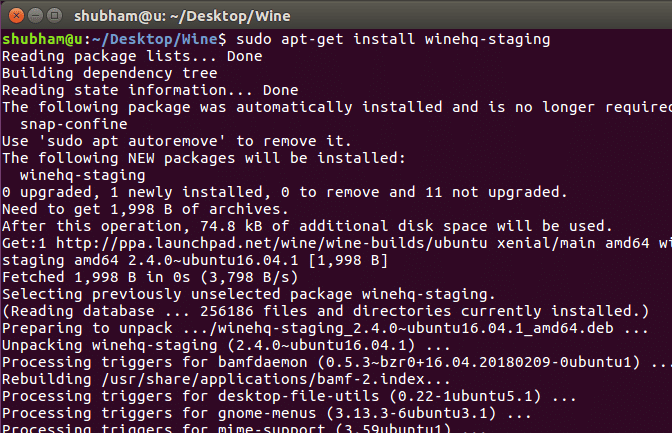
As a final step, we install the winehq staging build:
Output will be:

Wine Configuration
Once the installation for wine has completed, we can configure it and use our own properties. To start the config process, run the following command:
Once we run this command, you might face issues of some missing packages. Just follow along with the installation presented by Wine and eventually, you will see:

Notice how you can even select the Windows version in this configuration window. Although no changes are needed in any config for now, feel free to play with the configuration of your choice.
Removing WINE
Removing Wine completely is also possible using just a few commands. Start with purging the apt-get repository:
Finally, we can remove wine builds from ppa:
This will be a quick command and will take only seconds to execute and all wine libraries will be removed once this command is done executing.


