Keyboard Shortcut to Switch Between Applications
You can press Alt + Tab to switch between opened applications in GNOME 3 desktop environment.
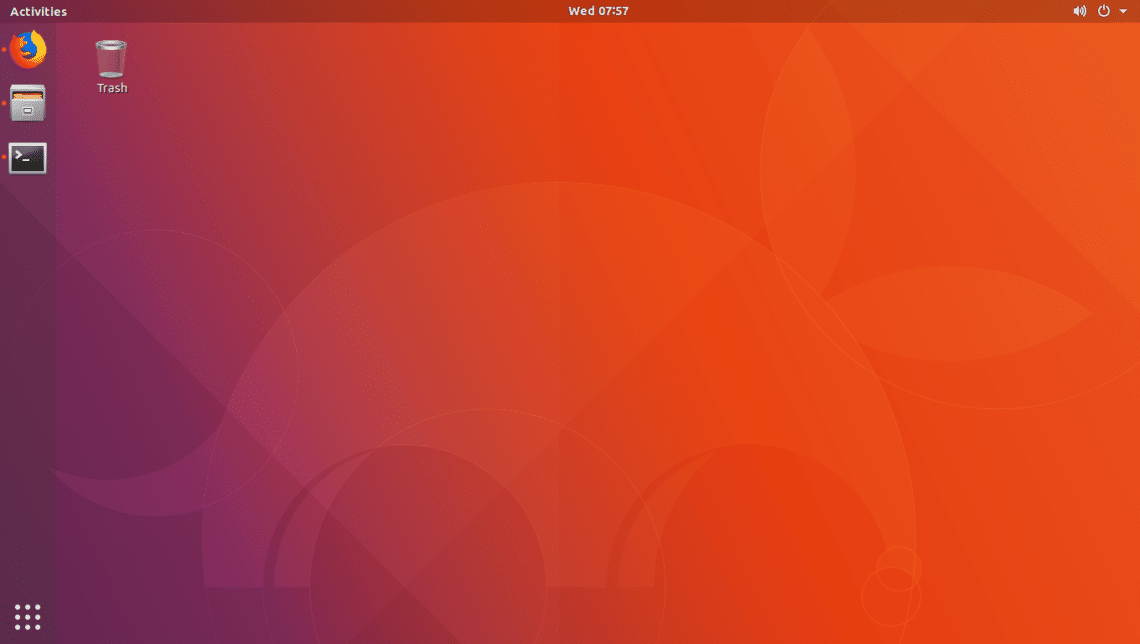
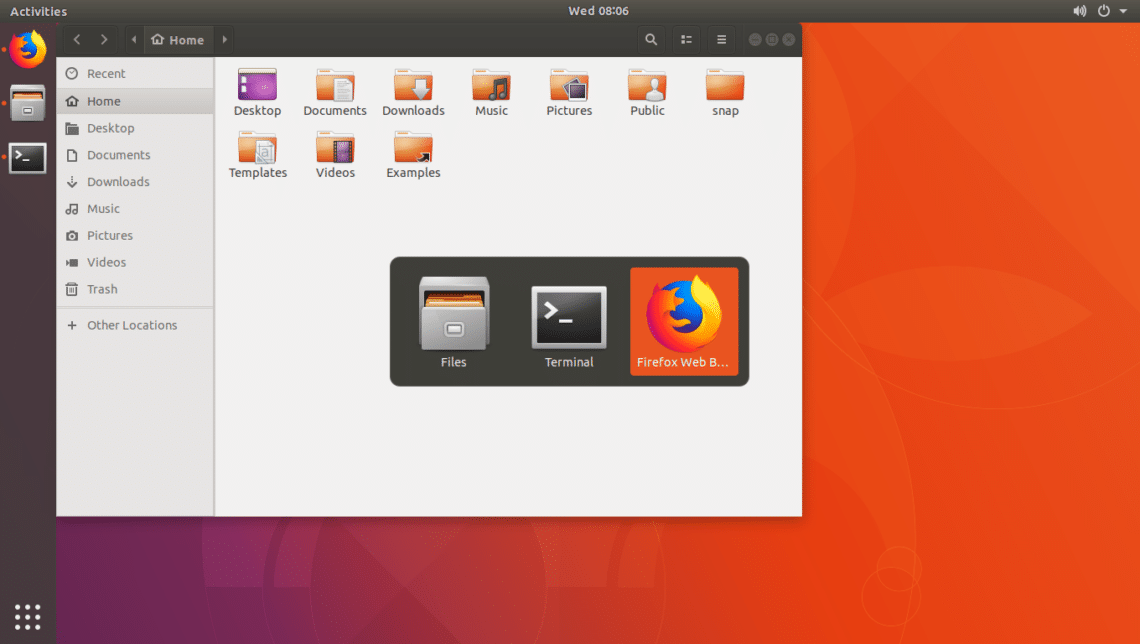
Let’s say you have 3 applications opened as you can see in the screenshot below.
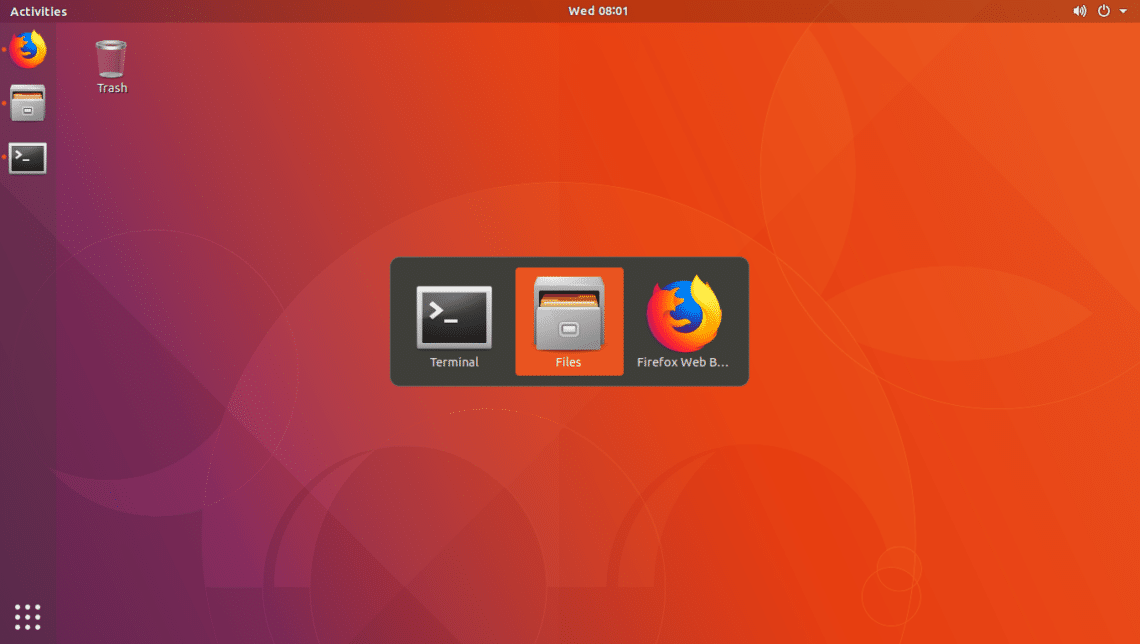
If you press Alt + Tab now, you can see a list of the opened applications as shown in the screenshot below.
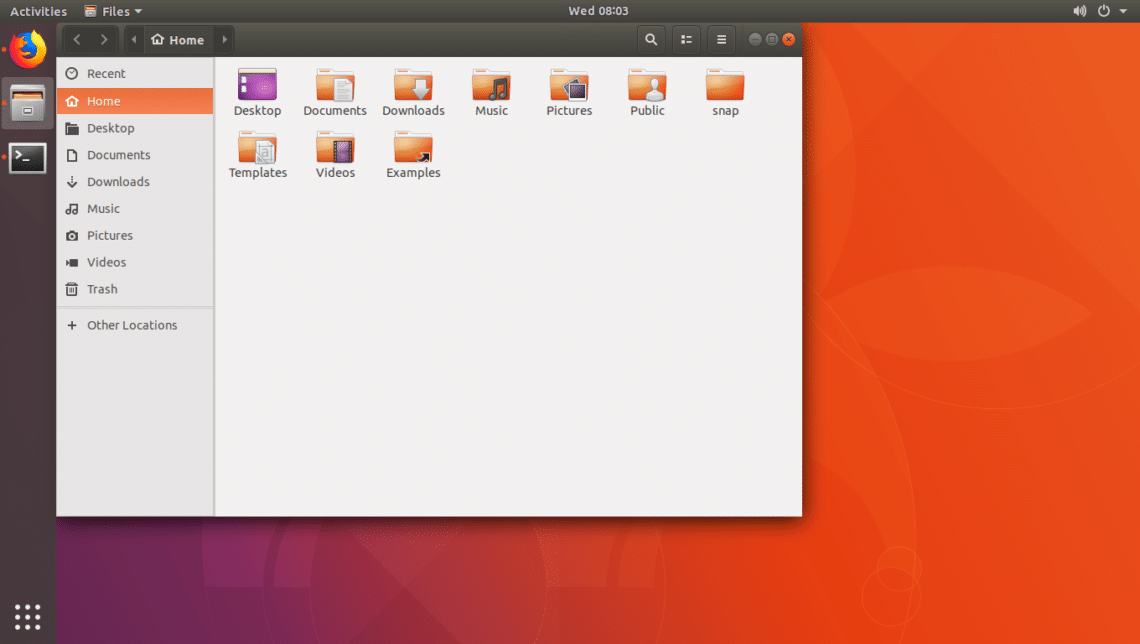
If you now release the Tab button now, Nautilus should have displayed.
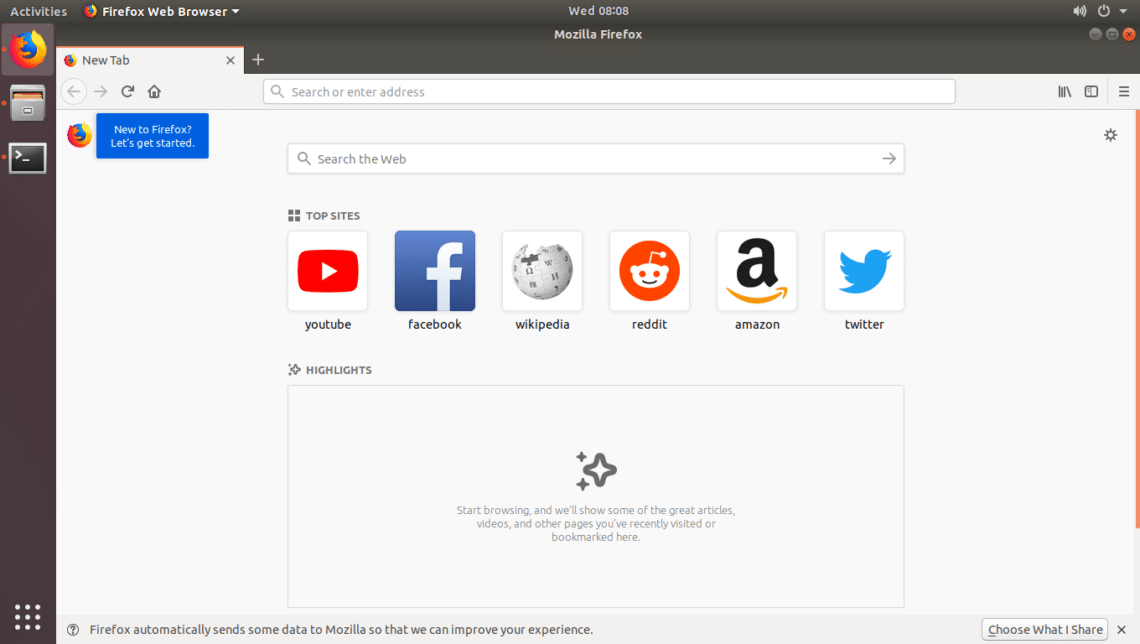
While the application list is being displayed, you keep Alt pressed and press Tab again and again to cycle through the opened applications. Once the application you want to be opened is selected, just let the Alt and Tab keys go. Firefox is selected.
After releasing Alt + Tab
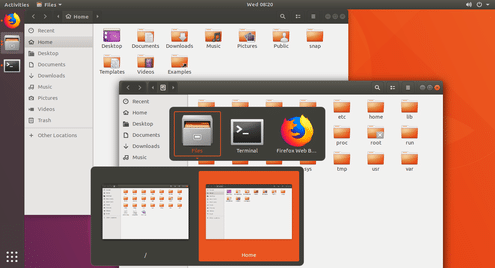
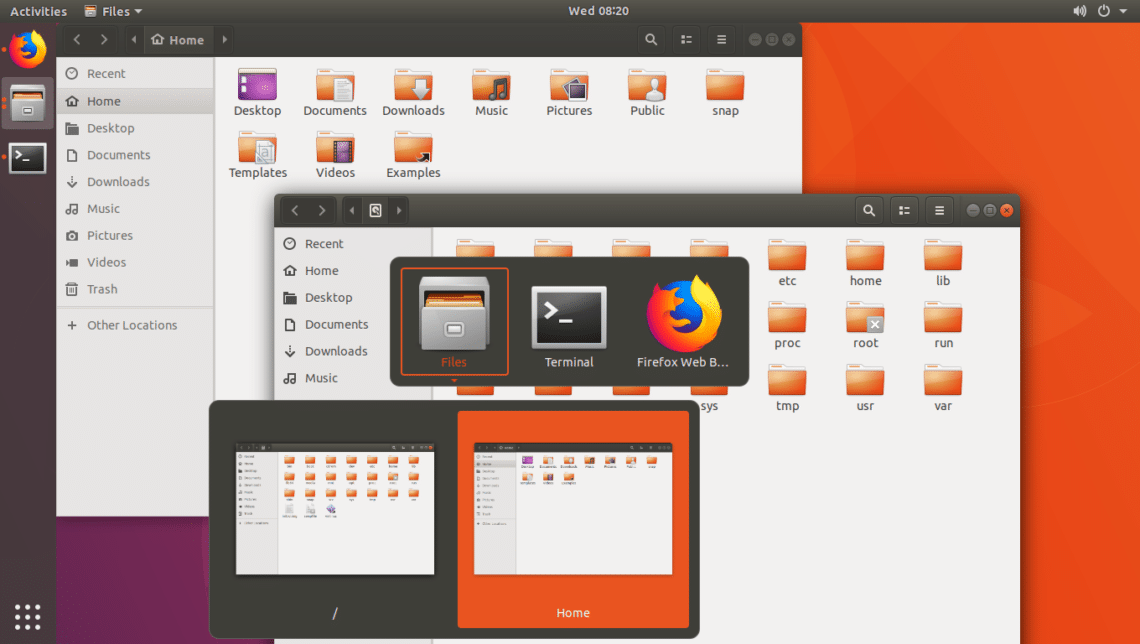
While an application is selected, you can press the <Down> arrow to reveal a preview of the selected application. If more than one window of the same application, you can press <Left> and <Right> arrow keys to navigate between the windows. To hide the preview, press the <Up> arrow key.
Shortcut to Enter Command Mode
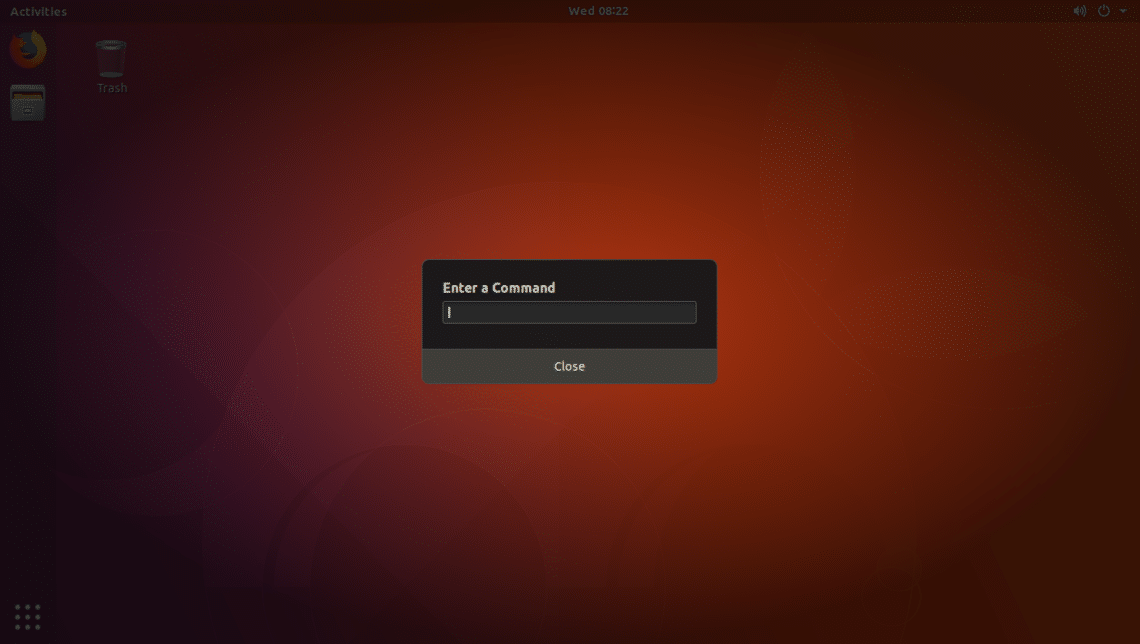
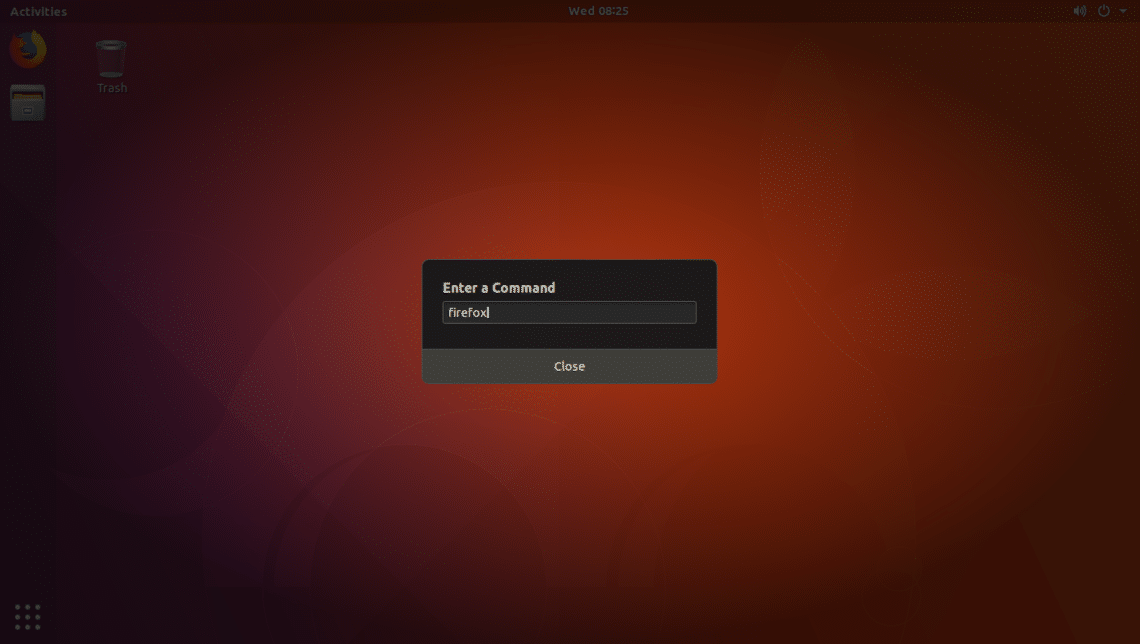
You can press Alt + F2 to bring a command window.
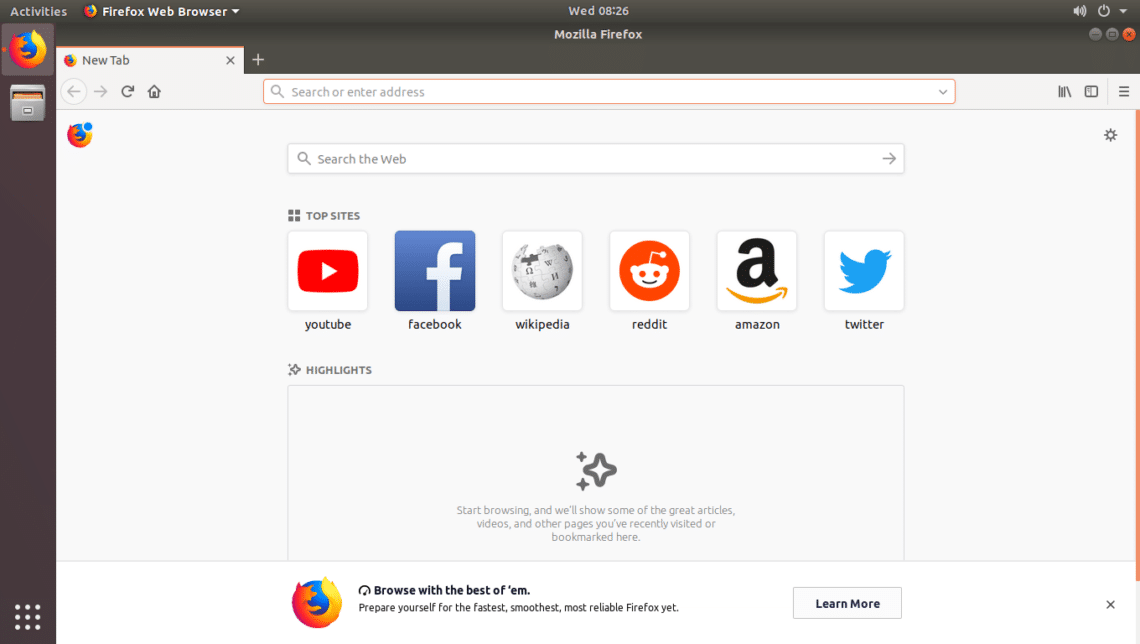
Now type in a command, for example, firefox, and press <Enter>.
Firefox should be opened.
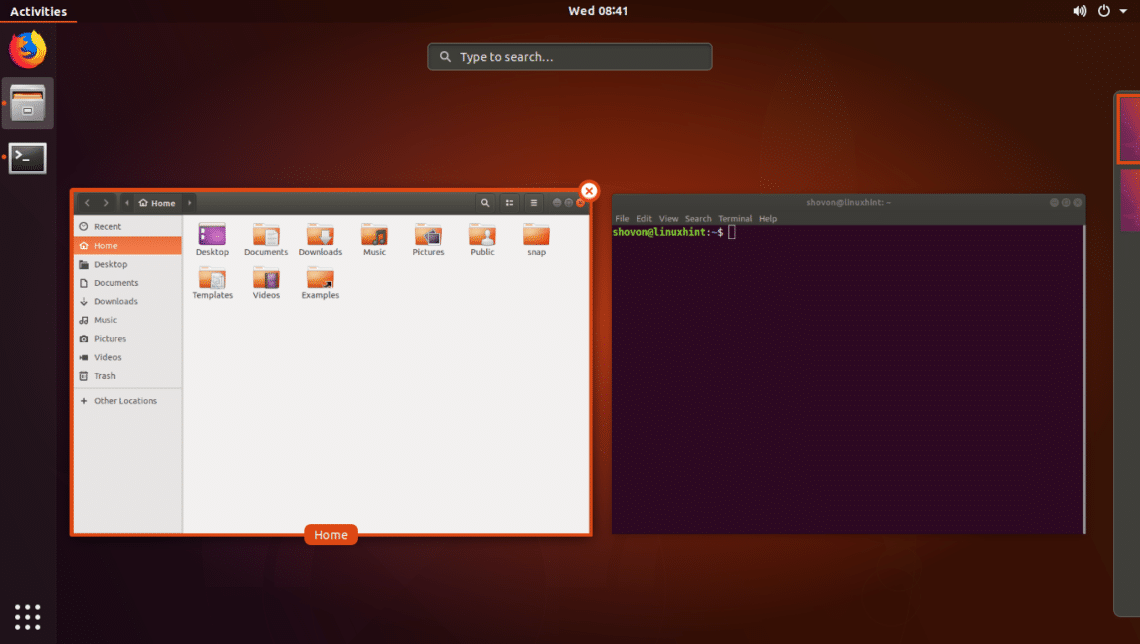
Keyboard Shortcut for Switching Between Activities and Desktop
You can press Windows or Super key or Alt + F1 to go to the Activities as you can see from the screenshot below.
You can go back again by pressing Windows or Super key or Alt + F1 keys.
Keyboard Shortcut for Accessibility Switcher
Accessibility Switcher is used to select and control the GNOME 3 User Interface (UI) using keyboard shortcut. Accessibility Switcher changes depending on what part of the GNOME 3 UI you’re currently in. This feature is still not completely implemented.
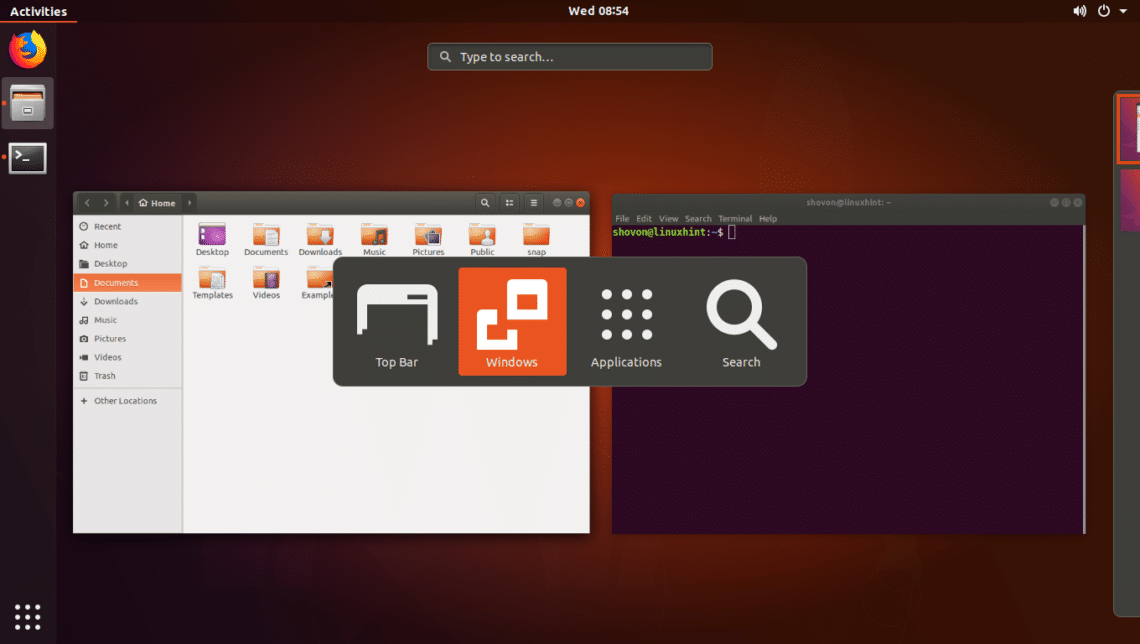
You can access the Accessibility Switcher pressing Ctrl + Alt + Tab
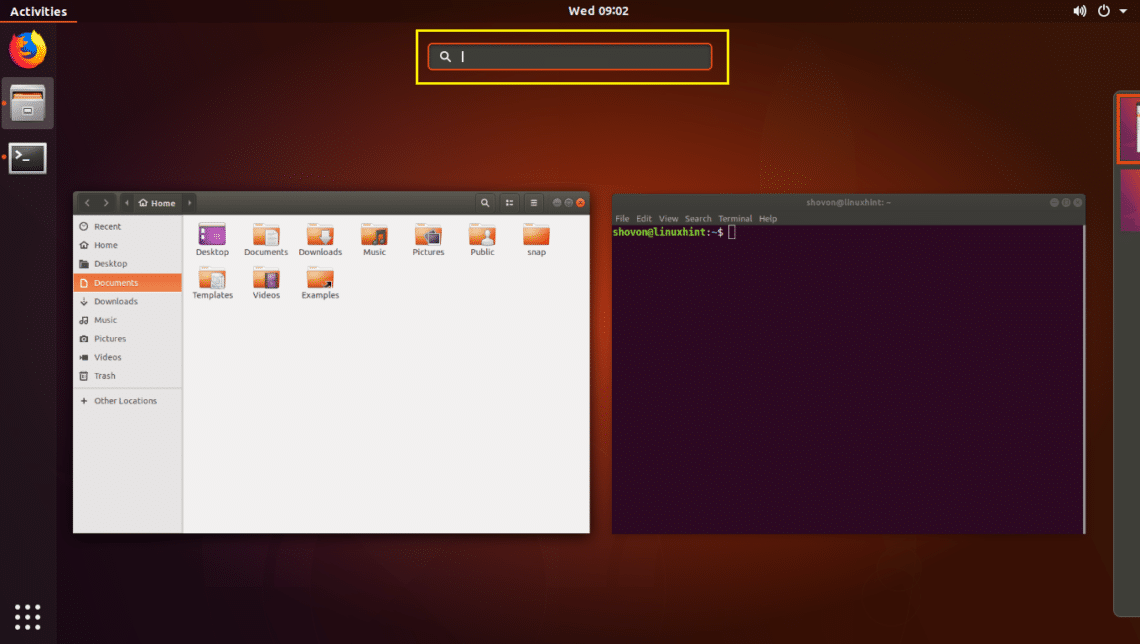
For example, if you go to Activities and press and hold Ctrl + Alt and press Tab you should see the Accessibility Switcher as shown in the screenshot below.
Let’s say you want to access the Search box in the Activities window. Press Tab and navigate to the Search icon in the Activity Switcher as marked in the screenshot below and release Tab button.
The Search Box should be selected as marked in the screenshot below.
Keyboard Shortcut for Taking Screenshot
You can press the Print Screen button to take screenshots in GNOME 3 desktop environment.
Let’s take a screenshot of the following window. Just press the Print Screen button. You should hear a camera shutter sound. The screenshot is taken.
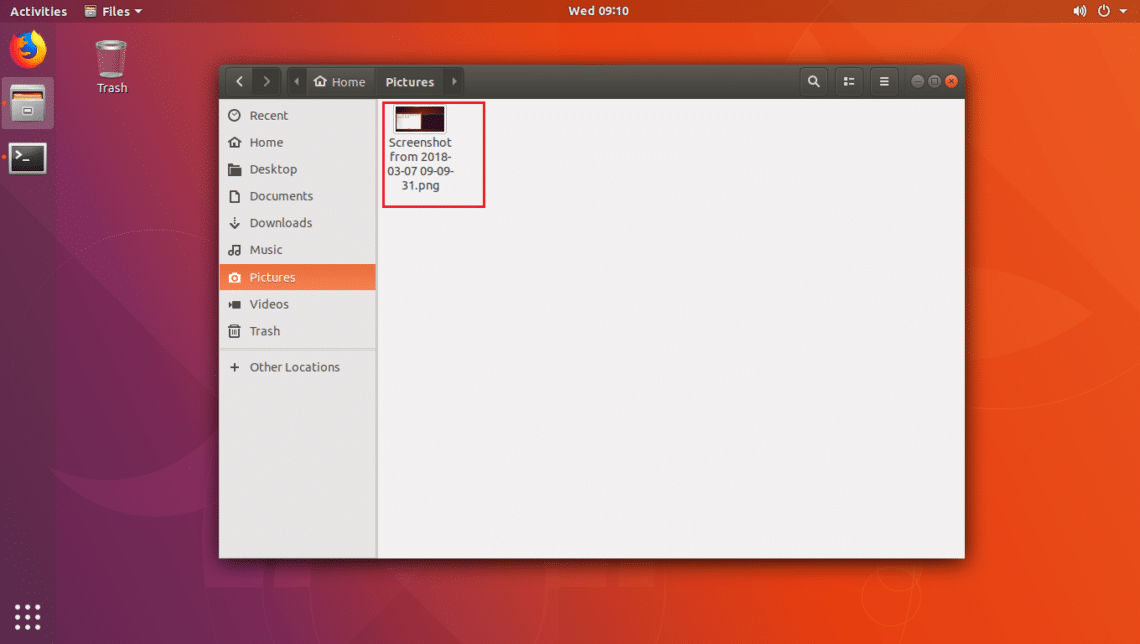
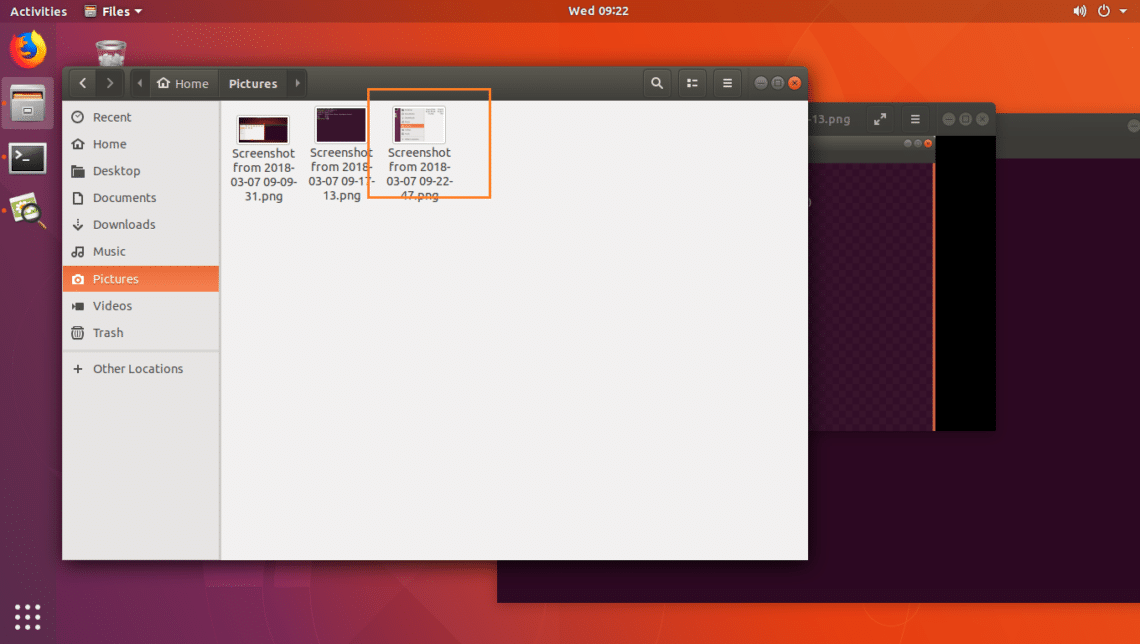
Now go to the Pictures/ directory in your user’s HOME directory. You should see the screenshot image as marked in the screenshot below.
Pressing Print Screen button saves the screenshot image to a file. If you want to save it to the clipboard instead, you can do so by pressing Ctrl + Print Screen button instead of just Print Screen button.
If you want, you can also take a screenshot of only the active window by pressing Alt + Print Screen button.
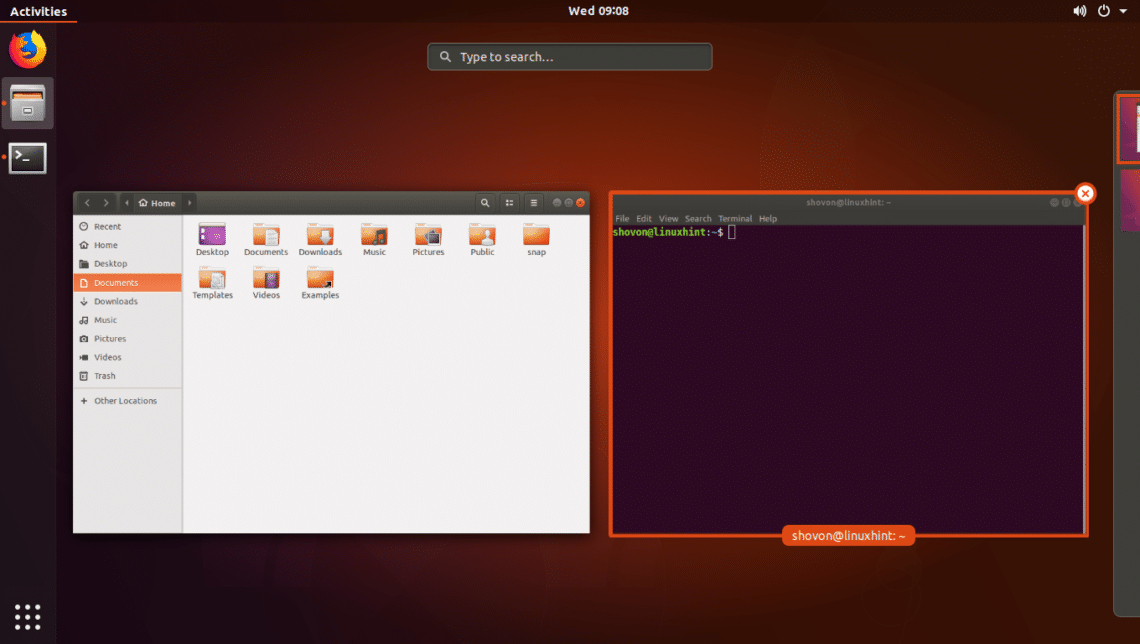
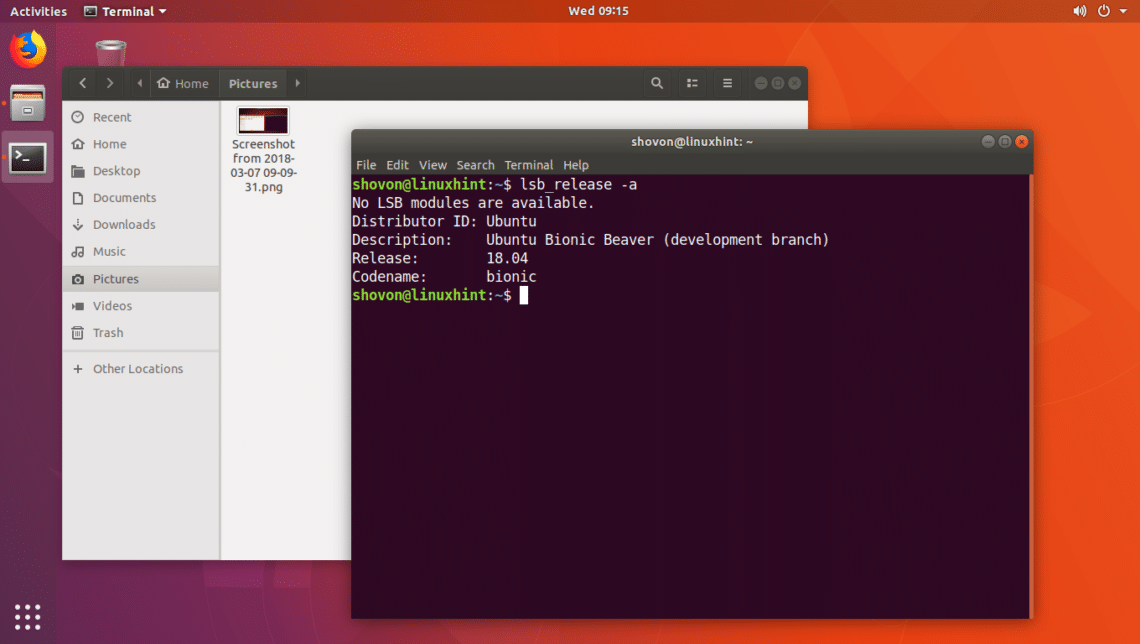
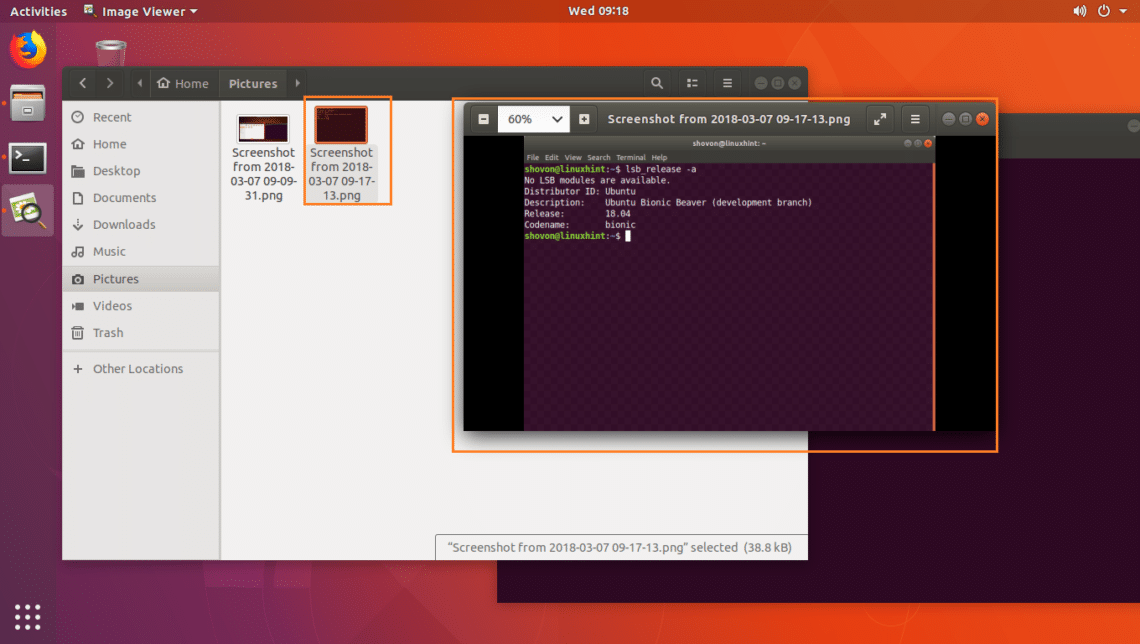
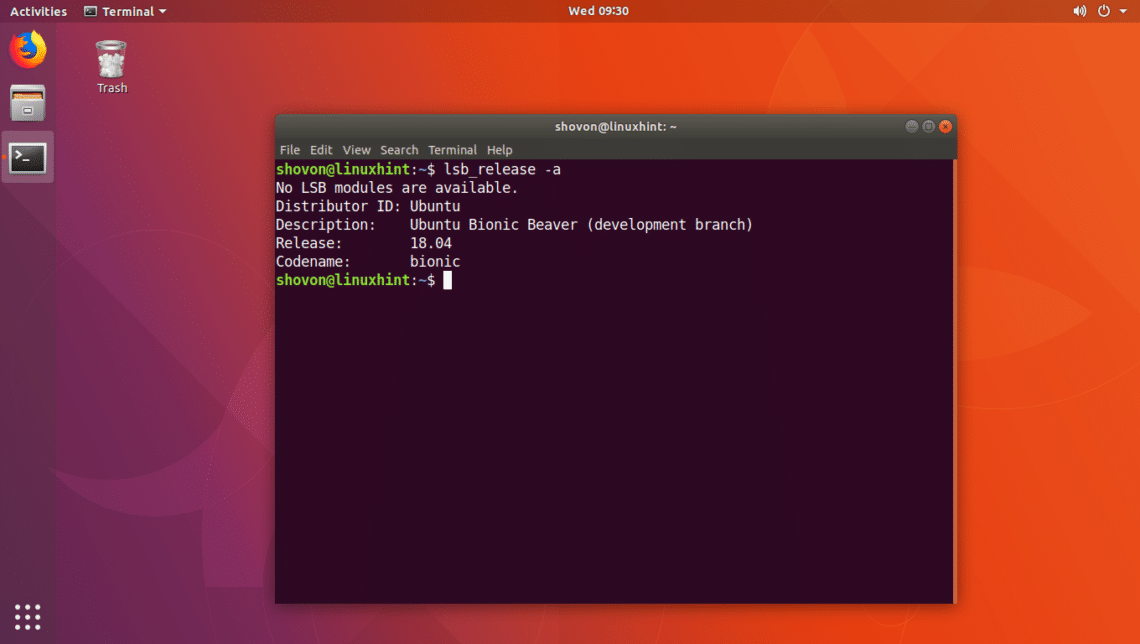
For example, let’s say you have several applications opened and you want to take a screenshot of only the Terminal. Just select the Terminal application and press Alt + Print Screen button. You should hear a camera shutter sound and the screenshot should be saved in ~/Pictures/ directory.
Screenshot of a specific window.
You can also select and take a screenshot of a specific region of the screen. Just press Shift + Print Screen to take screenshot of a selected region of the screen.
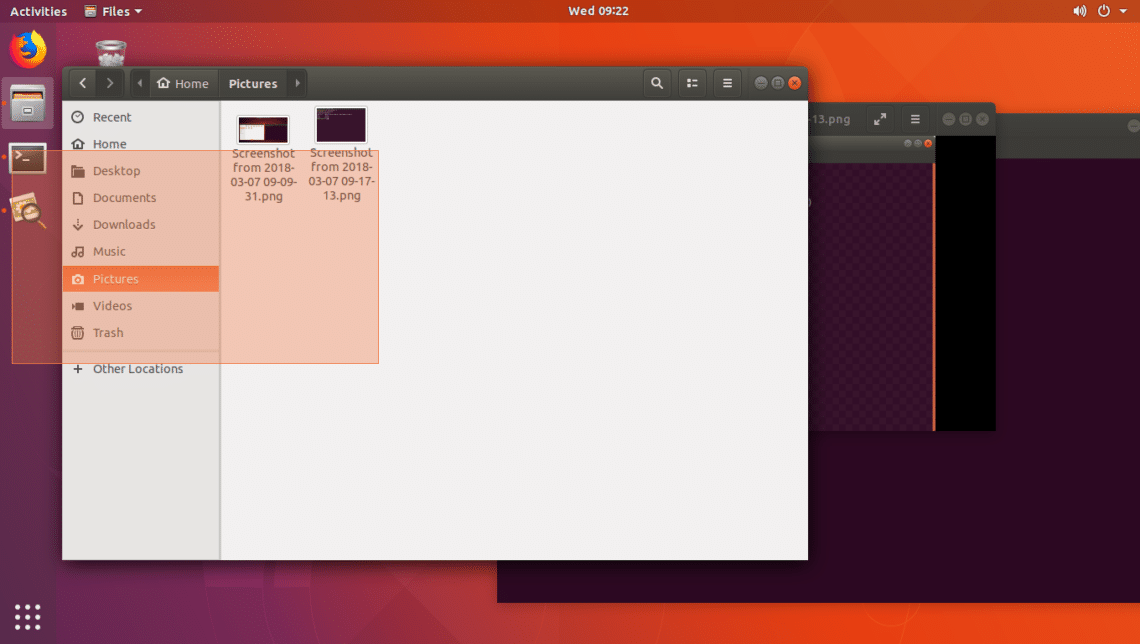
Once you press Shift + Print Screen your mouse cursor should change and you can click on a point and drag to do a rectangular selection. Once you release the mouse click, a screenshot should be taken and saved to the ~/Pictures/ directory.
While the rectangular selection is being performed.
After taking screenshot:
Keyboard Shortcut for Desktop Screen Recording
You can press Ctrl + Alt + Shift + R to record the screen of your GNOME 3 desktop environment.
Before screen recording is started:
You can press Ctrl + Alt + Shift + R to start screen recording. When screen recording is in progress, you should see a dot on the top right corner of the screen as marked in the screenshot below.
To stop screen recording, press Ctrl + Alt + Shift + R again. The dot on the top right corner should go away.
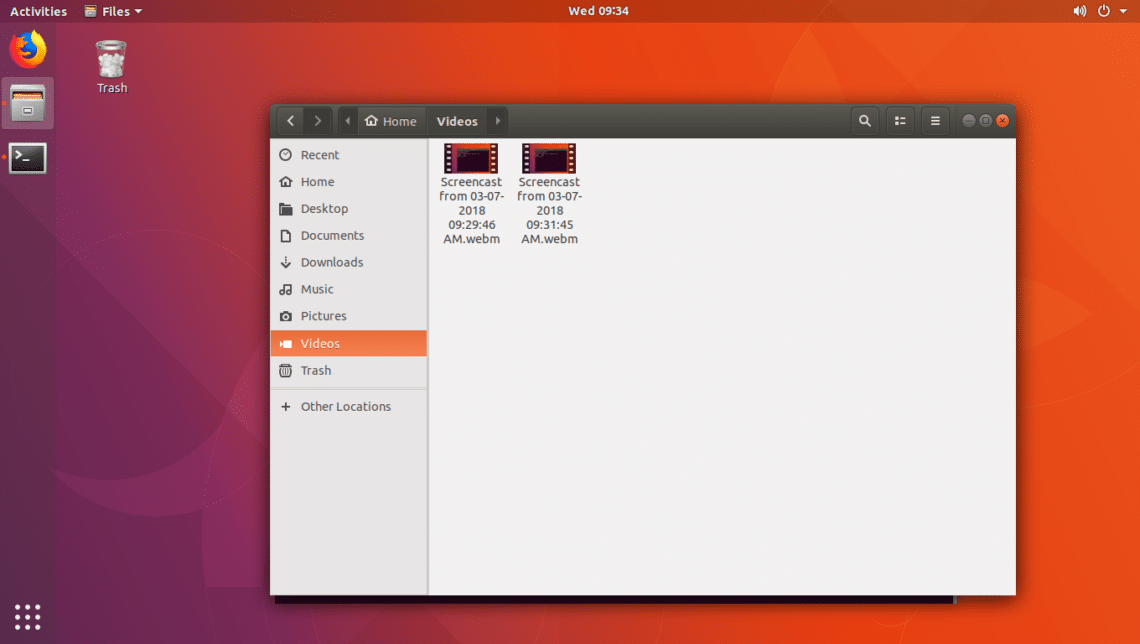
You should be able to find the recorded videos in ~/Videos/ directory.
Thanks for reading this article, I hope you found at least one valuable shortcut you can use in your workflow.
