Overview
In this post, we will see how we can install and use Redis server from Docker Hub. Using Docker Hub is very much advantageous as this ensures that we don’t have to reinstall the same version of Redis on our machine and we can test our Redis with multiple versions very quickly. Let’s read more about this.
Using Docker
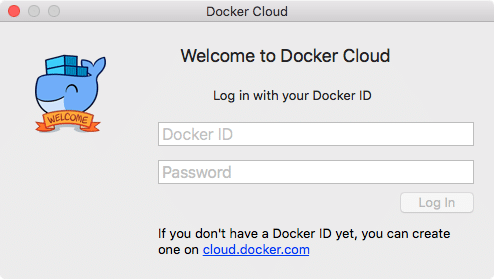
To start using Docker, we must install it on our System. To do this, visit this page and find an appropriate version for your platform. Once you open it, you will see a page like this:
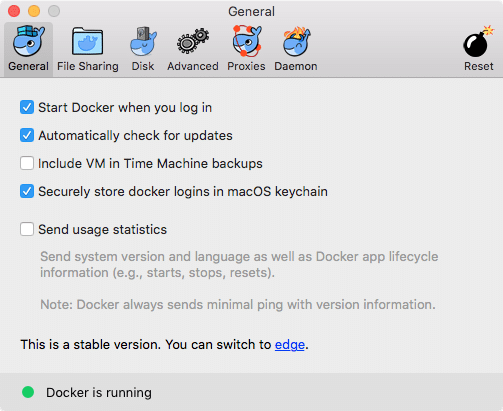
To start using Docker, we must create a Docker ID as well. We can do so by a link provided in the same dialog box. Proceed to the next section once you have created an ID and logged into this instance. You should be able to configure Docker with this settings page when it starts:
Of course, we are using Mac and so, screenshots are specific to them and they can differ slightly based on your platform.
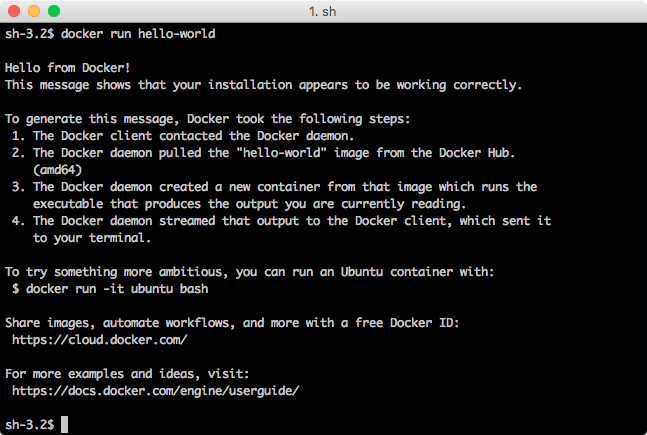
If you want to confirm that the Docker installation was correctly done, try running this command:
You will see following output:
Now that is running fine, we can move on to installing and using Redis from Docker Hub.
Install Redis from Docker Hub
Running a Redis instance using Docker Hub is actually just a matter of some commands and understanding the logic behind it. Fortunately, we will provide both of them here.
To pull a Redis Docker file and run it on local machine on the default port, i.e. 6379, run the following command:
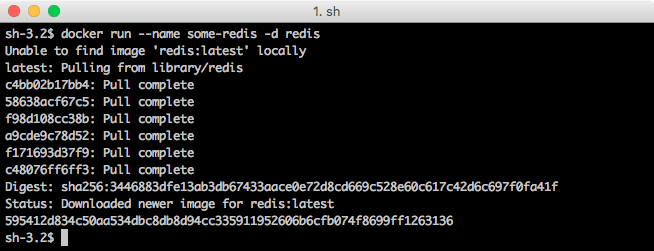
When you run the above command in terminal, you will see that it starts downloading the necessary files:
Let’s wait for the download to complete. Depending on the latest available file size, this can take up to few minutes.
Once this is done, open another tab for your terminal try running this command:
The output will be:
So, our redis server is now running and ready to be queried upon!
Binding Redis to Local port
If you want one of your application to bind to the Redis server we just started, it won’t be able to do so as of now.
Just run the following command to make it available in a local port as well:
Just note that the Redis image will not be downloaded again. It will only be checked if a more recent version is available locally than current version.
Trying Redis
Now, we will check running Redis and interacting with it. Run Redis using above command and you will see something like:
Once you see that Redis is now accepting connections, we can try interact it at the port we specified, which is 6379.
We can enter into the Redis CLI with the following command:
*) Note: if you are running on linux first install redis-tools package
When run, we will see the following result:
We will only try saving some data here. Let’s try one last command:
That’s it. This means we were able to save data into the Docker running container image of Redis, awesome!
