In this article, I will show you how to upgrade the kernel of Debian 9 stretch. I will download a kernel source from the official website of Linux kernel and compile it on Debian 9 stretch. Let’s get started.
Checking the Installed Kernel Version:
You can check the current version of the kernel that is installed on your Debian 9 operating system with the following command:
From the output of the ‘uname’ command, you can see that the kernel I have installed on my Debian 9 operating system is 4.9.0
Downloading the Kernel:
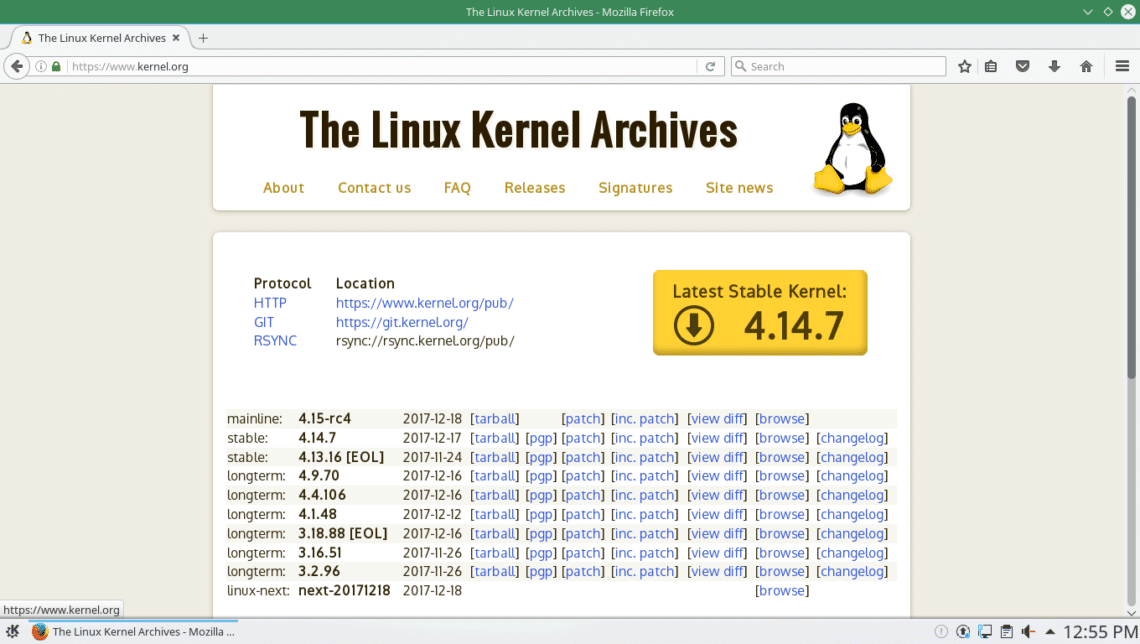
Go to the official website of Linux Kernel at https://www.kernel.org from any web browser of your choice. You should see the following page:
You can see that source code of different kernel versions is listed on the website. You can download the kernel sources as compressed tar file.
There are mainline, stable, longterm kernels that you can download. If you’re upgrading the kernel of a production computer system running Debian, you should download the longterm or stable release. If you’re just testing something, you may download the mainline release if you want. Be warned, the mainline release may have bugs. If you care about stability, you should always get the stable or longterm releases.
In this article, I will show you how to upgrade the default Debian 9 kernel to stable 4.14.7 kernel. So click on the link as shown in the screenshot to download the source code for kernel 4.14.7
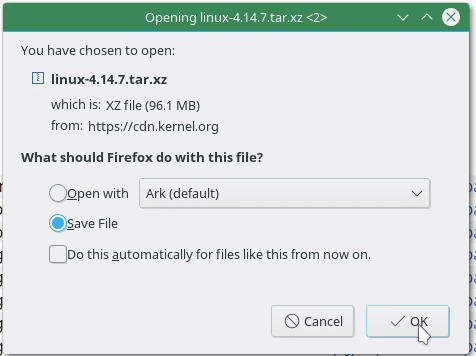
Your browser should prompt you to download the file. Click on “Save File” and click on “OK”. Your download should start.
Installing Required Tools for Building the Kernel:
Before you can compile a kernel on Debian 9, you need to install some additional packages, basically the compiler and the required dependencies.
First update the package repository cache with the following command:
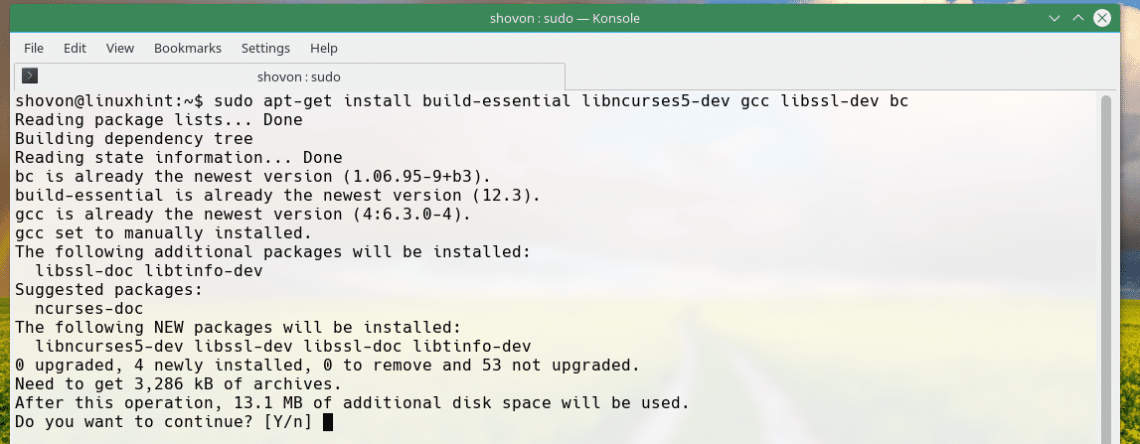
Now run the following command to install the required packages:
Just press ‘y’ and press <Enter> to continue.
Once the installation is complete, we can start the kernel compilation process.
Compiling the Kernel:
Now we can compile the kernel from source. Before you go any further, make sure you have more than 18GB-20GB of free space where you are going to compile the kernel.
First go to the directory where you downloaded the linux kernel source. In my case, it is the Downloads directory on my HOME directory.
Run the following command to navigate to the Downloads directory:
You can see from the output of ‘ls’ that the name of the file I downloaded is ‘linux-4.14.7.tar.xz’.
Now we have to extract the tar archive.
Run the following command to extract the tar.xz archive:
You can see that a new directory ‘linux-4.14.7’ was created.
Now navigate to the directory with the following command:
Now we have to copy the boot configuration into the ‘linux-4.14.7’ directory. We are doing these because it’s a lot of work to figure out what kernel module to enable, what to disable to get a working system. So we can just use the configuration that the current kernel is using.
From the output of the following ‘ls’ command, you can see a config file marked black in the screenshot. This is the file we are interested in.
Run the following command to copy the configuration file:
The new kernel may have a lot of new features that the old kernel didn’t have. So it’s a good idea to run the following command to convert the old configuration file to a new one. Otherwise we will be asked a lot of questions that might not make sense to you.
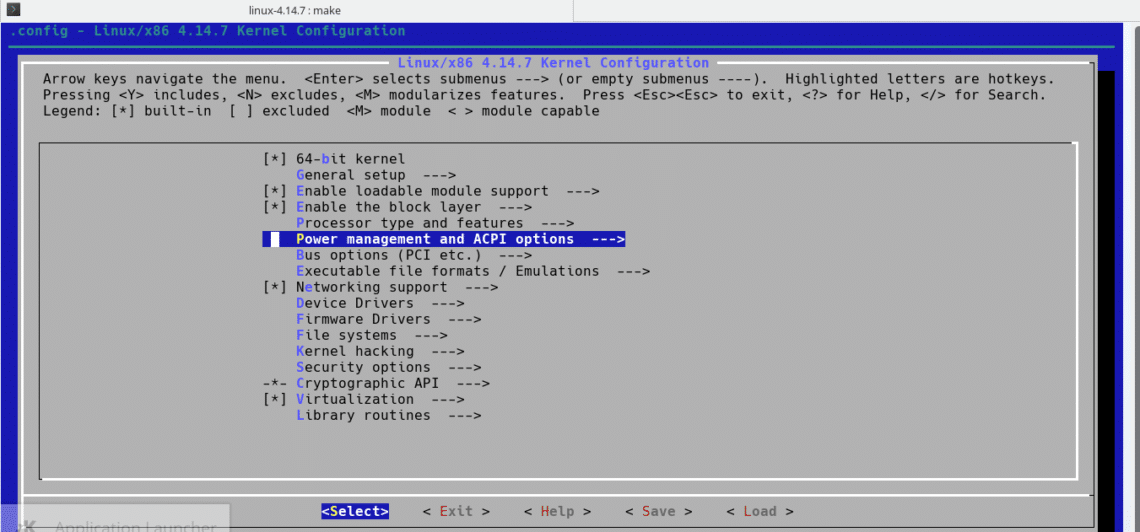
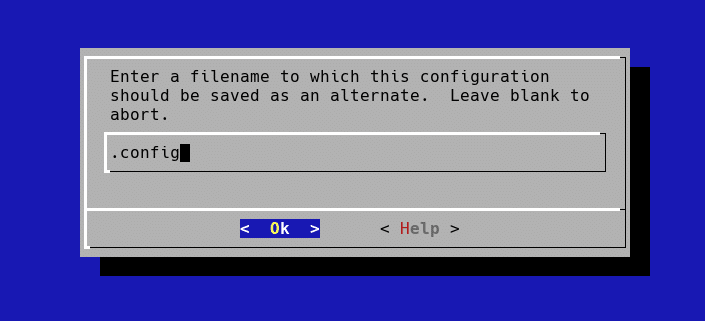
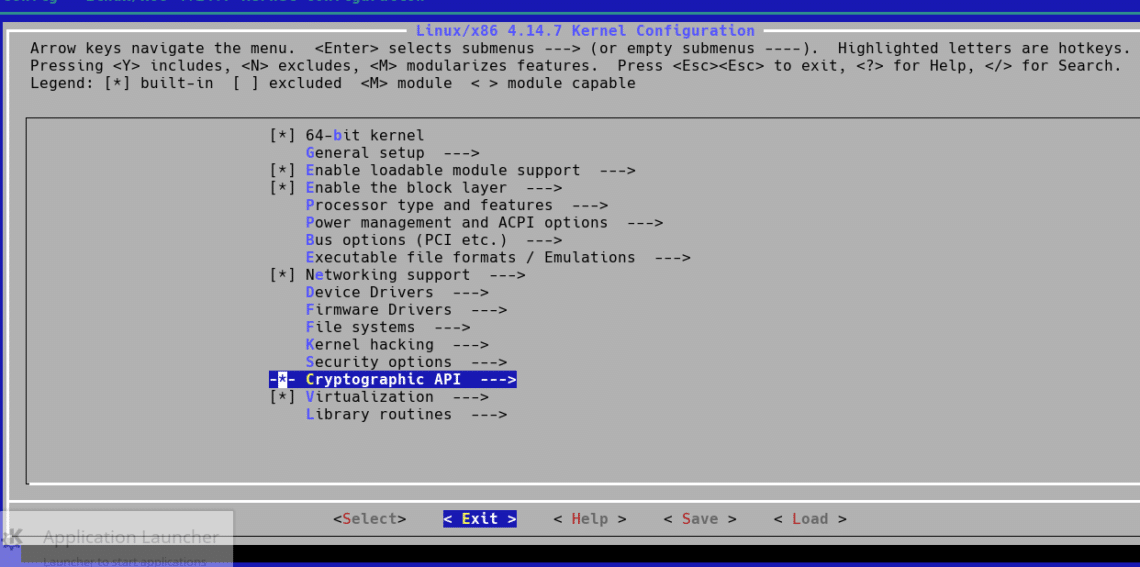
You will be presented with the following window. From here you can enable and disable specific kernel features. If you don’t know what to do here, just leave the defaults.
Once you’re done deciding what you want to install, press the <Right Arrow> key to navigate to “Save” and press <Enter>
Press <Enter>
Press <Enter>
Navigate to “Exit” and press <Enter>. You’re done.
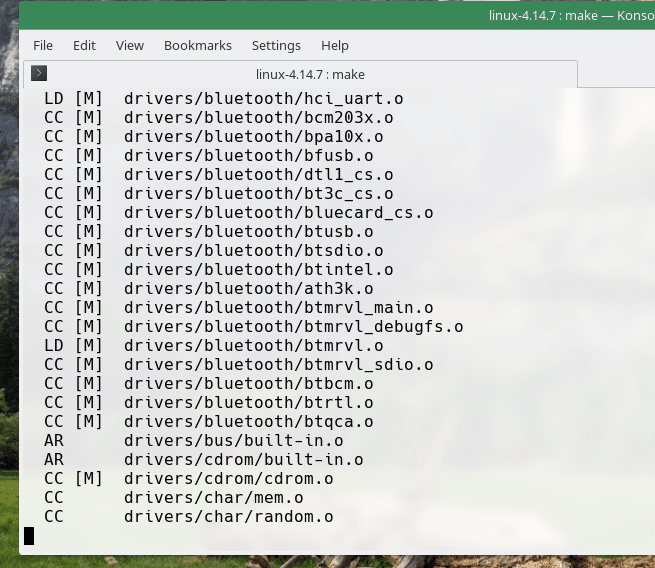
Now run the following command to start the kernel compilation process:
The compilation process takes a very long time to finish.
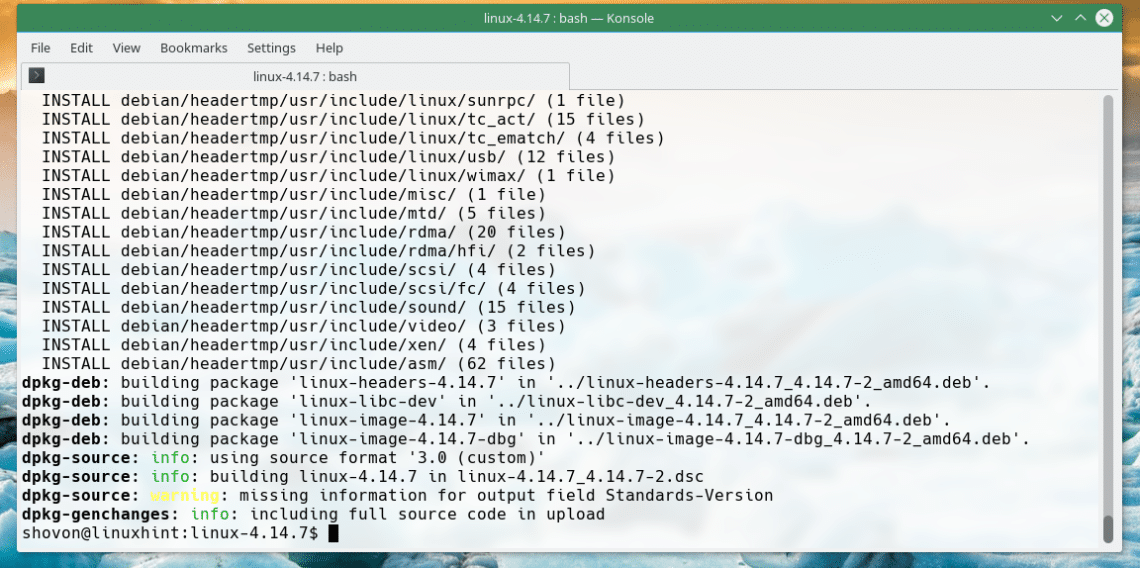
Once the compilation is complete, you should see the following window:
4 debian package files (.deb) will be generated outside of the ‘linux-4.14.7’ directory as you can see in the screenshot.
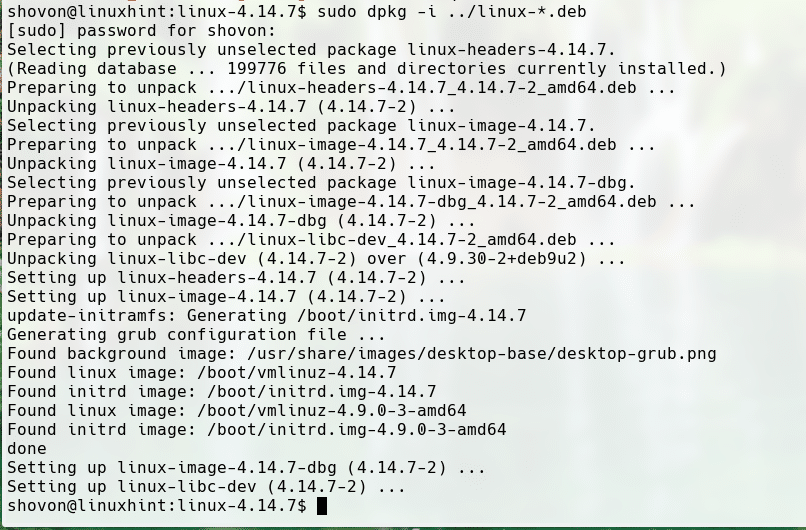
Now all we have to do to update the kernel is to install all the generated .deb files.
Run the following command to update the kernel:
Now restart your computer with the following command:
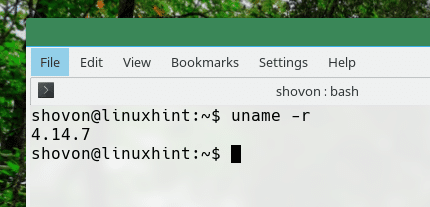
Once the computer boots, run the following command to check the kernel version:
You can see from the output of the ‘uname’ command that the kernel version is updated to 4.14.7
So that’s how you update the kernel of Debian 9 stretch. Thanks for reading this article.


